my weekend in pictures.

IMG_4474

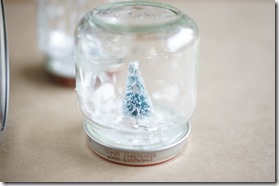
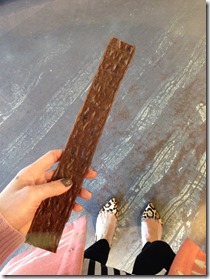
{sadie made a christmas ornament at the groomer on friday. yep, that is a lock of her fur. #wearecrazydogpeople}

IMG_4475

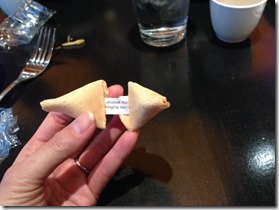
{a fortune after lunching at p.f. chang’s on saturday – a break from last-minute holiday shopping.}

IMG_4476

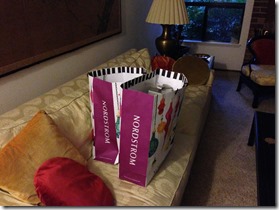
{we got lots checked off the christmas wish list this year at nordstrom.}

IMG_4477

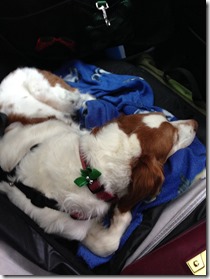
{sadie is enjoying her fleece blanket in the backseat this time of year. & she is sporting her christmas bow from the groomer.}

IMG_4478

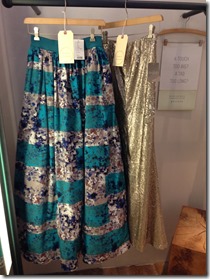
{we visited the new anthro at bell square & I couldn’t resist trying on these fun party skirts. you wanna guess which one was an early christmas present?}

IMG_4479

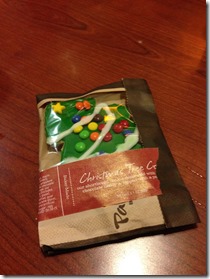
{my grandmother picked the christmas sugar cookie to go along with her dinner this evening at panera. it was the one with the most sugar, I am sure!}

it was a fun, but oh-so-quick weekend! my mom made a somewhat last minute trip into town and it was so good to see her & spend an early christmas this afternoon. we avoided the grey winter weather with lots of shopping cardio & catching up. just this one last work week to get thru before the christmas holiday & I am so excited (& so ready!). how was your weekend?

M

a pinterest christmas: kraft paper table runner.

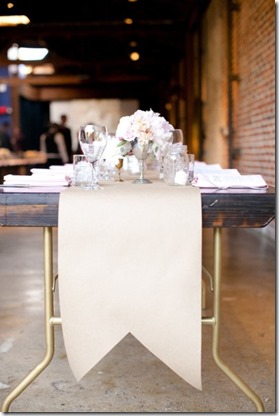
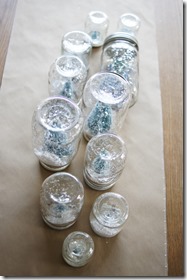
this is not really a christmas-y craft, but it was a fun addition to the snowglobe forest i shared on wednesday {see here}. you could make this paper runner for any occasion, or just for your everyday table.

paper table runner

{original pinterest link – paper table runner}

supplies:

  • paper – i used the kraft paper roll from aaron’s birthday {see here}

  • scissors

  • ruler

  • pencil

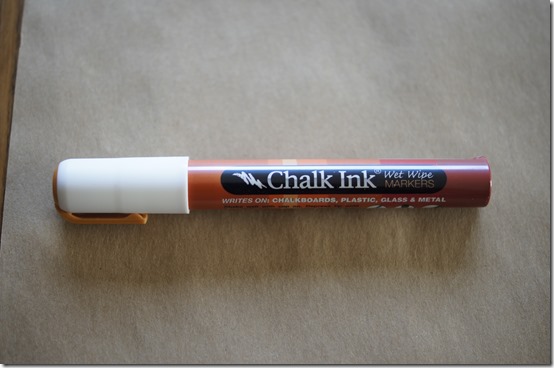
  • chalkboard paint pen

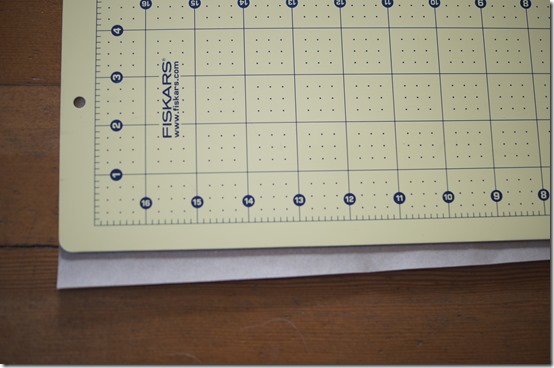
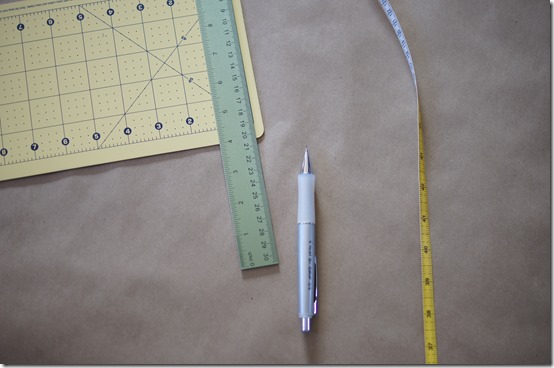
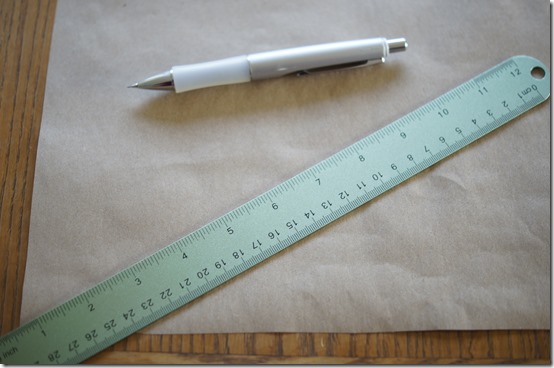
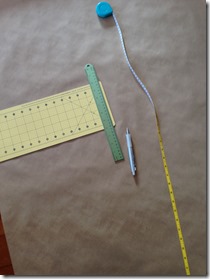
i started by measuring my table & figuring out how wide & long i wanted the runner to be. then i measured out & cut my kraft paper to make the basic runner {it was a really long rectangle}.

_DSC3428_DSC3429

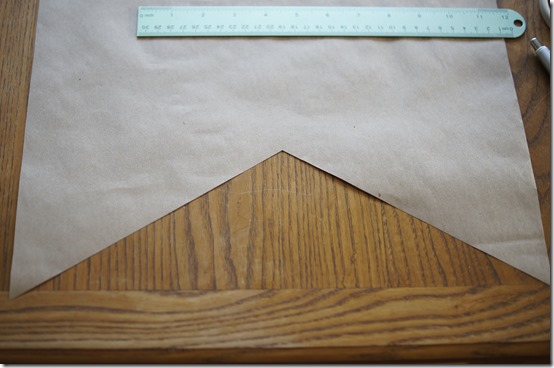
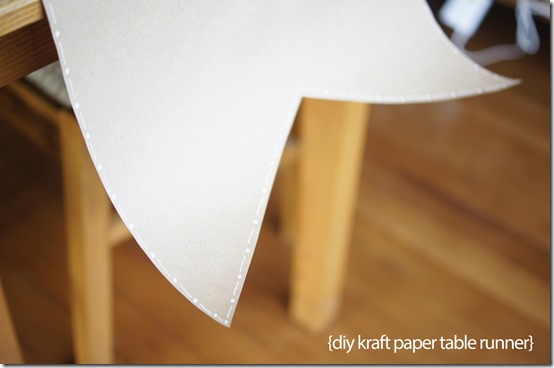
then i had to figure out what shape i wanted the end of the runner to be – straight, one pointy end, or two pointy ends. i chose two pointy ends, & measured & cut .

_DSC3430

_DSC3431

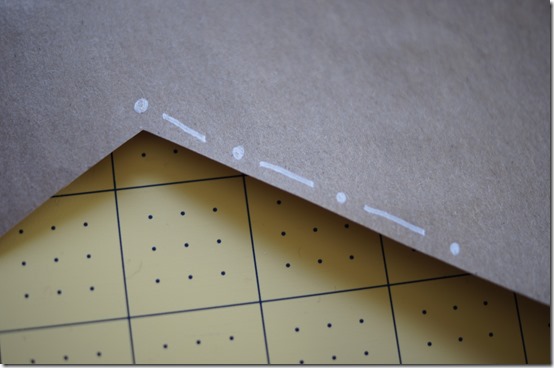
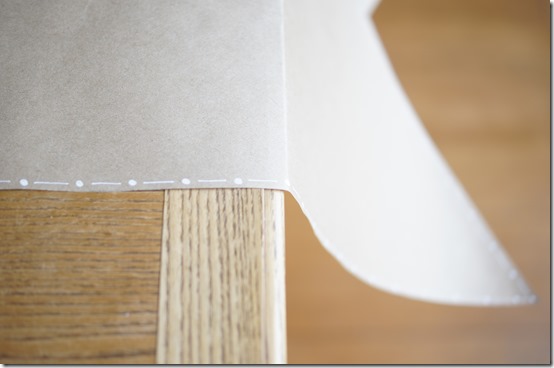
i could have just left the runner as is but i liked the idea of having some kind of design that ran along the edges of the runner. i went with a simple dot & dash pattern that i freehanded with a chalkboard paint pen.

_DSC3432_DSC3433

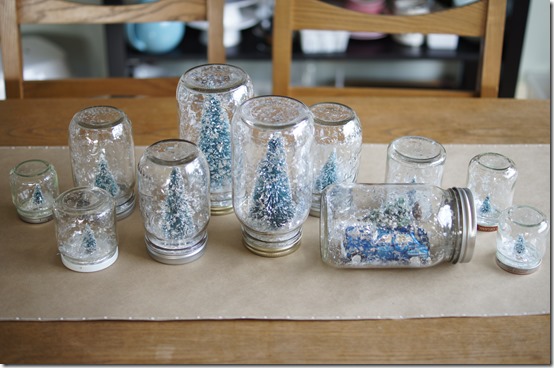
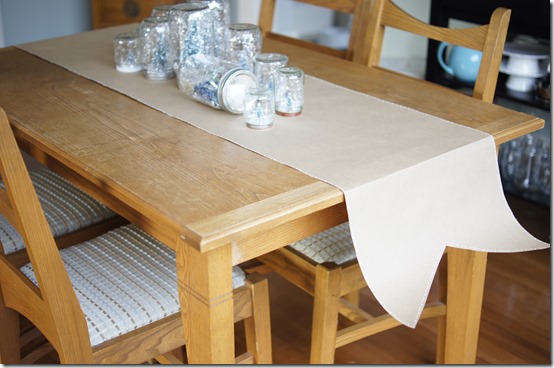
finally i placed my new runner on the table & set up my snowglobe forest.

_DSC3447_DSC3444SONY DSC_DSC3446

i like the way that kraft paper runners look, but they are also really practical since you can use them to protect your table from food {& throw away afterwards} or for a distraction for kids or dinner guests {just leave out some crayons!}. i like to cover our table, sideboard, or kitchen island with kraft paper when we are entertaining to fancy up those spaces a bit, but also to streamline clean-up {no laundry like with cloth runners or tablecloths!}.

ready for some more {p}inspiration? check out these ladies:

amanda @ Without A Doubt

maggi @ Greg, Maggi, & Rodney

abbi @ The Pena Family

kendra @ The Gilbertson Family

{also, catch up on the last two years on my diy tutorials page here.}


have you been {p}inspired by any christmas projects this year?

M

a pinterest christmas: mason jar snowglobe forest.

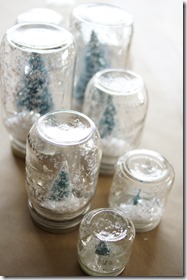
welcome to the second week of a pinterest christmas! {see last week’s here & here} this  snowglobe project is one that i have been wanting to do for the last few years & i am so thrilled with how it turned out {& how easy it is}!

Anthro Inspired Snowglobes

{original pinterest link – mason jar snowglobe}

supplies:

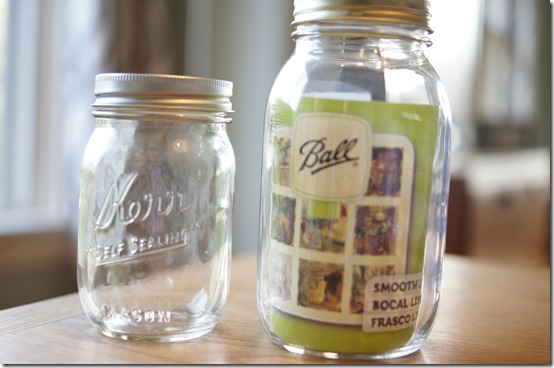
  • jars – i used various sizes including mostly mason jars & baby food jars

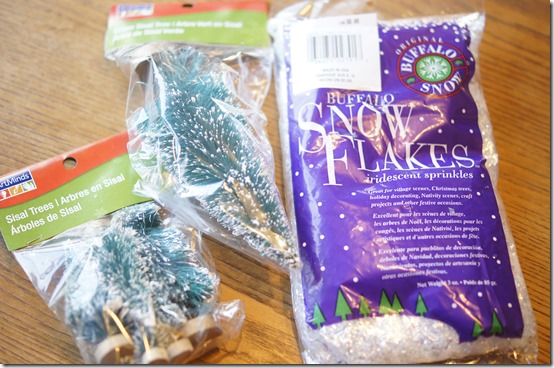
  • trees with wooden bases* – i picked up an assortment of trees from Michael’s

  • craft snow – i picked up some at Michael’s

  • glue – i used a hot glue gun

  • cardboard or paper to cover your workspace

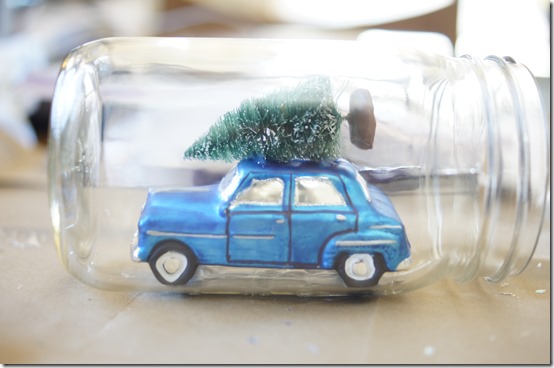
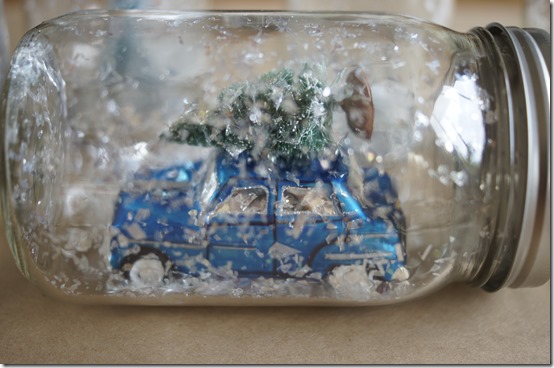
*you can add anything to your snowglobe so be creative! i loved the idea of a tree on top of a toy car {see here} & ordered this West Elm ornament.

first, be sure your jars are clean & dry. the mason jars i used were brand new, but i had to wash & dry the small baby food jars. {note: if you are like me & need baby food jars but don’t have kids, pick baby food that you can actually use – i chose applesauce – if you feel bad throwing the food away.}

_DSC3261_DSC3262

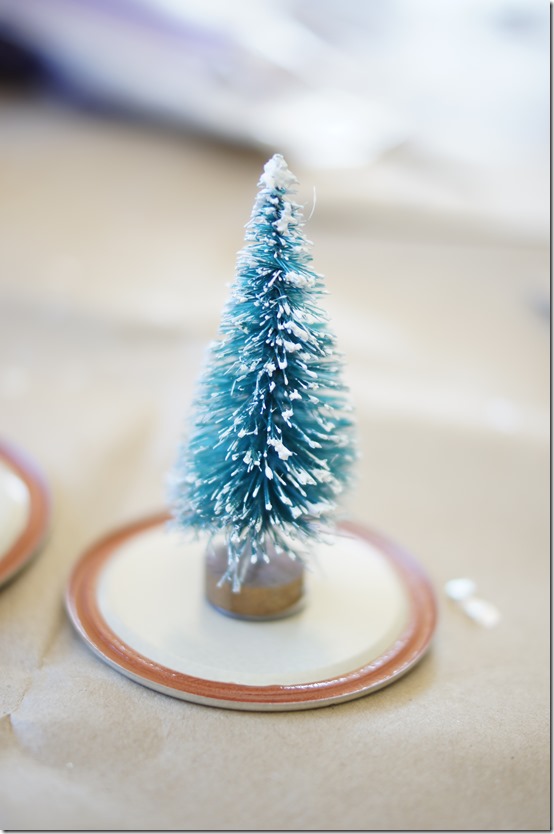
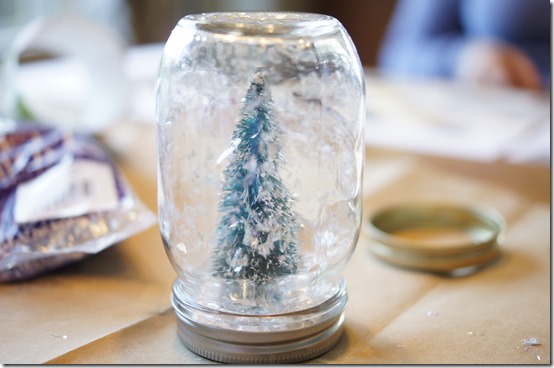
then i set out each tree to match up with each jar. i chose to put the bigger trees in the bigger jars & the smaller trees in the smaller jars. i put a glob of hot glue on the bottom of a tree base & stuck it to the thin metal lid of the jar, right in the center. i would recommend gluing all of the trees to the lids at once to make the next step easier. with the car {after making sure the car would fit into the mouth of the jar} i globbed glue all over the bottom of the 4 “tires” & stuck the car to the side of the jar.

_DSC3326_DSC3328

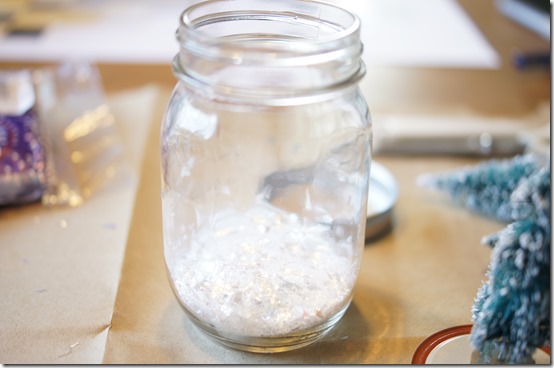
this next part is easy, but messy, so lay down your cardboard or paper over your workspace. fill each jar with the “snow.” i found that i didn’t need nearly as much as i thought, so i would start with just an inch, maybe two. once the snow is in the jar, put the lid {with the tree glued on} onto the top and then put on the ring & close the jar. once sealed, you can turn the jar over to see if there is enough snow. if not, then turn the jar back over, shake the snow off the lid, & add more as needed. i liked having the snow line be under the bottom of the tree or else it looked like the tree was swimming, but this is completely a personal preference. also, the snow that i used had big glitter chunks in it which is fun because those chunks stick to the inside of the jar & make it look like its a real snowglobe {but sans liquid}.

_DSC3264_DSC3265

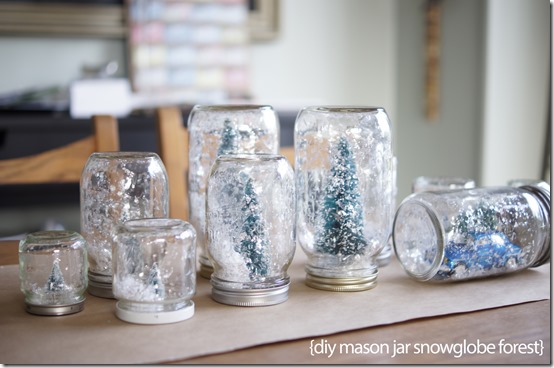
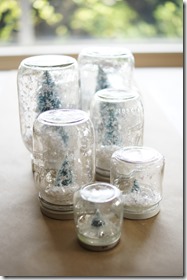
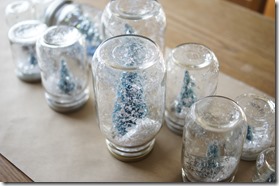
amanda convinced me that i could do an entire snowglobe forest & i love the grouping of all of the snowglobes – thanks amanda! i have them acting as a table centerpiece, but sort of love the idea of using lots of snowglobes together – a good alternative to a christmas town scene!

SONY DSC_DSC3436_DSC3437_DSC3438_DSC3440_DSC3439_DSC3442

ready for some more {p}inspiration? check out these ladies:

amanda @ Without A Doubt

maggi @ Greg, Maggi, & Rodney

abbi @ The Pena Family

kendra @ The Gilbertson Family

{also, catch up on the last two years on my diy tutorials page here.}

have you been {p}inspired by any christmas projects this year?

M

my weekend in pictures.

IMG_4454

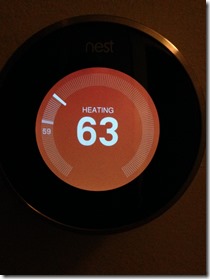
{loving that we can turn on the heat remotely with our nest to warm up the house before we get home. hating that it is in the low 30s however.}

IMG_4455

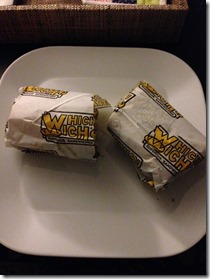
{which wich for dinner on saturday night. keeping it classy by eating on real plates!}

IMG_4456

{sadie was all snuggles this weekend. it was cold enough that we put on her sweater & she didn’t seem to mind.}

IMG_4458

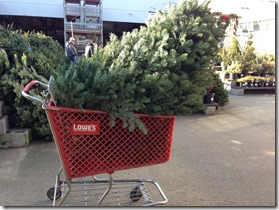
{picked up our christmas tree today. what, you don’t put your christmas tree in a shopping cart?}

IMG_4459

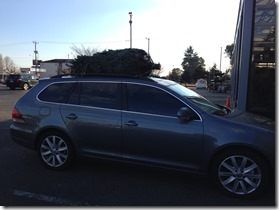
{tree atop the car. nice work husband! it didn’t fall off, not even once.}

IMG_4461

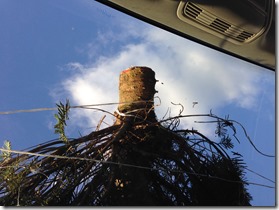
{the view of the christmas tree from the sunroof.}

IMG_4462

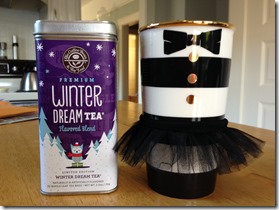
{loving the winter dream tea from the coffee bean & tea leaf, & my new mug from the SBUX + alice & olivia collab!}

IMG_4463

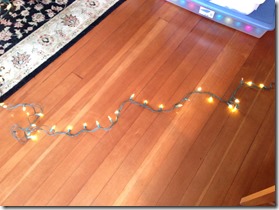
{I have learned the hard way in years past what happens when you try to string christmas lights without stretching them out first. no fun. this year was so much better!}

IMG_4464

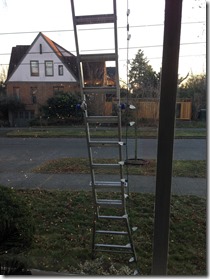
{while decorated the inside of the house, aaron was out putting up our outdoor christmas lights.}

we returned on saturday afternoon from a week & a half in hawaii {which is why we were noticeably absent from social media the past few days} so the first half of our weekend was spent sitting on a plane over the pacific. this was a trip that was months in the making as we started planning last spring! it was awesome to get away just the two of us for a while for a much-needed break from the real world though it was a little weird to be away from family over the thanksgiving holiday. we soaked up the sun & unplugged {well I did} which was lovely. I will be sharing pics from our trip over the next few days {once I get the photos uploaded & lightly edited}. now we are back to a very, very cold beginning of winter! brr. on the plus side, I can get to decorating for christmas this week! how was your weekend?

M

a pinterest christmas: gold-tipped pinecone garland.

yep, this is the second project for week one of this year’s a pinterest christmas {see the first project here} – i am planning two projects per week so stay tuned for those.

today i wanted to share a fun new garland. it is definitely festive & has some sparkle {which i love!} but could be awesome to keep up year-round too!
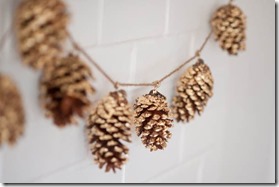
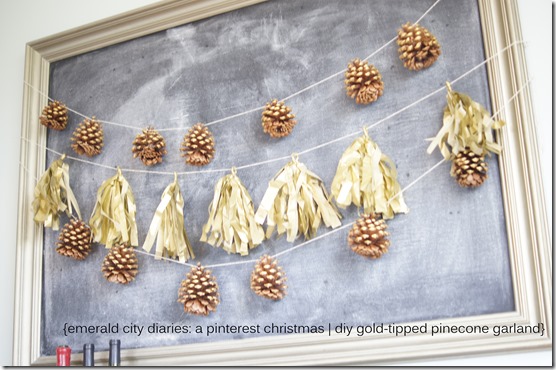
DIY gold leaf pinecone garland

{original pinterest link – pinecone garland}

supplies:

  • pinecones – i had some displayed in our living room plus my mom mailed over some from idaho – thanks!
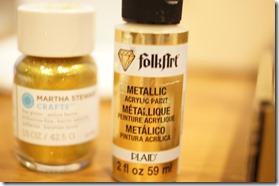
  • craft paint – i used a metallic gold paint from Michael’s
  • glitter – {optional} i used a fine glitter by martha stewart from Michael’s
  • paintbrush
  • twine/string/ribbon – i used this twine with gold from Amazon
  • cardboard or a box – i recommend this to contain the glitter

this was a really simple project that i was able to complete during a crafternoon with Amanda. it was easy enough to paint the pinecones while chatting & catching up, so you could do it in front of the tv as well.

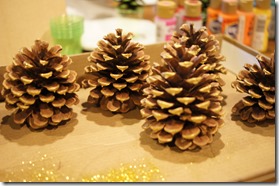
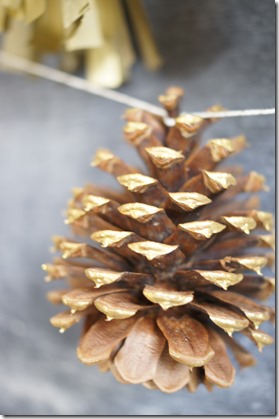
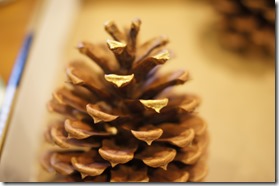
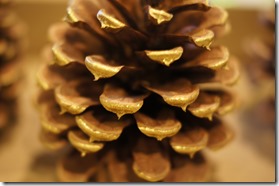
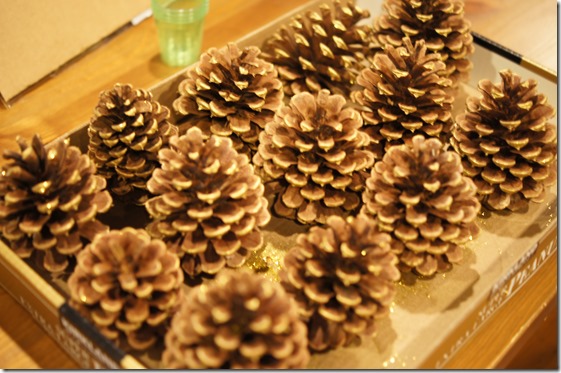
i used a small flat craft paintbrush with a small amount of gold paint to brush just the tips of the pinecone {note: amanda used a small foam craft paintbrush which worked well too}. i avoided painting the very top stem of the pinecone so that i had something to hold onto once i started painting. i started from the top of the pinecone & worked my way around the top, moving down once i had painted the tips in the top section.
_DSC3374_DSC3375_DSC3376_DSC3378

if you are adding glitter, be sure to be working at a space that you don’t mind having residual glitter for a while. i used a shallow cardboard box {Amanda got it from Costco} so that i could contain most of the glitter.

i would recommend painting just two or three tips in a section near each other & then sprinkling glitter on while the paint is still damp. you don’t need a lot of paint to coat just the tips, so if you wait until all of the tips are painted, the glitter won’t stick to the section you painted first. i used a very fine glitter so the tips weren’t encrusted with glitter, but just enough stuck so that there was a shimmer.
_DSC3380

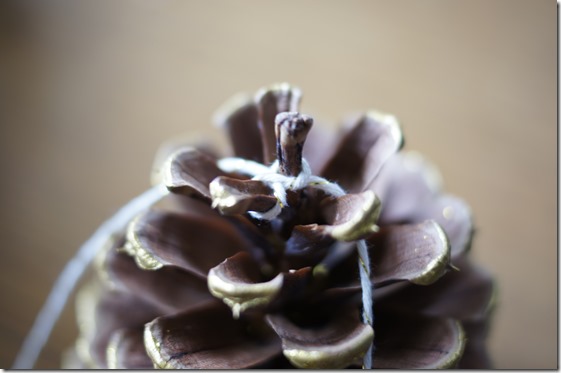
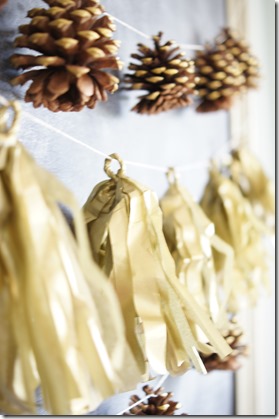
once the pinecones are dry – i would wait at least half a day – you can string them. one of the tutorials i found on Pinterest {see here} had instructions on screwing eye hooks into the tops of each pinecone, which is definitely an option if you are up for it. i decided just to use the twine/string that i had to see if that would work. i enlisted aaron to help & he came up with a way to loop the string around the pinecone stem & another tip which worked out so well. so this is the trick: you take the string in both hands & make a loop; pull one piece of the string thru the first loop to create a second loop; place the first loop around the stem & the second loop around a tip right next to it; then gently pull the loops to close & repeat for each pinecone.
_DSC3407_DSC3417_DSC3415SONY DSC

i added a garland of gold paper tassels that i had made for aaron’s birthday party {see here} though i think the pinecones are fun on their own, especially if you had a mantle.

also be sure to check out Amanda’s pinecone DIY over on her blog here!

ready for some more {p}inspiration? check out these ladies:

amanda @ Without A Doubt

maggi @ Greg, Maggi, & Rodney

abbi @ The Pena Family

kendra @ The Gilbertson Family

{also, catch up on the last two years on my diy tutorials page here.}

have you been {p}inspired by any christmas projects this year?

M

a pinterest christmas: envelope advent calendar.

welcome to a pinterest christmas 2013! for the past two years i have done this blog series of DIYs during the holiday season – the first season you can see here & the second season you can see here. there are a few other bloggers participating in the series whose blogs & posts are below.

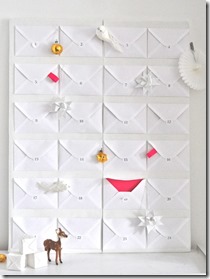
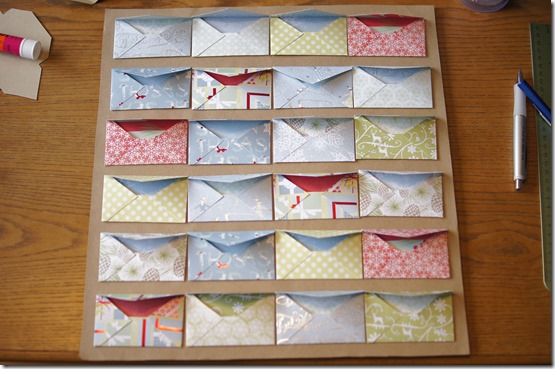
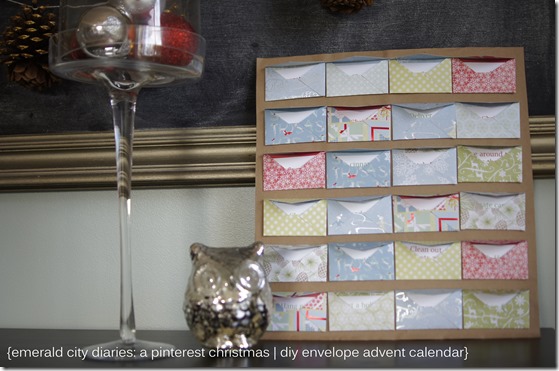
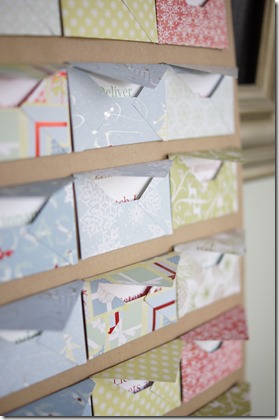
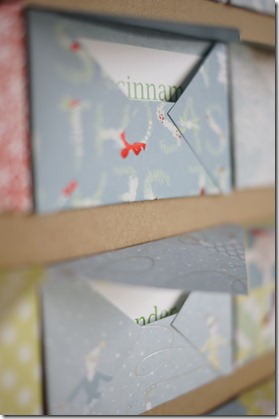
i love the idea of advent calendars & it seems fitting to kick-off this year’s series with a calendar to count down the days of december. there are lots of ideas for advent calendars & i wanted to do them all {see my pins here}, but i decided i wanted to go with the minimalism look & to do festive daily activities {rather than toys, ornaments, etc.}.

minimalist advent calendar

{original pinterest link – advent calendar}

supplies:

  • 24 envelopes – i made my own & created this template
  • printed paper – only if you make your own envelopes
  • gluestick or double-sided tape – to assemble envelopes & attach envelopes to board
  • foam-core board or cardboard
  • kraft paper – to cover the board
  • scissors and/or paper trimmer
  • activity cards – i made my own & created this template

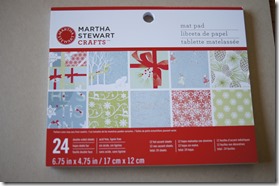
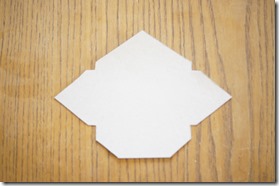
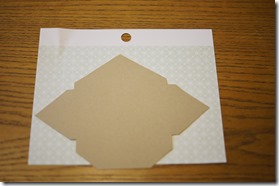
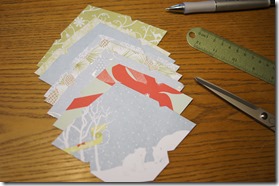
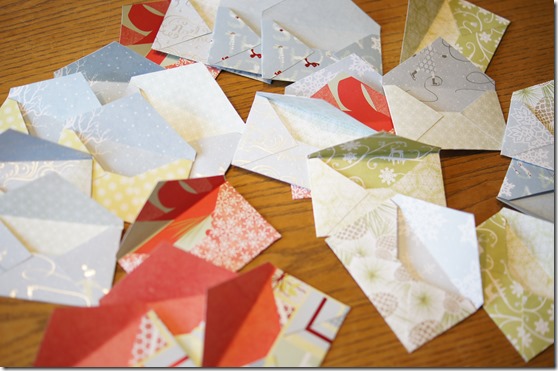
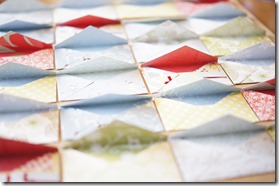
i started by making envelopes. i picked up a package of christmas paper at jo-ann’s & made my envelope template based on the size of the paper. then i traced & cut out an envelope from each page, choosing which printed side i wanted for the outer envelope. {note: if you want some part of the printed envelope to show, it needs to be on the outside of one of the four envelope flaps as the flat side of the envelope (where you would usually write an address) will be glued or taped to a board – does that make sense?} then i assembled all of the envelopes by gluing a small strip of paper inside each envelope flap.

_DSC3329_DSC3427

_DSC3353_DSC3355

_DSC3356

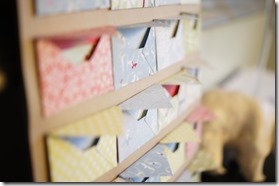
i arranged by envelopes on the foam-core board to determine how i wanted them to be laid out. i liked the more square shape & cut the board accordingly, leaving a ½ inch around the perimeter & a ½ inch between rows. then i cut & attached a piece of kraft paper to my board {as it was black & would have looked terrible with the envelopes}.

_DSC3357[4]_DSC3358_DSC3359

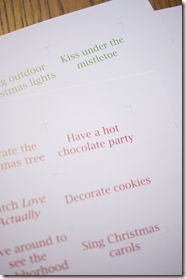
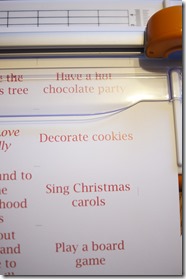
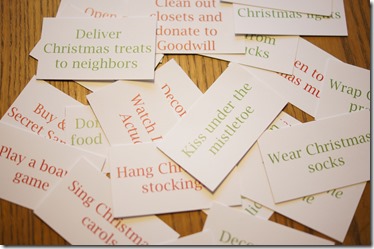
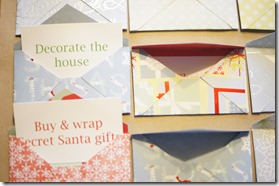
lastly, i printed out the activity cards – 24 in all – on white cardstock. i cut out each of the cards using the paper trimmer. {note: if you print out my version, trim all around the perimeter first & then trim vertically down to get two long columns or else you won’t have the cutting guides that i added.} then i just randomly placed one card into one envelope!

_DSC3393_DSC3394

_DSC3395

i chose activities for each day of the advent calendar & did so based on activities that i thought would be fun for aaron & me. i liked that i could change out some of the activities over the years that seemed more relevant {like once we have kids, etc.}. be sure to put in festive activities that your family likes to do!

_DSC3399_DSC3400SONY DSC_DSC3424_DSC3425


ready for some more {p}inspiration? check out these ladies:

amanda @ Without A Doubt

maggi @ Greg, Maggi, & Rodney

abbi @ The Pena Family

kendra @ The Gilbertson Family

{also, catch up on the last two years on my diy tutorials page here.}


have you been {p}inspired by any christmas projects this year?

M
my weekend in pictures {a look back}.

a happy belated thanksgiving! since I didn’t do a thanksgiving post last week {I have been unplugged this week & its been so great!} I thought it would be fun to do a random review post of some of my favorites from past weekend in pictures posts {this is what I am thankful for, right?}. so here you go!

IMG_0398

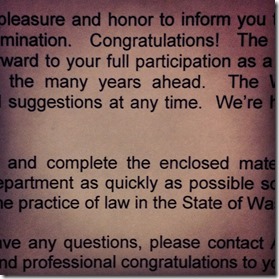
{knowing that I passed the bar exam!}

IMG_0828

{my parents’ pup skeeter when she was this tiny!}

IMG_0833

{flying to fun places with this guy.}

IMG_0945

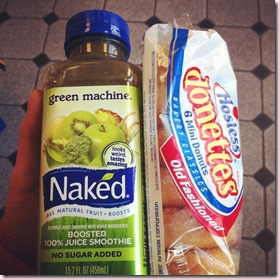
{it’s a give & take with food sometimes. healthy & donuts!}

IMG_1072

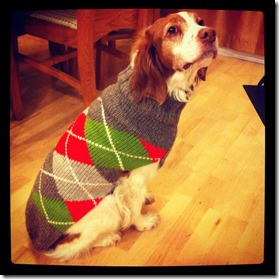
{sadie donning her sweater.}

IMG_1351

{goofing off in boston.}

IMG_1421

{hanging out with my husband at work events.}

IMG_1557

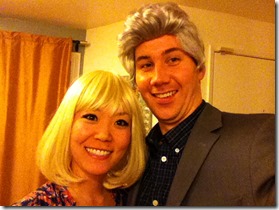
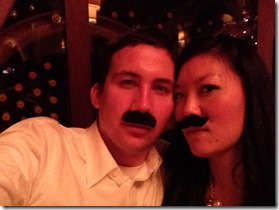
{playing dress up.}

IMG_1623

{when we bought a house that one time.}

IMG_1998

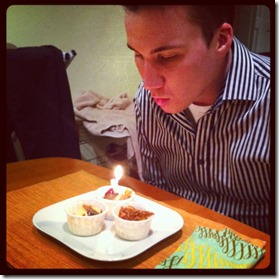
{celebrating birthdays.}

IMG_2419

{reminiscing about the night I met aaron. yep, it was at a bar {but we had mutual friends. seriously!}

IMG_2643

{spending time with family! look how tiny kenley looks here.}

IMG_2961

{again, dress up.}

IMG_3010

{when sadie makes faces. I love her grin!}

IMG_3143

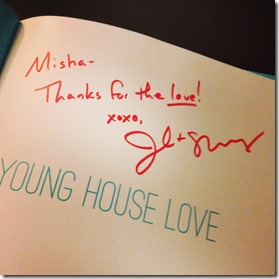
{meeting other bloggers like john & sherry from young house love.}

IMG_3161

{girl scout cookies. enough said.}

IMG_3306

{shopping sprees at target.}

IMG_3323

{hanging out with this fun gal & her mom!

IMG_3397

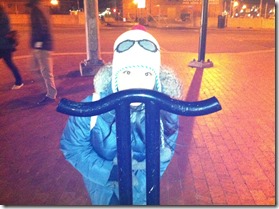
{when sadie plays dress up. those goggles kill me.}

IMG_3469

{& meeting bloggers like joy!}

IMG_3632

{sunny summer days in the emerald city.}

IMG_3768

{catching up with my best girl friends.}

IMG_4037

{long soggy family walks.}

how was your {holiday} weekend?

M
my weekend in pictures.

IMG_4169

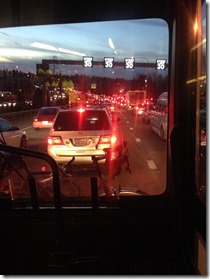
{traffic on friday night was nuts. the freeway was like a parking lot!}

IMG_4170

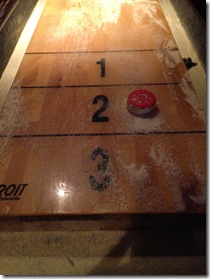
{we played a tough shuffleboard game against new friends on friday night.}

WP_20131122_22_19_30_Pro

{said good-bye to our good friend brian who is moving for work. we will miss you brian!}

IMG_4171

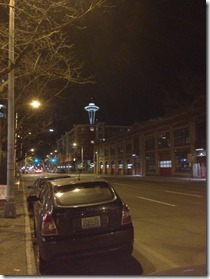
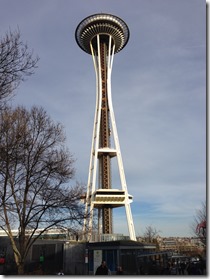
{downtown belltown. every time I see the space needle, I have to take a picture of it.}

IMG_4172

{worked on some crafty projects this weekend.}

IMG_4173

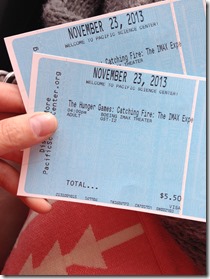
{we saw the hunger games: catching fire on saturday. so, so good!}

IMG_4174

{since we were at the seattle center to see the hunger games we got to see the needle. again.}

IMG_4175

{waiting in line for the movie.}

IMG_4176

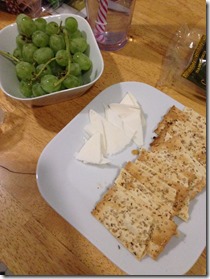
{after filling up on popcorn at the movie, a light dinner was in order!}

IMG_4177

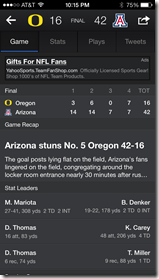
{oregon lost to arizona? huge upset! a big deal for my huskies!}

IMG_4178

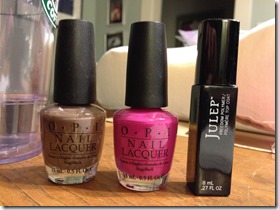
{I finally got around to a much-needed mani & pedi.}

IMG_4179

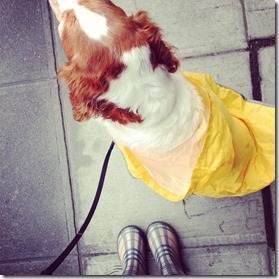
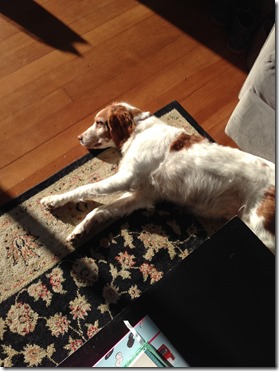
{we woke up to a beautiful day this morning. sadie was enjoying all of the glorious sun!}IMG_4180

{we saw a homeless dog on the way to the pet store this afternoon. so I bought him a treat. but then when we walked back past the corner where he was with his owner they were gone. sad. so then sadie got the treat. #spoileddog}IMG_4181

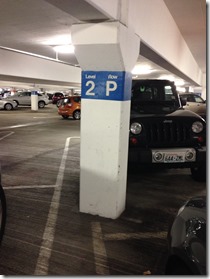
{ran to bell square in bellevue to pick up & return a few things. I usually park in 2A. this is the one bad thing about the holiday season…}

we had a great & productive weekend {at least it felt like I got a few to-dos off my list!}. this past week has really felt like winter since we are getting down below freezing at night, but we were spoiled with some sun & decent weather today! we are gearing up for a short week & a much-needed long weekend to rest up & recover from a crazy-busy schedule. how was your weekend?

M
my weekend in pictures.

IMG_4153

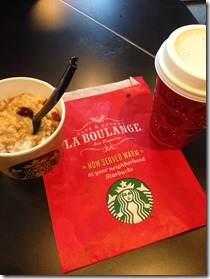
{starbucks oatmeal & latte. breakfast of champions. & pretty much the best way to start off the weekend.}

IMG_4157

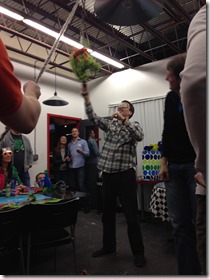
{we went to a friend’s 30th-and-a-half birthday party this weekend. it was go-karts & a pinata FTW. aaron won one round of go-karts & broke the bat trying to get all of the candy. not a bad saturday night. happy half birthday jeff!}

IMG_4159

{on sunday afternoon we swung by the airport to pick up my mom & dad who are in town for the week. excited to get to spend some time with them!}

how is it possibly the end of the weekend already? another weekend blog post with a shameful amount of pictures, my apologies. we had family start to come into town starting on friday night & ended sunday evening with an early thanksgiving dinner thanks to my uncle bill! we won’t be attending either of the familys’ thanksgiving dinners this year, so it was nice to have some tradition a few days early. but seriously, where did the weekend go? I feel like it went so, so fast & I didn’t nearly get enough done. or have time to kick back & enjoy. maybe next weekend, right? how was your weekend?

M
movember 2013.

_DSC3386_DSC3387_DSC3388_DSC3389

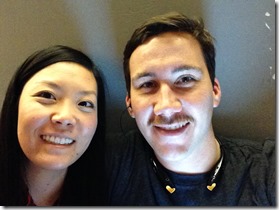
aaron, who is normally a clean-shaven guy, decided to join in on the movember festivities this year. not only is it fun for him – I mean look at those faces – it helps raise awareness & funds for prostate cancer, testicular cancer, & mental health.

if you are interested in making a donation, please visit aaron’s page here. you will be able to see his progress, rate his moustache, & see the rest of his team – mark spitz. {that’s funny, but if you didn’t laugh click here.} we thank you in advance for your donation, or at least reading the post this far!

happy movember! do you know anyone participating this year?

M