to start out, i want to give a HUGE shout-out to aaron, my dad, & our friend rhett for making this project work. it wouldn’t have come together so well without all of them, so thank you, thank you, thank you!
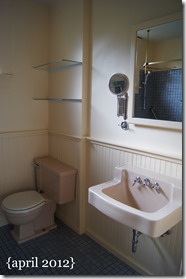
as most of you know, we have been itching to get a vanity of some kind into our bathroom since day one. the sink hanging from the wall was just not cutting it as it gave us approximately 2 inches of “counter space” on either side of the sink. given the age of our house, it felt wrong to just buy a brand-new vanity so we i decided we should find an antique piece to convert.
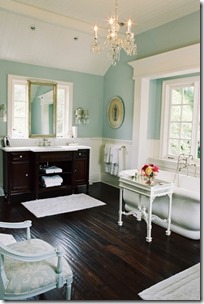
{my favorite bathroom pin via pinterest}
it took a few weeks to scour craigslist in search of the perfect antique piece. at first i searched for dressers, but then switched to sideboards when i decided i would rather have doors than drawers for storage. we were obviously limited in the space we had which was a bit of a challenge when searching for a sideboard, but i also wanted a good wood color as i planned on leaving the wood {& not painting}.
this isn’t really a diy post {even though it was diy’d} as the project was done based specifically on this antique piece & there wasn’t step-by-step photography taken. however, i can give you the general idea of what was done.
supplies:
-
antique hutch/sideboard/dresser – we found ours on craigslist
-
countertop with undermount sink {or sink to mount on top} – we found ours at lowe’s* {i can’t find it online, but the brand was allen+roth}
-
-
wood glue, drill, scrap wood pieces, plumbing {p-trap, etc.}
*when we went shopping for countertops to fit over our 19 w x 47 l x 36 h sideboard we immediately assumed that in order to get a top that would have a one inch overhang on all three sides, we would have to custom order something. so we spent a lot of time with the good folks at both home depot & lowe’s pricing out different options for a countertop in everything from marble to granite to hi-mac {which is LG’s new composite product}. we were ready to pull the trigger & spend $700 on a custom white quartz countertop from lowe’s. we went over to price out/buy an undermount sink when we discovered a pre-made quartz countertop with an undermount sink that was one inch bigger than what we were looking for. it wasn’t pure white, but it was only $230! one guess on which one we chose…
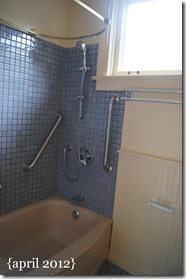
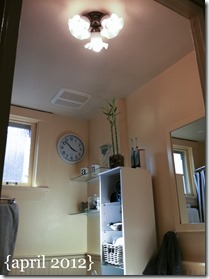
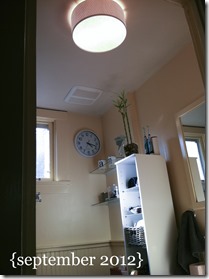
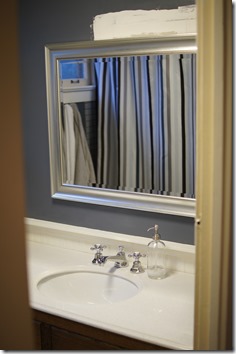
before i get into pictures of the process, let’s take a look at the bathroom when we first bought the house.
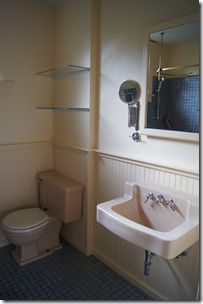
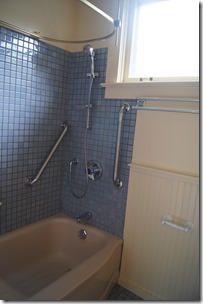
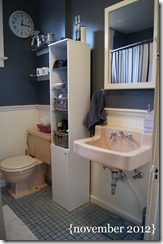
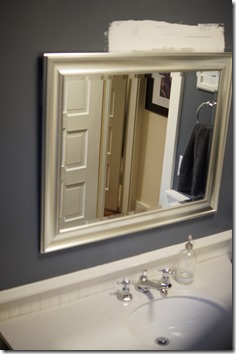
a few months later, we added a few updates as seen here. the light fixture update here. and then we did the paint update on the bead board & walls.
we also did a fixture update, so here are the original fixtures in the bathroom. none of them were really awful but we didn’t really like any of them & took the opportunity to give them an update as well.
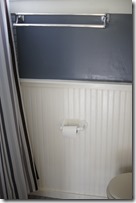
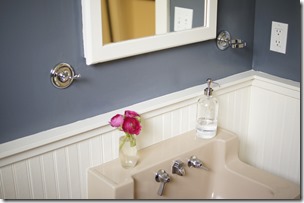
{double towel bar & tp holder // hand towel hooks & glass holder}
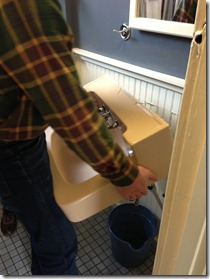
aaron started by un-attaching the plumbing & taking the sink off the wall {it was mounted by two all brackets}. then aaron & my dad moved the sideboard up into the space. originally we all thought there would need to be a hole cut to accommodate the undermount sink, but they found out that the top piece was easily removed.
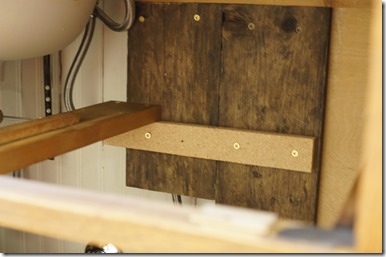
next they placed the countertop onto to sideboard to determine how best to anchor the countertop to the sideboard & the sideboard to the wall, as well as how to stabilize the sideboard in the back.
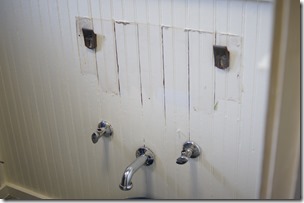
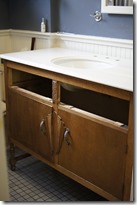
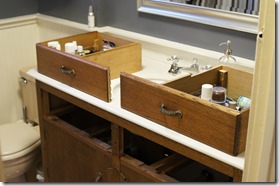
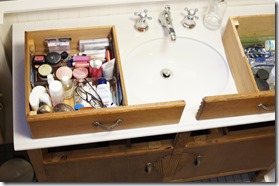
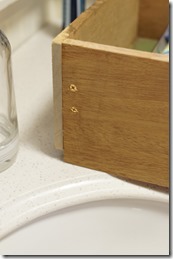
once the sideboard & countertop were completed {which took an entire weekend!} it was time to re-work the front drawers to accommodate the undermount sink. aaron & my dad took apart one-half of the drawer & rebuilt the inside edge to basically go around the sink. we ended up losing only one-third of the drawer space! {sidenote: we don’t have pictures of the drawers & will update soon!}
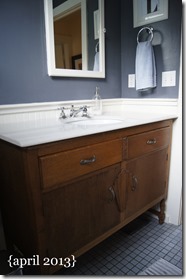
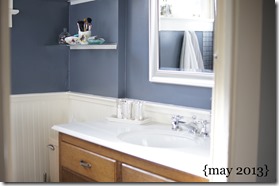
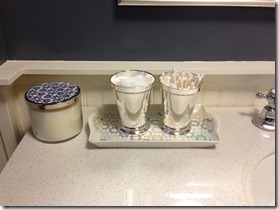
& the reveal of our new bathroom vanity! the other bathroom fixtures {tp holder, towel hooks, hand towel ring} are all from the pottery barn mercer collection.
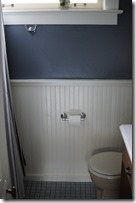
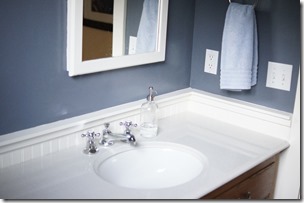
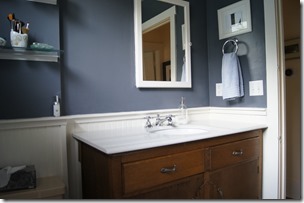
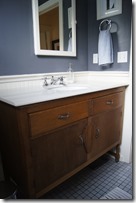
isn’t it lovely? i am still amazed that they were able to take the basic idea of converting an antique piece & coming up with this!
it is big, well huge considering what we started with, & for some may seem too big. it is also tall standing at 37 inches. {we could have done shorter by chopping off the legs, but we wanted to be able to clean under the piece, & perhaps add storage baskets. also, my mom & dad’s house has tall counters in all of the bathrooms so that is what i grew up with.} despite the large contrast in size from before to after, we are really happy with the piece, the counterspace, & the storage. it is exactly what we wanted.
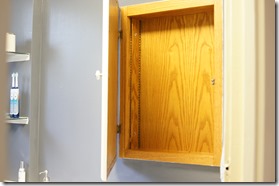
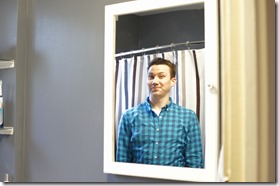
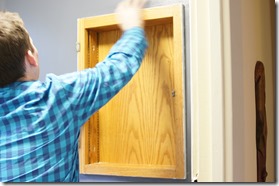
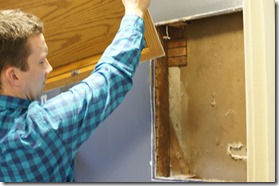
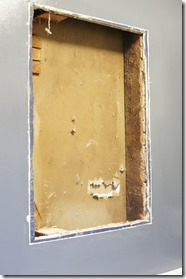
we are loving the color of the piece & are so glad we didn’t/don’t have to paint it. the richness of the wood is great in contrast to the bright white of the counter & bead board as well as the dark wall color – don’t you think? it just needs a little oil, some storage organizers underneath & we are good to go. {sidenote: we plan on also updating the toilet & bath to be white, but are still saving up! also we plan on taking out the old medicine cabinet & replacing it with a big mirror. we are undecided on the glass shelves.}
what do you think about converting antiques into bathroom vanities {or kitchen islands or entertainment centers}?
M

