highlights of 2012.

2013 lets do this{via}

happy 2013!

i love reading yearly highlights on other blogs & even though i try to keep up on the updates via this blog, there are hopefully a few fun things to share that you haven’t heard before. here’s the rundown of 2012:

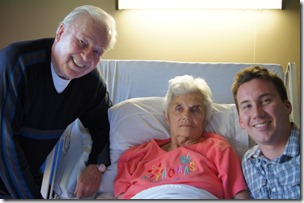
january: i donated blood for the first {& last} time. we dined at emmer & rye in queen anne with my friend beth ann who was in town visiting. we survived snopocolypse 2012. the repairs on the jetta were finally completed from my rear-ending in november. sadie had surgery to get a small lump removed & have her teeth cleaned.

IMG_1062[1]

IMG_1115

photo 5

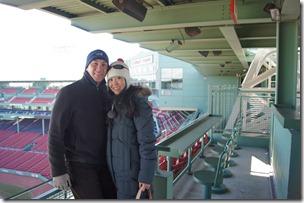
february: we took a trip to new england & managed to visit all six new england states. we spent a long weekend in boston. i celebrated my 27 {yikes!} birthday & valentine’s day with my love in manchester, new hampshire. we celebrated thanksgiving in february with my law school friends {this is a reoccurring event in which my friend miriam cooks up a big thanksgiving dinner at various times of the year}. we celebrated leap year!

DSC00497DSC00532

march: my mom visited for a long weekend. i oversaw work to the townhouse {new venting for the dryer}. we house-hunted on the weekends with our realtor padraic. i started & completed all three books in the hunger games series. we saw the hunger games at the IMAX. we saw {& were disappointed by} king tut at the pacific science center {no tut, just his stuff}. aaron took a work trip to vegas. we made our first {& only} offer on a house. our offer was accepted!

IMG_1421[1]

IMG_1557[1]

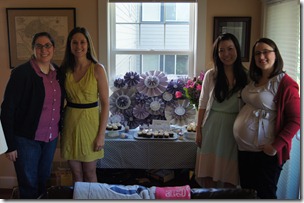
april: we took a post-offer tour of our new house. we celebrated easter dinner with my grandmother. we showed the townhouse to potential new tenants. i co-hosted a baby shower for amanda. we packed up all of our belongings for the big move. we closed on our house after signing lots of paperwork & handing over a very large check. we moved.

DSC00750

DSC00701

IMG_1850[1]

may: we were rear-ended {this better not become an annual event}. my mom & dad visited for a long weekend & helped with some house projects. we celebrated my grandmother’s 90th birthday! we celebrated aaron’s 29th birthday! i took on my first pro bono case with VAIJ. we hosted a small dinner party with old idaho friends kami, travis, & their adorable daughter olive. we spent a night on the town in bellevue at aaron’s organization’s ship party with lots of aaron’s co-workers.

IMG_1964[1]IMG_1998[1]

june: we saw dia frampton in concert at chop suey. we hosted a small dinner party with my law school friend marcus, his then-fiancée katy, & their beagle maggie. padraic & his partner justin threw us an awesome housewarming party! we ventured down to alabama for andy & hailey’s wedding. i had lots of phone interviews.

IMG_2142[1]

DSC01387

july: we attended herschel’s first birthday party {the son of one of my law school friends}. we celebrated the fourth of july! i started going to fitness classes with my neighbor leanne at community fitness. we hosted a small dinner party with andy & hailey, just back from their honeymoon! we attended thanksgiving in july at miriam’s. sadie & i drove down to idaho. i got my haircut & had drinks with my CBC {high school} girlfriends. we loaded up the car & took a roadtrip {sadie included} to stevenson, wa for marcus & katy’s wedding. we saw the dark knight rises at the IMAX.

IMG_2372[1]

IMG_2401[1]

august: we celebrated our second wedding anniversary with a picnic dinner at greenlake! we attended our first neighborhood potluck & met lots of our neighbors. we joined a summer bocce ball league with ben & sarah. i did yoga in the park with our neighbors – the friends – & tens of other people. i shopped & noshed with my friend ashley who was in town on a work trip. we attended the pratt’s housewarming party {a couple i met & befriend while i was in americorps}. we attended padraic’s wig birthday party. i met my pro bono client. i was offered a position doing media license management & started working. my bff carlie came into town – our first house guest! we attended a moroccan dinner feast at ben & sarah’s house. aaron’s parents visited seattle for a week.

IMG_2424[1]

IMG_2462[1]

323021_356814087726896_421043223_o

IMG_2475[1]

IMG_2488[1]

IMG_2503[1]

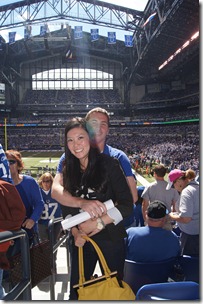
september: we attended a final farewell summer bbq. we visited indiana to see family & surprise meg at her baby shower. we attended a colts game with our friends colt & erin. we celebrated sadie’s eighth birthday!

DSC01590DSC01647DSC01598DSC01668

IMG_2686[1]

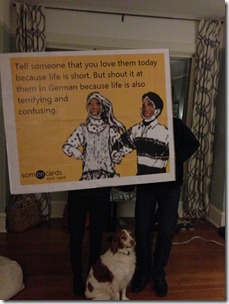
october: we visited peru & got to hike around one of the new seven wonders of the world machu picchu. my mom & sister anya visited for a long weekend. my friend meg was in town to visit! aaron made an unexpected trip back to indiana to attend his late grandmother’s service. we attended ghouls near greenlake, ben & sarah’s annual halloween bash, as a somecard. we celebrated halloween with our very first trick-or-treaters!

DSC01983

DSC02213

IMG_2772

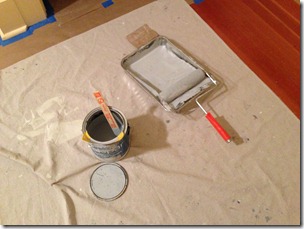
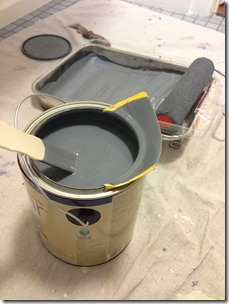
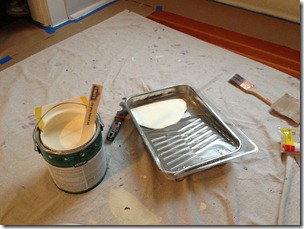
november: aaron attended a week-long conference for work & stayed downtown. i watched the election results while painting the bathroom trim & texting aaron updates. we hosted our first {vegetarian} thanksgiving. we spent the long holiday weekend working on the house.

IMG_2825[1]

IMG_2868[1]

december: we attended a housewarming party for amanda, george, & madeleine. we brunched with our neighbors – the friends – at the 5 spot in queen anne. my mom visited for a long weekend. i brought back a pinterest christmas & recruited some friends to join in on the fun. we celebrated the holiday season with six holiday parties with friends & co-workers. i won rookie of the year at work. we enjoyed a double-date night in bellevue with some newly engaged friends. we loaded up the car with presents & made the trek to idaho for the week of christmas. we celebrated christmas! we made it safely back to seattle only one day delayed. we plan to ring in the new year with friends & watch the space needle firework show.

pinterest christmas logo

DSC02541

reflecting back on this year, i am reminded how blessed we are & also how different this year has been than the year previous. it has been such a wonderful year & ringing in a new one is a bit bittersweet.

how was your 2012 – was it a year to remember or are you itching to start 2013 already?

M

see highlights of 2011 here.

a fresh coat of paint: bedroom edition.

over thanksgiving break, our other big painting project {in addition to the bathroom} was our bedroom.

our bedroom’s original color was yellow with yellow trim. yep, lovely. {thankfully, our bedroom has the 11 foot ceilings & picture rail like our living room.}

DSC00824DSC00825

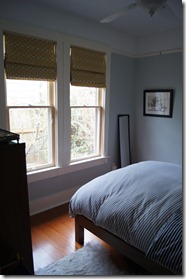
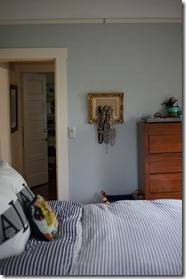
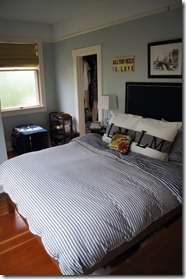
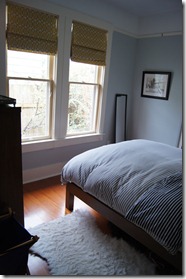
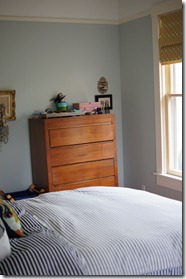
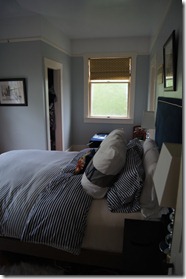
it took me a long time to figure out what color i wanted in this room. i tend towards grey {& deliberately chose not to paint our living room grey as it is the biggest space in our house} but i wanted to brainstorm a little more & not go for something so easy. at the same time, i wanted to keep the color pretty neutral as it is the place we sleep, as well as match the citrine color of the new roman shades.

it took until we were at the paint counter at lowe’s actually buying the paint for us to finally figure out the color. the winner was woodlawn sterling blue from valspar which is a light blue-grey. this color is also part of its national trust historic color collection as is the carolina inn club aqua by valspar color of the living room. i used the allergy & asthma paint which is a little spendy, but highly, highly recommended. i have used this paint all over the house – it is no VOC & has great coverage.

after priming the trim & walls, & painting on the wall color, we finally had beautiful not-yellow walls!

DSC02283DSC02288DSC02285DSC02286DSC02289DSC02284

the pictures really don’t do the room justice – it is so awesome in person {not that i am biased or anything}.

we still have to finish painting the insides of the windows {requires warmer weather} & also finish painting the closet doors, but just the paint on the walls is a vast, vast improvement!

have you updated the color in a room recently?

M

a fresh coat of paint.

picstitch

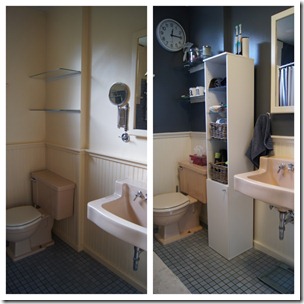
{the current before & after}

DSC02279DSC02280

DSC02281DSC02282


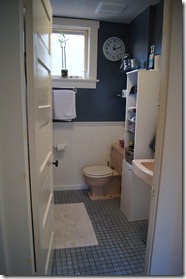
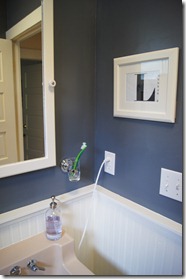
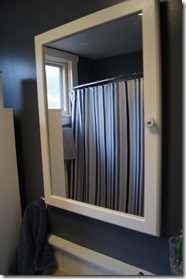
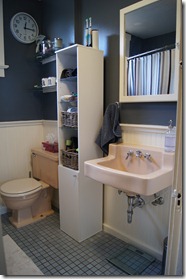
as i have been alluding to for weeks, we spent some of our long thanksgiving weekend overhauling the bathroom. we have big plans for this room, including adding a vanity, changing out the toilet, & painting the tub, but for now we thought just getting rid of the yellow walls & yellow trim would be a decent upgrade. boy were we right!

i painted the trim & beadboarding a few weeks ago in the same color as the trim in the rest of the house (a bit of an off-white) to prep for painting the walls last weekend. after priming the walls, we used cruicible by valspar in allergy & asthma which is fantastic to paint with (i used it in the kitchen & living room). i wanted something really different for this space (by different i mean not grey, which is my go-to) & i picked a color that was really close to the darkest stripe on our shower curtain. i would normally hesitate to put such a dark color up on a well (especially in such a small space), but because there is so much beadboarding, i knew the contrast would be perfect. the new wall color also goes well with the lighter blue tile which covers the floor as well as the shower walls.

despite the upgrade to the wall color (which makes me gasp every time i walk past the bathroom, it is that great!) we desperately need counter space in this room. we have been looking at traditional bathroom vanities, but haven’t really found anything we like for the space. i have considered converting an antique dresser by adding a sink & countertop, but hesitate to take on a project that involves plumbing as neither aaron nor i have much (if any) experience with that. has anyone ever converted a dresser or cabinet into a sink before?

have you upgraded any of your rooms with a coat of paint lately?

M

my long holiday weekend in pictures.

IMG_2868

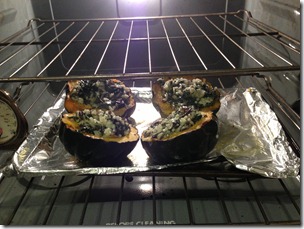
{rather than fix an entire turkey, we made acorn squash stuffed with wild rice & kale risotto for thanksgiving dinner. we ended up hosting a couple of friends for dinner which was fun. our first thanksgiving in the new house was a bit non-traditional, but a success!}

IMG_2869

{priming.}

IMG_2870

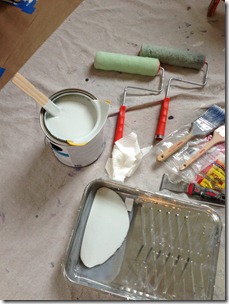
{painting. can you guess what room?}

IMG_2871

{more priming.}

IMG_2872

{we had so much rain this week & saturday was no exception as i headed over to woodinville for crafternoon with amanda.}

IMG_2873

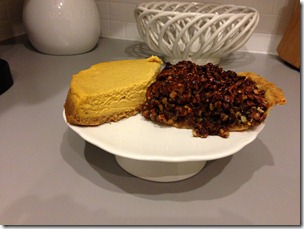
{the best kind of thanksgiving leftovers: pumpkin cheesecake & pecan pie. also, i love all things white & ceramic, can you tell?}

IMG_2874

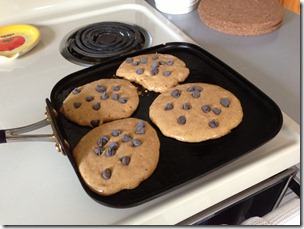
{woke up sunday to aaron making chocolate chip pumpkin pancakes!}

IMG_2878

{& more painting.}

IMG_2880

{i normally love upsets in college football, but i had to root for notre dame. go irish!}

IMG_2881

{you know christmas is right around the corner when you get the nordy’s holiday shopping party invite in the mail! anyone want to join me?}

IMG_2882

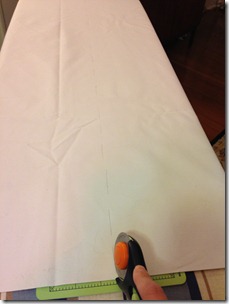
{cut lots of fabric this weekend. details will be up next week!}

IMG_2889

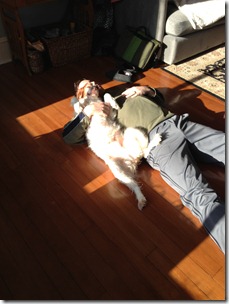
{my two favorite people (well, person & dog) sunbathing on sunday morning.}

IMG_2890

{the weekend is not complete without a trip to a hardware store, or two.}

IMG_2892

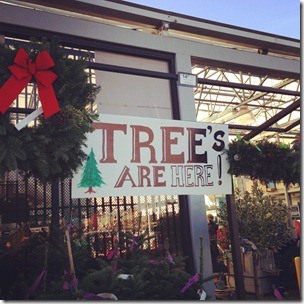
{christmas trees!}

IMG_2894

{#tistheseason}

IMG_2896

{the first time our christmas tree has been too big to fit in the trunk.}

IMG_2908

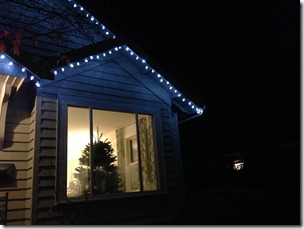
{aaron spend sunday evening – in the cold – putting up our first set of christmas lights. very exciting. we didn’t have time to trim the tree this weekend, but there she is in our front window!}

we spent the long weekend working on the house – think lots & lots of paint! as exhausting as it was, we are thrilled with the results & will be sharing the details in the coming weeks. we had a great thanksgiving & are looking forward to the holiday season! how was your weekend?

M

my weekend in pictures.

IMG_2842

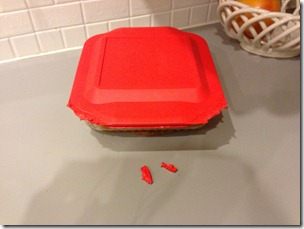
{turns out sadie likes to cruise the kitchen counters while we are gone & chew on the plastic lid to our pyrex dish. #mydogisaninja}

IMG_2844

{the perfect saturday night.}

IMG_2846

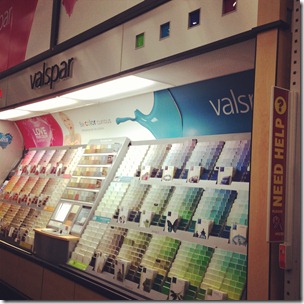
{spent saturday afternoon at lowe’s getting paint for our projects this week. we also got christmas lights. so stoked for this week!}

IMG_2847

{sadie is still enjoying the huge bone she got for her birthday.}

IMG_2848

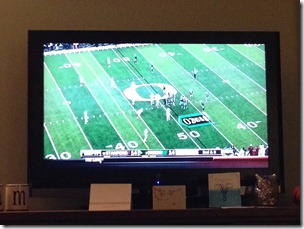
{watching the stanford cardinal beat the oregon ducks was glorious! #gostanford}

IMG_2849

{enjoying the christmas décor at starbucks as i waited for my gingerbread latte. #isitchristmasyet}

IMG_2852

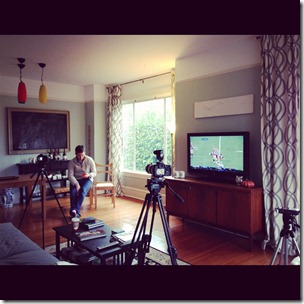
{we had a photoshoot at the house on sunday to film an interview for our realtor about the house. those cameras were pretty legit.}

IMG_2853

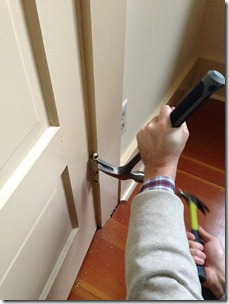
{aaron started prepping for the big paint job on our bedroom this week by taking off our closet doors. it proved to be a bit of a challenge, but success! #whydidtheypaintthedoorhinges}

our weekend was busy, busy with lots of errands to run. we prepped for our big painting weekend this coming week & are looking forward to some time together to work on the house. how was your weekend?

M

the big kitchen reveal.

this is the post that you have all been waiting for: the big reveal!

i have shown you the kitchen updates in pieces, but it looks so great when its all put together.

in case you missed the updates, here are links: painting cabinets, painting backsplash tile, painting counter, & roman shade.

DSC00786

DSC00808

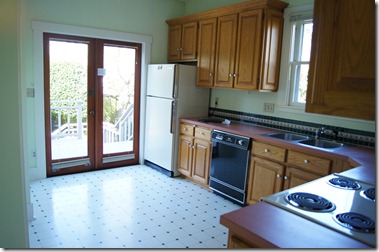
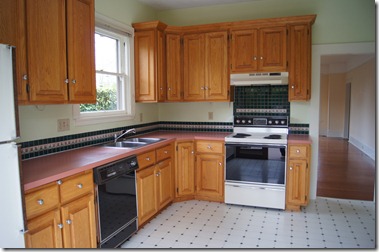
{a reminder of where we came from.}

{sorry in advance for the dark pictures. when we had lots of sun in seattle, the kitchen was still a mess. naturally, as soon as i was ready to take pictures, the rain came.}

DSC01418

DSC01417

DSC01419

DSC01420

DSC01421

DSC01422

DSC01423

DSC01424

DSC01425

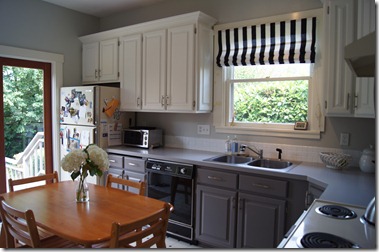
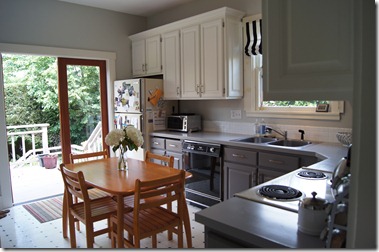
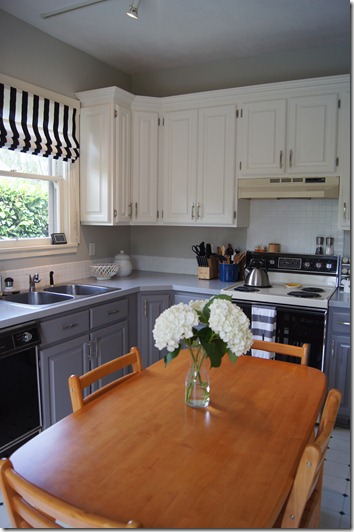
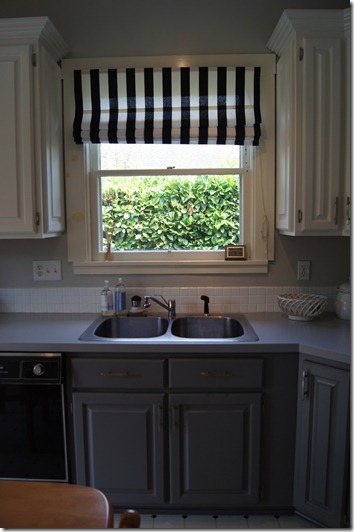
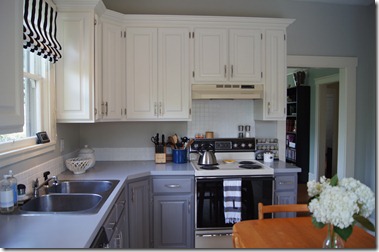
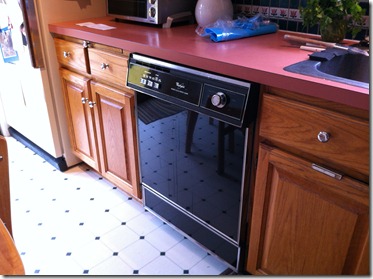
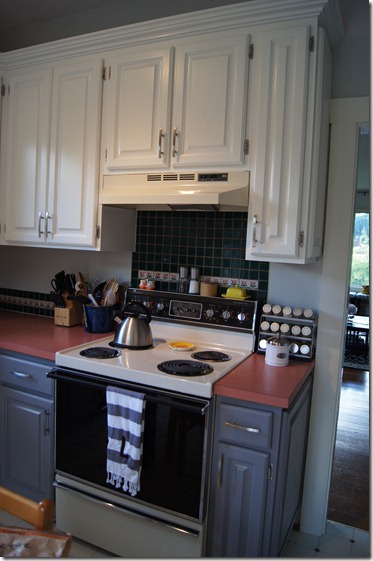
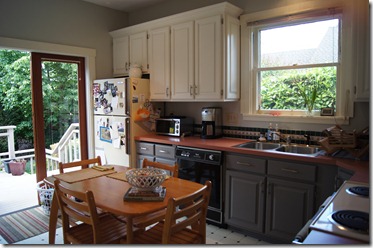
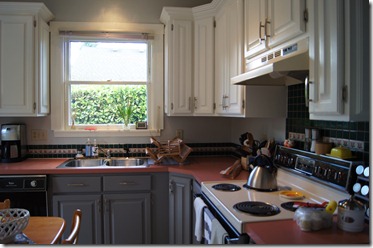
crazy, huh? it is amazing what a couple of coats (okay, a lot of coats) of paint can do to a space. when we first bought the house, we thought we would have to eventually gut & remodel the entire kitchen (including taking out the pantry). but, after seeing it, i think we may be able to replace the countertops & the appliances. {sidenote: i didn’t like the appliances when we first moved in, but come to find out, older appliances work amazingly! despite not getting consistent temperatures in our oven, i can get boiling water in two minutes!} also, we are thinking of eventually replacing our kitchen table with a kitchen island (since we have a table out in our dining room).
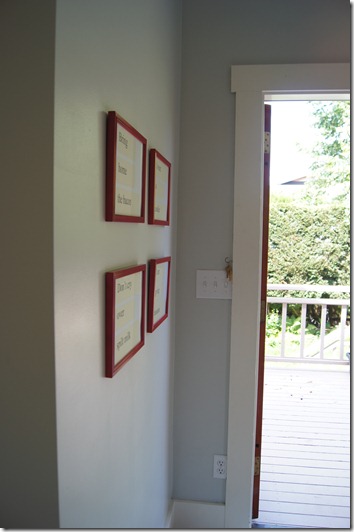
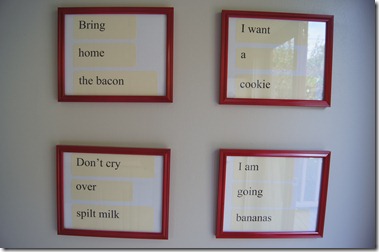
i also added a bit of art to our kitchen walls. i really loved the idea of framing vintage flashcards into sayings {see here} but i was too lazy (& cheap!) to find all the flashcards i would have needed. so, i decided to diy it. i also couldn’t find red frames either, so i diy-ed those too by spray painting white target frames red.

to make the flashcards, i just typed out the phrases i wanted, printed them out on resume paper, cut into long rectangles, & rounded the corners. then i glued the “flashcards” onto white cardstock.

DSC01426

DSC01428

i would love to hear your thoughts about our new kitchen. is your mind blown? (mine is.) it doesn’t even look like the same room. i can’t believe it every time i walk into the kitchen. it is so much more light & airy.

i still need to add some more color back in, as well as find new kitchen lights (aaron & i both hate the track lights that are currently in there). future plans: globe pendant lights, brightly colored rug(s), fresh flowers, colorful trivet.

what have you updated lately? have you ever thought of painting your kitchen?

M

kitchen backsplash update.

if you have been following the blog over the past couple of weeks, you know that i am in the process of updating our kitchen. no big remodel, just paint!

a few weeks ago, i started by painting the walls a light blue-ish grey – moonshine by benjamin moore – but the actual paint i used was the new valspar allergy & asthma, which i also used for the living room, that i had lowe’s colormatch for me.

then, i sanded, primed, & painted the kitchen cabinets as seen in this post.

next step: painting the backsplash tile.

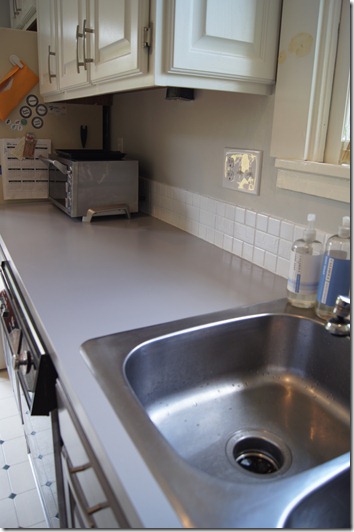
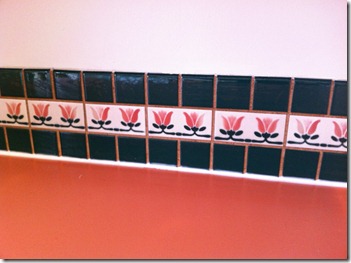
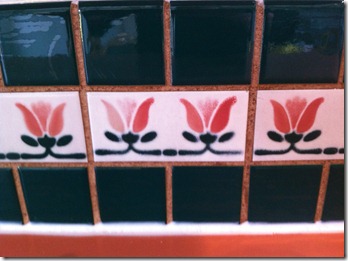
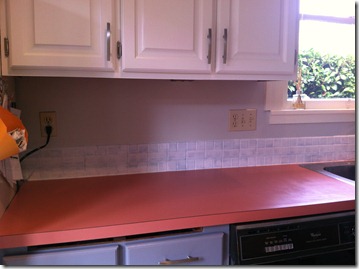
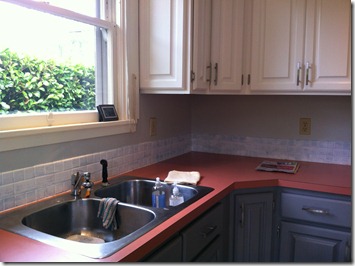
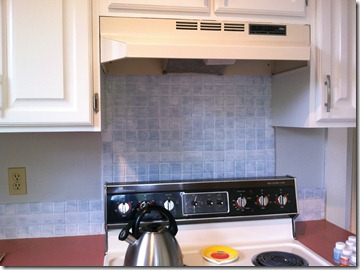
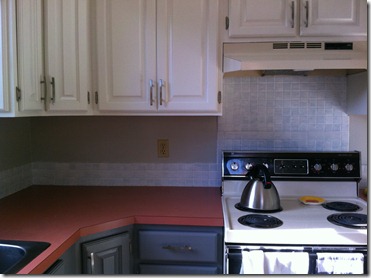
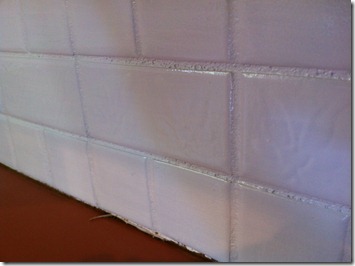
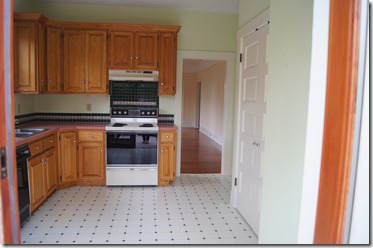
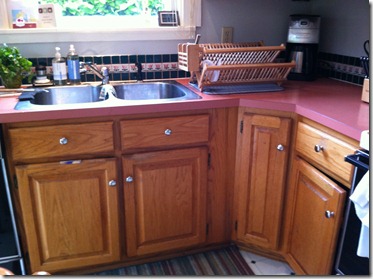
we had this really lovely backsplash tile that was forest green & pink tulips. while it matched the pink laminate countertops really well, there was no room for flowers in our kitchen update & it had to go! i knew it would be really expensive to rip out the old tile & replace it with new (& tiling isn’t something i am quite ready to learn how to do yet), so i was going to try my hand at painting it. i figured, worst case, we would have crazy-looking tiles for a while until we saved up our pennies to re-tile. it seemed worth the risk.

i started googling (aaron, pretend i said binging) a phrase like “how to paint kitchen tiles” & i found this tutorial on painting backsplash tile. perfect i tell you, like it was meant to be!

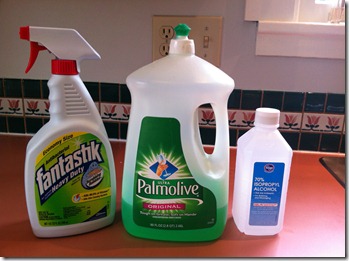
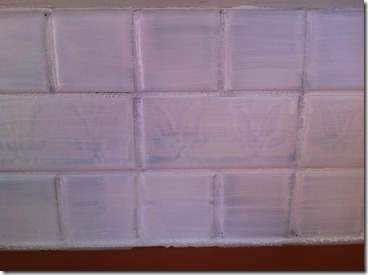
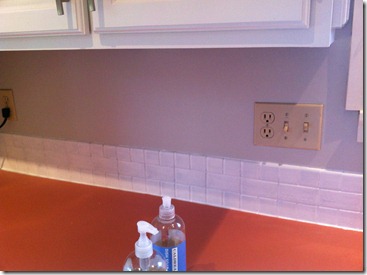
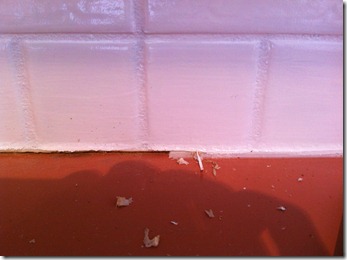
i pretty much followed her tutorial, including cleaning supplies & paint supplies. in the end, i needed many, many, many more coats of paint than the original tutorial called for, but that was likely because i was trying to make such dark tiles a very light color (read: white). honestly, this was a big project & took many hours & lots of patience, but it was SO worth it!

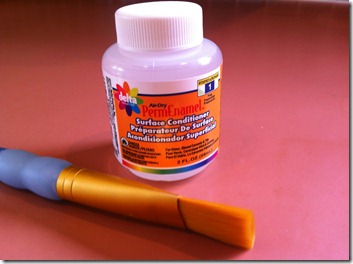
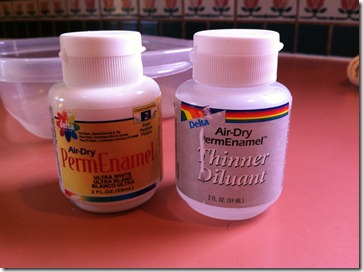
supplies:

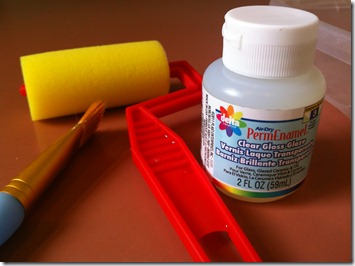
after my order from misterart.com came in (where i ordered the surface conditioner, enamel paint, enamel paint dilutant, gloss finish, & foam roller), i gave myself a little pep-talk & went for it.

IMG_2208

{deep clean of the tiles}

IMG_2209

IMG_2210

{this is what i was working with. it is crazy to see these pictures after seeing the tile after the painting process!}

after a good clean, i started with the surface conditioner. i used a small craftbrush & coated the tiles with the surface conditioner. then i let it dry.

IMG_2211

after the quick drying process on the surface conditioner, i got ready to start with the first coat of white paint. i put a glob of paint into an old GladWare container & then added drops of the dilutant until it was the consistency of Elmer’s Glue. {sidenote: the first few coats i diluted down to a glue consistency, but on the later coats i kept the paint a bit thicker.} then i started painting. i used the same small craftbrush so i would have more control on the edges. i painted in small sections, & found that painting the grout first & then going back & painting the tiles made the process a lot easier. once i started the second, third, etc. coats, i didn’t focus on the grout & just painted the tiles.

IMG_2212

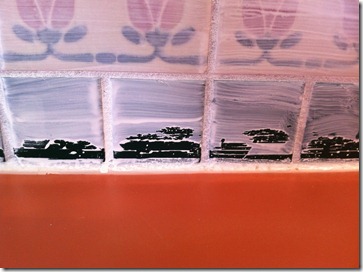
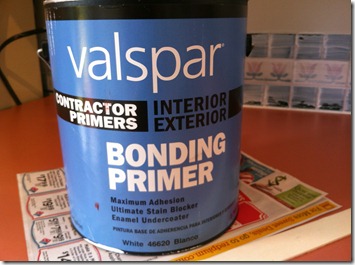
after one coat of paint, i noticed a lot of the paint on the edges wasn’t sticking. boo. i briefly considered re-cleaning the tiles & then adding another coat of surface conditioner, but then i remembered the bonding primer that i used to prime the kitchen cabinets. when i bought it, the gal told me it would basically prime to anything. sure enough when i went to the basement to check the label, it listed ceramic tile as one of the bonding surfaces.

IMG_2213

so i went off-tutorial & painted a (thick) coat of bonding primer. after the primer was dry (i waited at least 12 hours between coats for the entire project), i started in – again – with the enamel paint.
IMG_2214

IMG_2215

IMG_2216

IMG_2217

after about the second coat of enamel paint, i knew that i would need many more coats than the three that the tutorial suggested. so, i kept painting. & painting. & painting.

IMG_2218

IMG_2219

IMG_2220

IMG_2222

IMG_2223

IMG_2224

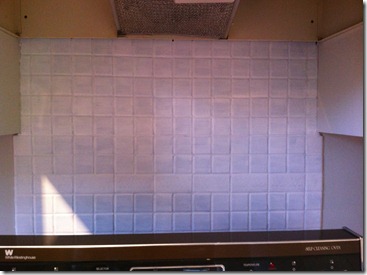
aaron & i figured out pretty quickly that i was never going to be 100% satisfied with the whiteness of our tiles regardless of the number of coats i painted. the tiles that had tulips were still showing an outline of the tulips, but the dark green color was slowly starting to fade. i finally had to call it after seven coats. yep, seven. i still had almost a full bottle of white enamel paint left (i had already used three) but wanted to make sure i had some paint around for touch-ups in the future.

IMG_2238

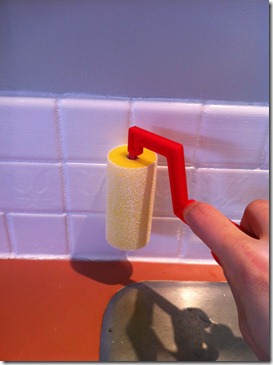
as per the tutorial instructions, after my seventh – & final! – coat, i quickly went over my freshly-painted tiles with the foam roller in order to smooth out the brushstrokes.

IMG_2239

after the paint was dry, i let it dry almost a full 24 hours, i put on two coats of gloss glaze, allowing for drying time in-between coats.

IMG_2252

IMG_2253

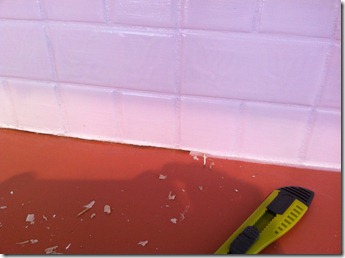
after the glaze was dry, aaron & i used a small razor to cut away the old caulking from between the tile & the countertop. this was mostly in preparation for my next step: updating the laminate.

IMG_2254

IMG_2255

IMG_2256

IMG_2257

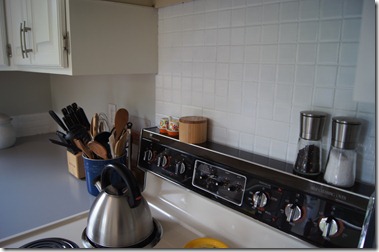
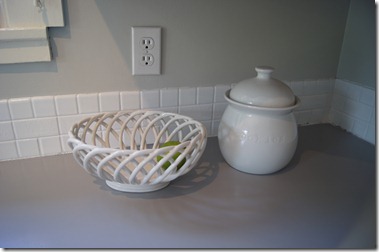
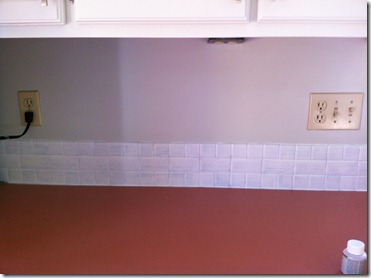
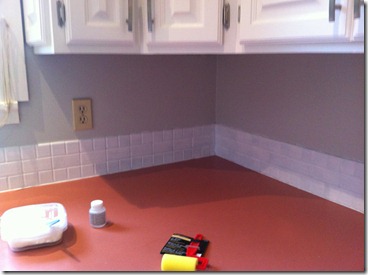
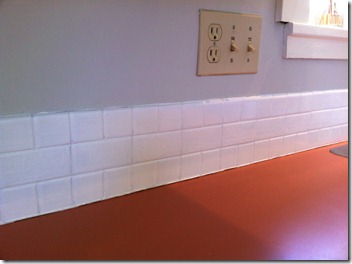
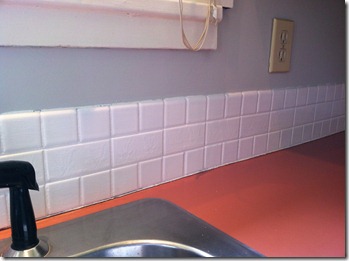
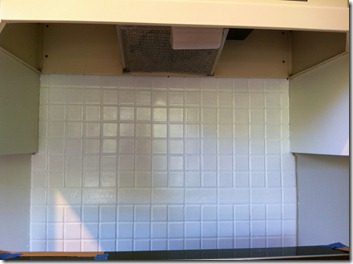
it is easy to be picky about the tiles not being perfect (i.e., look like brand new white tiles), but for $30 in supplies we have a new backsplash & i couldn’t be happier. the change from the forest green & flowers to the bright white made such a huge difference in our kitchen. really, it was an amazing transformation.

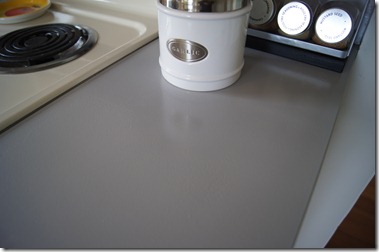
the downside: it highlighted our very pink laminate countertop. boo. one of our friends commented that we had a nice colorblocking going on with the grey cabinets, pink countertop, & white backsplash & upper cabinets, but we weren’t really diggin’ it.

up next, an update to the countertop!

have you ever considered painting a backsplash?

M

pinspiration: hanging jewelry storage.

here is another project that has been done for some time, but i have been delinquent about posting…

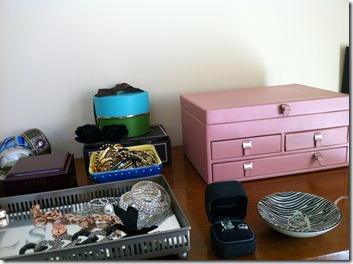
when we moved in – which was ten weeks ago! – i didn’t unpack my jewelry right away. in fact, it sat in the bags & boxes i had packed it in for weeks. weeks! i have a pretty good sized jewelry box that holds earrings (that is basically all that is in it), but nothing to hold bracelets, bangles, necklaces, etc. i knew i didn’t want to unpack & have it be a mess, so i waited.

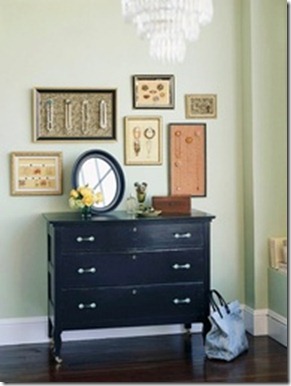
then i found some inspiration on pinterest. {surprise, surprise!} i fell in love & knew this is exactly what i wanted to do. it was simple, but also displayed jewelry like art. perfect!

75716837455256646_ORS4SN3p_b

{the image is originally from bhg.com}

i was a bit bummed when the link from pinterest was just a bunch of images on another blogger’s website. i even enlisted aaron to help me search for the original image online. we ended up finding that the source was better homes & gardens, but it was just an image, no tutorial. sadly for you, this is also not really a tutorial post as aaron really ended up doing the work on this project. i can, however, walk you thru his process.

supplies:

  • frame(s)
  • plywood
  • paper to cover the plywood (or you could paint it instead)
  • knobs
  • dremel tool
  • washers
  • heavy duty glue
  • ribbon
  • craft glue

IMG_2003

IMG_2004

IMG_2006

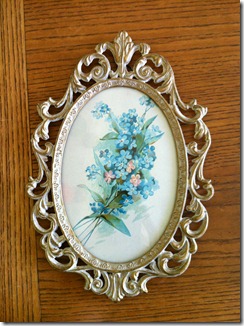
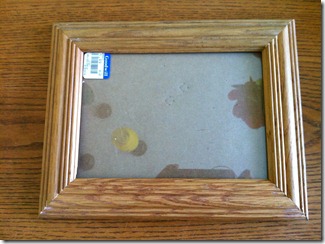
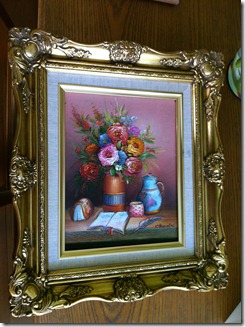
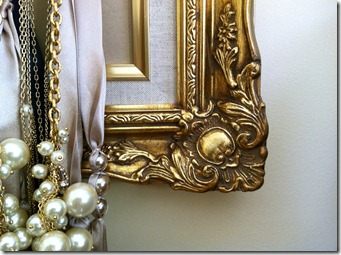
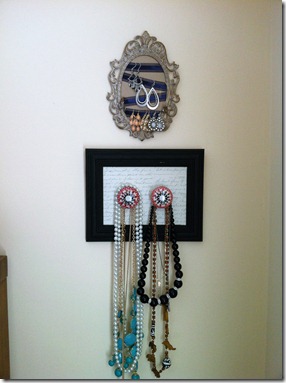
i bought three frames: the two rectangular ones to hold necklaces & the oval one to hold earrings. the oval frame is from this etsy store & the other two frames are from the goodwill (you will likely have to dig a bit, like i did).

first, i took apart the frames. i didn’t need the glass, or the frame backs, just the frame. then, i spray painted the smaller rectangular frame with chalkboard spray paint. {sidenote: i realize that i won’t be able to write on the frame, but i like the matte black color of chalkboard paint.}

after the paint was dry, aaron took over. i will do the best i can to summarize what he told me he did. {sidenote: aaron’s work was on the two rectangular frames, the oval frame was all me & i will describe that process below.}

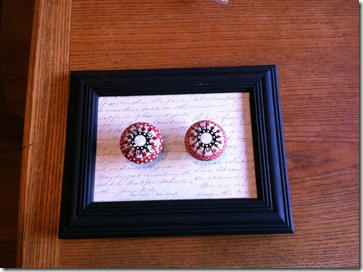
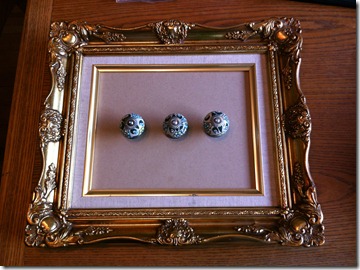
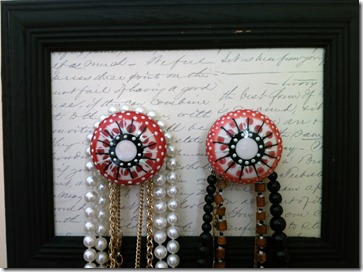
first, he cut plywood pieces to fit inside of the frames. then, i glued paper onto the front of the plywood with craft glue. both pieces of paper are from michael’s; the big frame’s paper is just cardstock that looks almost like a brown paperbag & the small frame’s paper is white with dark grey cursive writing.

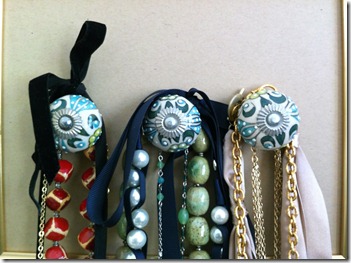
after the glue had dried, aaron worked his magic. i bought ceramic knobs from anthro; two for the small frame & three for the big. {sidenote: knobs from anthro are a bit pricey, but i figured since i got such a great deal on the frames, i could splurge a little on the knobs.} aaron drilled holes into the plywood for each knob. i decided i wanted them centered in the frame, but you could also put them up towards the top too. then, he had to cut down the metal rods that extend out the back of the knobs (what are they called?) with the dremel so they were flush with the back of the plywood. he used big washers (about as big as the knobs) to help keep the knobs in place, along with a nut, & then he added heavy duty glue to the end of the metal rod where it met the plywood.

it was a bit of a process & one that aaron probably doesn’t want to repeat, but it was so worth it. take a look…

IMG_2120

IMG_2121

IMG_2122

IMG_2125

IMG_2124

IMG_2127

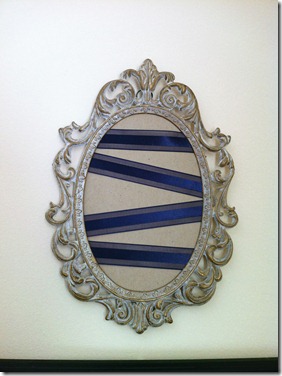
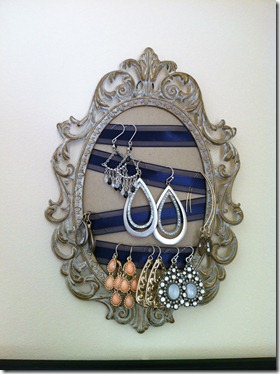
the oval frame, as i mentioned above, was going to hold earrings, so the process was different. obviously knobs are not the most effective method for hanging earrings, so i used ribbon instead.

i took the back off of the frame & removed the glass. then i covered the back with paper (the same paper i used for the big frame above). i cut lengths of ribbon & laid them across the frame back & then glued the ends to the back of the frame with craft glue. i didn’t do perfectly straight lines because (1) it was easier to do diagonals because the frame was oval, and (2) i thought it might be good for different earring lengths. once i was done with the ribbon, i just put the back back into the frame.

IMG_2131

IMG_2132

IMG_2133

IMG_2129

IMG_2130

IMG_2134

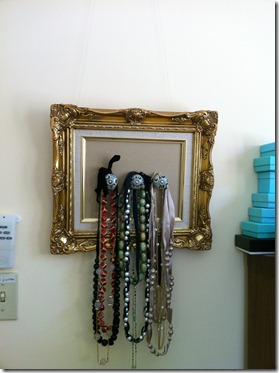
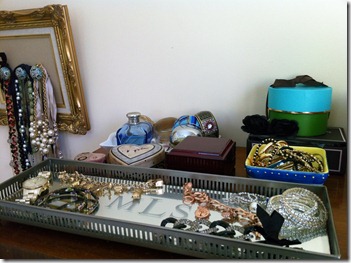
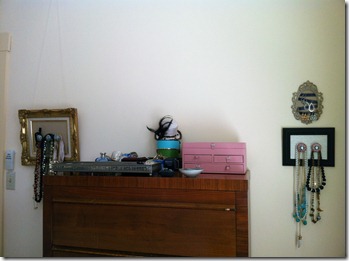
{my jewelry all organized. i am in desperate need of a mirror for above the dresser, but i think i may be getting a new dresser in the near future since i am too short to see the top of it. {hence, why the frames are on the sides of the dresser & not above it.) sad, i know. so, i am hoping to find a shorter dresser that will give me as much storage space & then find a fun mirror for it.}

how do you store your jewelry?

M

kitchen cabinet update.

as some of you know, i recently did a bit of an overhaul to our kitchen in regards to the cabinets. the process was long & tested my patience, but we now have fresh, updated kitchen cabinets & a start to an entire update to the kitchen space.

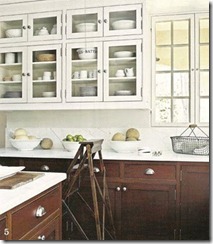
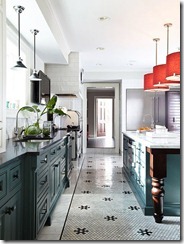
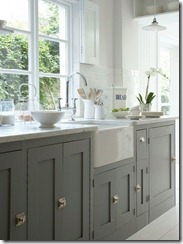
per usual, i found some pinspiration. i love the look of two-tone cabinets, don’t you? i knew this would be a great way to modernize our kitchen without totally destroying the craftsman-style feel of our house.

204210164323678752_4k8Y5fTT_c

{via}

259942209711772231_RMRIKA2V_f

{via}

279786195570665515_apTCRPrl_f

{via}

DSC00807

DSC00808

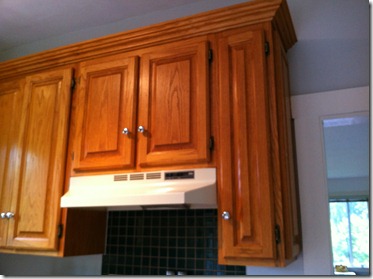
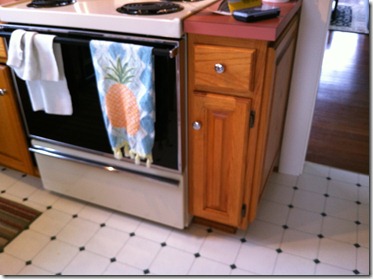
{our kitchen before we moved in.}

IMG_2041

IMG_2042

IMG_2043

IMG_2044

IMG_2045

IMG_2046

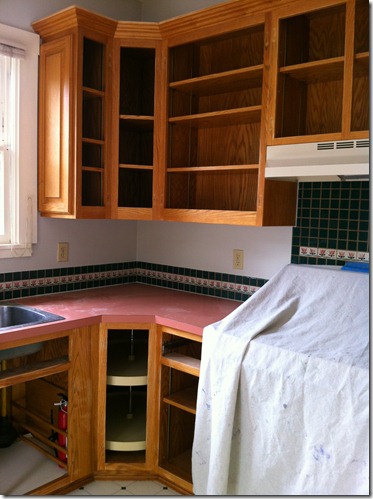
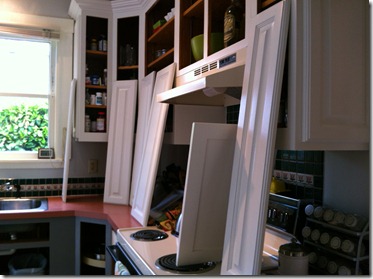
{our cabinets right before i took them down. sorry for the blurry i-Phone pictures.}

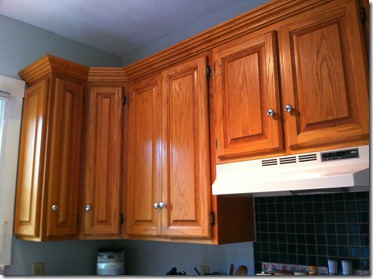
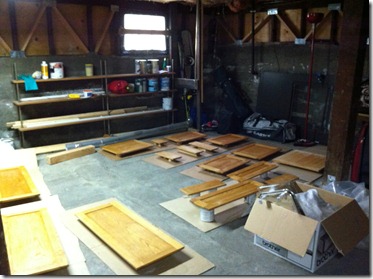
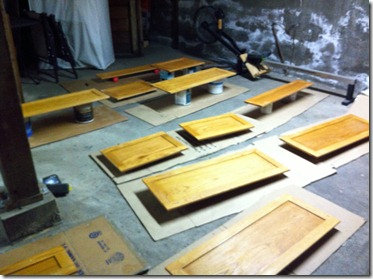
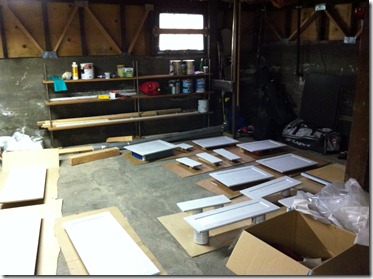
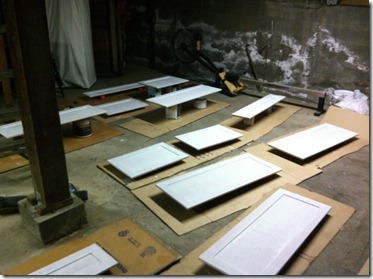
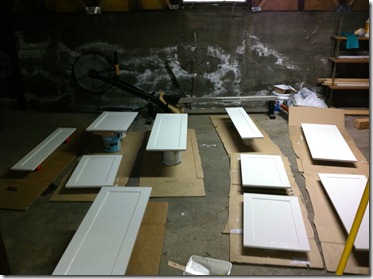
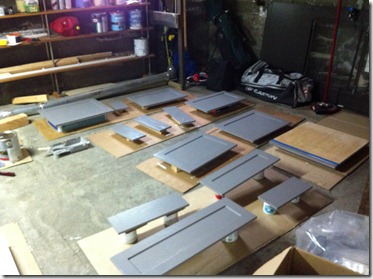
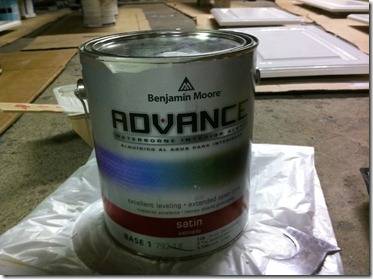
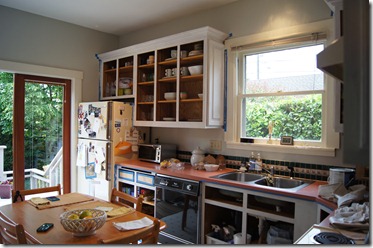
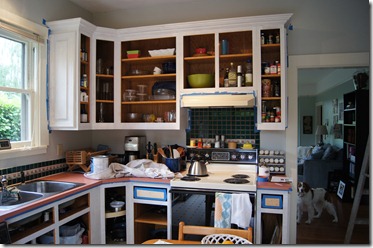
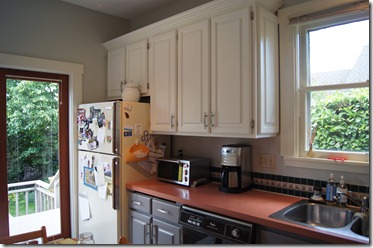
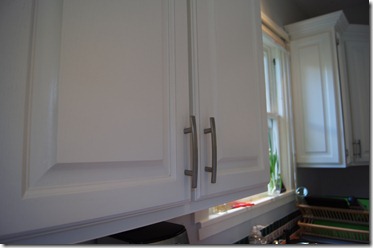
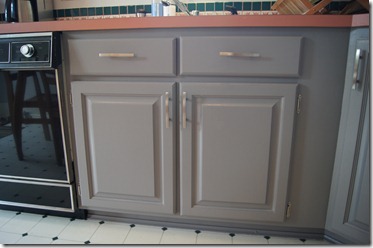
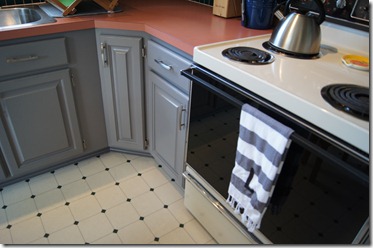
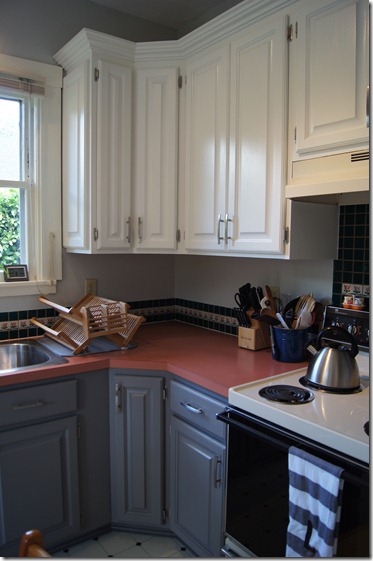
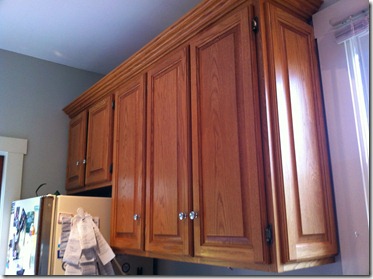
i started the update to the kitchen by doing the toughest (well, hopefully!) work first & that was priming, sanding, deglossing, & painting the kitchen cabinets {soon to follow is updating the backsplash tile & laminate countertop!}. i followed the young house love painting cabinets tutorial, which i found to be really thorough & helpful. i pretty much followed their timeline, although my project was a bit more complicated because i painted the upper & lower cabinets two different colors. i used benjamin moore cloud cover (same as YHL) on the uppers, & benjamin moore cinder on the lowers. after doing a bit of research & then chatting with aaron, we decided to pull the trigger & buy the benjamin moore advance paint (which is also what YHL used). it is a bit more expensive, & i still had to buy a primer as well (i used a valspar contractor’s bonding primer which was low-VOC), but it was money well spent. so. worth. it. the advance paint is great to work with, has no odor, & dries with an amazing finish (i chose satin). i highly, highly recommend anyone who is painting kitchen cabinets (or wood furniture?) to use benjamin moore advance paint.

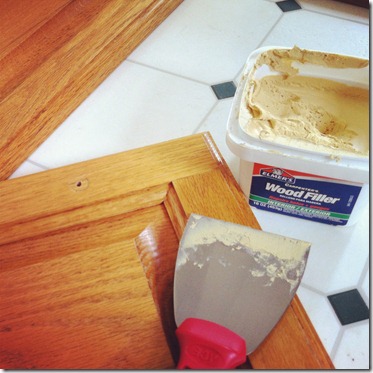
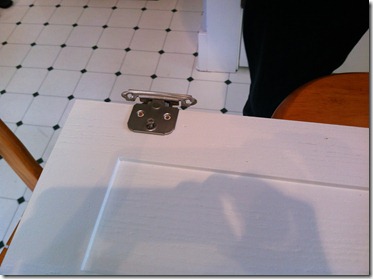
we also replaced the hinges & hardware while we were at it. originally there were knobs on the cabinets, but i could hardly couldn’t reach the knobs on the top cabinets (like above the stove) because they were placed a few inches above the bottom of the cabinet door. we figured since we would have to wood fill, sand, & drill new holes for the knobs, we might as well replace them with something we really liked, & that ended up being handles. then we figured we needed to replace the hinges to match the color of the handles. we bought our handles & hinges from myknobs.com.

i don’t feel like i need to give you a play-by-play since the YHL tutorial is so good. i will just let the pictures fill in the details. you really just wanted to see the pictures anyways, right?

IMG_2071

IMG_2081

IMG_2085

IMG_2086

IMG_2094

IMG_2095

IMG_2105

IMG_2106

IMG_2112

IMG_2149

IMG_2150

DSC01060

DSC01061

DSC01110

DSC01112

DSC01113

DSC01114

DSC01115

DSC01116

DSC01117

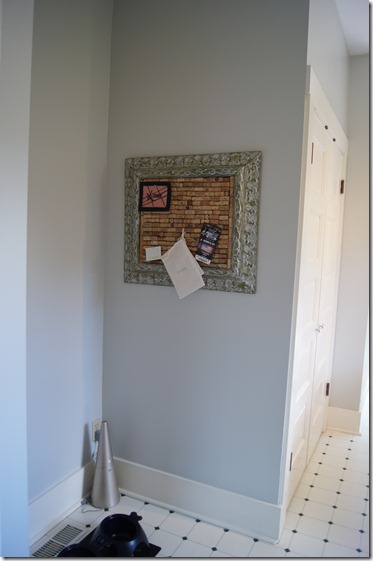
{we also hung some artwork up. this lovely corkboard was made by my mom for our wedding (the seating chart was pinned to it). we just bought an empty antique frame & my mom hot glued corks to a piece of corkboard & duck-taped/gorilla glued the board to the frame.}

DSC01119

DSC01120

the whole space has really changed just with a few coats of paint – it is awesome! we are really loving the updated cabinet colors & i am really happy we went two-tone.

next week i am going to attempt to paint the backsplash tiles (as the forest green & pink hearts really aren’t going to make the cut with the new cabinet colors). wish me luck! the following week i will attempt to paint the laminate. i am still deciding on a color, but something in the grey family.

have you painted kitchen cabinets before? would you ever want a two-toned kitchen?

M

a color scheme for our living space.

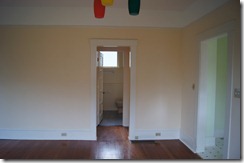
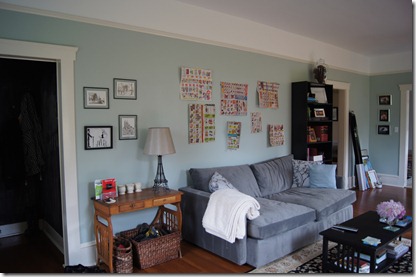
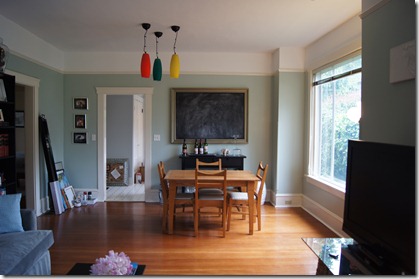
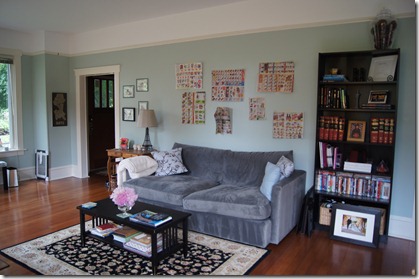
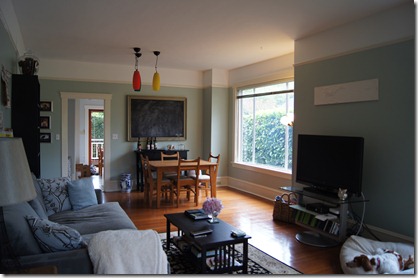
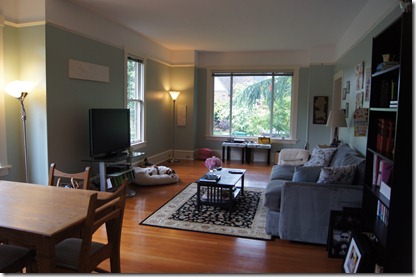
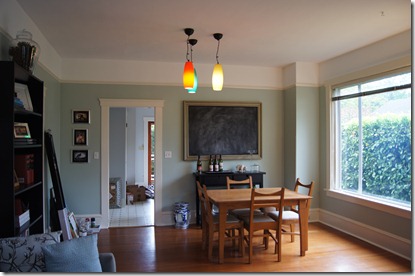
our living room & dining room combine to form a large, wonderful living space. the big picture windows on the front & side of the house are awesome & let in so much light (when there is any light!), but the yellow color was awful. i knew i wanted to update the color in this space immediately, so i waited to unpack most of this room until i could get paint on the walls. it was a lot of taping, but it was so worth it! i left the upper portion of the wall above the picture rail the original white & also left the picture rail & baseboard the original colors. we anticipated needing to re-paint the trim, but after the new color went on the wall, it was clear that the trim color was perfect the way it was, phew!

these pictures were taken before we even moved in (& are the same as the ones on the house tour page). obviously there was a huge update in just furnishing the space.

DSC00783DSC00785DSC00803DSC00813DSC00814

i wanted to add some color in this space & really, really worked at not painting it grey. aaron & i both gravitate towards grey & i know it will show up in other places in the house (yep, like in the kitchen. you will see soon enough!). i knew that if i painted this big room a not grey color, i could basically paint every other room in the house grey & it would probably be fine. our couch is grey & our coffee table & bookshelf are black, so i didn’t have much of a jumping off point since basically any color would go with our furniture. i found inspiration in two places: pinterest & young house love.

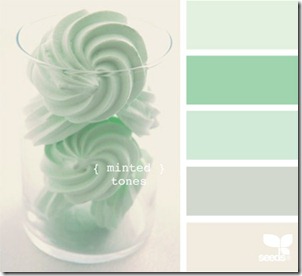
273382639850491829_Na5pe8e7_f

{color scheme pinspiration}

when i saw this color scheme, i fell in love instantly. it was the first & last color scheme i considered for the space. the next step was finding the perfect shade of mint green for the walls.

i looked online for colors & originally thought mint julep by benjamin moore would be a good choice. even seeing it again it looks like a great choice, but when i got a color sample home & put it up on the wall, it turned into this yellow mess. i don’t know whether it was the blue-hue in our grey couch or the existing yellow wall, but it was an immediate no.

i also picked up some other mint-y green colors from the store, along with carolina inn club aqua by valspar which is the color john & sherry of young house love painted their bedroom.

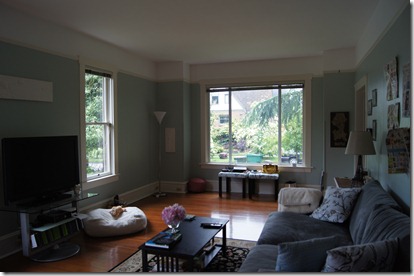
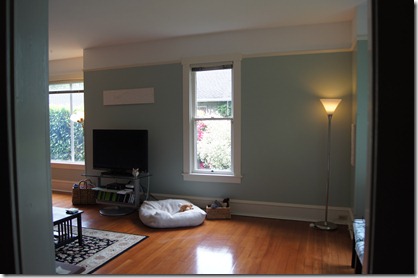
i was a little hesitant about using aqua at first, but this color (the winner!) is gorgeous! you can see in some of the pictures that we have a color trifecta going on in this room: white upper walls, ivory-ish picture rail, & aqua lower walls. {i didn’t have a ton of light when i took these pictures, so i apologize for the darkness. you do get an idea of the color though, & that is the point. i will try to update the pictures once we get a little more sun!}

DSC01063DSC01066DSC01067DSC01068DSC01069DSC01070DSC01071DSC01072

the three dining room lights are on the chopping block, but we need to get an electrician in the house in order to put the power over the actual table. right now the lights are centered in the middle of the room. lighting placement fail. so for now, we have really brightly colored dining room pendants.

also, i am not joining the show extreme couponing. i like to use paper cut-outs on the walls to help with art placement & coupons are what we had on hand since we don’t get the newspaper. i hope to get the rest of the art up in the living room this weekend!

M


source list: {if you are interested}

  • entryway table {antique from my mom & dad}
  • eiffel tower lamp & shade {target}
  • lounge couch {crate & barrel}
  • coffee table {craigslist}
  • rug {overstock}
  • diy pillows
  • (old) billy bookshelf {ikea}
  • dining table {long term loan from a friend}
  • sideboard {ikea}
  • diy framed chalkboard
  • tv stand {unknown}
  • torchers {target}
  • white ceramic garden stool {target}
  • blue & white ceramic garden stool {vintage from my grandmother}
  • dog bed {fetch dog}
  • magazine basket with handles {pottery barn}
  • white throw blanket {pottery barn}