
here is another project that has been done for some time, but i have been delinquent about posting…
when we moved in – which was ten weeks ago! – i didn’t unpack my jewelry right away. in fact, it sat in the bags & boxes i had packed it in for weeks. weeks! i have a pretty good sized jewelry box that holds earrings (that is basically all that is in it), but nothing to hold bracelets, bangles, necklaces, etc. i knew i didn’t want to unpack & have it be a mess, so i waited.
then i found some inspiration on pinterest. {surprise, surprise!} i fell in love & knew this is exactly what i wanted to do. it was simple, but also displayed jewelry like art. perfect!

{the image is originally from bhg.com}
i was a bit bummed when the link from pinterest was just a bunch of images on another blogger’s website. i even enlisted aaron to help me search for the original image online. we ended up finding that the source was better homes & gardens, but it was just an image, no tutorial. sadly for you, this is also not really a tutorial post as aaron really ended up doing the work on this project. i can, however, walk you thru his process.
supplies:
-
frame(s)
-
plywood
-
paper to cover the plywood (or you could paint it instead)
-
knobs
-
dremel tool
-
washers
-
heavy duty glue
-
ribbon
-
craft glue


i bought three frames: the two rectangular ones to hold necklaces & the oval one to hold earrings. the oval frame is from this etsy store & the other two frames are from the goodwill (you will likely have to dig a bit, like i did).
first, i took apart the frames. i didn’t need the glass, or the frame backs, just the frame. then, i spray painted the smaller rectangular frame with chalkboard spray paint. {sidenote: i realize that i won’t be able to write on the frame, but i like the matte black color of chalkboard paint.}
after the paint was dry, aaron took over. i will do the best i can to summarize what he told me he did. {sidenote: aaron’s work was on the two rectangular frames, the oval frame was all me & i will describe that process below.}
first, he cut plywood pieces to fit inside of the frames. then, i glued paper onto the front of the plywood with craft glue. both pieces of paper are from michael’s; the big frame’s paper is just cardstock that looks almost like a brown paperbag & the small frame’s paper is white with dark grey cursive writing.
after the glue had dried, aaron worked his magic. i bought ceramic knobs from anthro; two for the small frame & three for the big. {sidenote: knobs from anthro are a bit pricey, but i figured since i got such a great deal on the frames, i could splurge a little on the knobs.} aaron drilled holes into the plywood for each knob. i decided i wanted them centered in the frame, but you could also put them up towards the top too. then, he had to cut down the metal rods that extend out the back of the knobs (what are they called?) with the dremel so they were flush with the back of the plywood. he used big washers (about as big as the knobs) to help keep the knobs in place, along with a nut, & then he added heavy duty glue to the end of the metal rod where it met the plywood.
it was a bit of a process & one that aaron probably doesn’t want to repeat, but it was so worth it. take a look…


the oval frame, as i mentioned above, was going to hold earrings, so the process was different. obviously knobs are not the most effective method for hanging earrings, so i used ribbon instead.
i took the back off of the frame & removed the glass. then i covered the back with paper (the same paper i used for the big frame above). i cut lengths of ribbon & laid them across the frame back & then glued the ends to the back of the frame with craft glue. i didn’t do perfectly straight lines because (1) it was easier to do diagonals because the frame was oval, and (2) i thought it might be good for different earring lengths. once i was done with the ribbon, i just put the back back into the frame.


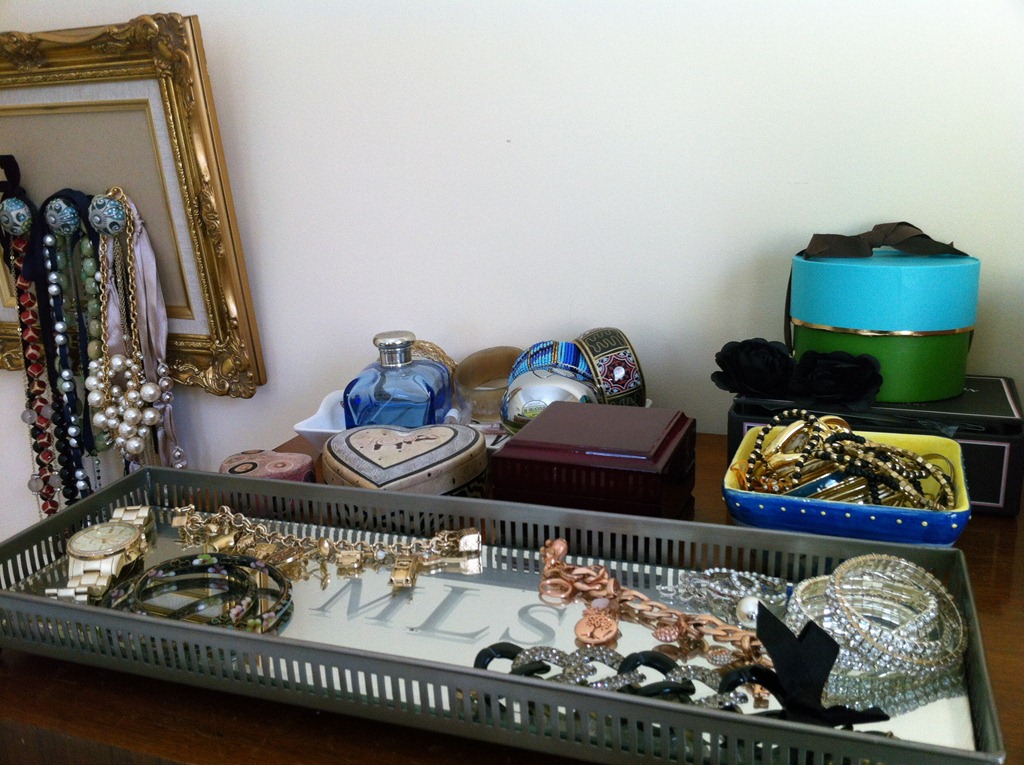
{my jewelry all organized. i am in desperate need of a mirror for above the dresser, but i think i may be getting a new dresser in the near future since i am too short to see the top of it. {hence, why the frames are on the sides of the dresser & not above it.) sad, i know. so, i am hoping to find a shorter dresser that will give me as much storage space & then find a fun mirror for it.}
how do you store your jewelry?
M
Good job!! Here’s how I organize mine. I like it hidden! http://suburbaneyefeast.wordpress.com/2012/02/13/the-joys-of-organized-jewelry/
Simply wanna admit that this is handy , Thanks for taking your time to write this.
Excellent goods from you, man. I’ve understand your stuff previous to and you’re
just extremely fantastic. I really like what you’ve acquired here, certainly like what you are saying and the way in which you say it. You make it enjoyable and you still care for to keep it wise. I can not wait to read much more from you. This is actually a tremendous website.