my weekend in pictures.

IMG_3254

{my grandmother insists on dessert after dinner!}

IMG_3255

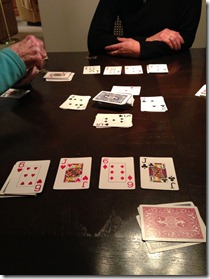
{deep into our family favorite card game spite & malice.}

IMG_3256

{love that we can turn on our heat on our way home. #nest}

IMG_3258

{yep, when the bridges go up, traffic stops. even if you are in a hurry.}

IMG_3260

{we did a little shopping on sunday afternoon. even though he won’t ever see this blog a huge shoutout to the nice man at ann taylor who was gushing over today’s ensemble – it so made my month. #bestfeelingever #ootd}

IMG_3257

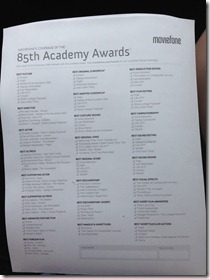
{ballots for the oscars!}

IMG_3261

{we watched the pre-show – my fav! – the awards & the start of the after-show. #toomuchoscars #gladtheawardseasonisover #worstoscarsever}

my mom is visiting this weekend so there wasn’t much in the way of house projects done, but we did have a lot of fun! even without a visitor in town the weekends seem so jam-packed. by the time i get to everything i have been waiting to do on the weekends, it is sunday night, late, & i am so exhausted. i guess that is the fun part, right? how was your weekend?

M

we bought an island {kitchen update}.

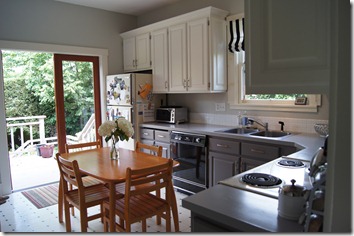
our kitchen has an “L” shaped{ish} counter so when we moved in last spring with two kitchen tables, one went in the dining room & one went in the kitchen. it was nice to have two big surfaces in the house as one typically acted as our eating area while the other acted as a crafting/project space. but, it did seem weird to have two kitchen tables in our small, little house, so we i have been on the hunt for a kitchen island for the past few months.

DSC01417

{the kitchen right after it was updated.}

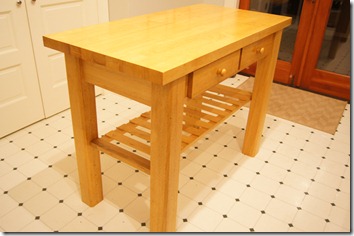
i was randomly searching on craigslist a few weeks ago when i found a simple kitchen island that seemed to fit our my wishlist: butcher block top, counter height, and allows for stools. we called the seller to ask if it was still available & we were confident enough in it to borrow a friend’s truck {thanks colin!} & drive almost an hour north to look at it.

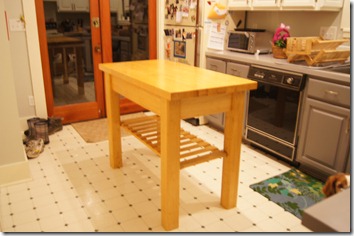
well, needless to say we ended up buying it & hauling it home. once aaron tightened up the legs, it was ready to go! we are really happy with the piece & while it is not perfect {yet} it is really nice to have extra counter space.

DSC02680DSC02681

we are content with the island for now, but do have plans to remove the shelf {it is right at sadie-height so not much can be stored there}, sand the glossy finish off the top, paint the legs, & add stools. it shouldn’t be too big of a project after tackling all of the kitchen cabinets last spring, but i think we will wait until it is warm enough to just move it out to the deck to do the work – rather than move it down to the basement – so basically anytime after july 4th! {for those of you not familiar with the quirky seattle weather, we basically don’t get summer weather – read: hot – until after the 4th of july.}

do you have an island or an eating area in your kitchen or both?

M

my weekend in pictures.

birthday

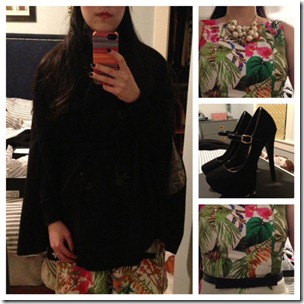
{birthday dinner outfit. the best outfits include a cape & 5 inch heels!}

IMG_3221

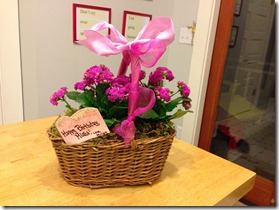
{commuting home with flowers aaron sent to the office on thursday.}

IMG_3222

{sadie giving aaron a “welcome home” hug on friday evening.}

IMG_3223

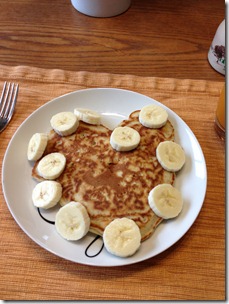
{valentine’s day celebrations thru-out the weekend included heart shaped pancakes from scratch!}

IMG_3224

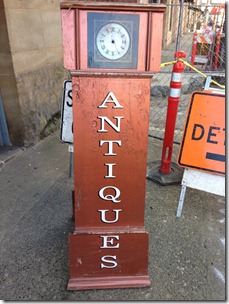
{saturday afternoon was spent antiquing with amanda in pioneer square!}

IMG_3229

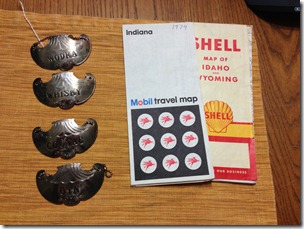
{my shopping finds: liquor “name tags” on chains – wodka, whisky, cognac & gin, & vintage indiana & idaho maps – like to become a pinterest craft.}

IMG_3226

{it is still a thrill to see the space needle.}

IMG_3227

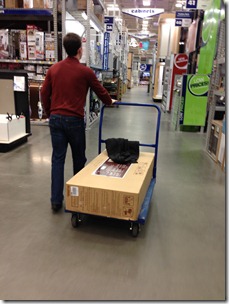
{weekly trip to lowe’s. so excited for what is in that box! any guesses?}

IMG_3231

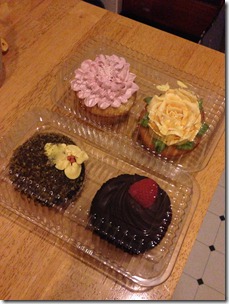
{cupcakes!}

IMG_3233

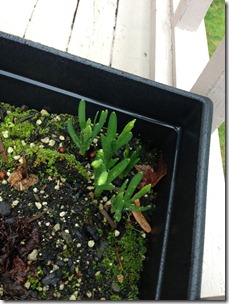
{these poor little bulbs didn’t get the memo that it is still mid-february. guess it is taking the groundhog too seriously this year.}

IMG_3240

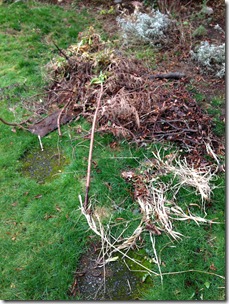
{a little yard clean-up as our flower beds were looking a bit unkempt.}

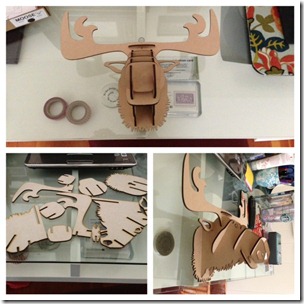
moose

{assembled my awesome wooden moose head courtesy of amanda all the way from new zealand! thanks, i love him!}

flowers

{our house is stocked with fresh blooms in celebration of my birthday & valentine’s day. aaron was so sweet to send me flowers to the office & to the house on thursday!}

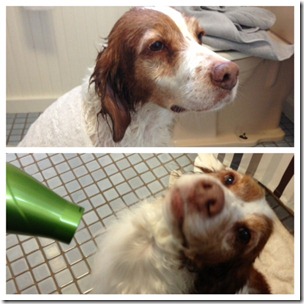
sadie bath

{sadie got a bath this weekend & has decided that the hair dryer is pretty neat when it is so cold outside!}

we had a wonderful weekend filled with continued birthday celebrations! thank you for all the sweet birthday wishes via various social media this week – i am feeling very loved. how was your weekend?

happy valentine’s day!

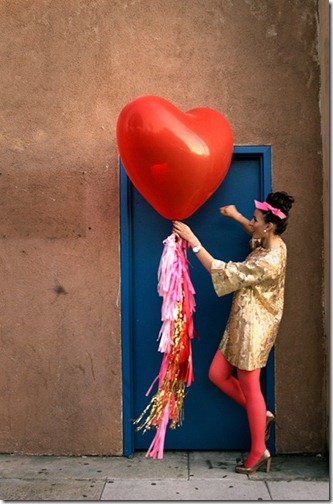
valentines day geronimo balloon

{wouldn’t it be amazing to get a giant heart balloon from geronimo balloons from your valentine? i think i would keep it forever.}

i hope everyone has an amazing & love-filled day celebrating! people ask me a lot whether i like having my birthday on valentine’s day & the answer is a resounding yes! i do feel bad for my husband because growing up my birthday & valentine’s day were two very separate holidays, both celebrated {thanks mom & dad!}, but i really do love it. since i do share a birthday with a holiday, i love that it is a day that is filled with joy & compassion for those around you. where gestures of love – big & small – are made in return for a few x’s & o’s.

whether you have an official valentine or not i hope that you find a lot of love today!

xo M

valentine’s day diy: sparks card & date night jar.

to wrap up my valentine’s day diy {just two days away, eek!}, i have two small projects to share.

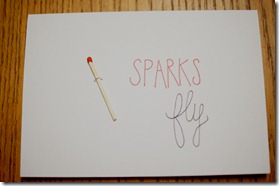
first up is a card which is loosely based off of a card i have seen before in stores.

supplies:

  • short matchstick
  • cardstock or blank card
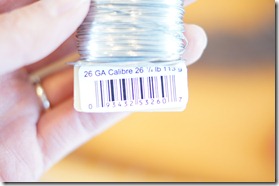
  • thin wire
  • marker or pen – i love the thin sharpies
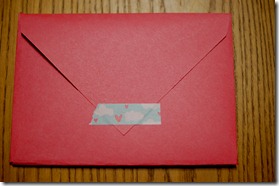
  • construction paper/paper/envelope
  • washi tape – optional

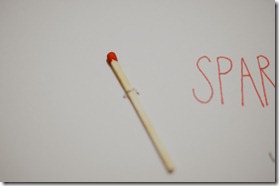
i cut out a folding card from plain white cardstock. i put the fold on the top edge, but you could put it on the side edge too. then i laid down the matchstick where i wanted it on the card – a bit off-centered – & punched two tiny holes on both sides of the matchstick. then i thread a short piece of wire thru the holes, looping around the matchstick, & putting the ends thru the back of the card. i twisted the wire to secure the matchstick.

DSC02667DSC02668

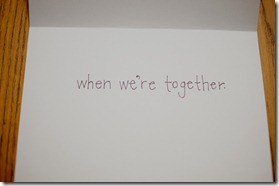
then i wrote out “sparks fly” on the outside of the card, & “when we’re together” in the inside. simple as that.

DSC02669DSC02670

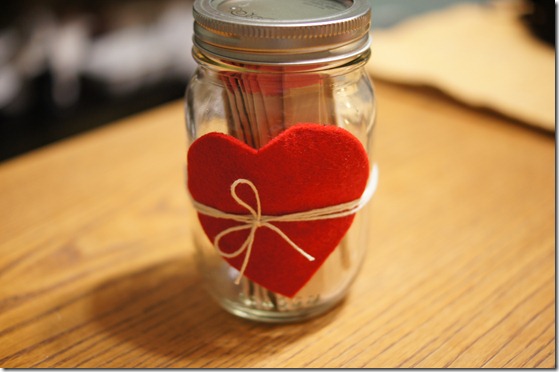
the last project i have to share is a fun valentine’s gift for aaron – a date night jar. we have been talking about the fact that two-and-a-half years into marriage that we don’t go on dates really anymore. at least not like we used to. so, i thought it would be fun to compile some ideas so that when we find ourselves looking for something fun to do, we could skip past the brainstorming & move right to the date!

there are lots of “date night jars” on pinterest so definitely search there if you want some more versions of this idea.

supplies:

  • short glass jar – i used a mason jar
  • fat popsicle sticks
  • acrylic paint – i used festive red & pink 
  • sharpie or marker
  • felt
  • twine or string

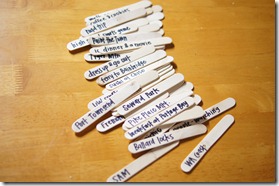
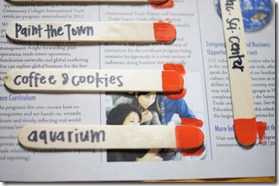
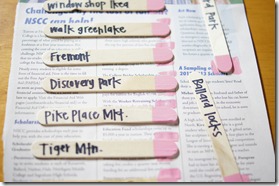
i started out by brainstorming & writing out all of my date ideas. i tried to make half of them free dates & half of them pay dates. i was with some girlfriends during this process which helped the idea-flowing tremendously, but i tried to think of all of those things that we always say we want to do or only do when out-of-town guests are visiting. then i painted the ends of the sticks {both sides} – red signifying the pay dates & pink the free ones.

DSC02664DSC02665DSC02666DSC02671

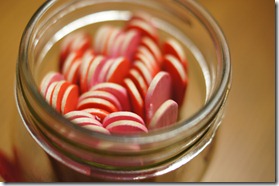
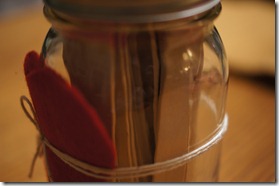
then i put all of the sticks in the jar, painted side up. i traced a heart out of felt & tied it onto the jar with some string.

DSC02672DSC02674DSC02673

it’s not too late to whip up a fun something for your valentine! do you craft or buy for valentine’s day?

M

my weekend in pictures.

IMG_3188

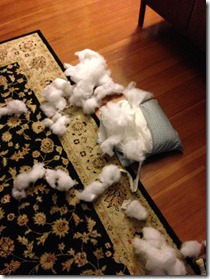
{came home to this on friday night. sadie apparently didn’t like that pillow on the couch & murdered it. anyone free in the afternoons to play with sadie?}

IMG_3189

{a package from jewelmint in the mail is always a good idea.}

IMG_3190

{sushi date at blue c.}

IMG_3193

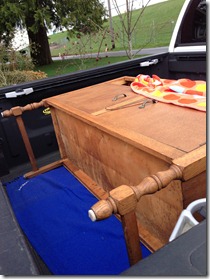
{i think we found an antique hutch for an upcoming house project!}

IMG_3194

{saturday night dinner & a movie with my grandmother. we saw silverlinings playbook which i thought was good but, honestly, i am surprised by all of the awards buzz. anyone else seen it?}

IMG_3195

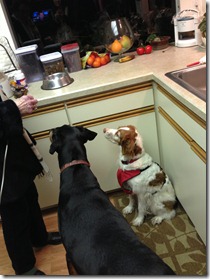
{sadie & greta – my grandmother’s doberman – awaiting treats.}

IMG_3196

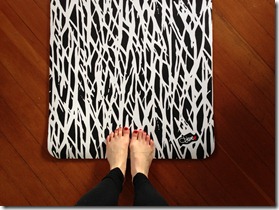
{sunday morning yoga. much needed.}

IMG_3197

{flowers & pie for a dinner party.}

IMG_3199

{thanks miriam for the beautiful birthday flowers! only 3 days until the big celebration, but who’s counting?}

we had a good weekend, but boy it went so fast! we got a few things done around the house, got to hang out with some old friends over dinner, & enjoyed some much needed sunshine {not much but a bit!} – i call that a weekend well spent. how was your weekend?

M

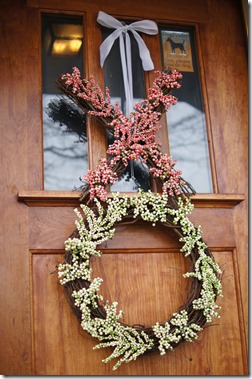
valentine’s day diy: xo wreath.

less than a week until the big day! this second project {see my diy heart elbow patches here} is super festive & even if i don’t get to see it inside the house, it is fun to be greeted with when we get home from work.

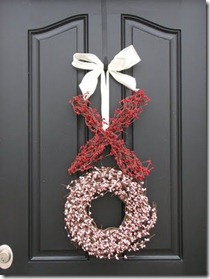
xo wreath

{original pinterest link – valentine’s day decor}

there wasn’t a tutorial for this pinterest project as the original link leads back to an etsy shop. at first i considered just buying this wreath {like i ended up doing with this year’s christmas wreath} but for a $90 price tag, i figured i could give it a try myself.

supplies:

  • round wreath – i used a grapevine wreath
  • two straight bundles– i used a grapevine wreath {these are in the same section as wreaths at michael’s}
  • wide ribbon – i used white wired ribbon
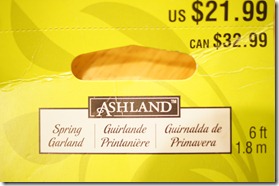
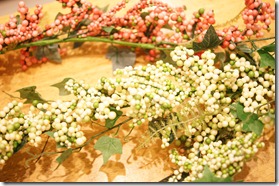
  • faux berries – i found 6 foot garlands of pink & white {if you wanted red berries, you may want to get some right after christmas on sale}
  • hot glue gun & glue sticks
  • garden hand clippers & hedge lopper {for the bigger branches}
  • scissors

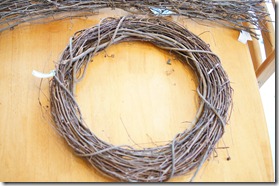
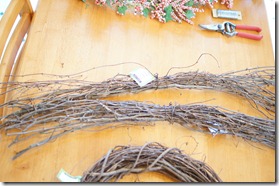
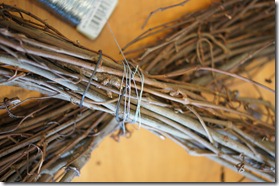
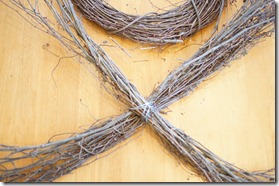
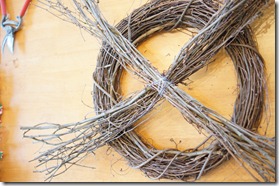
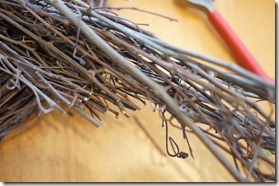
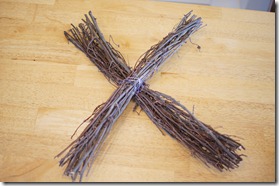
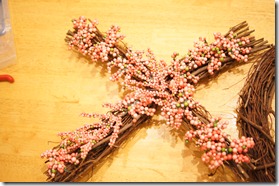
i didn’t need to do anything with the “o” wreath to prep it, so i just set it aside to work on the “x” wreath. the two long bundles were already bound together in the middle, so i just placed them in an x & secured it with very thin wire. once the x was made, i set it on top of the o to determine how much i would have to cut the ends down.

DSC02610DSC02611DSC02614DSC02616DSC02619DSC02620

i started trimming the thin pieces with hand garden clippers, but had to break out the hedge loppers to get the big pieces cut. i tried to make the ends pretty even, but didn’t want them to be perfectly straight.

DSC02621DSC02641

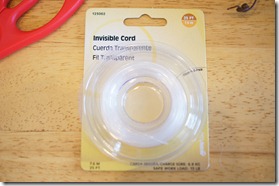
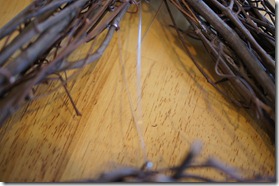
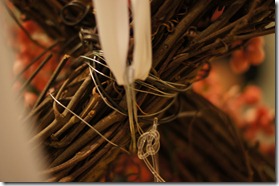
to attach the x & o together {so the x would hang above the o}, i used invisible cord that we have to hang pictures from the picture rail. we strung cord on the backside of the x thru the wire used to hold the x together & looped it to thru a small metal ring on the o wreath that was used to attach the price tag {sorry the picture below is so bad, the camera had trouble focusing on the cord}. we left just enough space between the wreaths for them to hang without hitting each other.

DSC02642DSC02643

adding the berries was a bit more messy & different that i had anticipated, but in the end it worked out. because i couldn’t find branches that already had berries attached, i had to buy the branches & add the berries myself. i was able to find 6 foot garlands of berries with ivy at michael’s on sale for 60% off {honestly, if these were full price, i wouldn’t have likely used them}. though both of these garlands had a main color – pink & white – they also had green berries sprinkled in which added a bit of spring-y-ness to them. {also, these are foam berries which probably aren’t supposed to be used outside, but our front door is pretty protected from moisture.}

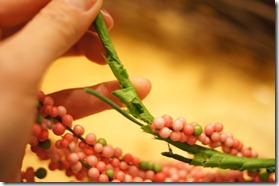
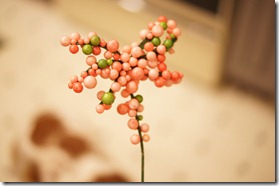
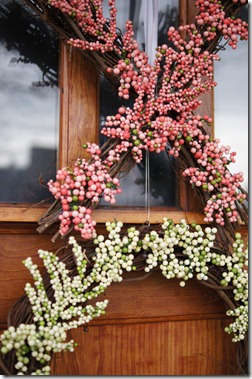
i basically dismantled these garlands, ripping off the floral tape that was holding the berry bunches & ivy leaves together. once i had just the berry bunch i wanted, i trimmed the wire end down & stuck it into the wreath. once i had arranged the bunches on the wreath {all facing the same way even around the o wreath}, i hot glued them down. i did the x in pink & then the o in white.

DSC02654DSC02653DSC02656DSC02657DSC02655DSC02658

to add the hanging ribbon, i looped the ribbon thru the wire holding the x together {you can see the invisible cord attaching the wreaths together there} & then tied the ends in a bow at the top.

DSC02659DSC02660


DSC02662DSC02663

do you have any outdoor valentine’s day decorations like a front-door wreath?

M

valentine’s day diy: heart elbow patches.

valentine’s day holds a special place in my heart for obvious reasons {pun intended & it is my birthday}. i thought it would be fun & festive to share a few valentine’s day diy projects over the next two weeks, well 11 days.

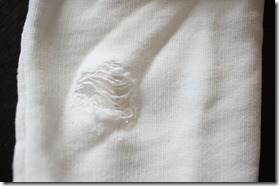
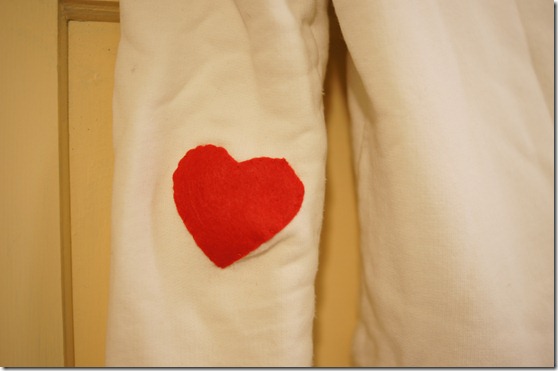
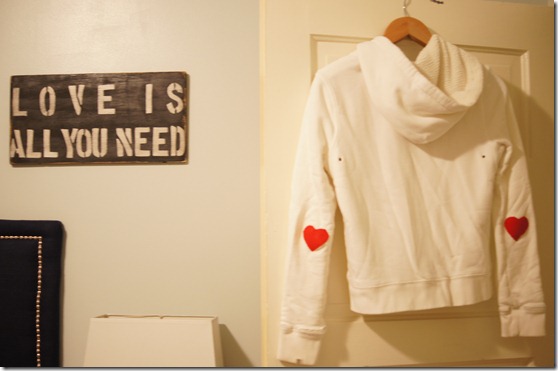
this first project is something that i have been wanting to do for a few years. i had an old j.crew hoodie {my fav} that i literally wore the elbows thru {sad story, i know}. i wanted to put patches on the elbows but it has taken me a while to figure out what i wanted. in thinking about valentine’s day, i figured it would be fun to put heart patches on the elbows. worst case, i could take them off & try something different!

supplies:

  • sweater/sweatshirt/shirt with worn-out elbows {or not, the patches could be decorative}
  • red felt
  • red thread
  • scissors
  • paper or cardstock {for stencil}

i started by cutting out a heart-shaped stencil from cardstock. to keep the shape consistent on both sides, i folded the cardstock in half & drew out just one side. also, it is important for an elbow patch to bigger than the hole; this sounds obvious but the first heart stencil i cut wasn’t quite big enough. fail. after i made a stencil that was the right shape & size, i cut two hearts out of felt.

DSC02646DSC02644DSC02645

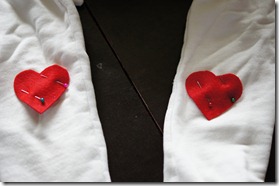
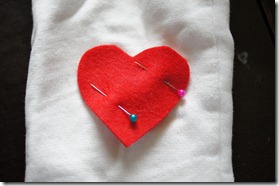
then, i pinned & sewed the hearts over the holes. the holes were a bit off center on the sleeve, so in order to avoid putting huge heart patches on the elbows {i thought that may be a bit much}, my patches are off-center.

DSC02647DSC02648DSC02649

happy elbows!

DSC02650

DSC02652

have you patched anything with hearts?

M

my weekend in pictures.

IMG_3173

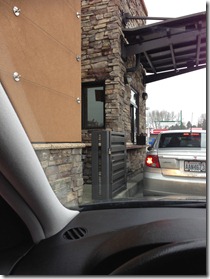
{saturday afternoon marked my first starbucks drive-thru experience. yep, for real.}

IMG_3174

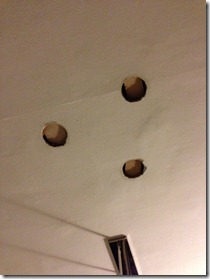
{aaron started patching the holes in our ceiling where our old lights were.}

IMG_3175

{we went to out for quinoa pasta & ended up with a basket full of snacks for the superbowl. darn you whole foods!}

IMG_3179

{on sunday morning we took a family stroll around greenlake.}

IMG_3180

{sadie wanted to swim with the birds.}

IMG_3181

{highlight of the walk: the bald eagle perched high up in a tree.}

IMG_3183

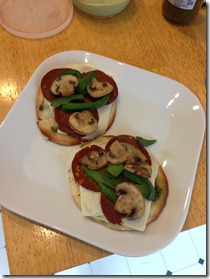
{mini vegan, gluten-free pizzas. not too shabby. february 1 marked the start of gluten-free month. cheers to diet restrictions & eating more veggies!}

IMG_3185

{despite the 49ers not winning the superbowl, i did enjoy beyonce’s half-time show & the brief reunion of destiny’s child!}

IMG_3186

{aaron thinks this gal in the budweiser commercial is my doppelganger. i am on the fence.}

we had a pretty relaxing weekend without a lot of solid plans which was a nice change. how was your weekend?

M

diy campaign dressers.

it probably isn’t a surprise that when aaron asked me what i wanted for christmas that i asked for supplies for a diy project. seems like diys & stuff for the house tops the wish list these days. while there are a few lots of things that i am eyeing or wanting to do for the house, i decided that i needed to upgrade my dresser.

if you don’t recall, this was my dresser.
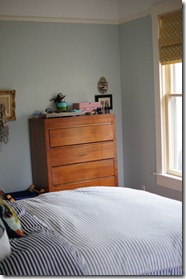
DSC02289

there wasn’t anything particularly wrong with it & it functioned well. however, i don’t find it very aesthetically pleasing & it was way too tall for me {i had to jump to see my jewelry!}. so, when deciding what i wanted to replace the dresser, i focused on maintaining functionality & height {or lack thereof}.

naturally, i found a diy on pinterest a few months back that immediately caught my attention.
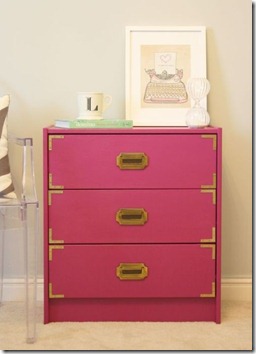
DIY Campaign Dresser

{original pinterest link – DIY: Campaign Chest}

i basically followed this tutorial, but changed the dresser base & the handles {more about that in a bit}.

supplies {for one dresser}:

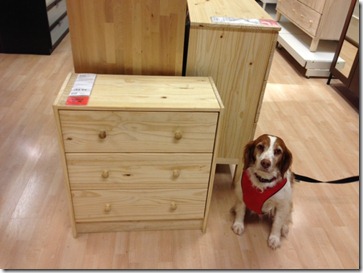
{sidenote: when we went to ikea to buy the dressers for this project, i was sure we were going to buy the rast dresser that was used in the tutorial. however, when we got to the dresser section of the store, we realized that the rast dresser is tiny {see how it compares to sadie} & could be used as maybe a nightstand or kid’s dresser. so, on the spot we had to punt & decided that the tarva dresser, which was also raw pine wood, would be a good alternative. it didn’t have quite the same lines as a “traditional” campaign dresser would with its top & legs, but we just went with it.}
photo

i started by assembling the dresser & priming it.
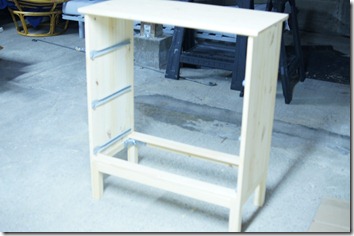
DSC02546

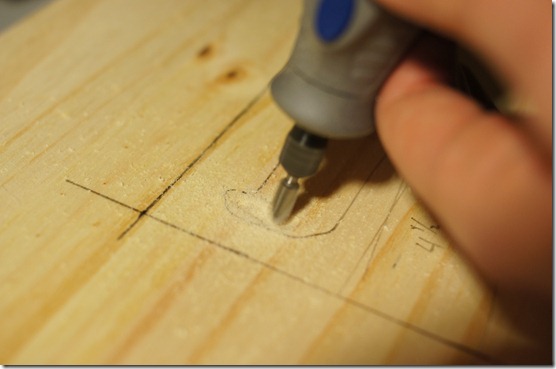
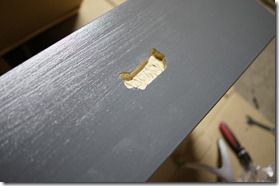
i assembled the drawers. then aaron sketched out the back of the drawer hinge & hand-routed the drawer fronts {thank you husband!} so that the drawer pulls would lie flat. {sidenote: the tutorial uses campaign-style handles that lie flat against the drawer without routing. i couldn’t find these anywhere!}
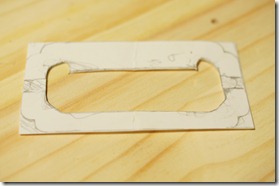
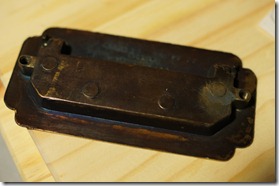
DSC02555DSC02554DSC02553

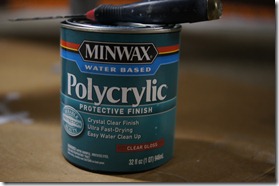
i primed the drawer fronts & their edges, & then painted the dresser & drawers. i ended up painting three coats {mostly with roller but brush where the roller wouldn’t fit}. i really wanted these to be high, high gloss, but since i wasn’t willing to use oil-based paint i didn’t get the high, high gloss. we decided that since these dressers would get so much use & also to help boost the glossiness we should put on a coat of polycrylic. we were able to get a polycrylic {see the link above} in a gloss that was pretty low VOC. i followed the instructions & put on three thin coats.
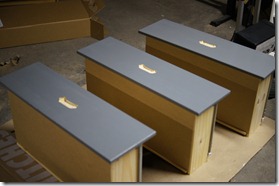
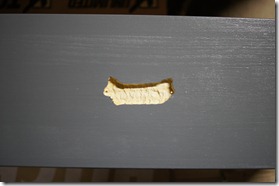
DSC02622DSC02623DSC02624DSC02625

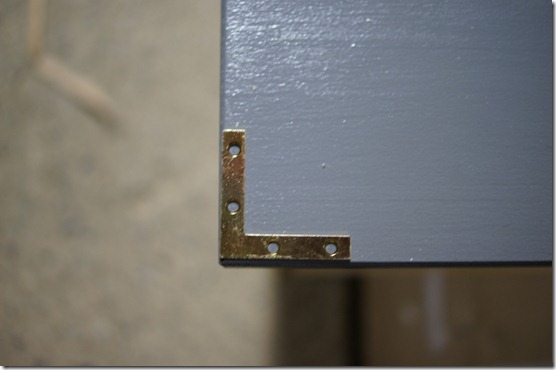
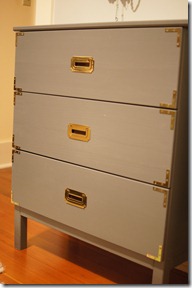
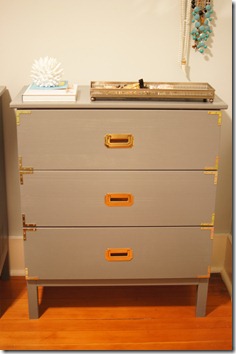
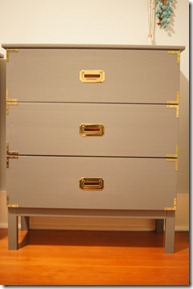
after drying for just over 24 hours, we attached the hardware. this was a lot of work, but so worth it to see ikea dressers turn into pseudo-campaign dressers.
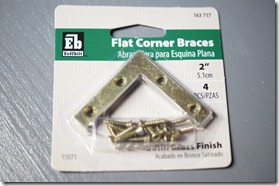
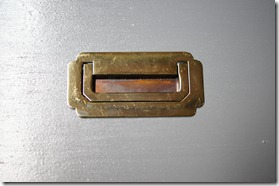
DSC02626DSC02627DSC02629

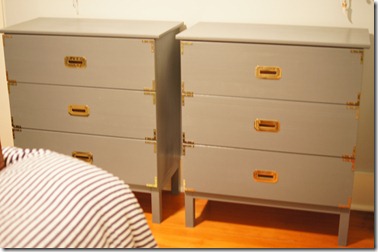
after the brass corners were placed & the handles were set, we were able to move them to their new home! {sidenote: there is a pretty big difference in color between the pictures above & the pictures below. i tried my best with my very limited knowledge of how to use the camera’s ISO & f-stop, but the grey color in the pictures above are the best representation of the color of the dressers.}
DSC02635

DSC02636DSC02637

DSC02640

while these are pretty non-traditional looking campaign dressers, i am really happy with the result. now i just need to find the right mirror/art/jewelry hanging combination for the wall above the dressers – any suggestions?

what are you storing your clothes in – dresser, armoire, closet?

M