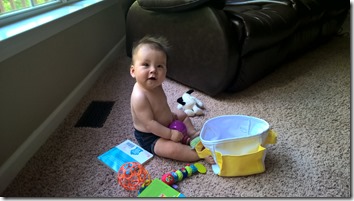
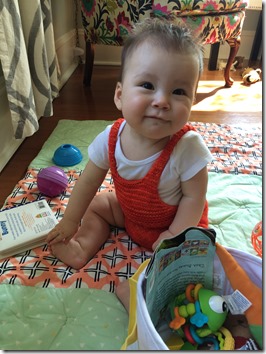
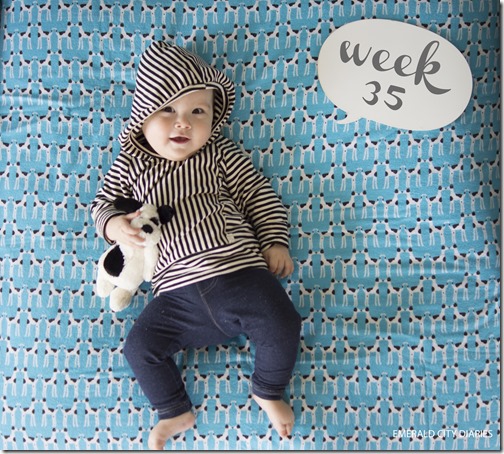
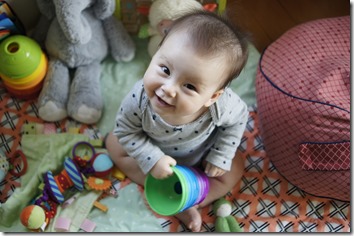
eloise has a corner of the living room where she can sit & play with her toys. it is nice because it is out of the way of any foot traffic & allows her to have independent playtime. when I first set it up, it was a hodge-podge of thick blankets & her play gym since she was still learning to roll & sit up. I didn’t like the way it looked, so I made something I liked instead!
I knew I wanted something quilted to give eloise some padding on our hardwood floors. I really love hardwood, but when your baby is learning to roll & sit up, it can be brutal! I found this fun playmat on Purl Bee (via Pinterest) & made it slightly larger. I am really happy with the way this playmat turned out, I just wish I would have made it sooner!

{via Purl Bee}
supplies:
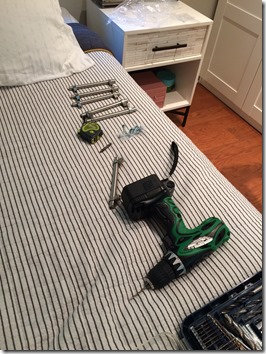
{sidenote: I apologize for the iphone quality pictures. I did this project in tandem with my chair & needed the SD card in my computer (rather than in the camera) so that I could see how the pieces went back on. I guess that’s the problem with multi-tasking!}
I (mostly) followed the directions on the Purl Bee post, but added an extra set of four squares (so my finished quilt was six squares on each side rather than four).
first I cut out all 12 squares. I typically have issues with the cutting part of sewing projects, but squares are nice because you can cut two sides & then fold it in half & then cut the remaining sides.
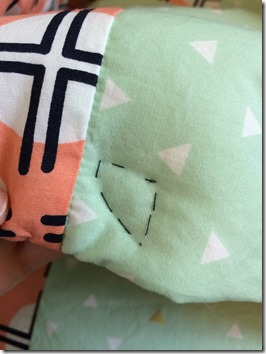
then I pinned & sewed two sets of squares together (one of each fabric) & then sewed three sets together (to make two sets of six). the seam allowances for this project were really small (in my opinion) & I wish I would have followed my gut & made them bigger from the beginning. I was worried about it the entire time, & lo & behold, I had two places on the quilt where I didn’t quite catch enough fabric & have to handstitch the area closed… oh well!
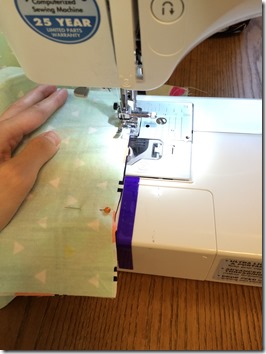
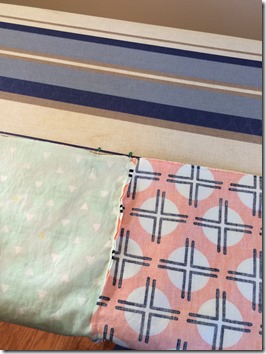
I didn’t get a picture of this part, but then I made the quilt batting “sandwich” where you layer the fabric right-sides together on top of the quilt batting. then you sew around the entire perimeter, leaving a few inches to reverse the fabric right-side out. then you sew the hole shut by hand. I normally would top-stitch something like this to give it a nicer finish, but I didn’t think I could do a good enough job going thru the batting.
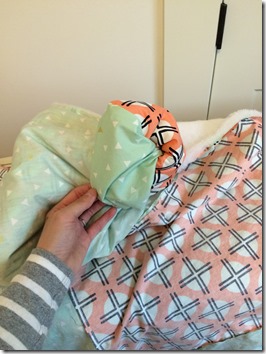
next it is time to quilt! I chose contrasting thread colors like in the original post. since I didn’t use exactly the same fabric though, I had to make up my own way to quilt the shapes. I had though thought about this when I bought the fabric, making sure I ended up with two patterns that would lend themselves to this type of quilting.
once I got started, I found that it was easiest to pin all around the area I was quilting to keep the fabric & batting from moving around.
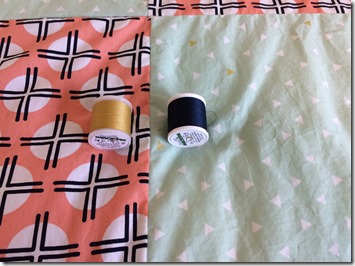
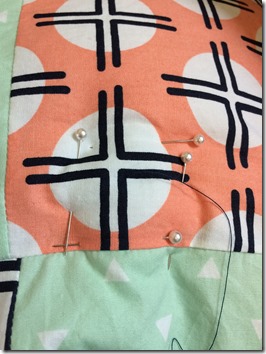
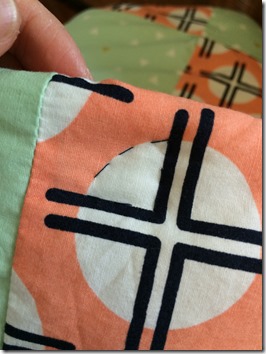
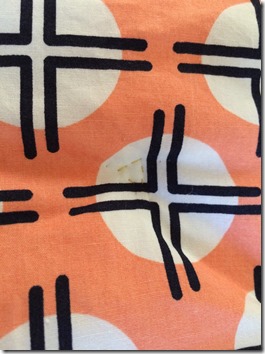
on the Clay Sundot fabric (peach) I quilted a quarter circle with navy thread. you can see what it looks like on the backside of the quilt too.
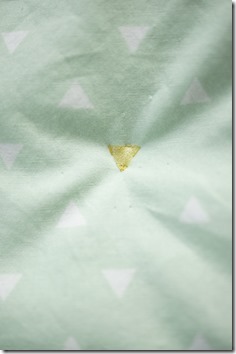
on the Triangle Token Medallion fabric (mint green) I quilted some of the gold triangles with yellow thread. you can (sort of) see what it looks like on the backside. I followed the advice to have some quilting at least every eight inches in order to keep the batting in place. for each square, I quilted the first shape & then measured out eight inches or so to pick the remainder of the quilted shapes.
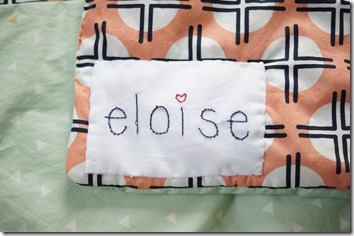
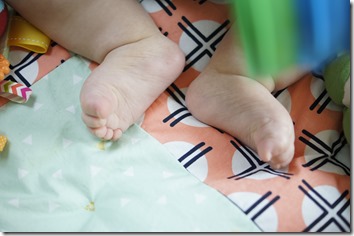
and the finished product! I really LOVE how this turned out & that I was able to choose fabric that was fun, but not too juvenile. it coordinates (sort of) with our living space & hopefully it will be a quilt eloise can use for years. I especially adore the embroidered name tag – a fun last-minute addition! (I just cut out two smallish rectangles of white cotton muslin that I had leftover from the chair project & ironed them flat. then I lightly traced out the letters spelling “eloise” before hand embroidering along the penciled lines. I stacked the second cotton muslin piece behind the embroidered one before hand sewing it onto the corner of the back of the quilt.)
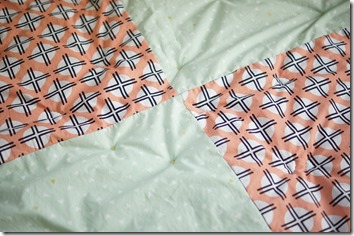
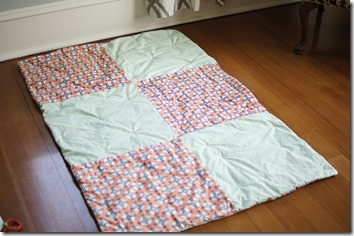
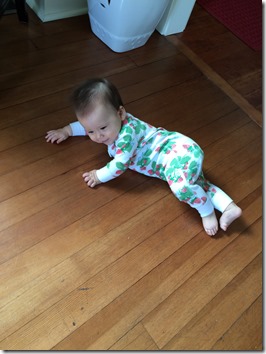
this is such a great place for eloise to play now when she isn’t rolling or crawling all around!
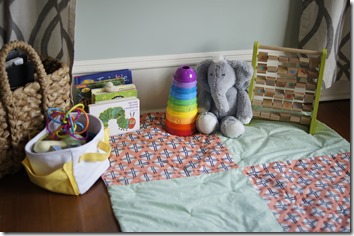
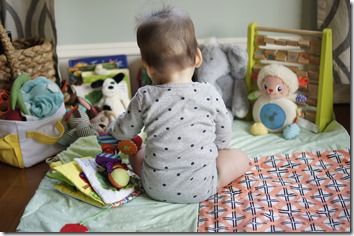
how have you set up the playspace for your kiddos?
M
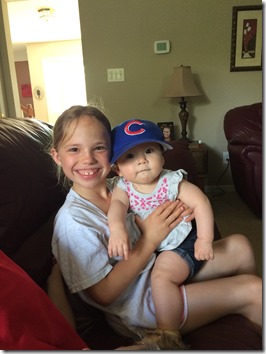 {maddie & eloise. doesn’t e look so sweet in a baseball hat?}
