my weekend in pictures.

IMG_1073

{made it thru friday the 13th! also, tax season is right around the corner.}

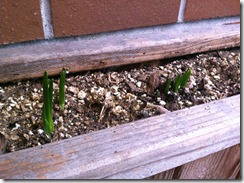
IMG_1076

{my daffodil bulbs don’t realize it is still january}

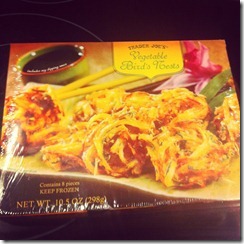
IMG_1094

{appetizer before dinner out with friends. TJ’s has the best appetizers!}

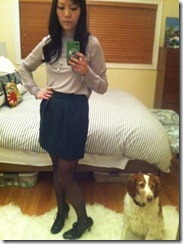
IMG_1095

{all dressed up with somewhere to go! sadie was sad she didn’t get to join us.}

IMG_1096

{we took beth ann & jenna to emmer & rye in queen anne – highly recommended!}

IMG_1097

{dinner out is not complete without a stop to molly moon’s. earl grey & scout mint ice cream on a waffle cone, please!}

IMG_1099

{sadie hunting squirrels}

IMG_1101

{the perfect breakfast: banana bread, cup of tea & catching up on blogs}

IMG_1102

{sadie & i braving the weather pre-snowpocolypse (see below)}

IMG_1106

{can’t beat dinner from marination station}

IMG_1110

{we almost got stuck in downtown. thank goodness my husband knows how to put on chains!}

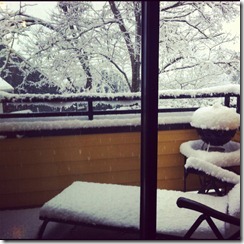
IMG_1114

{our little balcony covered in snow. we got at least four inches on monday!}

IMG_1115

{sadie & a snowman}

IMG_1116

{aaron putting on the chains, again, to try to get our car up our driveway & into the garage.}

IMG_1117

{our neighborhood was a winter wonderland!}

IMG_1119

{our street was closed.}

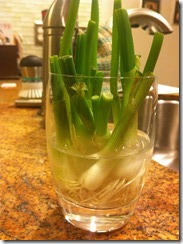
IMG_1120

{i saw on pinterest that green onions will re-grow if you put the white ends into water. we thought we’d give it a try & it is totally working!}

IMG_1122

{sunday night was movie night. that’s juno!}

how was your weekend? any snowstorms in your area, or only the pacific northwest?

M

a pinterest christmas: gifts for neighbors.

i thought it might be nice to do something for a few of our neighbors for the holiday. i was told by someone recently that if you don’t know your neighbors very well you shouldn’t bake them anything – who was that? – but there were so many yummy goodies on pinterest, i couldn’t resist making something.

i wanted to make something festive, but not too over-the-top. this chex-based mix is really easy, really yummy & really healthy (well, healthy may be a stretch).

{the original pinterest link: snowflake mix}
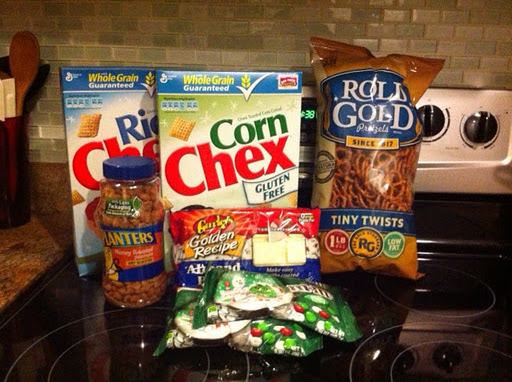
supplies:
3 cups rice chex mix
3 cups corn chex mix
1 cup honey roasted peanuts
1 cup small pretzel twists or sticks
12 ounces white baking chocolate (i used 10 ounces of vanilla almond bark – the stuff you dip pretzels in)
12 ounces M&Ms (i used the mint ones)
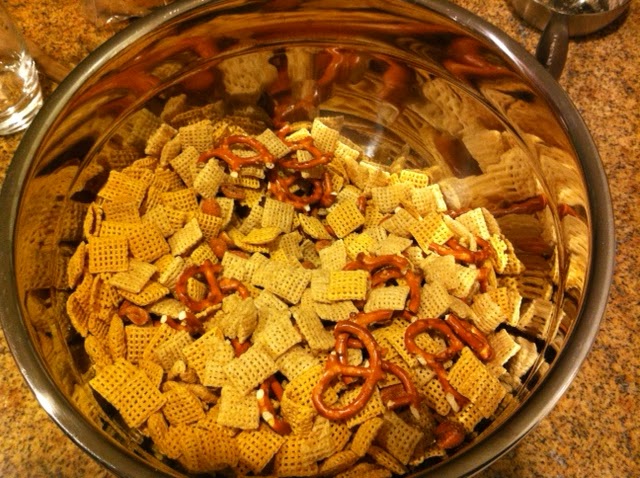
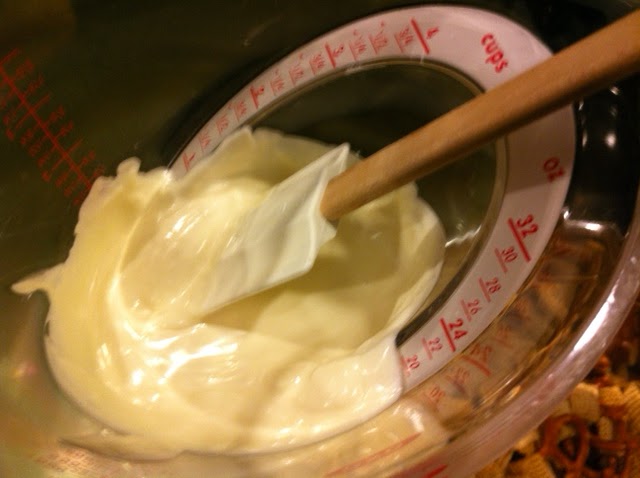
 {first, you add the chex, pretzels & peanuts together in a large bowl}
{then, you melt the chocolate in the microwave}
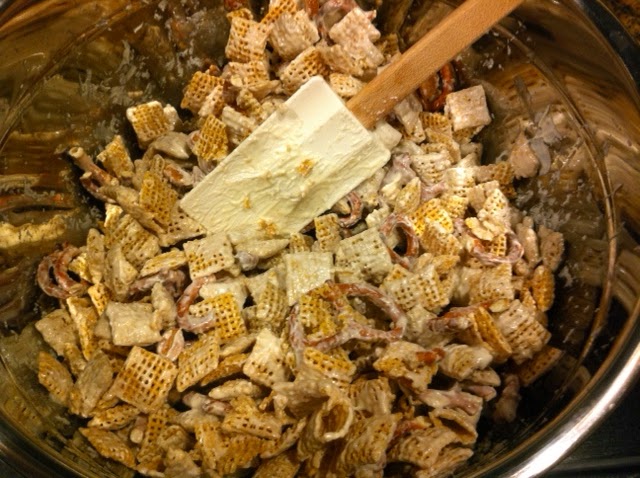
{next, you add the chocolate to the chex mix and gently stir to coat}
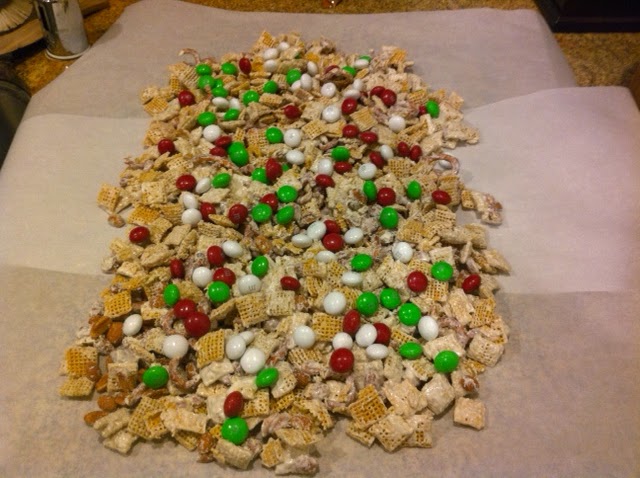
{then, you spread the mix out onto parchment or wax paper and add M&Ms}
 {finally, you break the mix into pieces after one hour of cooling}

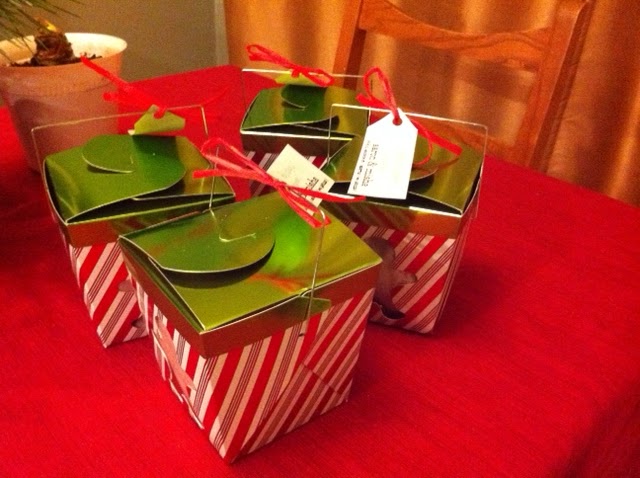
 i got these cute little christmas take-out boxes at michaels for about 99 cents a piece. i put in a piece of parchment paper before adding the mix, and then attached a little gift tag.

have you made any yummy christmas goodies from pinterest? do you give gifts to your neighbors?
M

a pinterest christmas: stockings, the sadie edition.

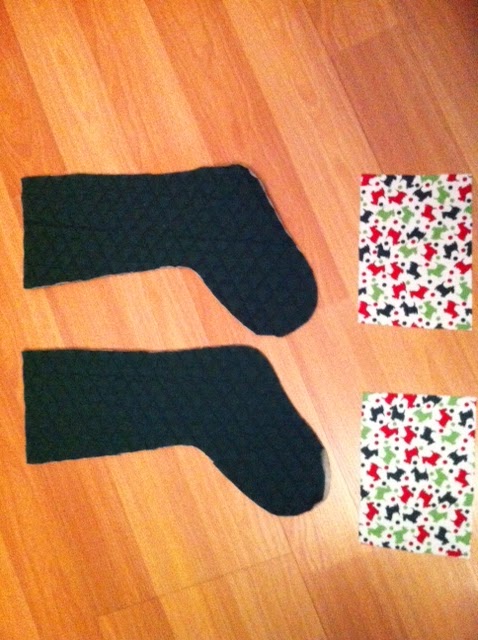
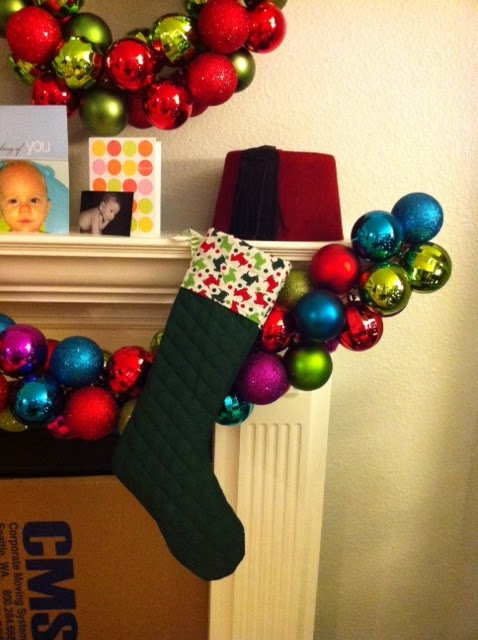
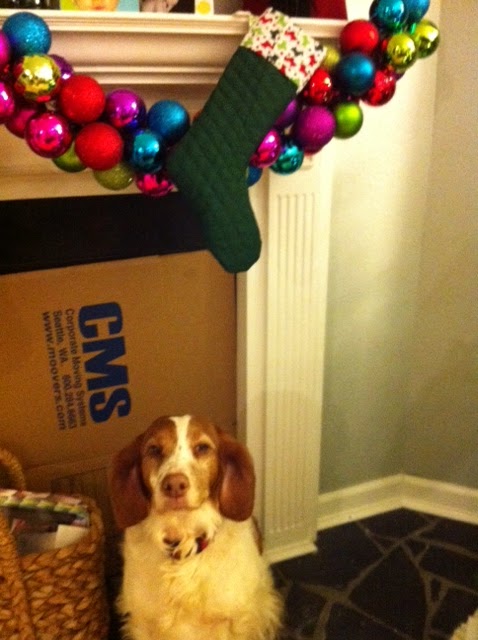
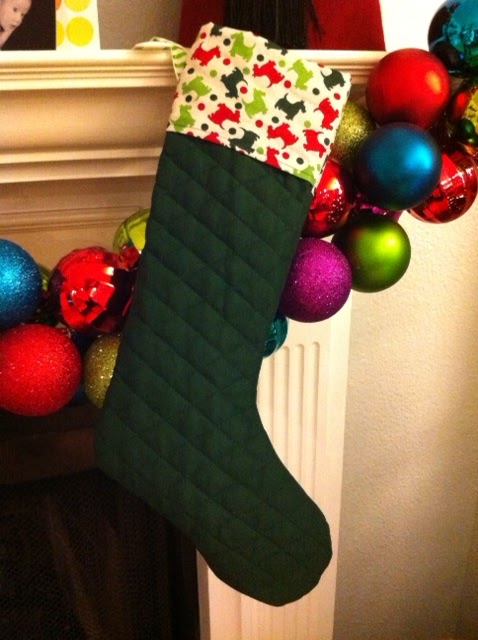
i made a stocking for sadie this year. it just didn’t seem right that any member of the family wouldn’t have a stocking hanging from the mantle.

i followed pretty much the same tutorial as for the other two stockings, minus the ruffled ribbon on the cuff. i also cut the stocking pattern (the paper one) down about a half an inch so sadie’s is a little smaller and narrower.

the main fabric was pre-quilted and i originally bought it thinking it would be the cuffs for the other two stockings (but then i got the idea of ruffled cuffs. i digress.). it was a long narrow piece of fabric, so it worked out perfectly for the stocking pieces of this stocking. the cuff fabric has little scottie dogs on it – adorable! it is a happy coincidence that this fabric was used as part of sadie’s stocking. i originally bought the fabric to make christmas napkins (but it was a really small & narrow piece of fabric) & i originally thought i was going to use sweater material to make the cuff.

i am really, really happy with sadie’s little stocking. truth be told, i like it more than the others.

 {sidenote: don’t mind the cardboard over the fireplace that shows up in a few shots above. we have been trying to keep a certain furry family member – i won’t mention any names – from chomping on burnt firewood to ease her separation anxiety.}

do you have stockings for your pets, or are we the only ones?
M

a pinterest christmas: stockings.

christmas stockings are one of my favorite holiday decorations. maybe its the joy tied to the gifts that fill christmas stockings or the fact that they are just really big socks, who knows. since we are still a new-ish family (this is only our second married christmas after all), my husband and i don’t have “lower family” christmas stockings. 
i think that stockings are a must, plus, our mantle looked so bare last year without stockings, so i was determined to make family stockings for this (and future) christmases. one for my husband, one for sadie (post coming up!), and one for me! 
i can pretty much credit pinterest for this diy because without it, i would have been completely lost! 
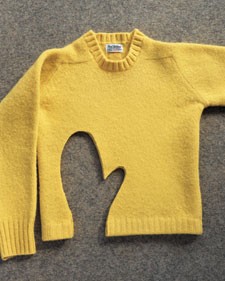
first, i saw this picture and tutorial, by none other than martha stewart, of mittens from an old sweater. 
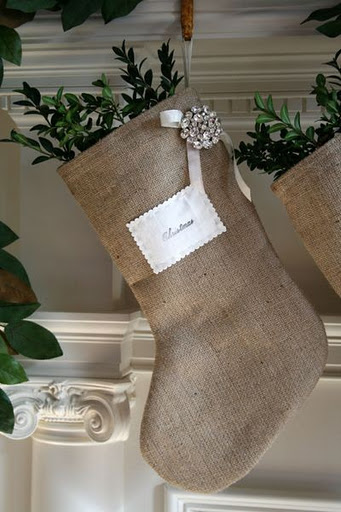
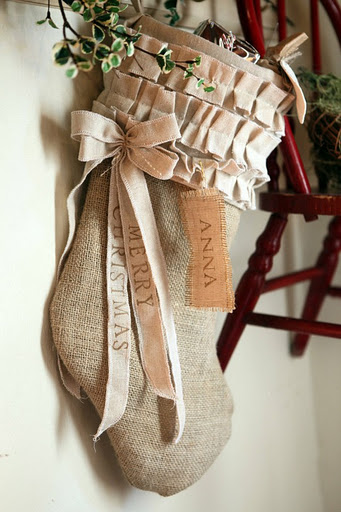
then i saw this picture of handmade burlap stockings.

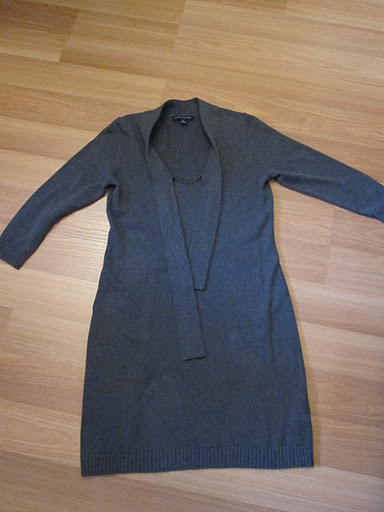
and i decided that i wanted to make handmade christmas stockings out of an old sweater! this was actually perfect because i had the perfect sweater dress that was in the “goodwill pile” after just having gone thru my closet.

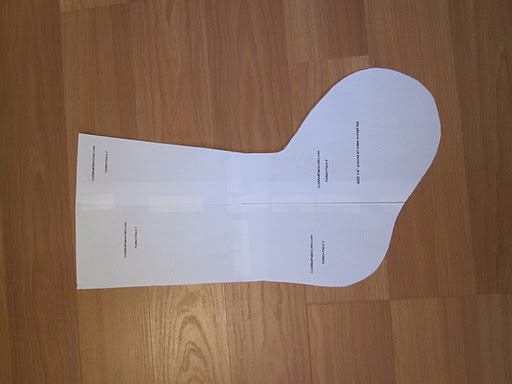
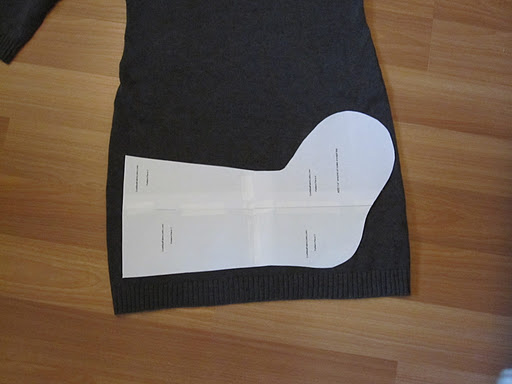
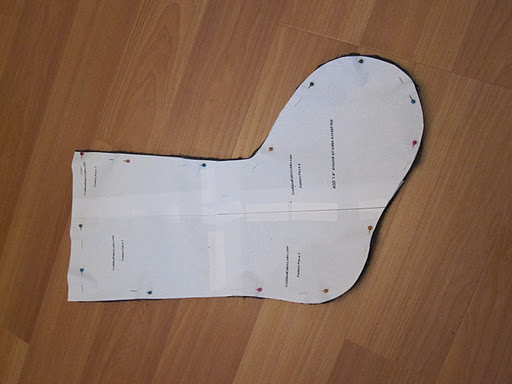
while the basic shape of stockings is pretty straight-forward, i figured if i freehanded the pattern, it would more than likely end up being a disaster. so, i did what i usually do when i need to find something, i googled it (if my husband is reading this, pretend that i said “binged” it instead). and that is where i found this lovely stocking pattern.

i originally cut it out with a 1/4 inch allowance (like the directions stated) and taped the four parts together. but, when i saw how ginormous of a stocking the pattern was for, i cut it down to the actual outline.

supplies:
two kinds of fabric – one for stocking & one for cuff
sewing machine & thread (i guess you could hand sew if you don’t have a machine)
ribbon (optional – i used it to make ruffles on the cuff & for the hanger)
fabric scissors
pins
iron (optional – i used it to press the ruffles into the ribbon)

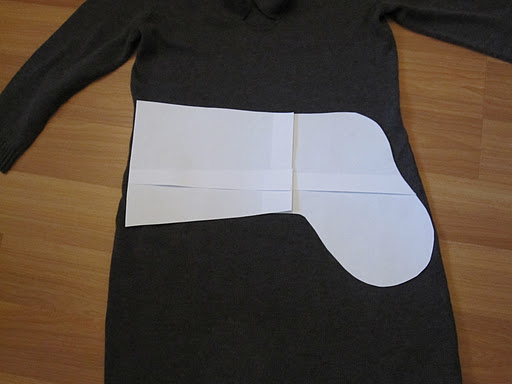
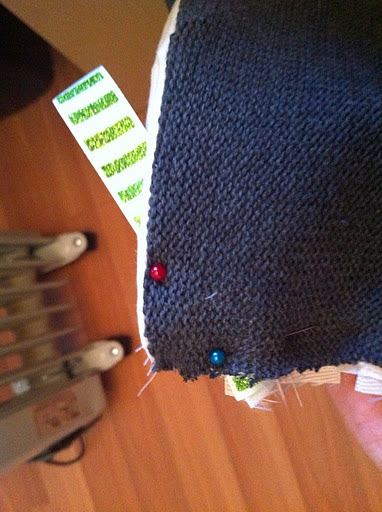
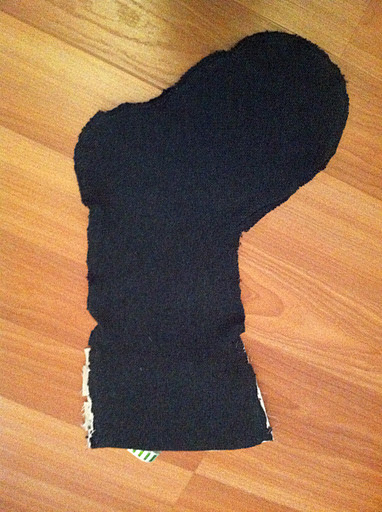
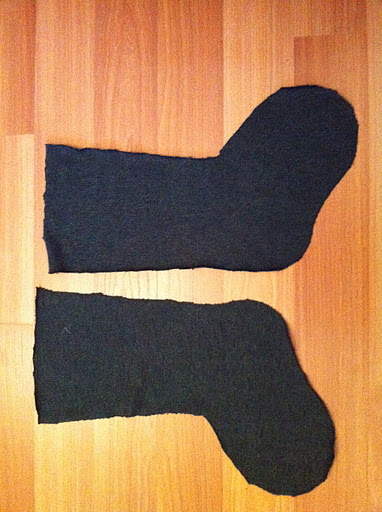
before i pinned the pattern onto the sweater dress, i cut up the side seams of the dress so that it would be easier to pin and cut the pattern four times (two per stocking). then, i pinned and cut out four stocking sides. (sidenote: i pinned and cut two stocking sides with the pattern right-side-up, and two sides with the pattern up-side-down. this way, both sides of the stockings were the “right” side of the sweater.)


after i had the stocking pieces cut, i started work on the cuff. i knew i wanted to put a cuff on these stockings, but it took so long for me to figure out what to do. and then i saw this picture pop up on pinterest!
{etsy via pinterest}
i wanted to copy those ruffles & luckily i had ribbon left over from my tree skirt project. i just had to figure out how to sew a ruffle into a ribbon. luckily it wasn’t too bad!

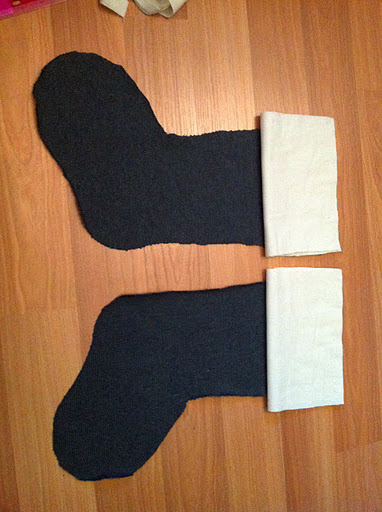
to make the cuff, i used some leftover fabric – also from my tree skirt project – and cut out rectangles that i would fold in half to make the cuff. the fabric i used was pretty thin, so i used two layers and then folded them in half. 

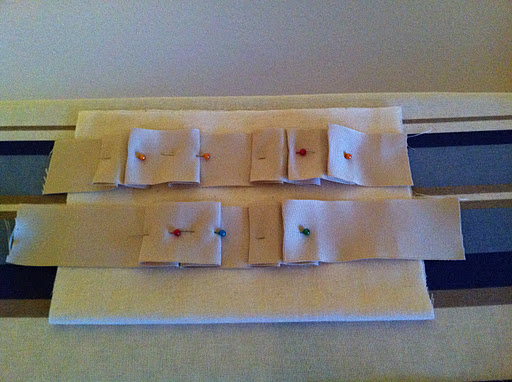
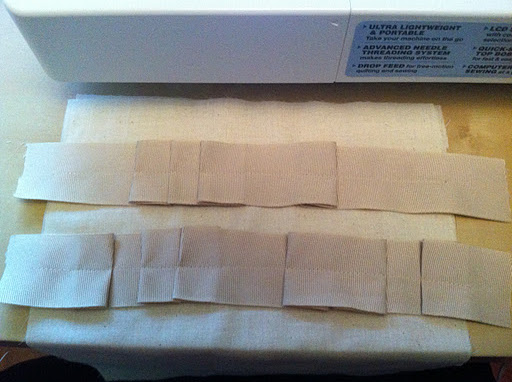
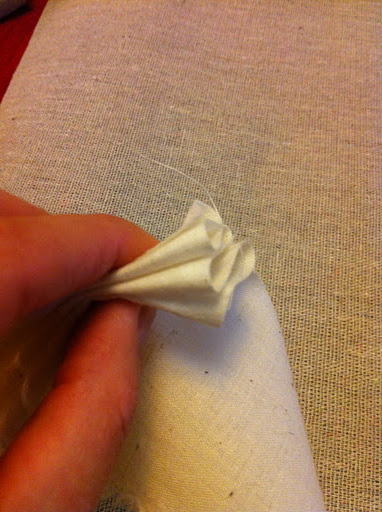
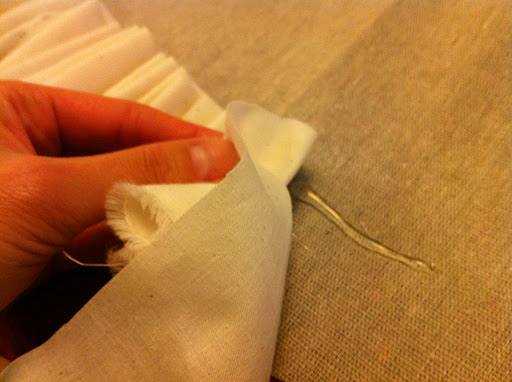
for the ribbon trim, i took the ribbon and just started to fold it into ruffles. then i ironed and pinned the folds. 

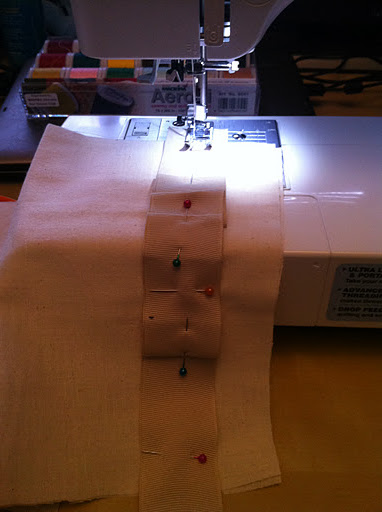
once it came time to sew the ruffled ribbon onto the front side of the cuff (i had two rectangle pieces cut for the cuff – one for the front and one for the back) i just opened up the rectangle and sewed a straight line thru the middle of the ribbon with white thread.

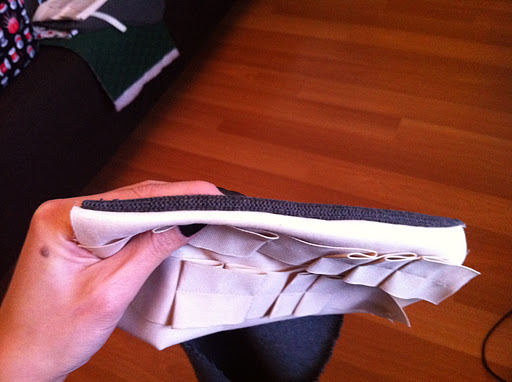
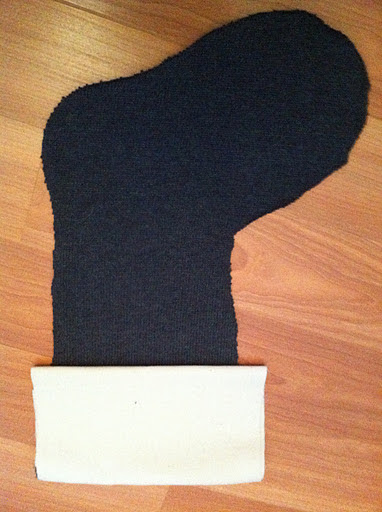
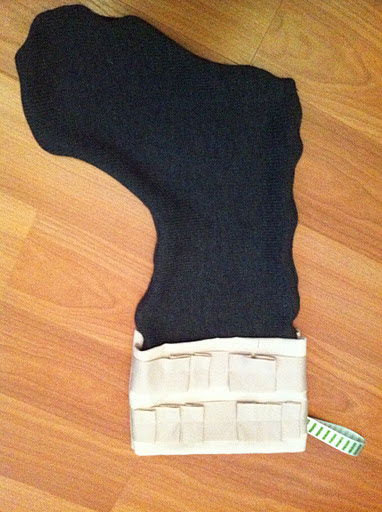
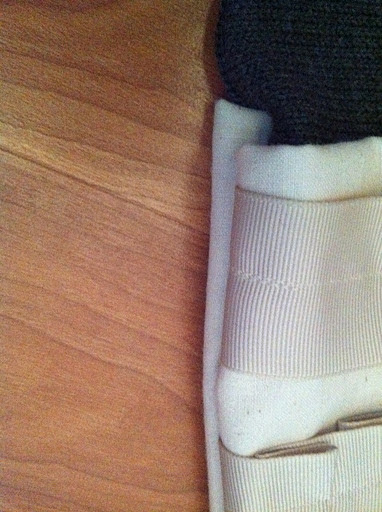
i attached the cuffs by sewing the two pieces together – one for the front and one for the back. the way i designed my stockings – this is really not as classy as it sounds, i totally punted for most of this project – i lined up the raw edges of my cuff fabric and sweater fabric together with the front of the cuff facing the front of the stocking. then once i sewed them together, i flipped the cuff over & the ruffles were facing me. (i did the same with the back of the cuff and stocking, but it wasn’t as big of a deal which way the cuff fabric was facing since it was plain on both sides.)

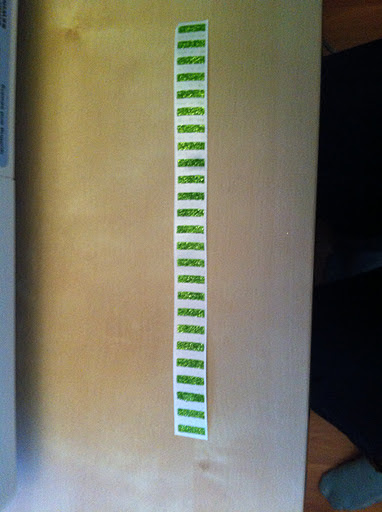
before i pinned the two sides of the stocking together, i decided to add a ribbon hanger. i didn’t have time to go to joann or michael’s (neither are close to my house, boo!) so i used some leftover ribbon from my christmas bunting project. it wasn’t my first pick, but the green stripe is growing on me. 
i cut the length of ribbon that i thought would be a good length to actually hang the stocking from the mantle, and placed it between the two sides of the stocking. it looked really crazy, but since i was going to eventually flip the stocking right-side out, the ribbon hanger was stuck in at a weird angle. i promise it works! then i pinned the two sides of the stocking together with the right-sides in. 
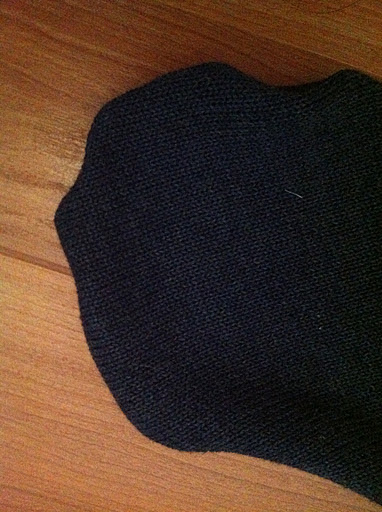
so before you see the final stockings, i have to warn you that i haven’t ever sewed anything but a straight line. the first circular seam that i ever sewed was on that first stocking, and i probably should have made a few practice stitches first. also, i am blaming the lumpy-ness on the fact that my chosen fabric – the sweater dress – was a bit slippery!

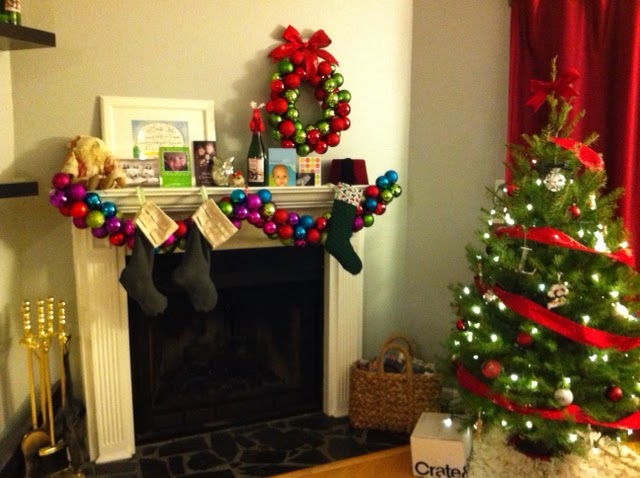
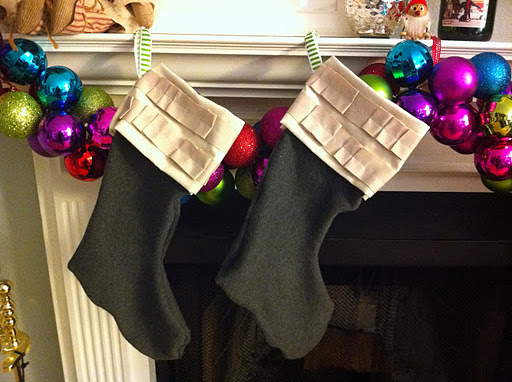
these stockings are far from perfect – the toes & heels are lumpy (i sort of fixed this by stuffing the stockings with tissue) and the cuffs are not perfectly matched. but, they are handmade & i LOVE them!

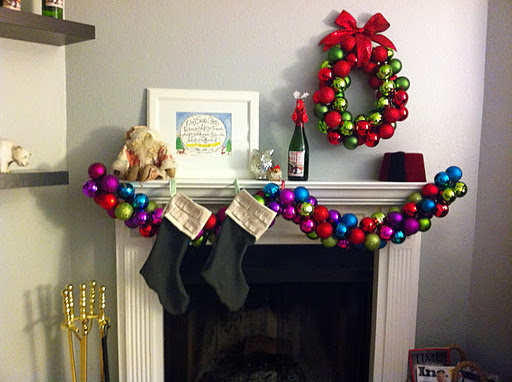
so festive, don’t you think? the garland made it a little hard to hang them from the mantle, but i wasn’t willing to lose one of them. also, we don’t have stocking hangers yet (i say yet because i am hoping to score some on sale after christmas!) so i used some trusty 3M hangers that work for now. 
what stockings do you have hung on your mantle (or stair handrail or foot of bed) – bought or handmade? old or new?
M
*sorry the pictures in this post are facing all different directions!

a pinterest christmas: christmas tree skirt.

this was a really fun project until it took FOREVER to complete! the nice thing is that it was really simple, i think i just made it way harder on myself (i will explain below).
{the original pinterest link: christmas tree skirt.}
supplies:
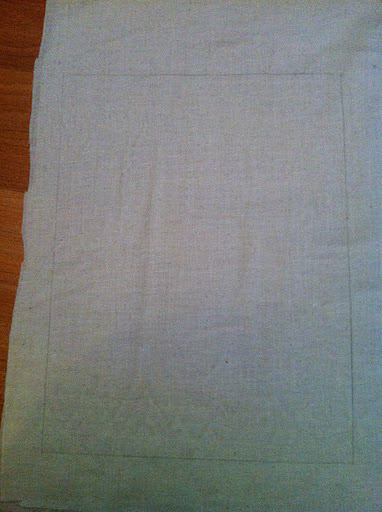
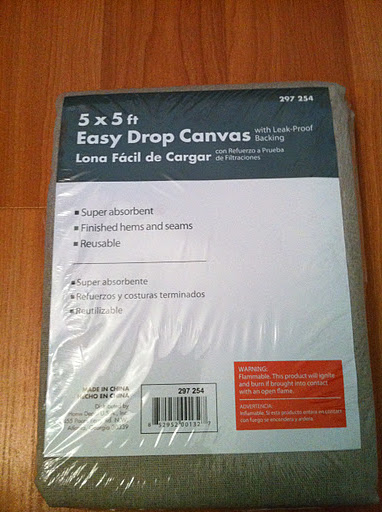
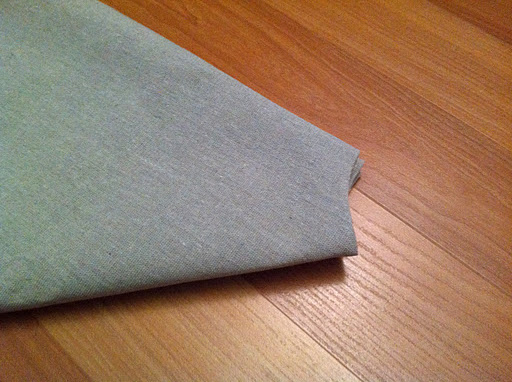
heavy fabric – about 4 feet by 4 feet (i used a painter’s canvas drop cloth from home depot)
hot glue & hot glue gun (you will need lots of glue)
3 to 5 yards of white/ivory linen or cotton fabric (i used about 4 yards of ivory cotton fabric that i found in the quilting section of joann)
fabric scissors
ruler or measuring tape
pencil 
ribbon (i used less than 1 spool of grosgrain ribbon)

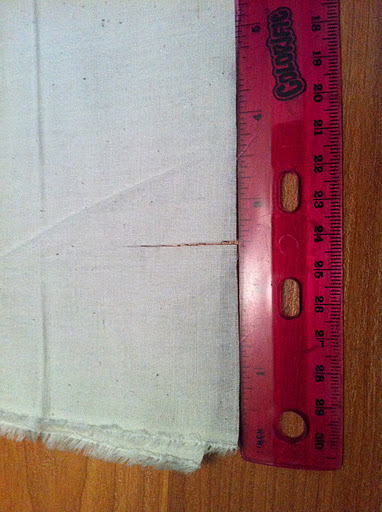
{i started with my canvas drop cloth. since i wanted a 4 foot by 4 foot square, i just trimmed 6 inches off each side.}

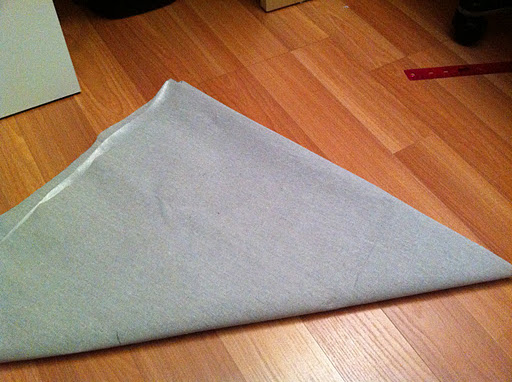
{then, i folded the canvas into a triangle and rounded off the end. it doesn’t have to be perfect as you can always go back and trim.}

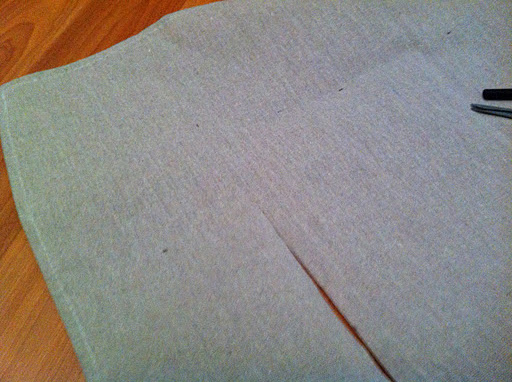
{i cut off the little end of the triangle to make a hole for the tree trunk.}

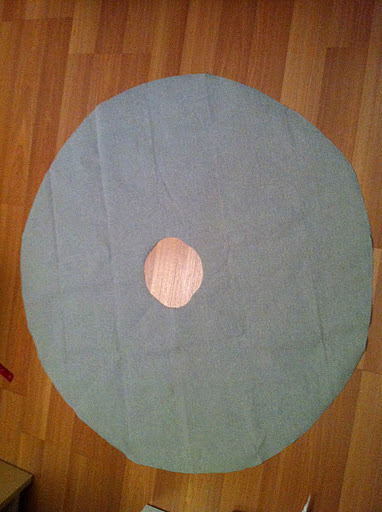
{i opened up the canvas to see how the skirt was forming. it definitely wasn’t round enough so i trimmed the edges to make it more round.}

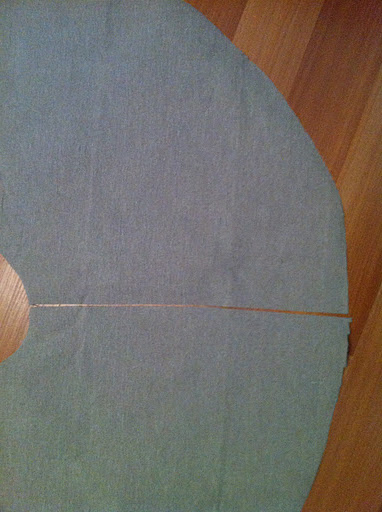
{then i cut a straight line into the middle circle.}

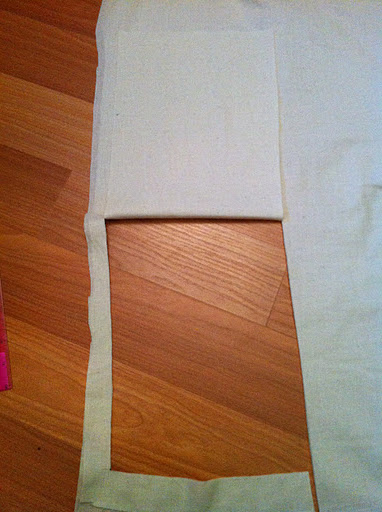
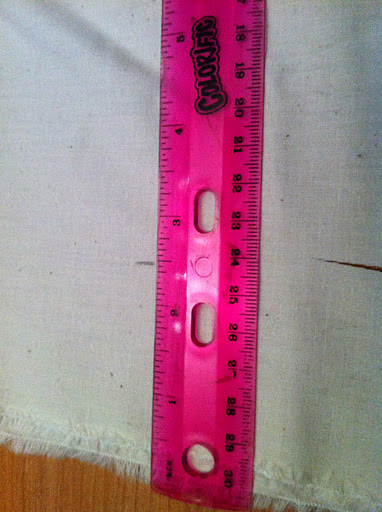
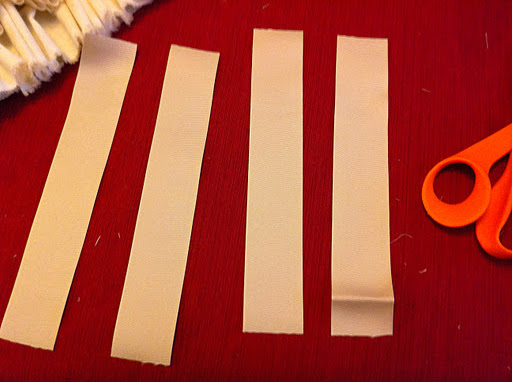
{next, i cut strips of my cotton fabric. i chose to make them 2.5 inches wide but you could go thinner or thicker if you want.}

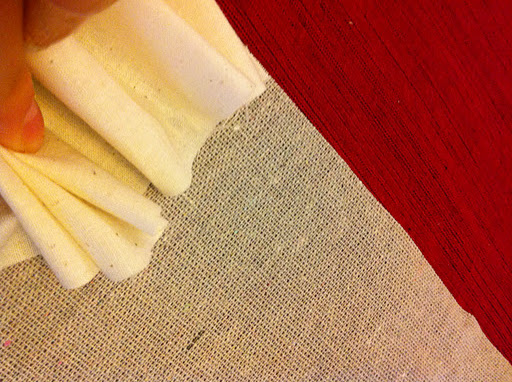
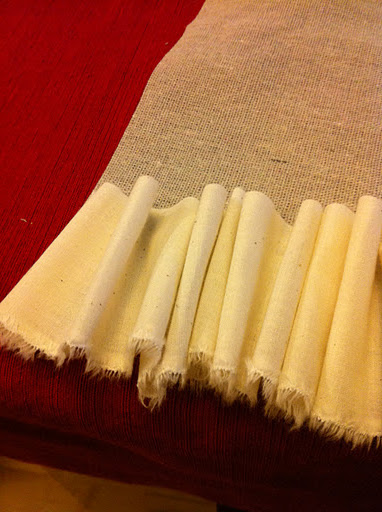
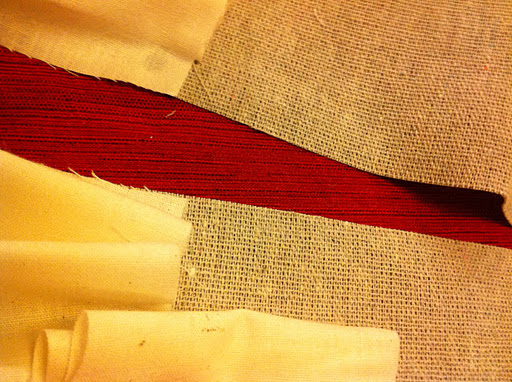
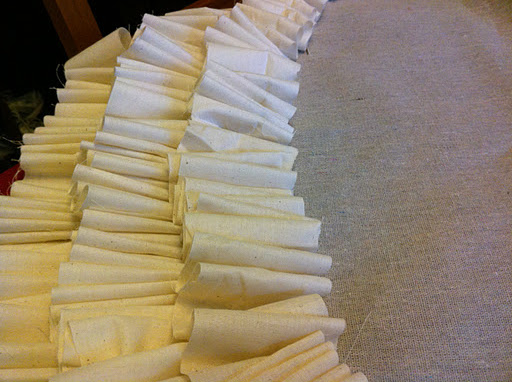
{this is the start of the tedious part: you take a fabric strip and fold it into accordion-type folds, you put a line of hot glue down on the canvas, and then lay the folded fabric onto the glue. i think the reason my skirt took me so long (between 6 or 7 hours!) and so much fabric (4-ish yards) is because i did my folds really small. i think if you do bigger folds, the project will be faster and you will use less fabric.}

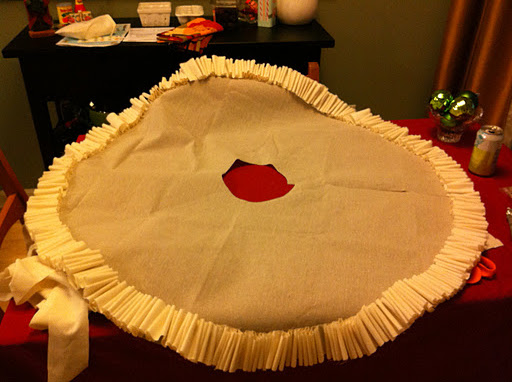
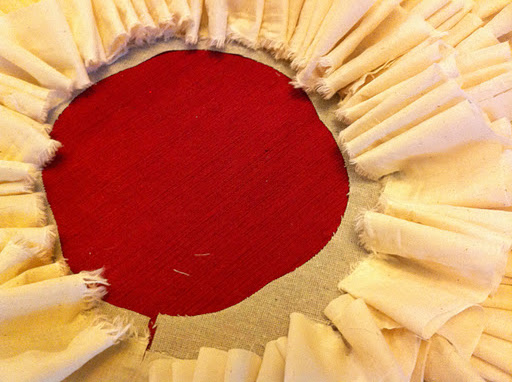
{and then you continue the process of folding & gluing all of the way around the edge of the skirt.}

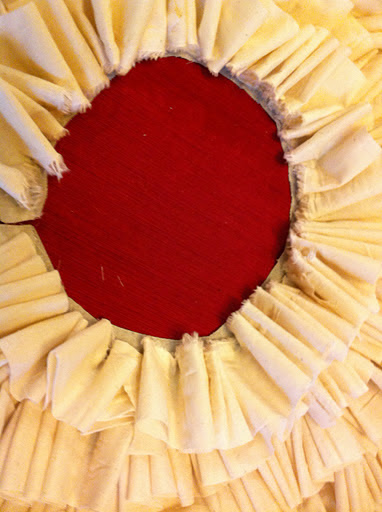
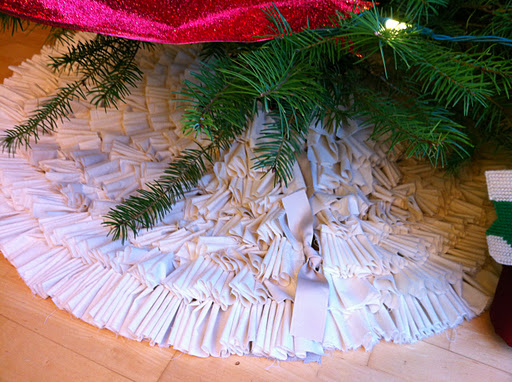
{and then you just continue with the layers, overlapping each layer over the last one.}

{when i finally finished – whew! – the remaining canvas was uneven. it wasn’t really enough to add another layer of fabric, and i momentarily thought adding ribbon would be a good idea, and then i just cut the remaining fabric off!}

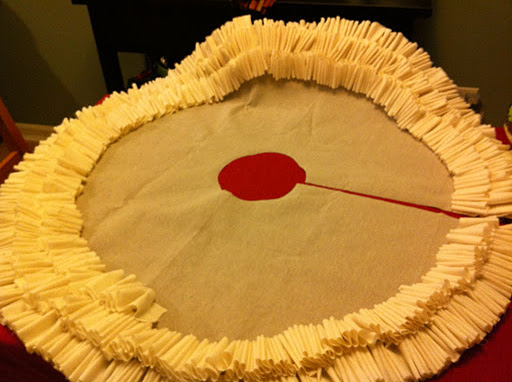
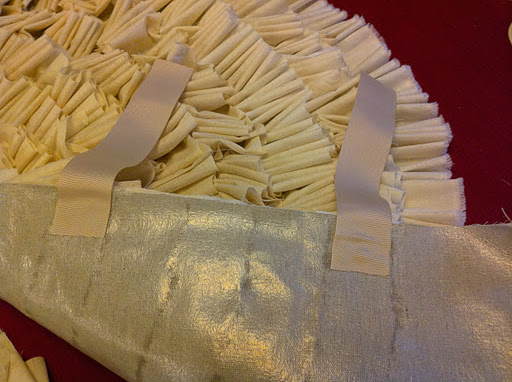
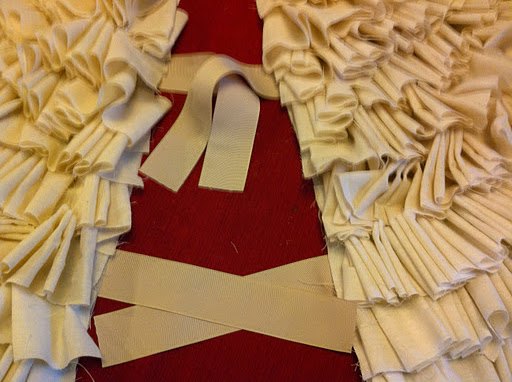
{then i cut a four lengths of ivory ribbon and hot glued them to the back of the skirt to make ties for the opening.}

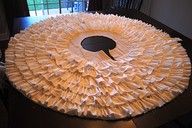
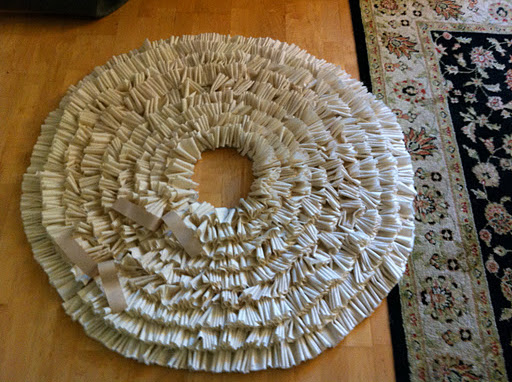
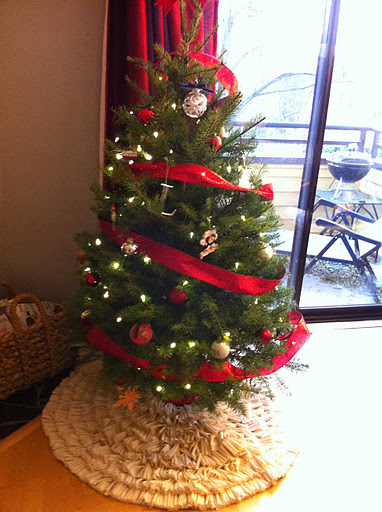
{and it’s done! we have a really teeny christmas tree – about 5 feet tall – so this tree skirt is just a bit big, but still looks cute!}

what do you have around the bottom of your christmas tree this year?
M

a pinterest christmas: ornament wreath.

this project was a bit more challenging, but it was still fun & so festive. there are a few different methods that you can use to make an ornament wreath; i chose the least expensive one which involves a wire hanger (you can also use a foam wreath core – the tutorial link is below).
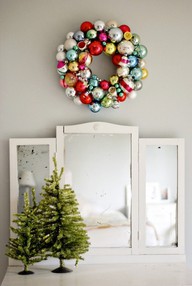
{the original pinterest link: ornament wreath (foam). ornament wreath (wire).}
supplies:
wire hanger (i got one for free from my dry cleaner – just ask!)
ornament bulbs (i got mine from target)
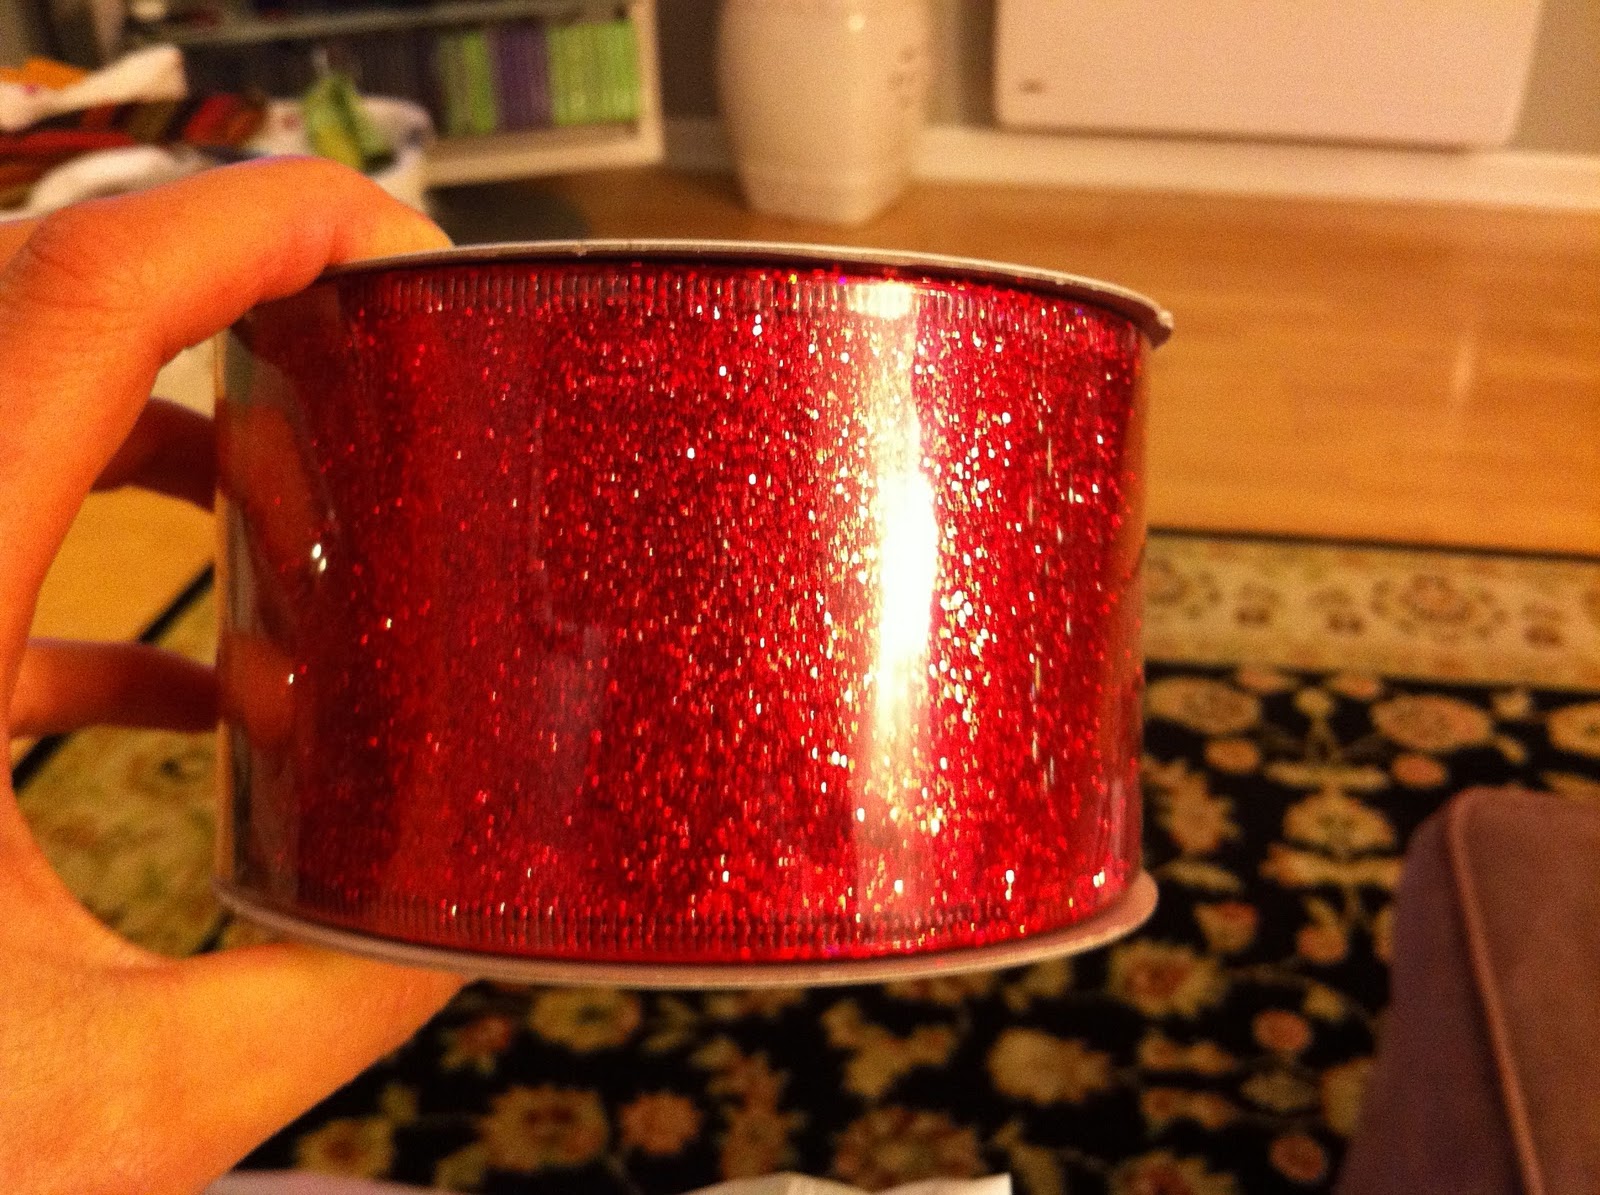
ribbon for hanging (i used thick wired ribbon)
hook or nail 
hot glue gun (optional – i used it to reinforce loose ornaments)
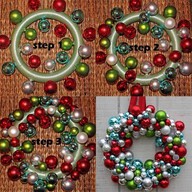
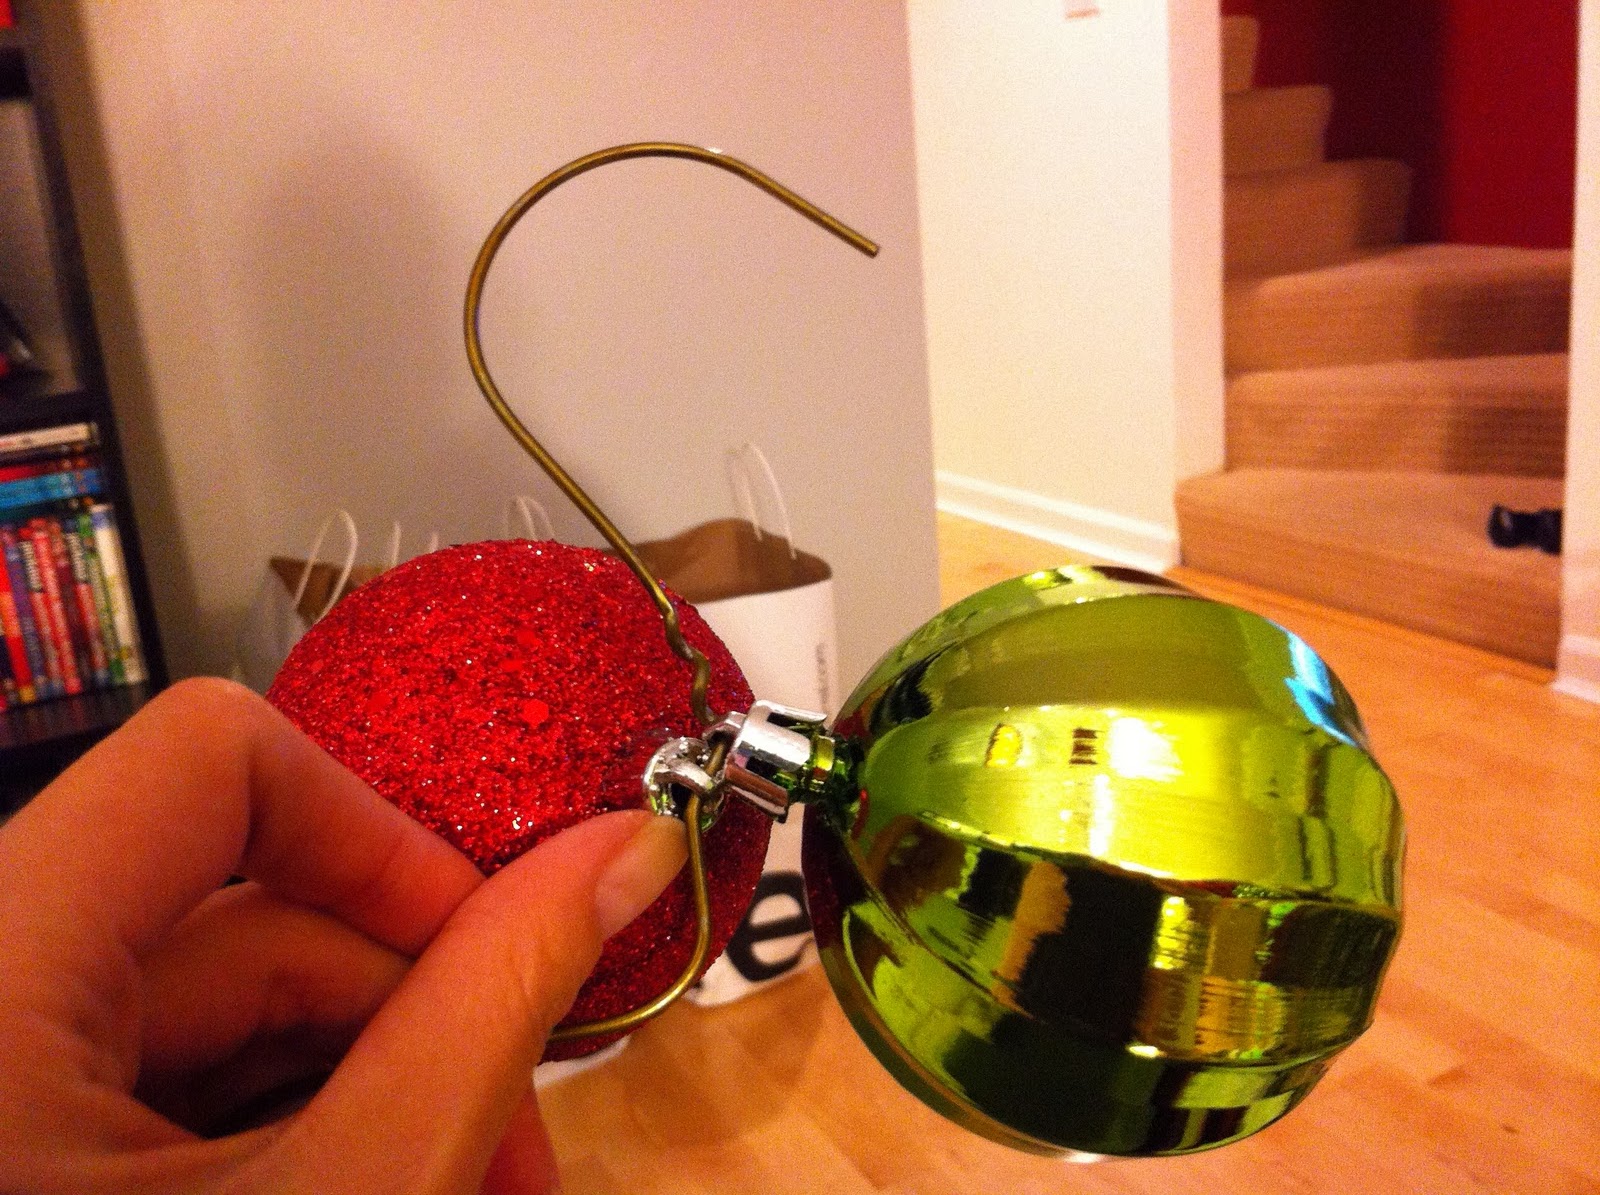
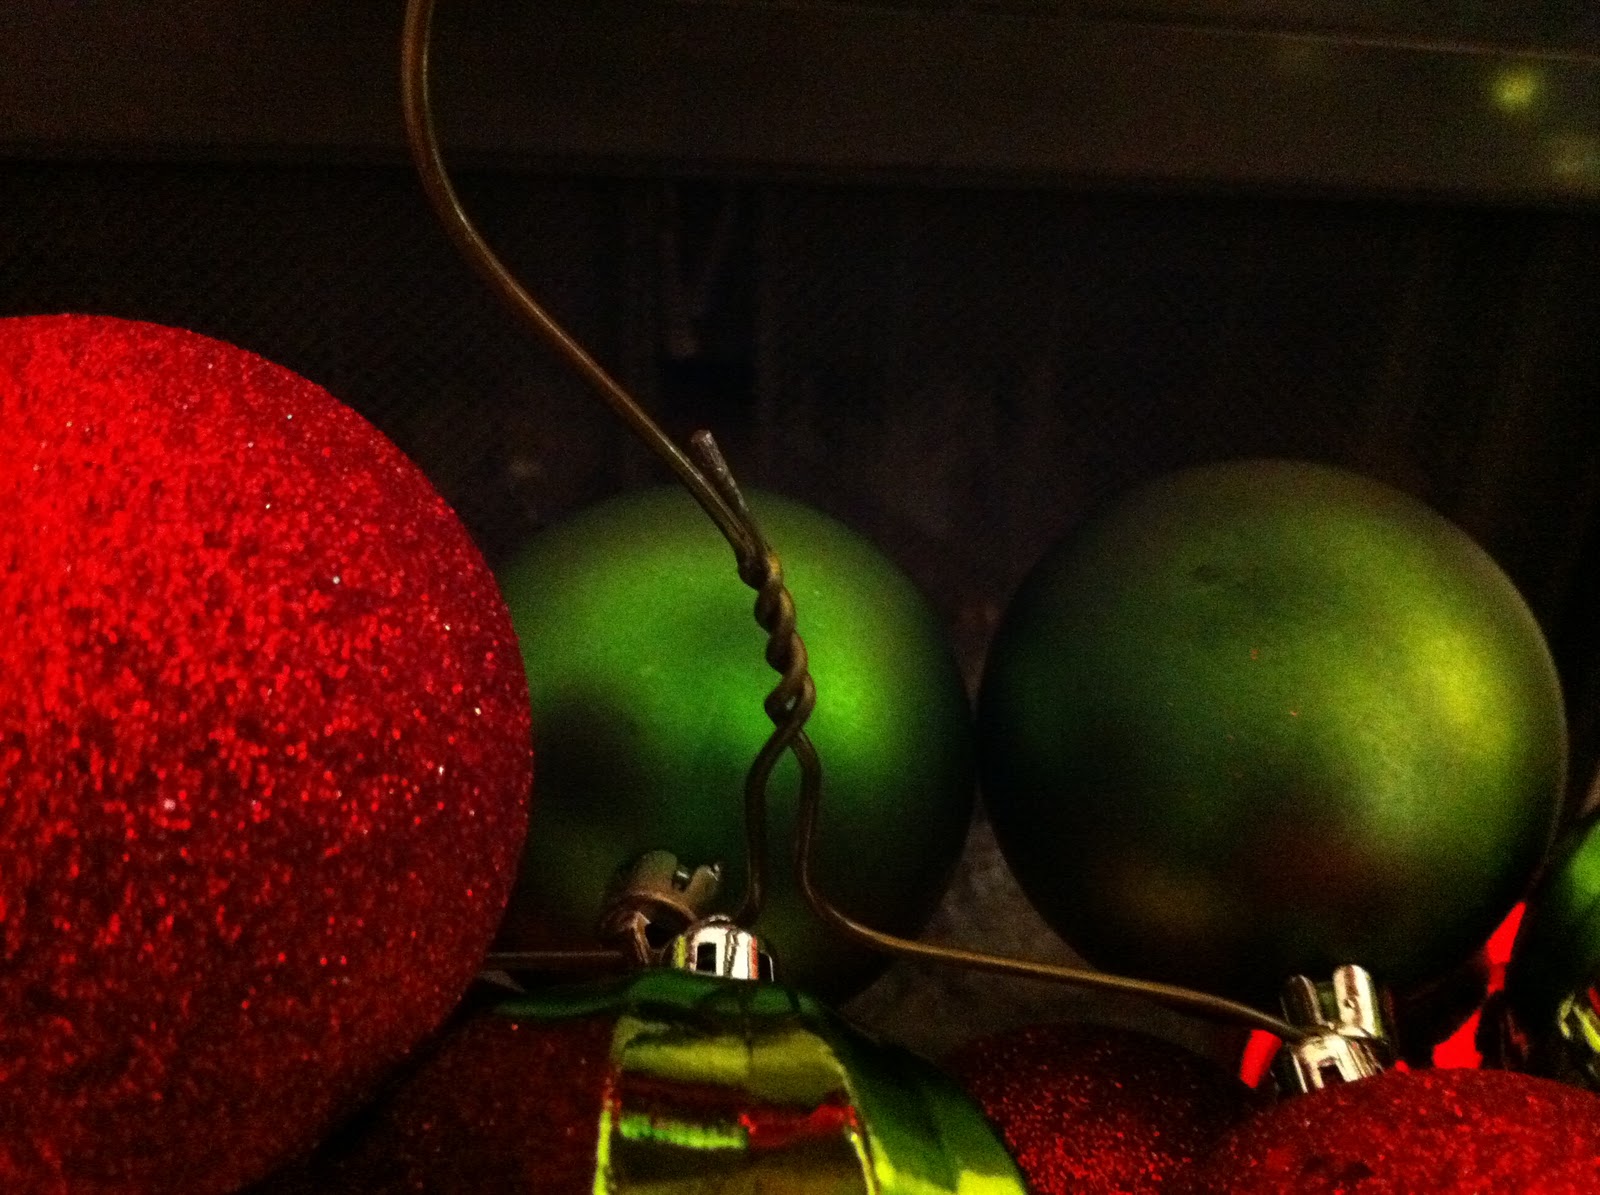
{i can’t seem to find the pictures of this part – that is what i get for having 6 million projects going at once! so the first thing you do is un-wind the hanger and shape it into a circle. i had aaron do this part – he told me to tell you that it is easier to bend the hanger into a circle before you begin to unwind the wire on the top.}
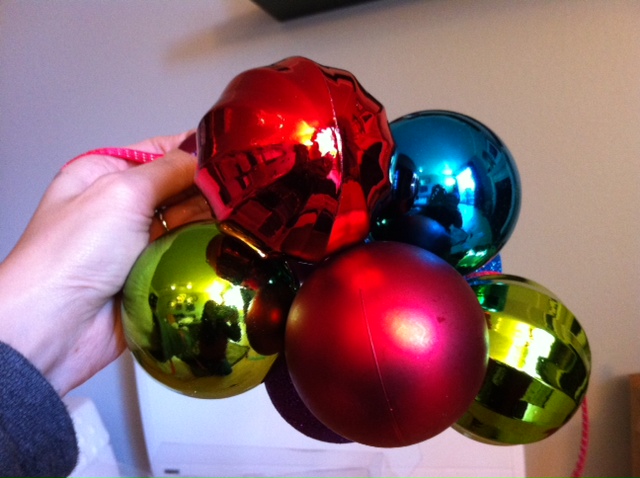
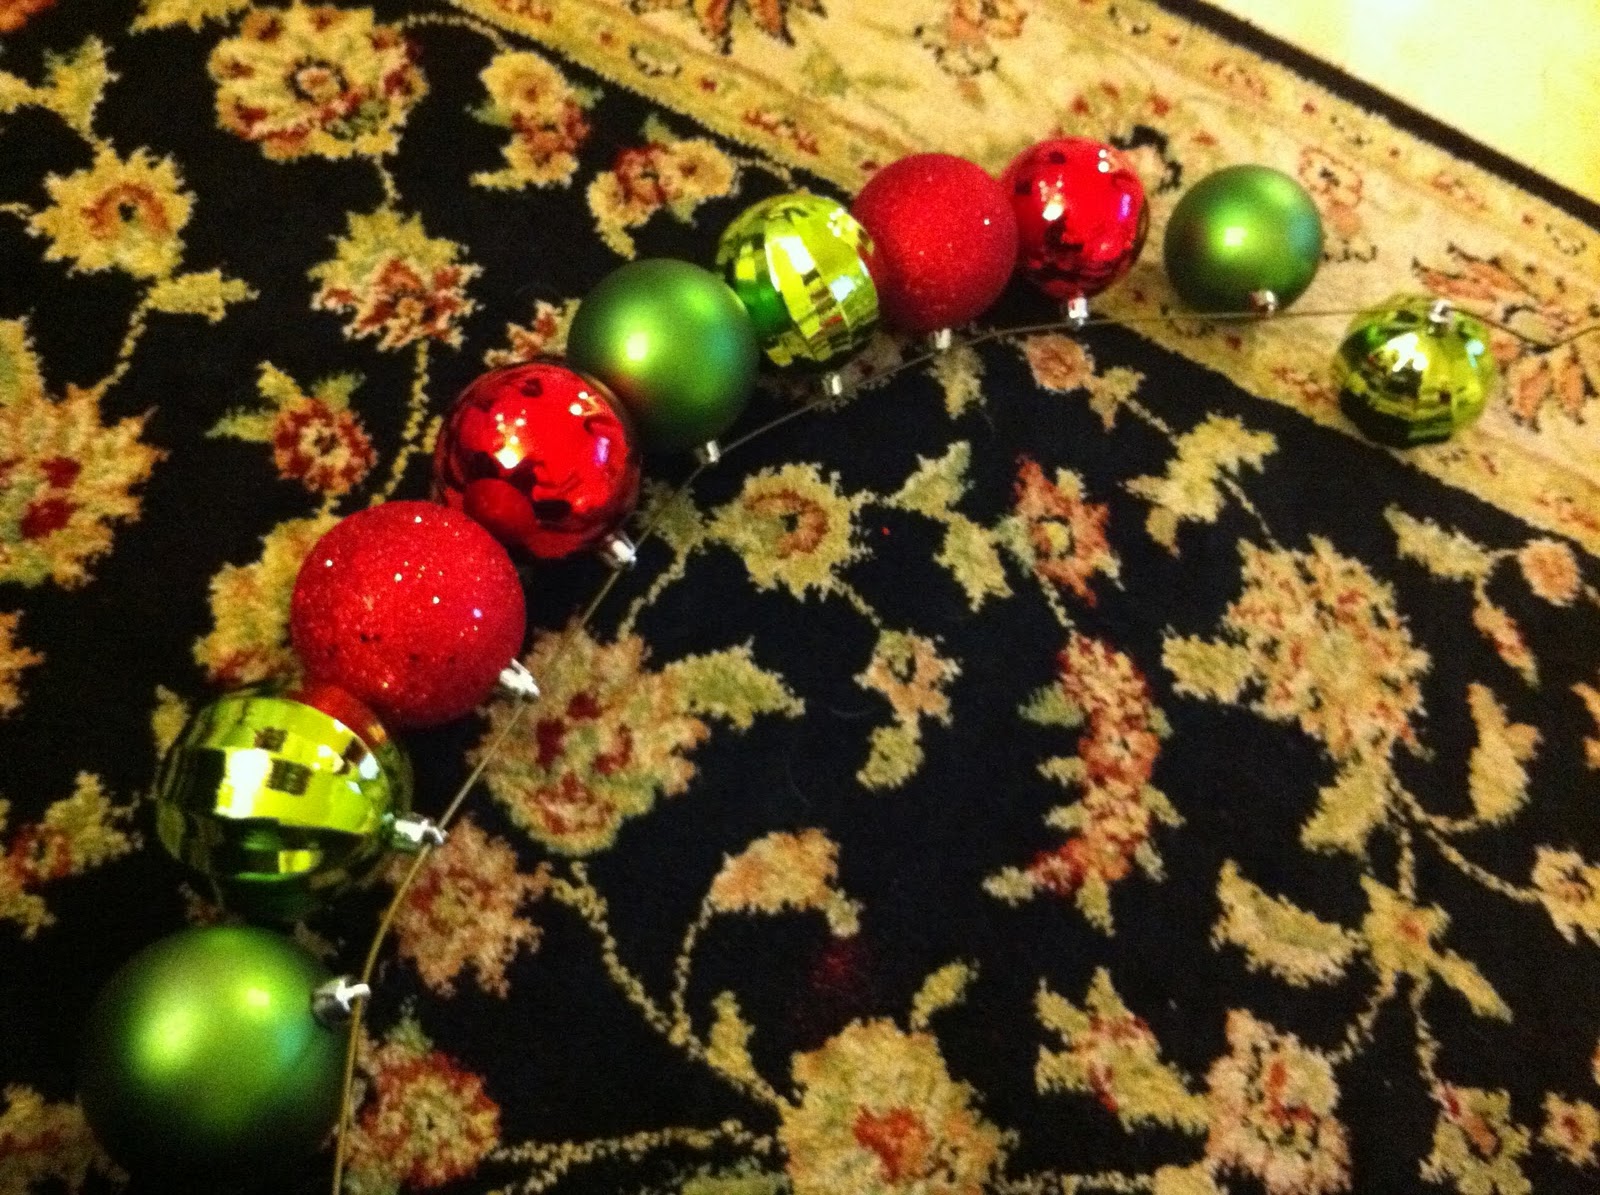
 {i took all of the ornaments out of the box – just like for the garland – so that i could mix up the colors.}

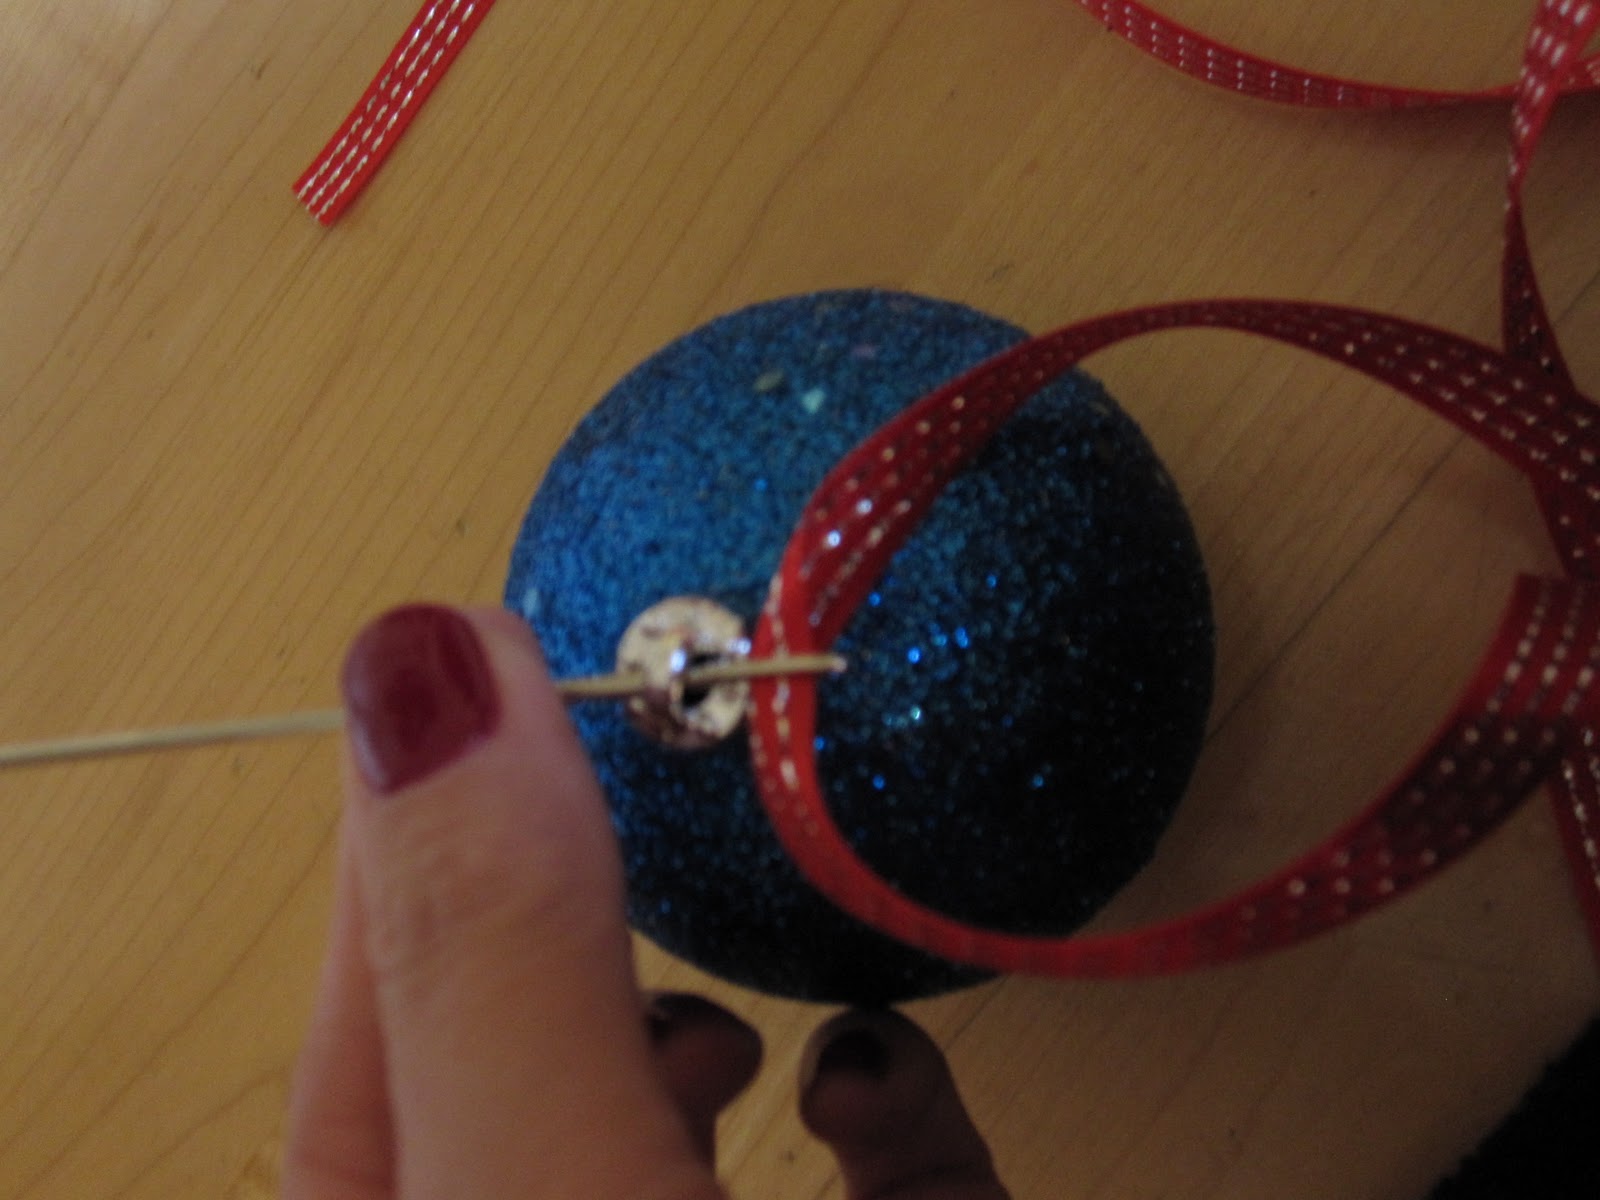
{i started threading the ornaments onto the wire. this is the tricky part – it is really hard to do this by yourself, because the ornaments won’t stay in place by themselves (like they seemed to with the garland). it is also more complicated to get a good color pattern – all of my reds and greens seemed to be all clustered together.}

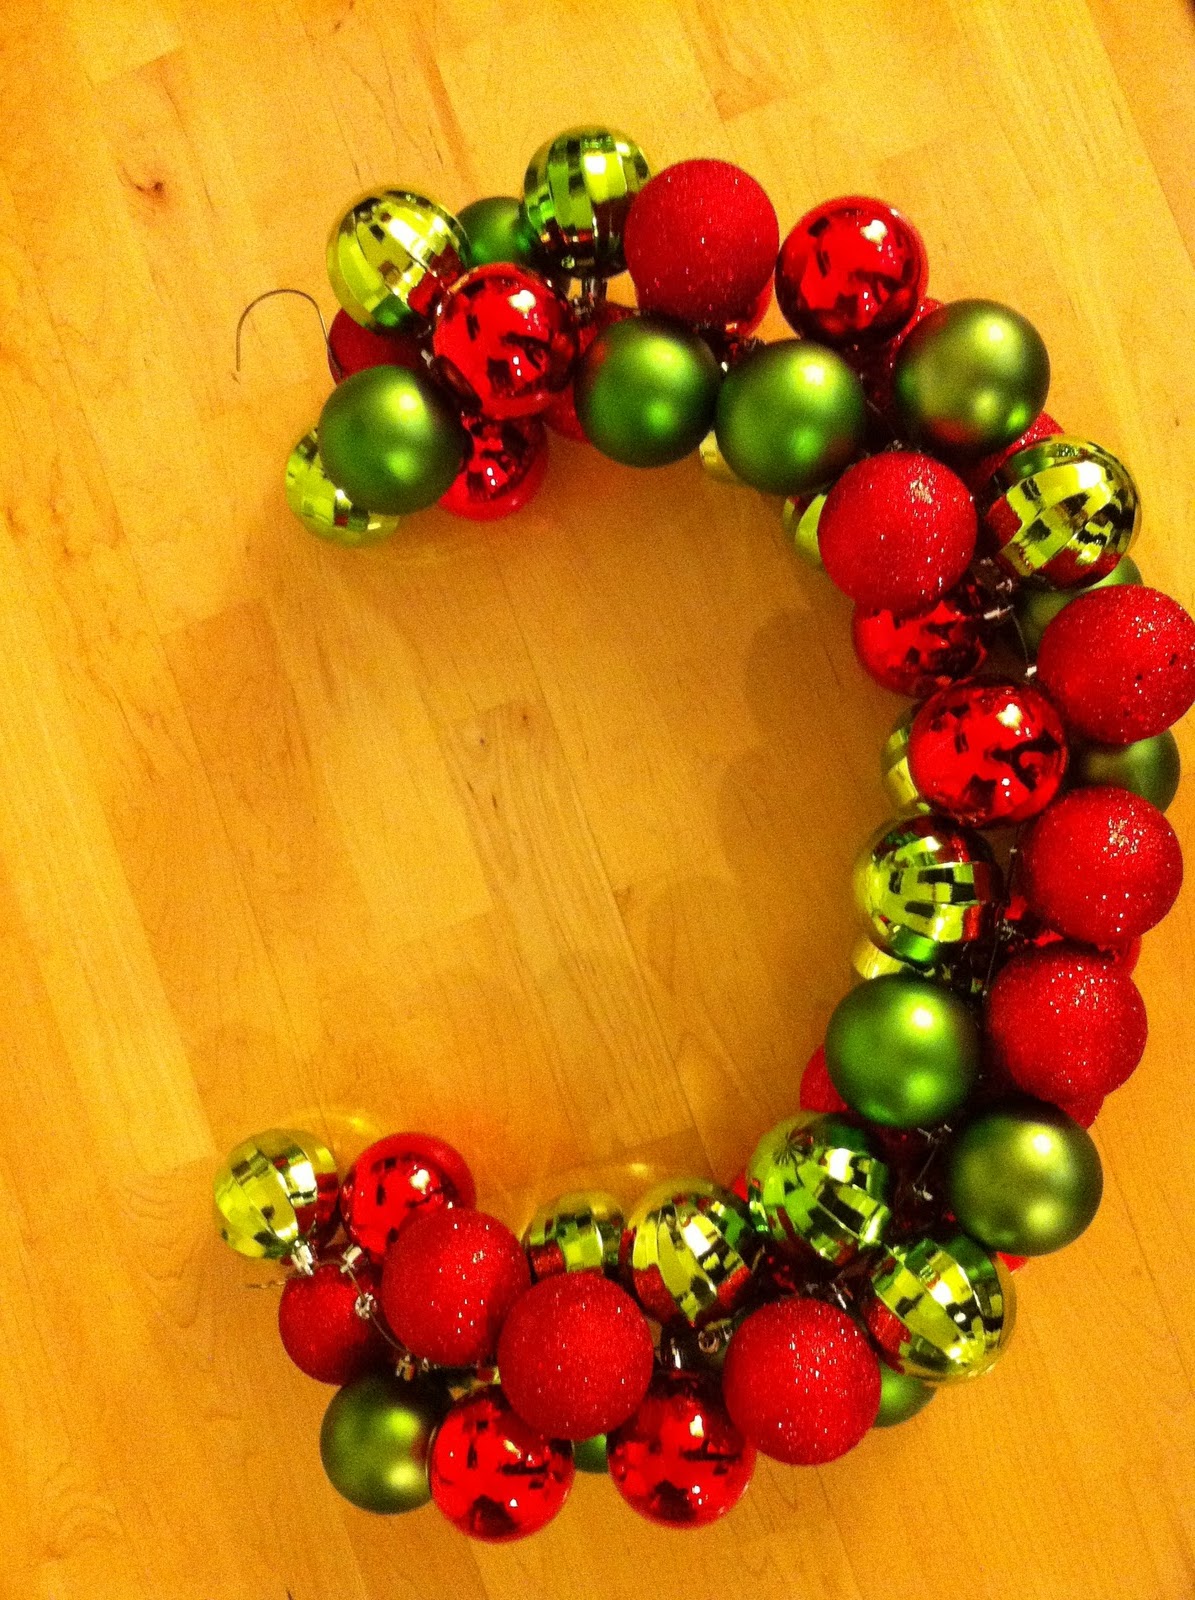
{after the wire is full of ornaments – mine was too full & i had to take a couple off in order to complete the wreath – you bend it in a circle and re-wind the wire onto the hanger (i had aaron do this part too).)

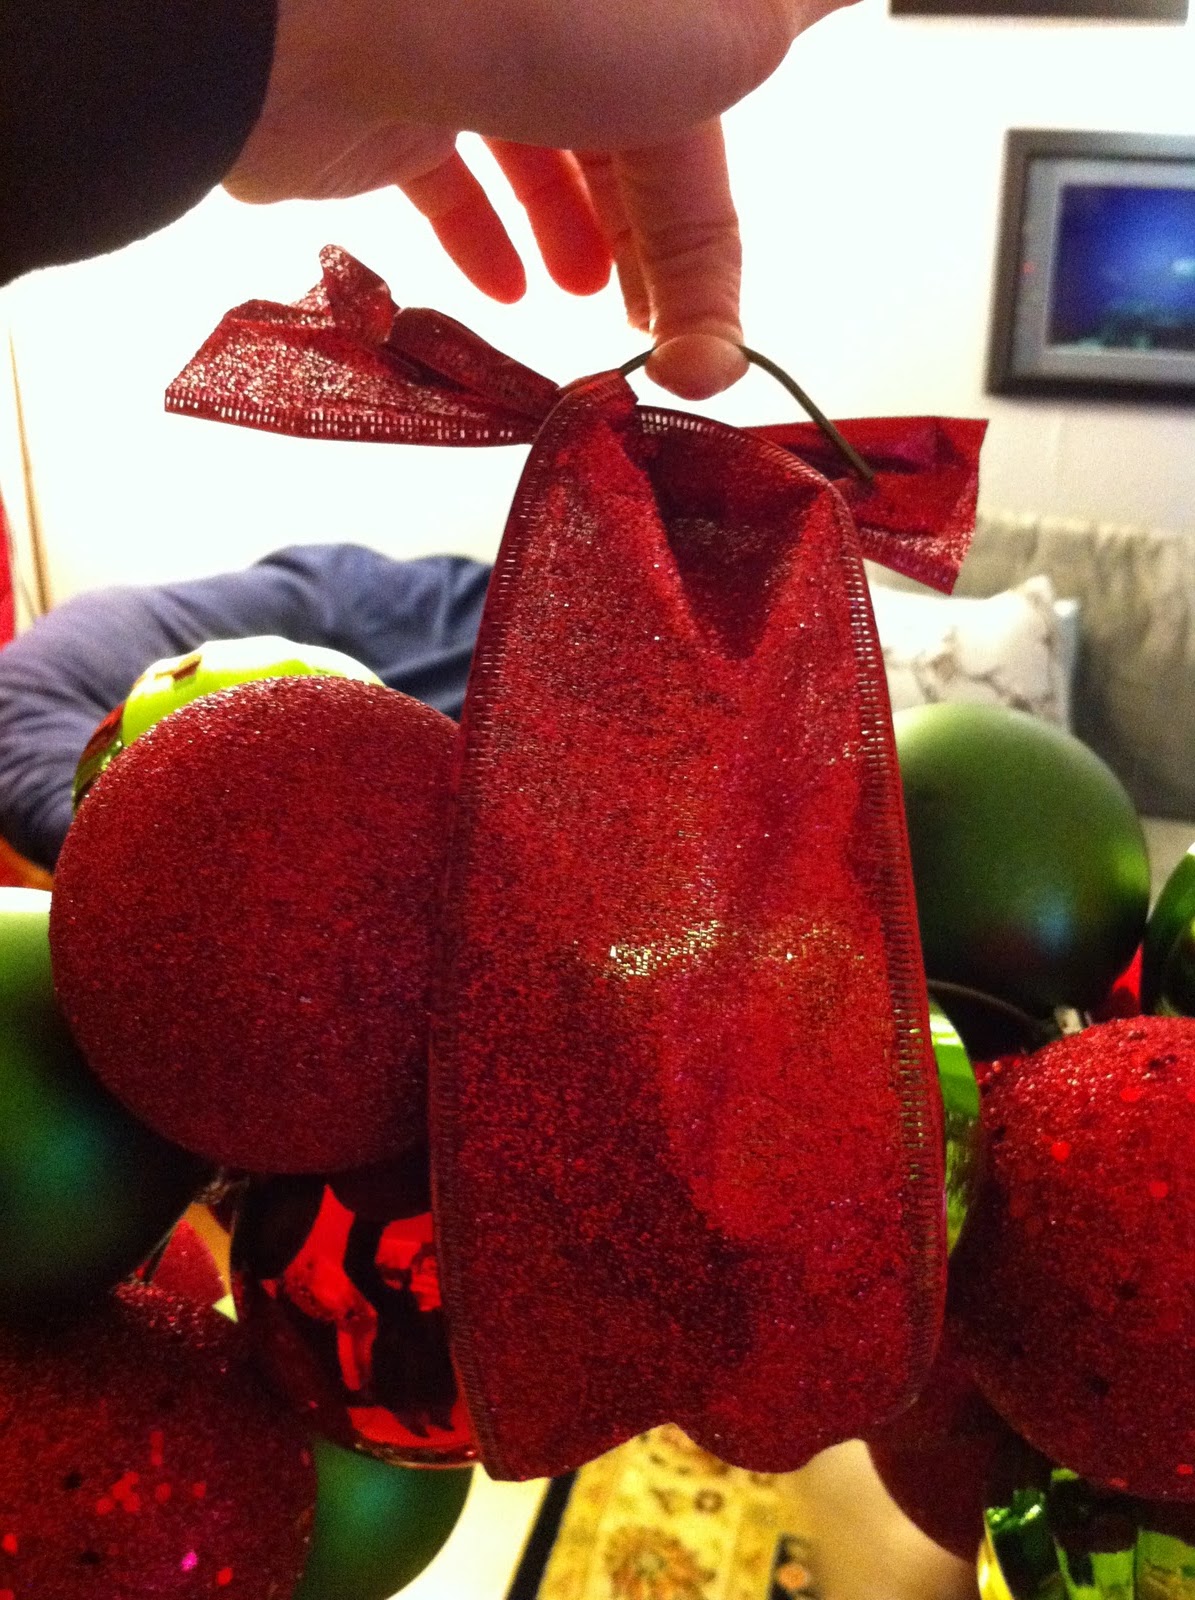
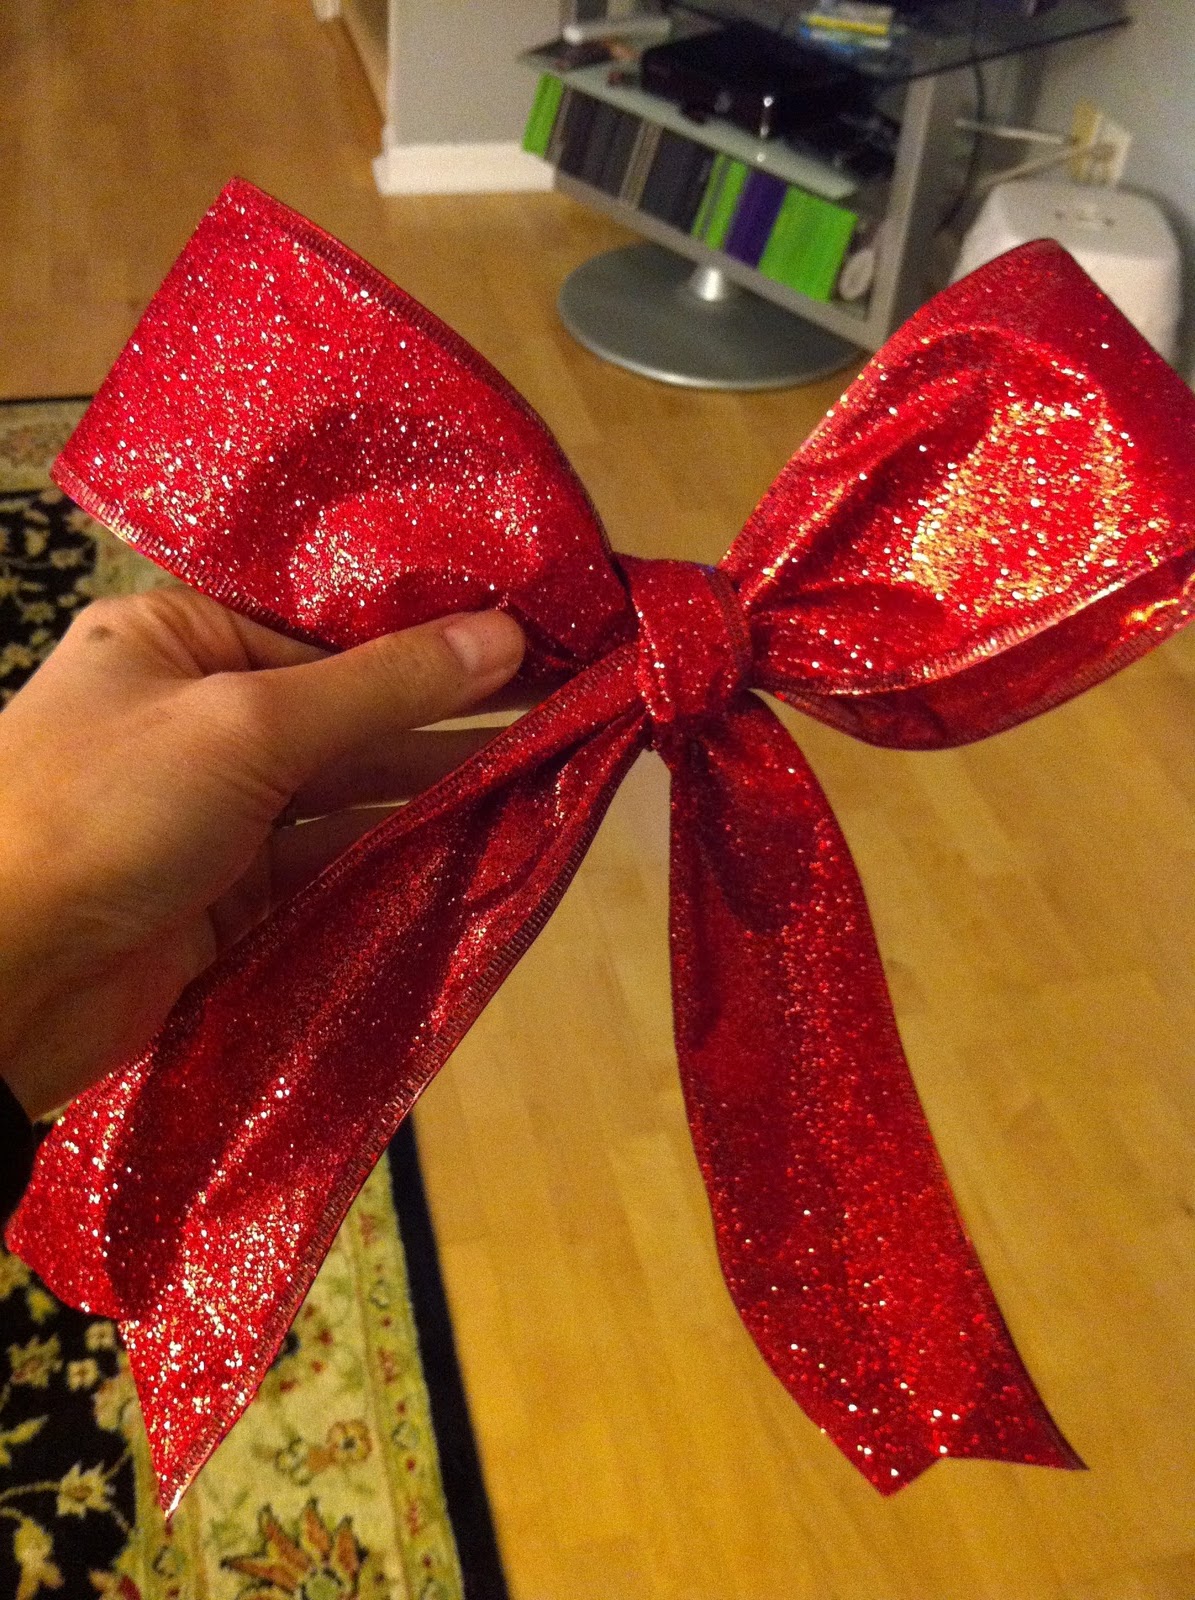
{then i took thick wired ribbon and put a loop around the wreath in order to cover the top of the hanger. and then i added a bow.}

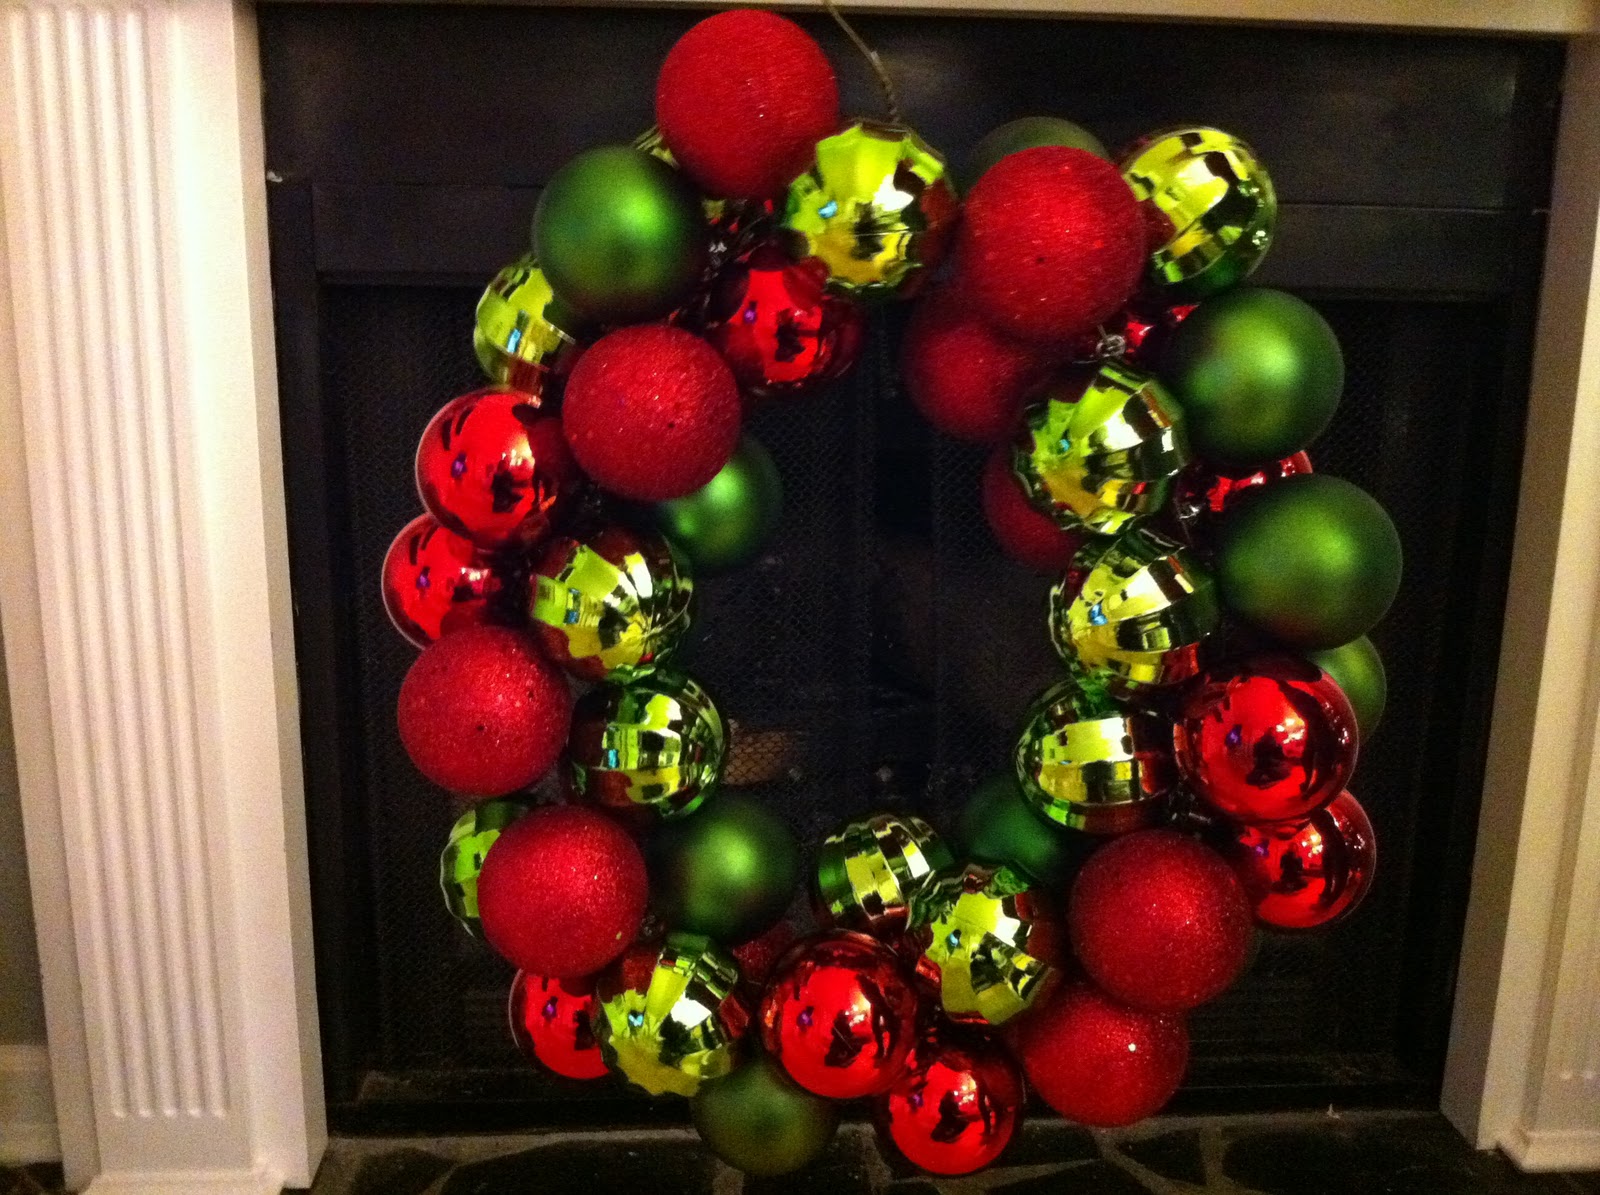
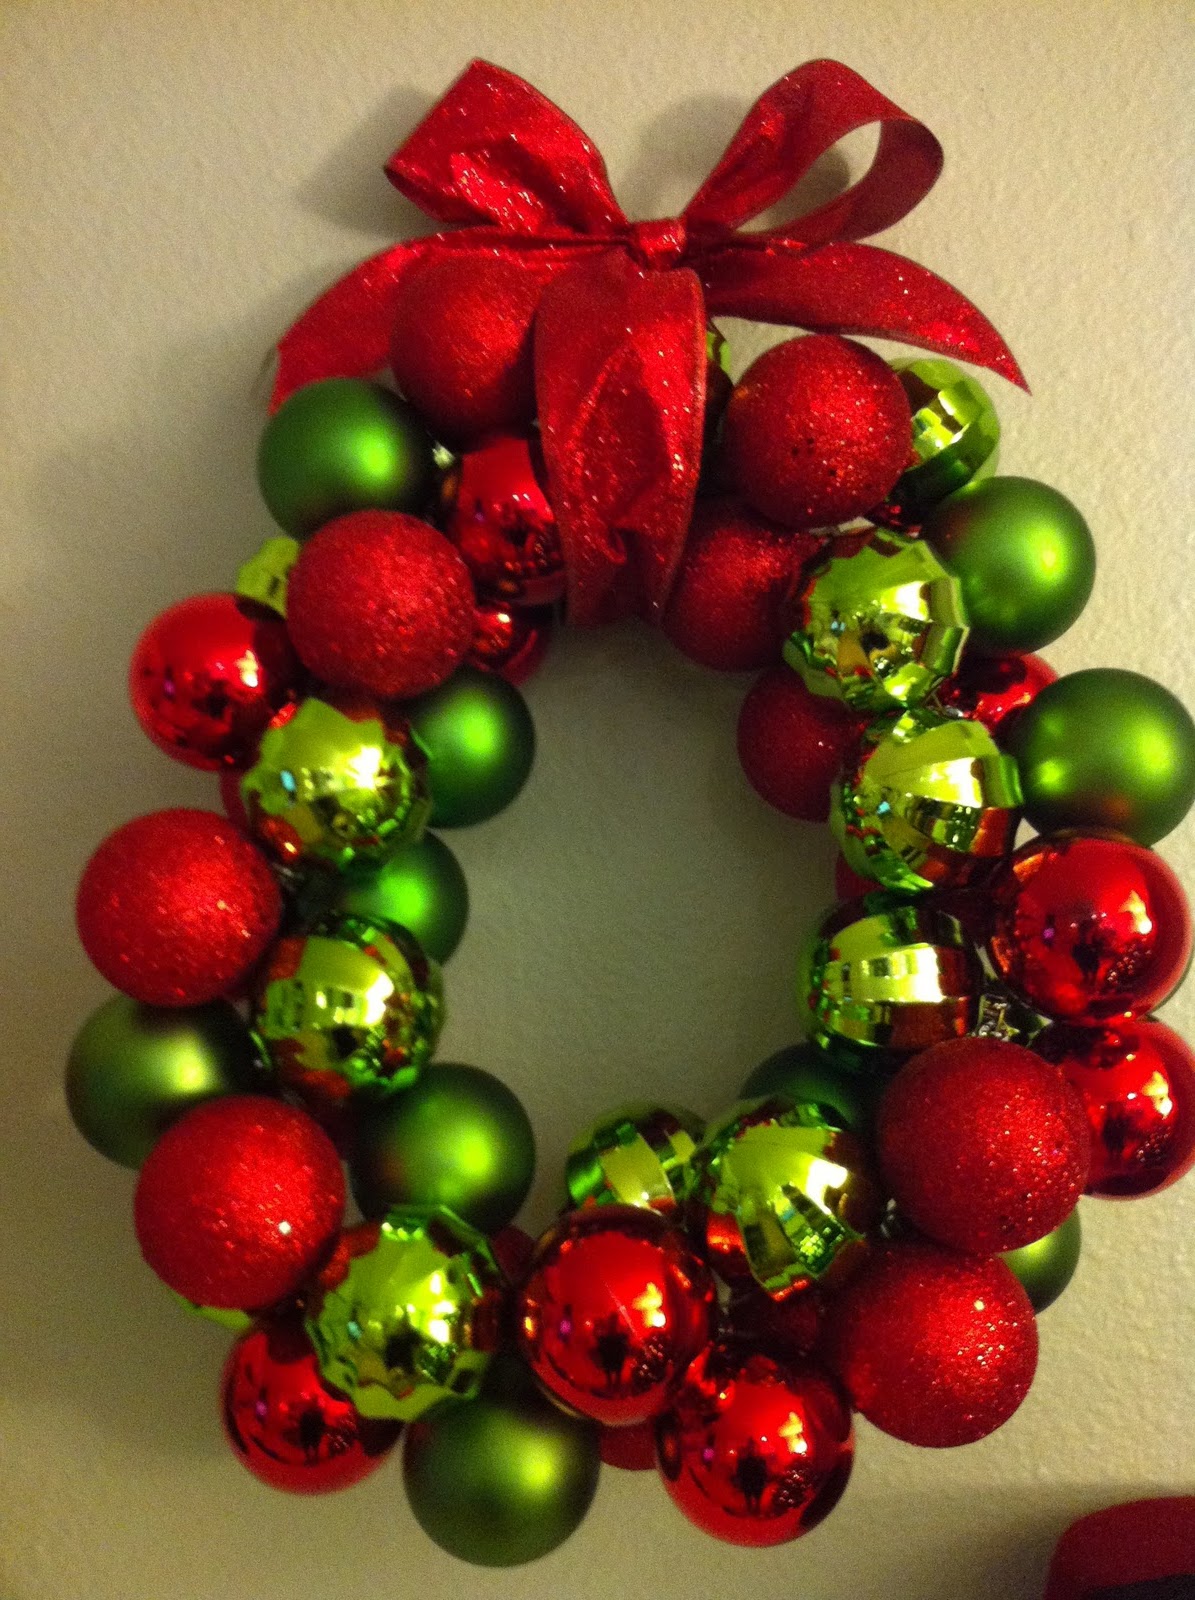
{ta-da! so my wreath is not every circular, i know, but i think it adds some character & charm. also, when aaron hung the wreath, he had to bend the hanger back towards the wall a bit because the ornaments don’t allow the wreath to hang flush against the wall – if this doesn’t make sense, it will if you are trying to hang an ornament wreath. isn’t it festive to have all of those christmas ornaments!}

so hindsight is definitely 20/20 & these are just words of advice if you plan on making an ornament wreath:

  • if you want a perfectly round wreath, use a styrofoam wreath
  • multiple sizes of ornaments can be helpful to fill in gaps – especially little ones
  • this project would be WAY easier if you choose a monochromatic color scheme
  • the same is true as was in the ornament garland project: target (or other cheap) ornaments tend to pop off really easily. this is good & bad: it is good because i need shatter-proof ornaments; it is bad because it is really frustrating when ornaments start popping off & you can’t get them to fit again.
have you made any wreaths for the holidays this year, ornament or otherwise? have you found pinspiration (i love this word!) on pinterest lately?
M

a pinterest christmas: ornament garland.

this is one of my favorite new christmas decorations & i can’t wait to share it with you! plus, it was really simple – bonus! i hope you enjoy this DIY & make one of your own festive garlands to trim your window, mantle, handrail, christmas tree (the list goes on & on!).
{this is the original pinterest link: ornament garland}
supplies:
thin ribbon (i used a 5/8 inch, i believe. you could use a wider ribbon if you folded it in half.)
ornaments (i got mine at target and used only one size, though you could use multiple sizes)
hooks (i used three 3M hooks)
hot glue gun (optional – i used it to secure some of the ornament tops)
upholstery needle (probably optional – i used it to string the bulbs onto the ribbon)

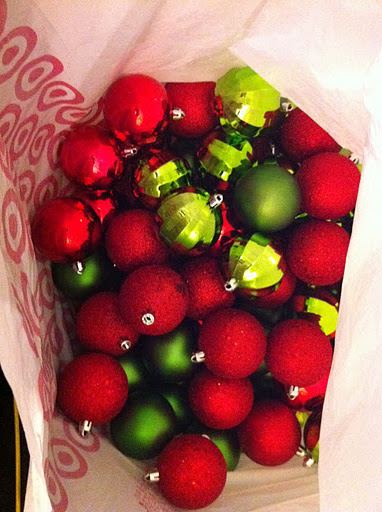
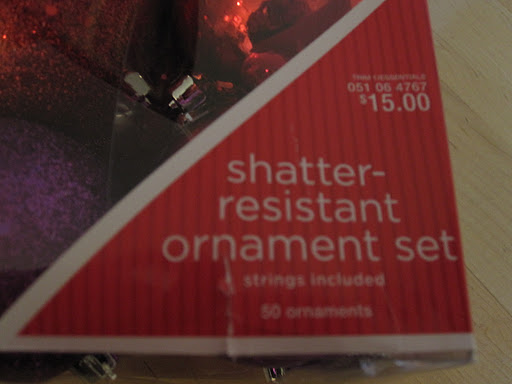
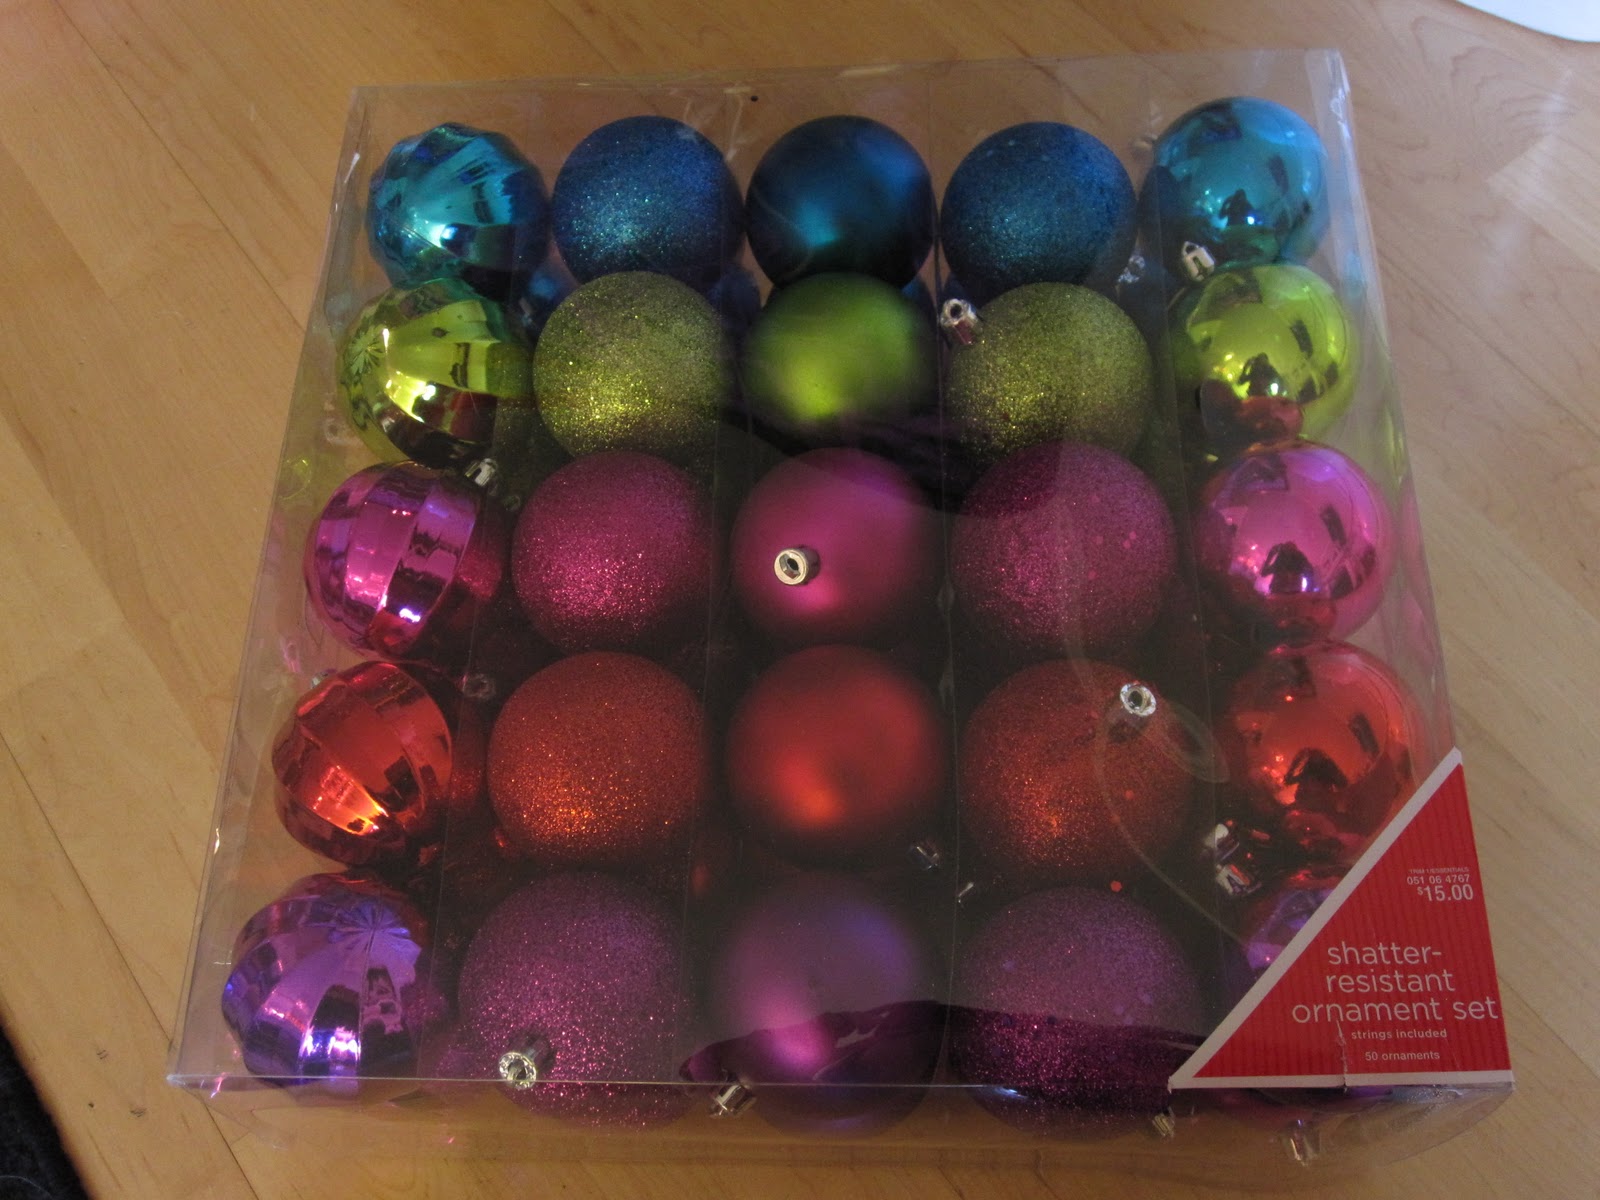
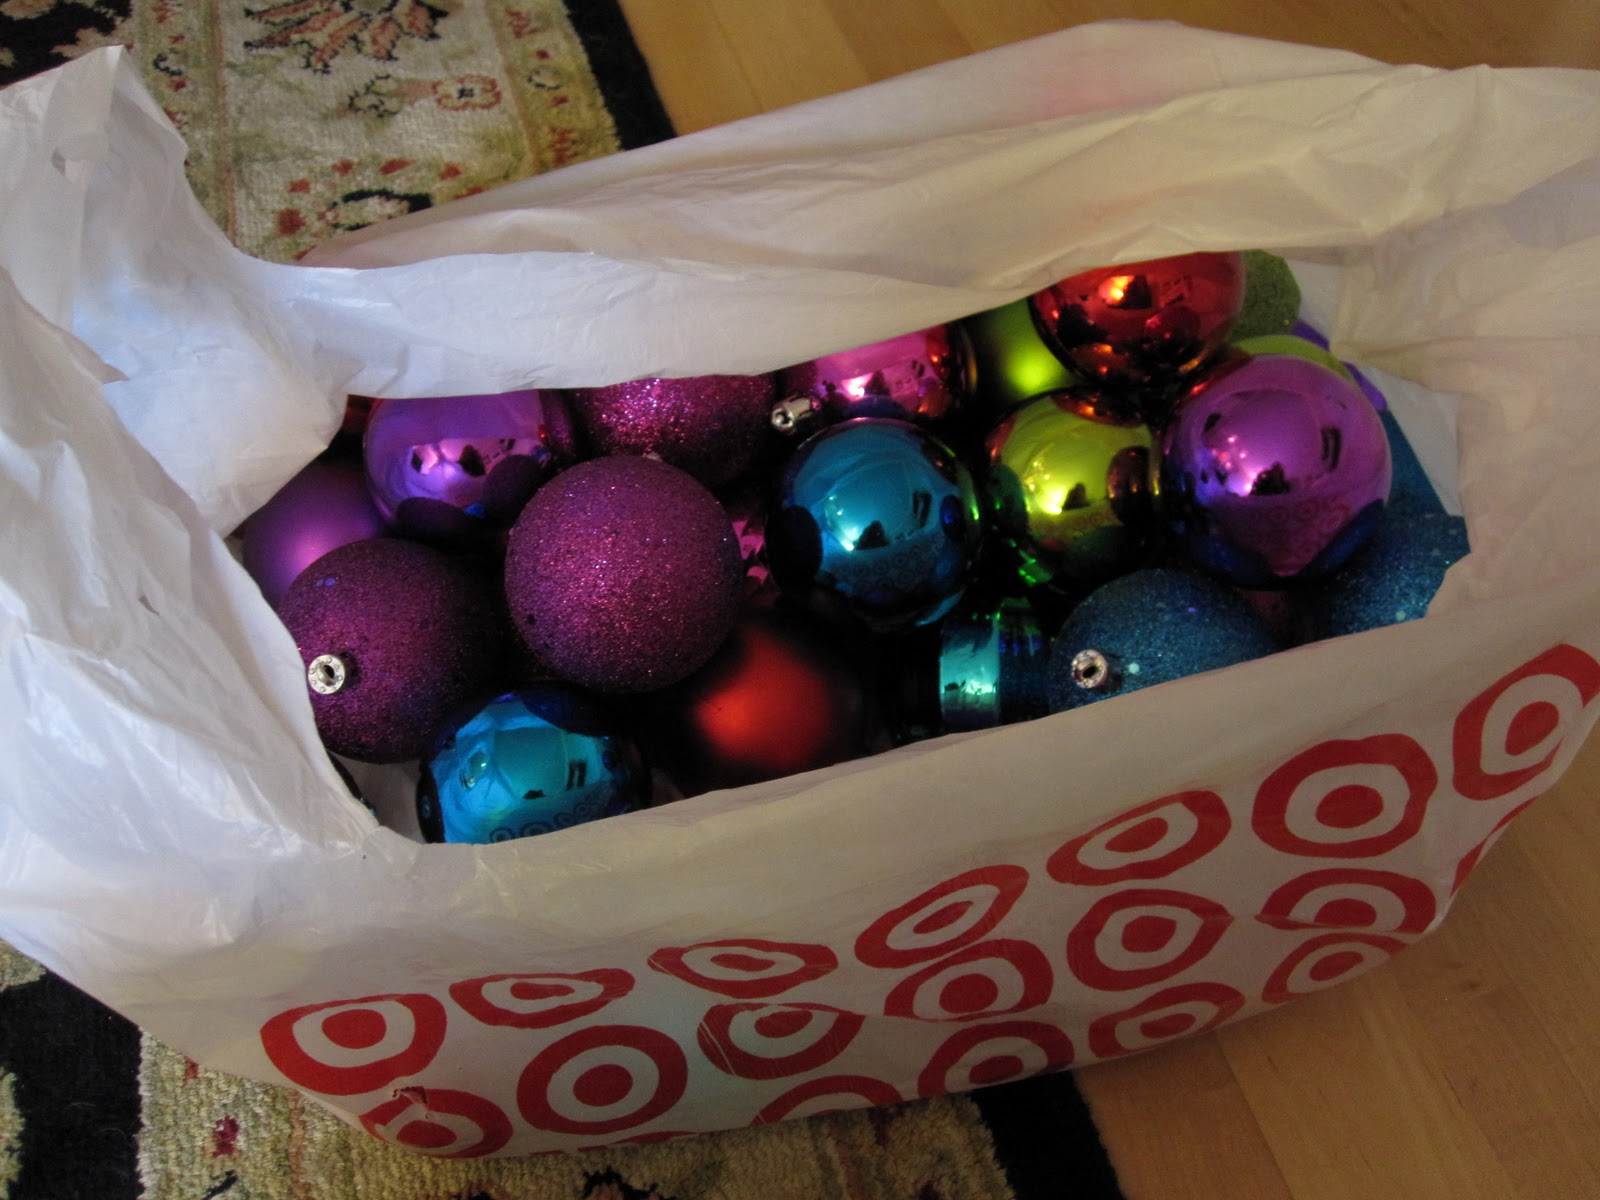
{i started with a huge box of shatter-resistant bulb ornaments that i got at target. since there were different colors, i emptied the box into a very large target bag so i could mix up the colors when i made the garland.}

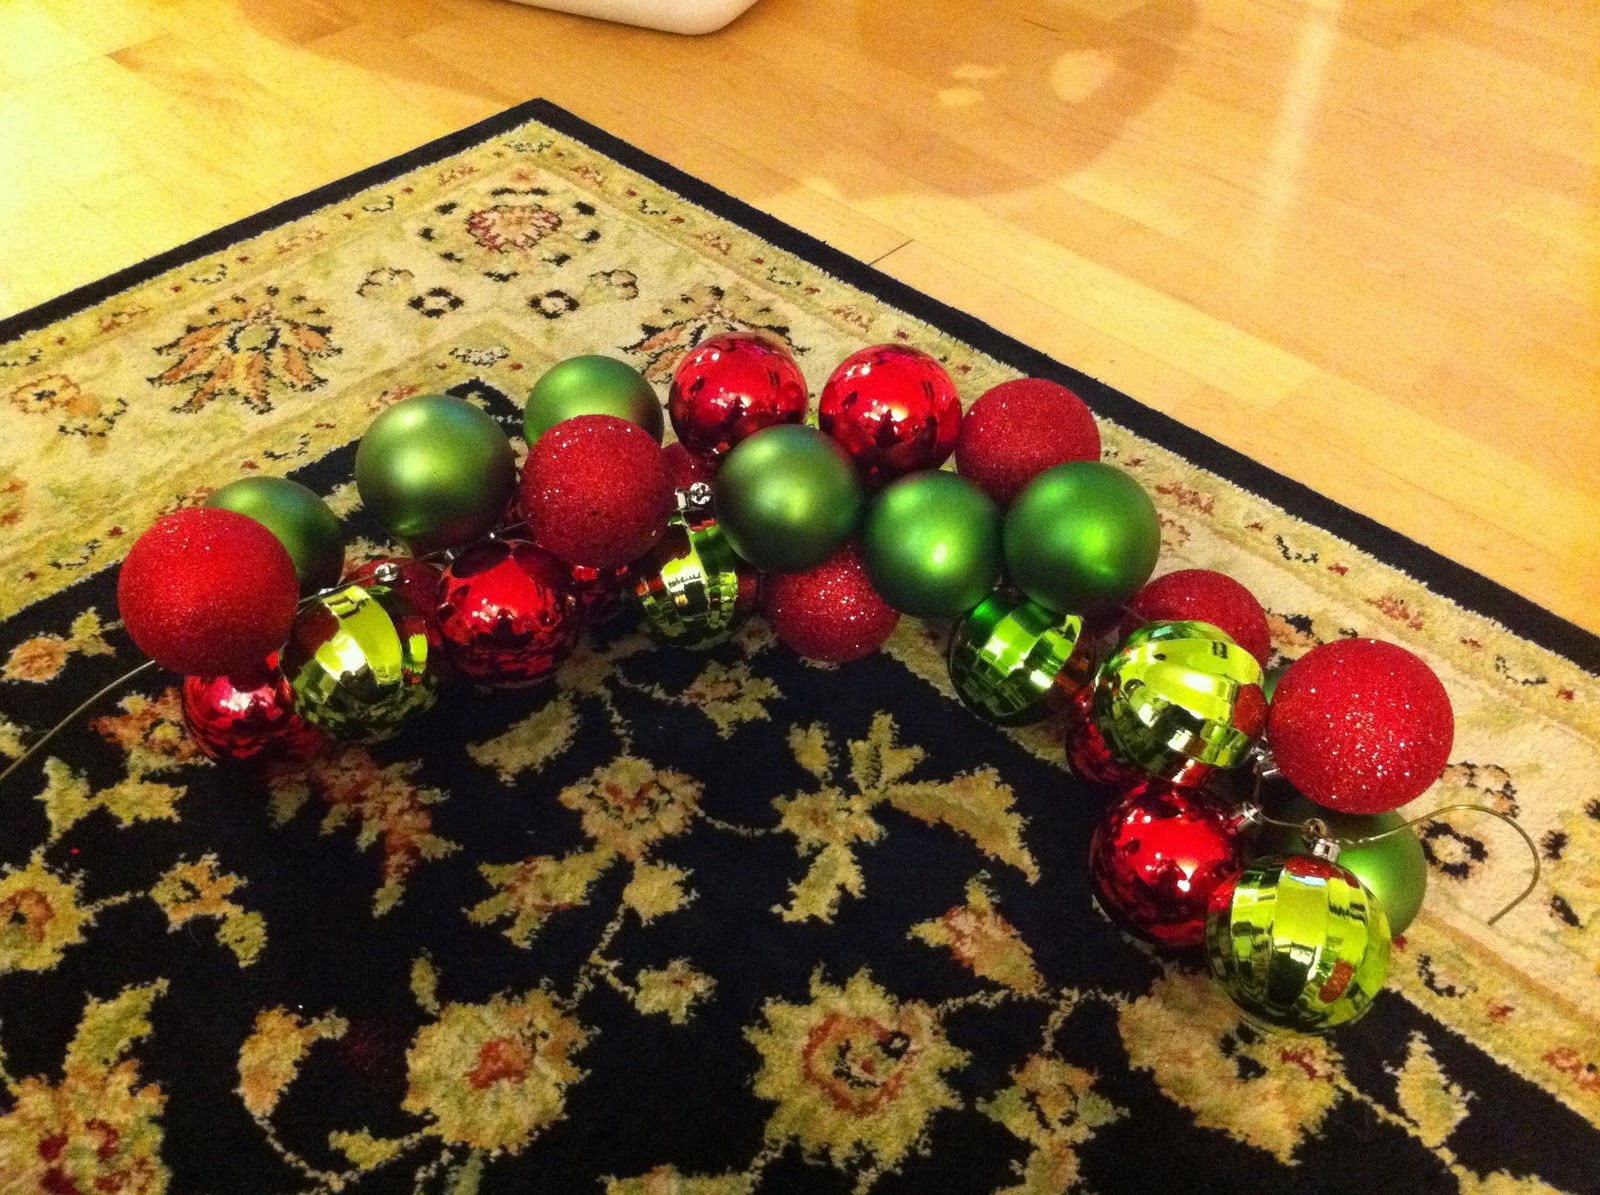
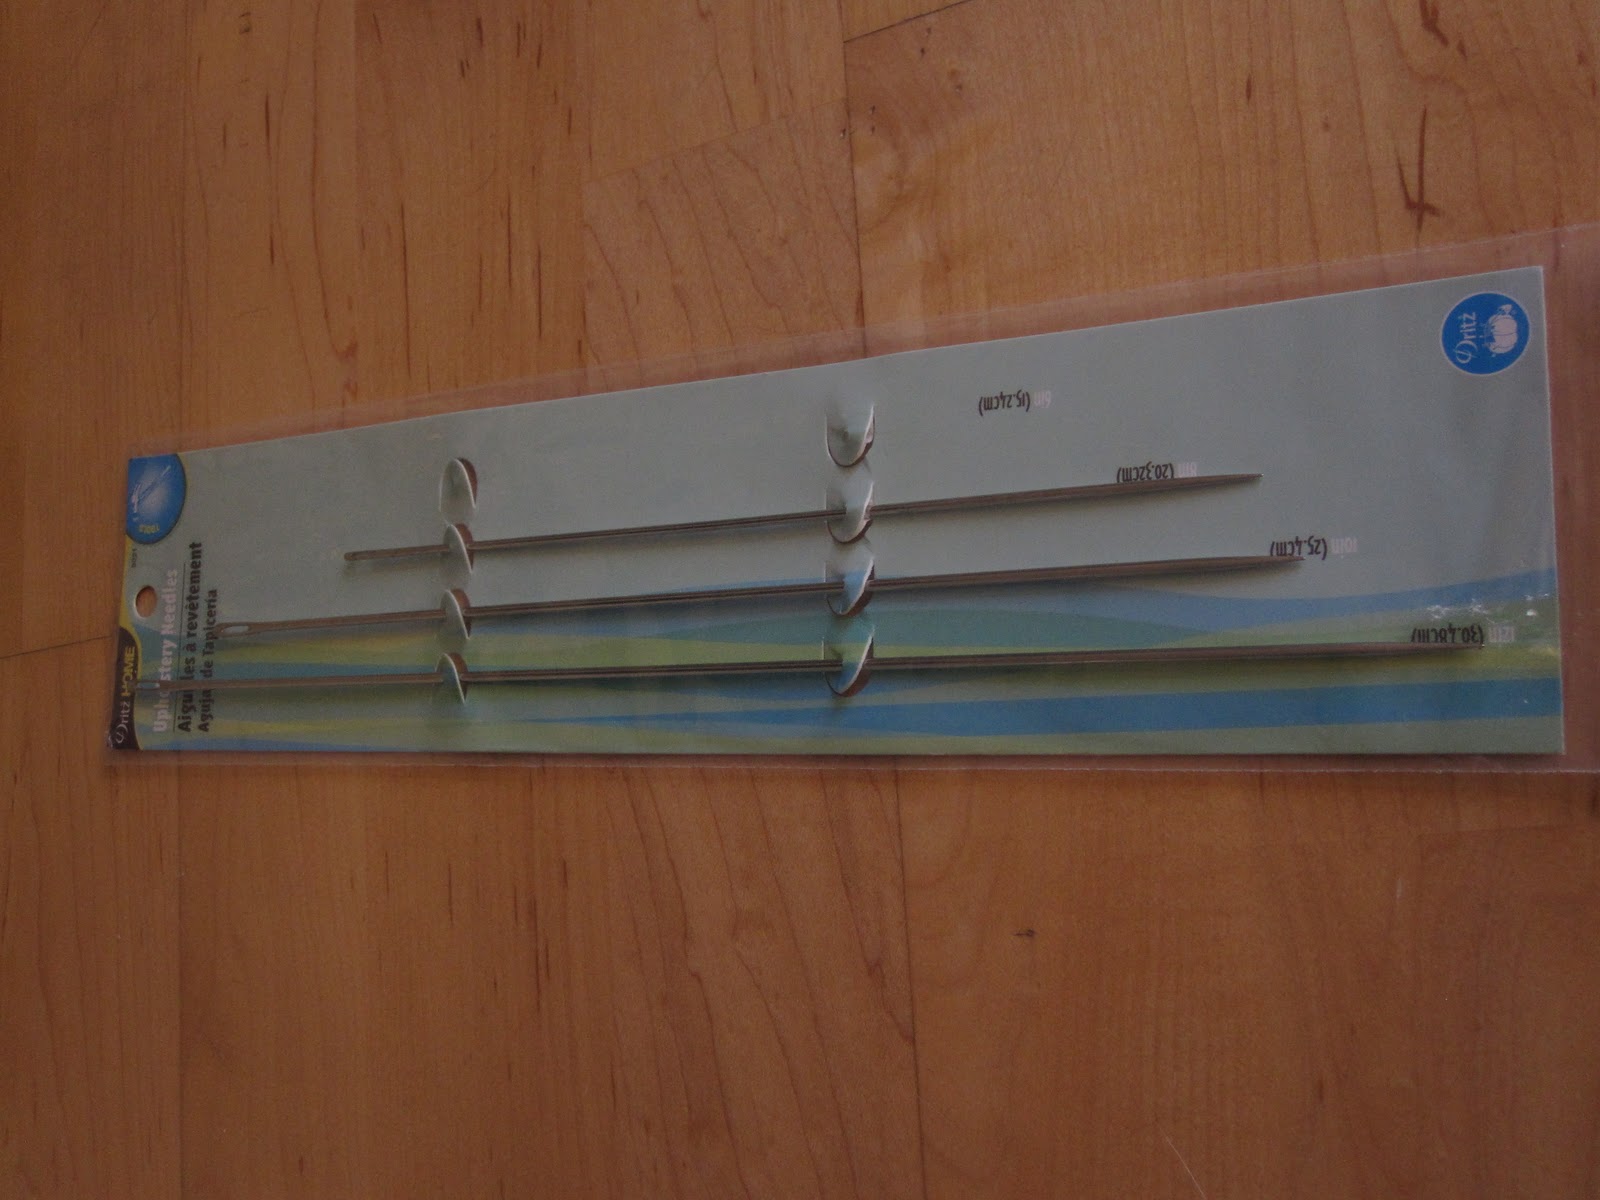
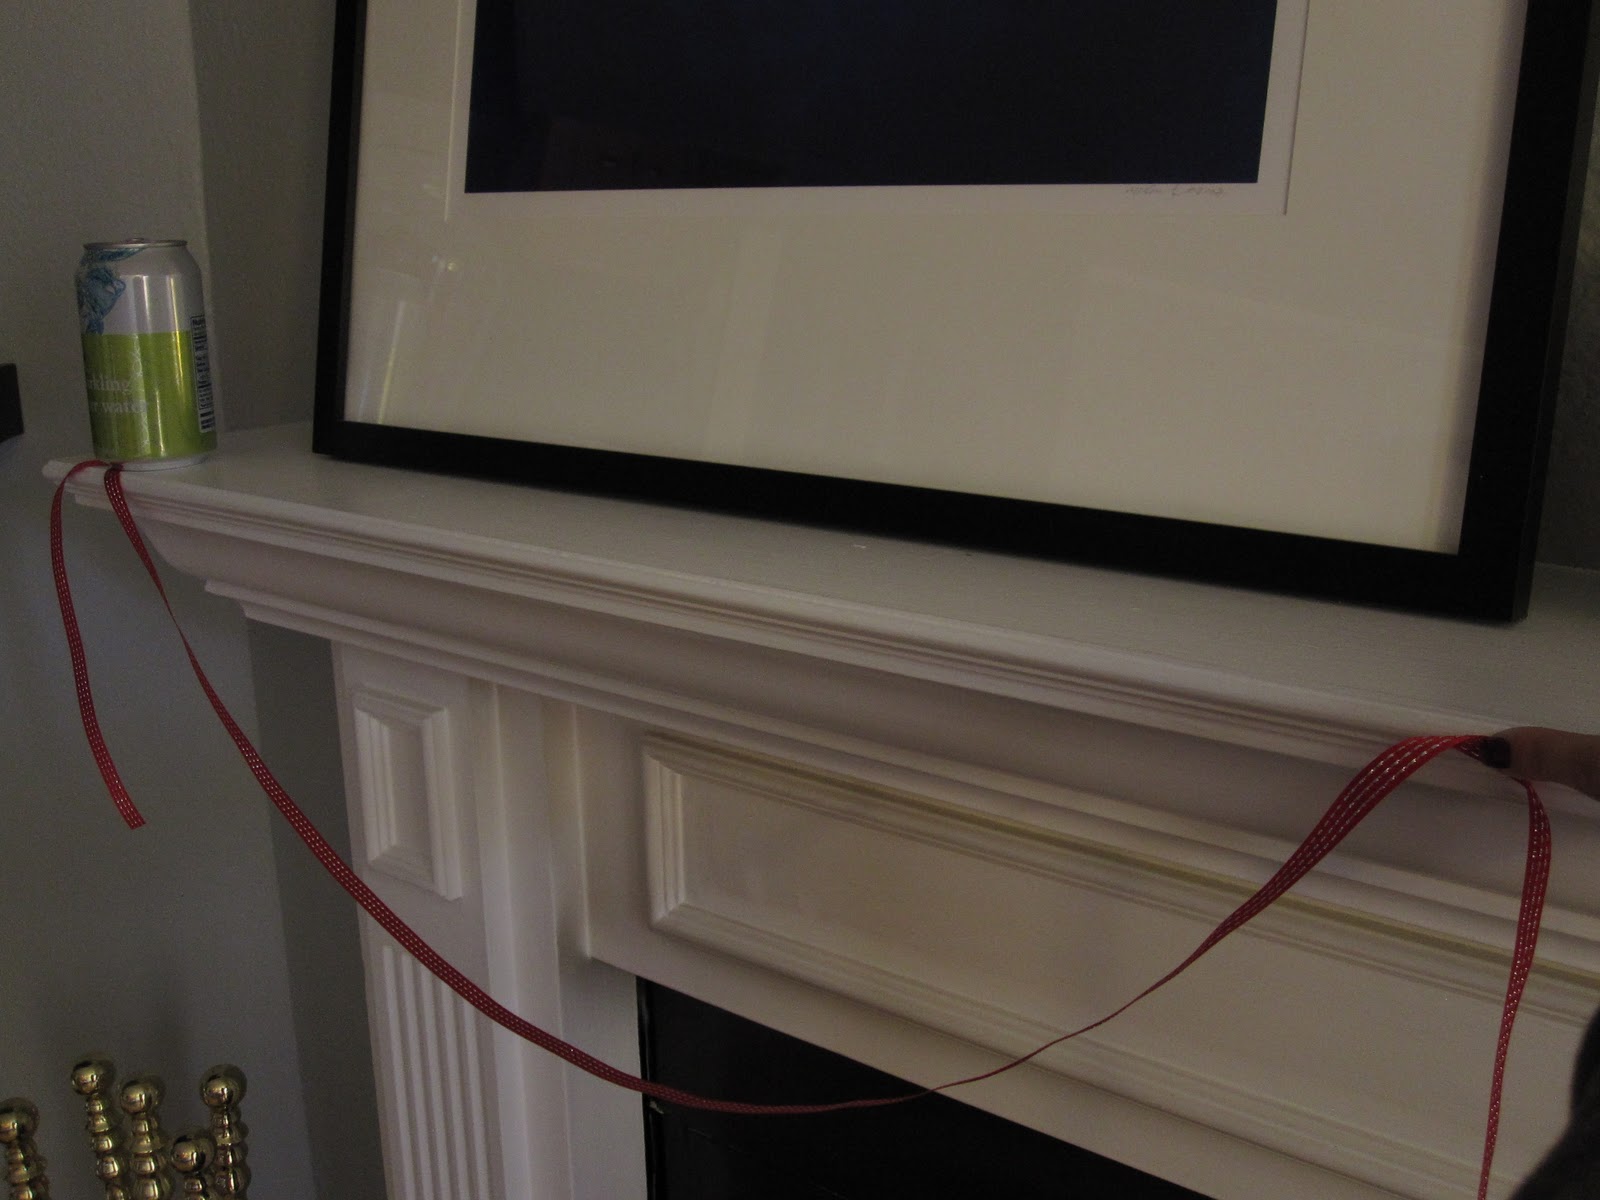
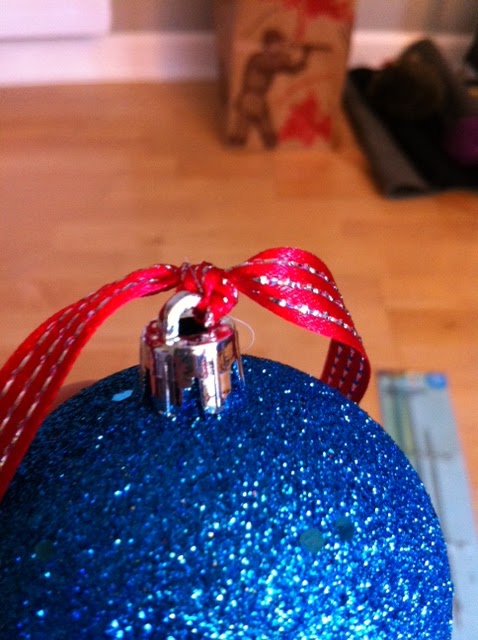
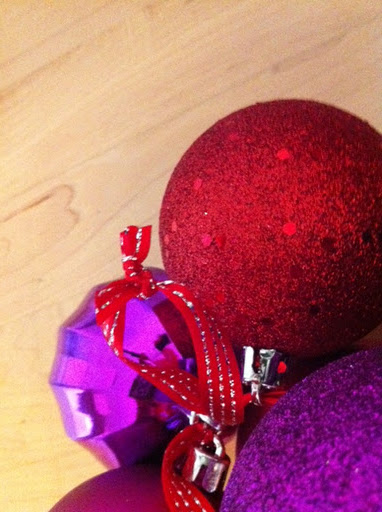
{in order to easily string the bulbs onto the ribbon, i used an upholstery needle (from my project here). sidenote: you could probably do the stringing just fine without a needle, perhaps with a bit of scotch tape at the end of the ribbon. i measured out how much ribbon i wanted (the length of the finished garland) by handing the ribbon up on the mantle (since this is where the garland would live) and then adding a few inches just in case. sidenote: because my husband wasn’t home & sadie isn’t tall enough, i had to make do with what i had, like using my sparkling water can to hold the ribbon on one side of the mantle while i measured out the length. i strung the first bulb onto the ribbon and tied a knot to secure the bulb as it was going to be on the end of the garland and holding all of the other bulbs. then i just continued to string the bulbs onto the ribbon and adjusted the bulbs depending on what kind of space there was; the bulbs sort of do this on their own naturally – it is pretty awesome. and then you just keep stringing until you have reached the end of your ribbon or the garland is as long as you want it.}

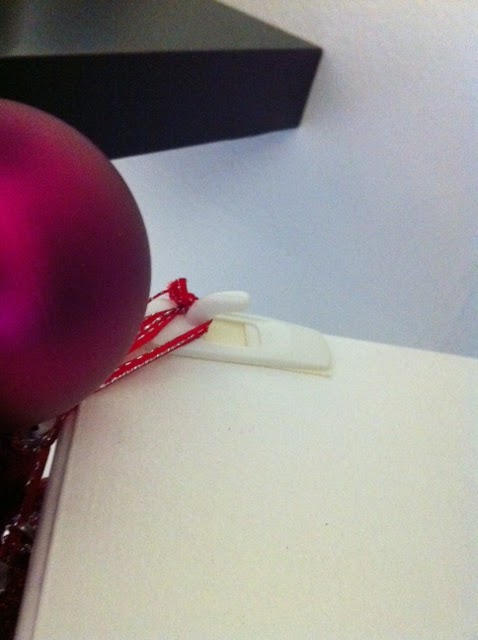
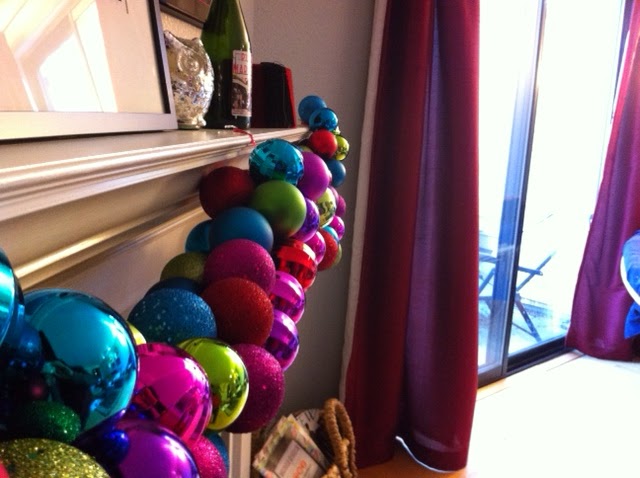
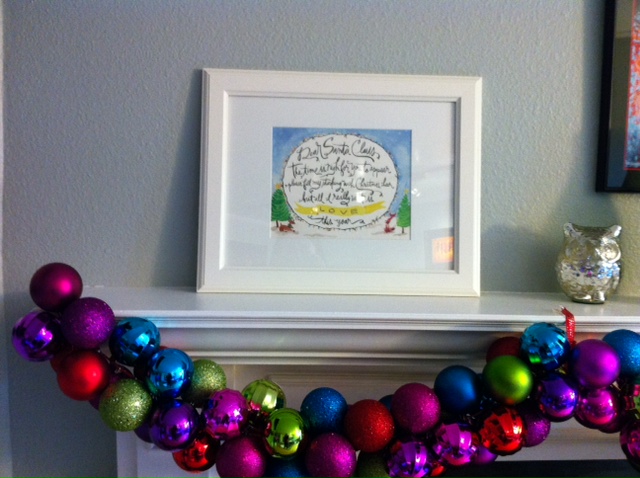
{when i got towards the end of my ribbon, i tied off the ribbon onto the last bulb just like i had with the first bulb. in order to hang the garland from the mantle – it is pretty bulky – i added ribbon loops in the three places i wanted the garland to hang from. then i put my 3M hooks into place onto the top of our mantle & hung up the garland!}

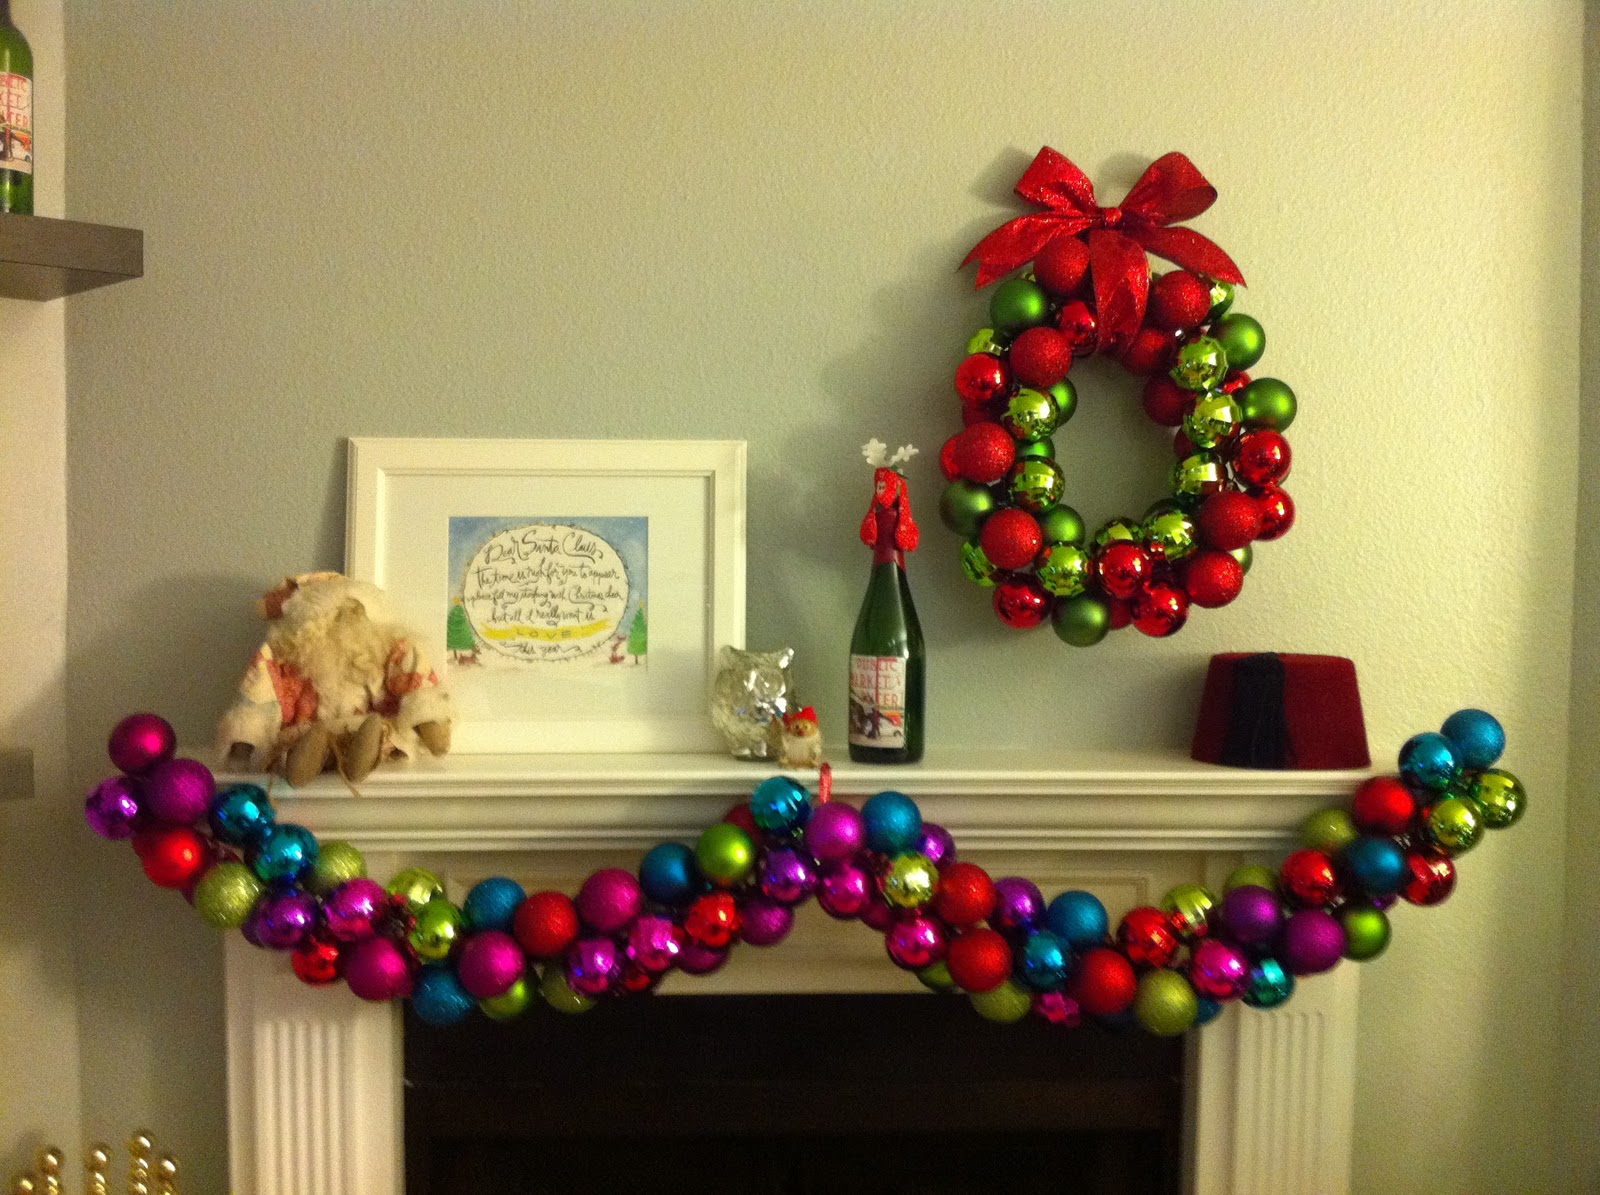
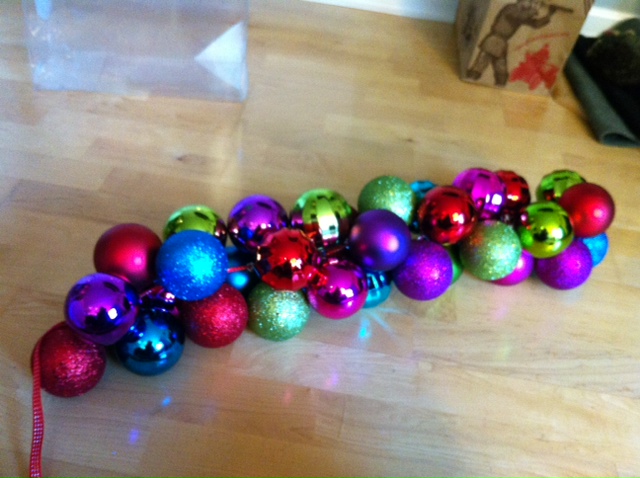
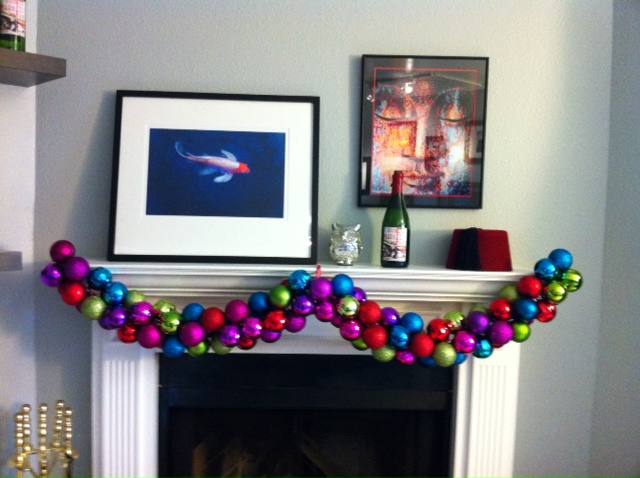
 {the finished garland – isn’t she a beaut! sidenote: i changed the picture on the left-side of the mantle between the last two pictures, so no, you aren’t crazy!}
{a final sidenote: the ornaments that were used in the pinspirational garland – i just came up with that as i was typing. clever, i know. i was a marketing major after all. – were real glass ornaments, i believe, & make for a much prettier garland. however, i am happy with my garland made from target ornaments, even if not the most beautiful because: (1) plastic ornament bulbs are WAY cheaper than glass ornament bulbs – though stocking up on pretty glass ones after christmas may be a genius idea, and (2) i am clumsy – it’s a fact – and therefore i saved my fingers and floors from a LOT of shattered bulbs and glass shards.}
what do you think of garlands made out of ornaments? what pinterest projects have you completed for christmas?
M

a pinterest christmas: christmas bunting.

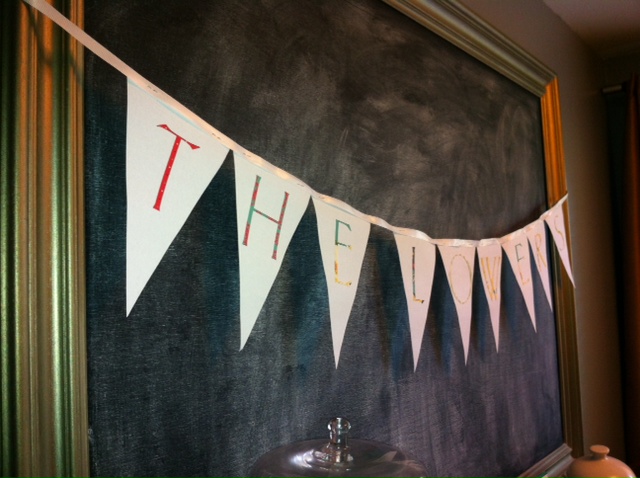
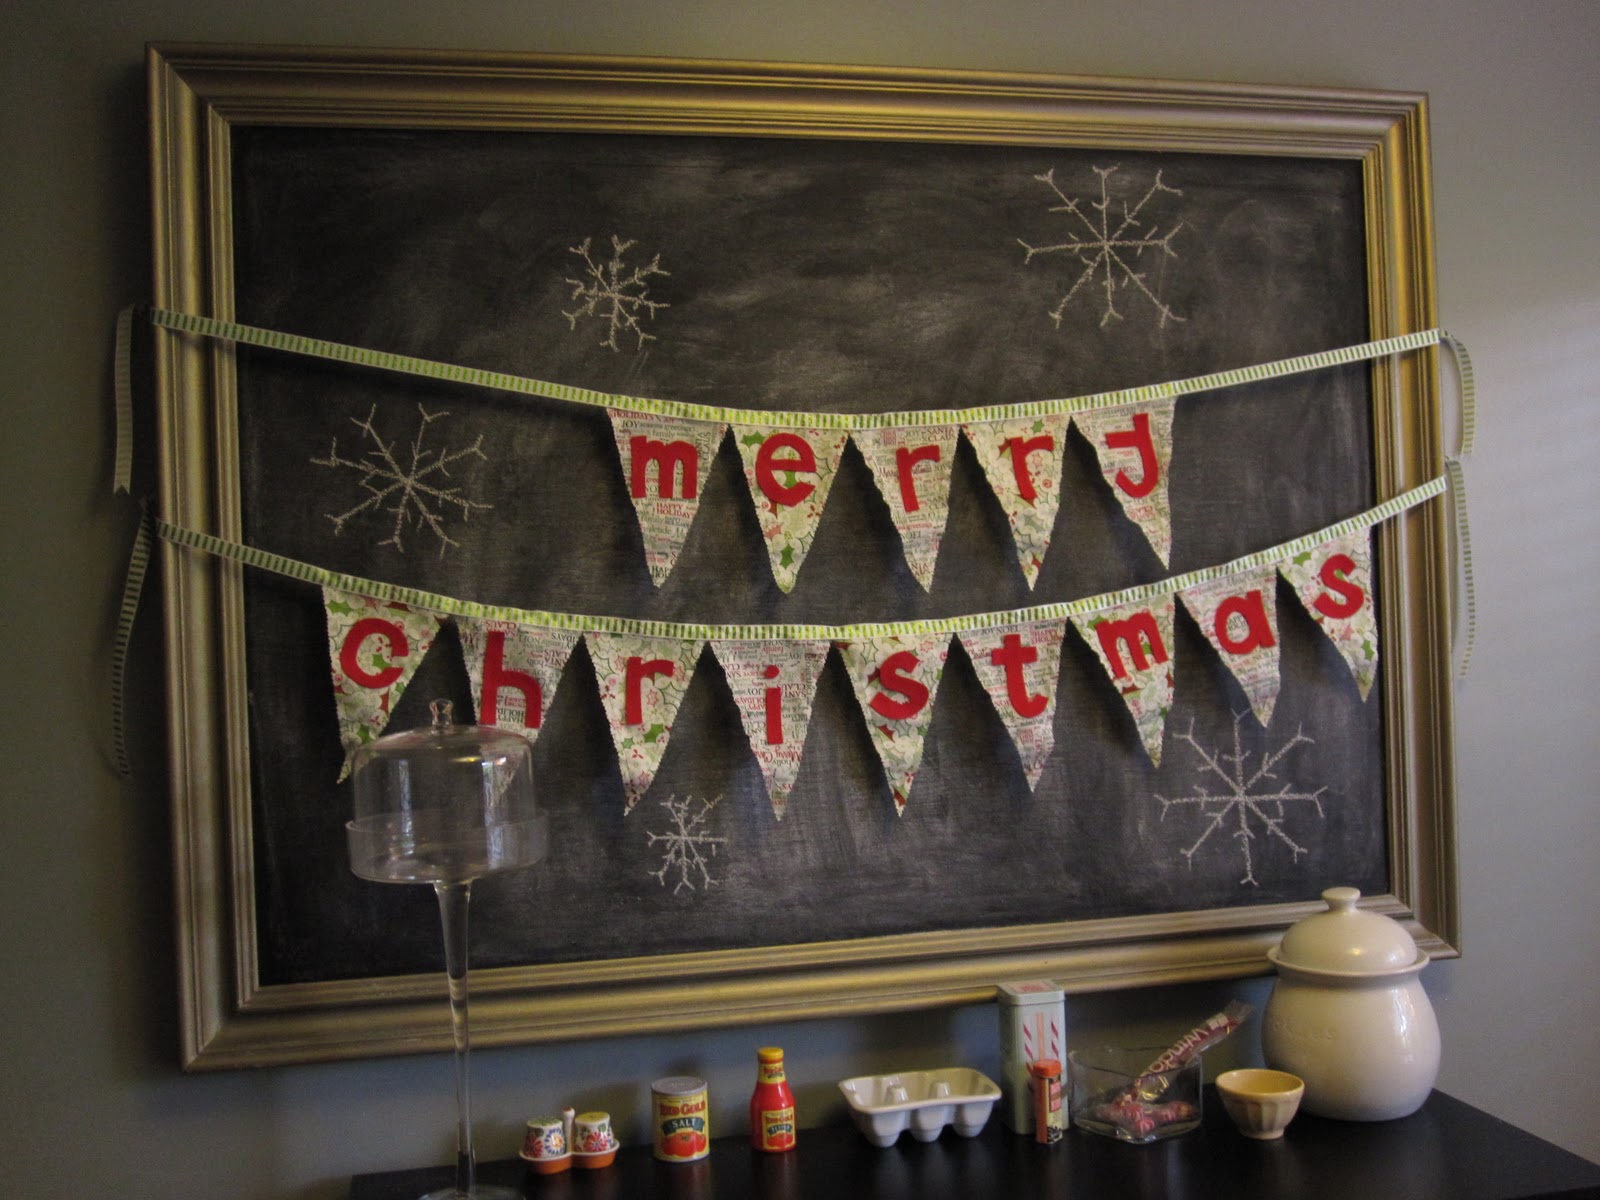
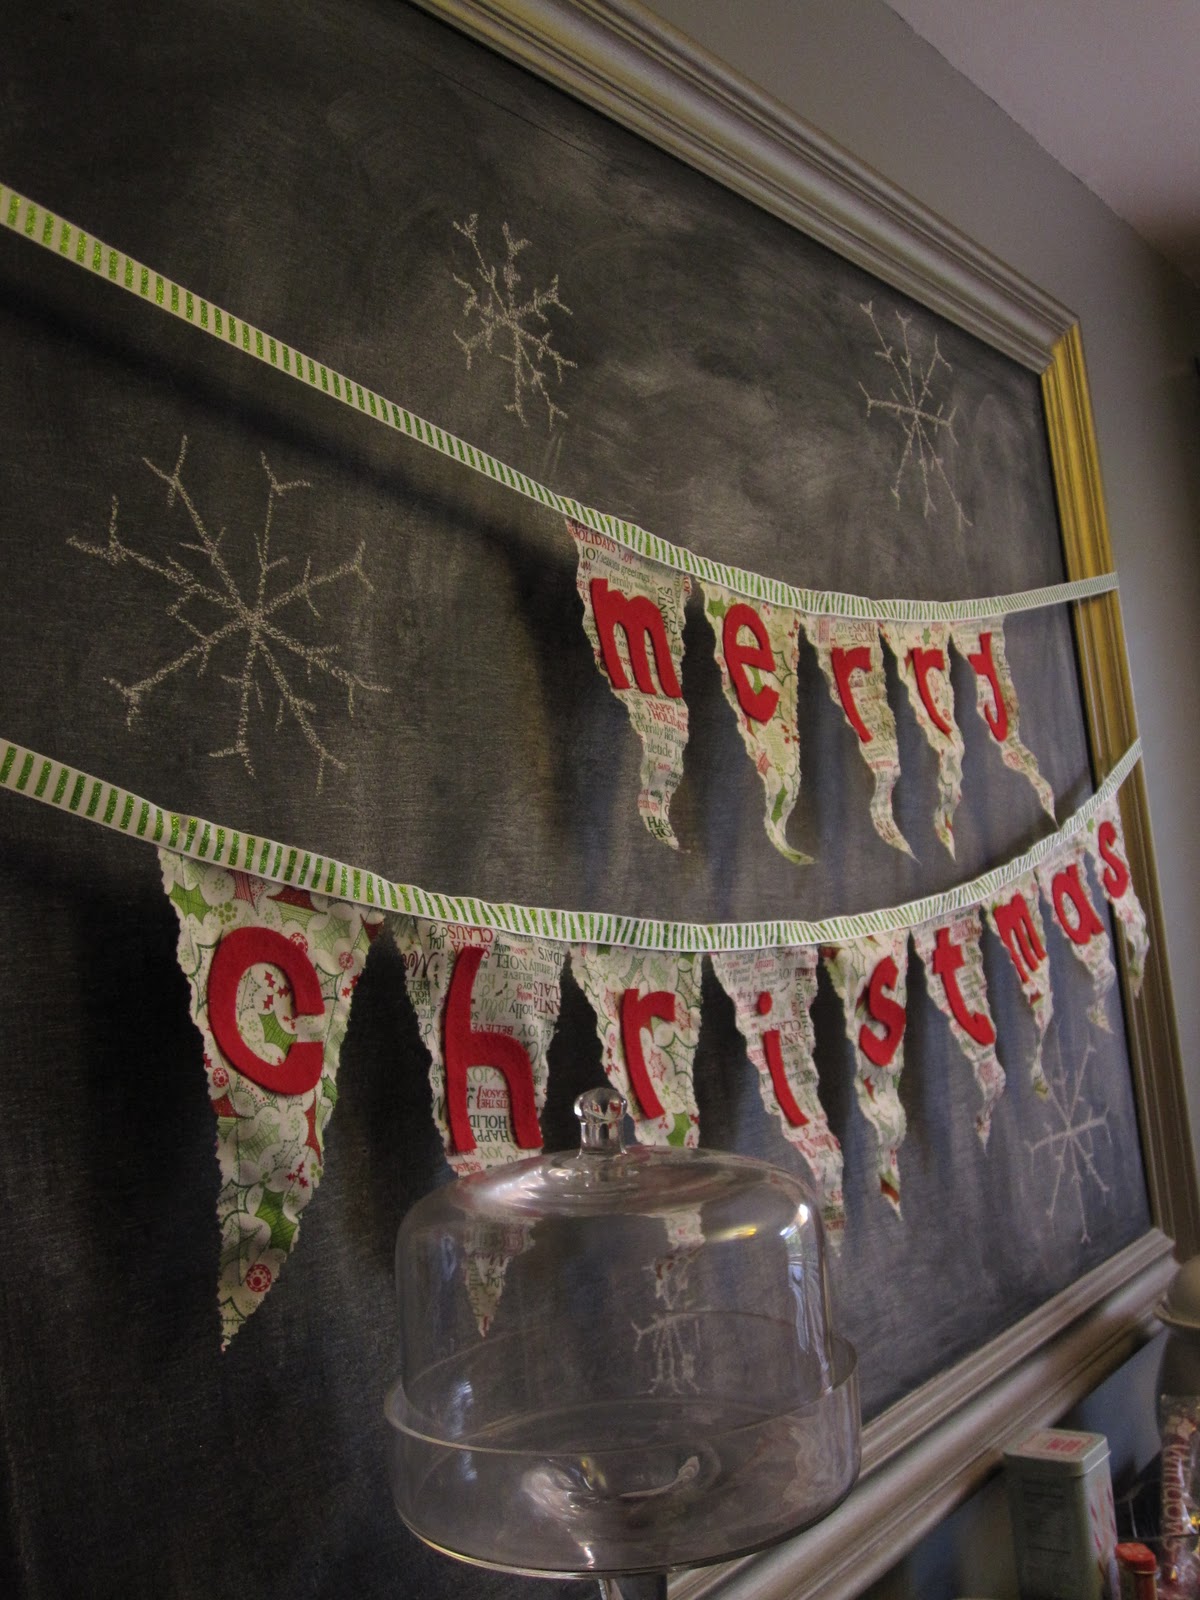
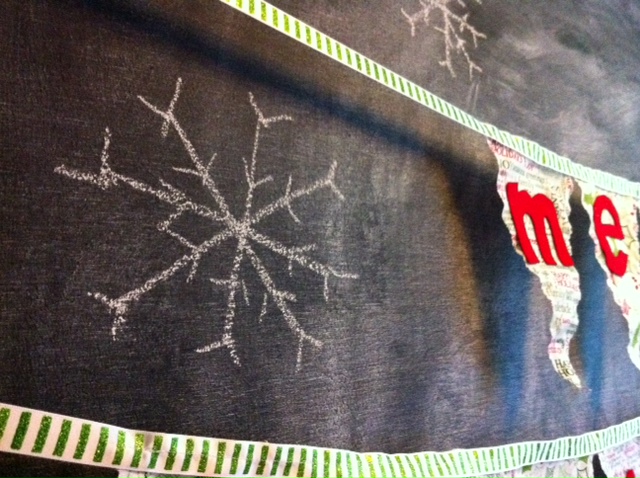
i have always liked bunting garlands, you know, the banners with the triangle flags. they are festive and work for all seasons. plus, we have this great big chalkboard that we made last year that hangs above the sideboard in our “dining room.” it is one of the first things you see, so it is nice to have something fun there.
for the fall (well, i guess it is for any time of year) i made a quick paper bunting garland with paper letters (thanks mom!), computer paper and curling ribbon. (sidenote: the banner says “the lowers.” i realize the angle and reflection makes it hard to read.)

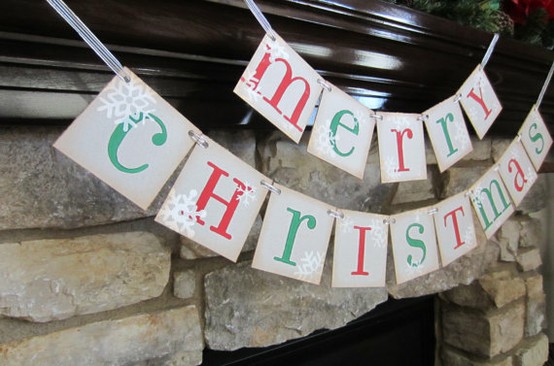
when i started seeing christmas-themed bunting garlands pop up on pinterest, i knew it would be a fun & easy way to dress up our chalkboard for the holiday season!
{etsy via pinterest}
supplies:
fabric or paper (i used two kinds of christmas fabric)
ribbon or string (i used 5/8 inch wide ribbon)
felt (optional – i used this for the lettering)
scissors
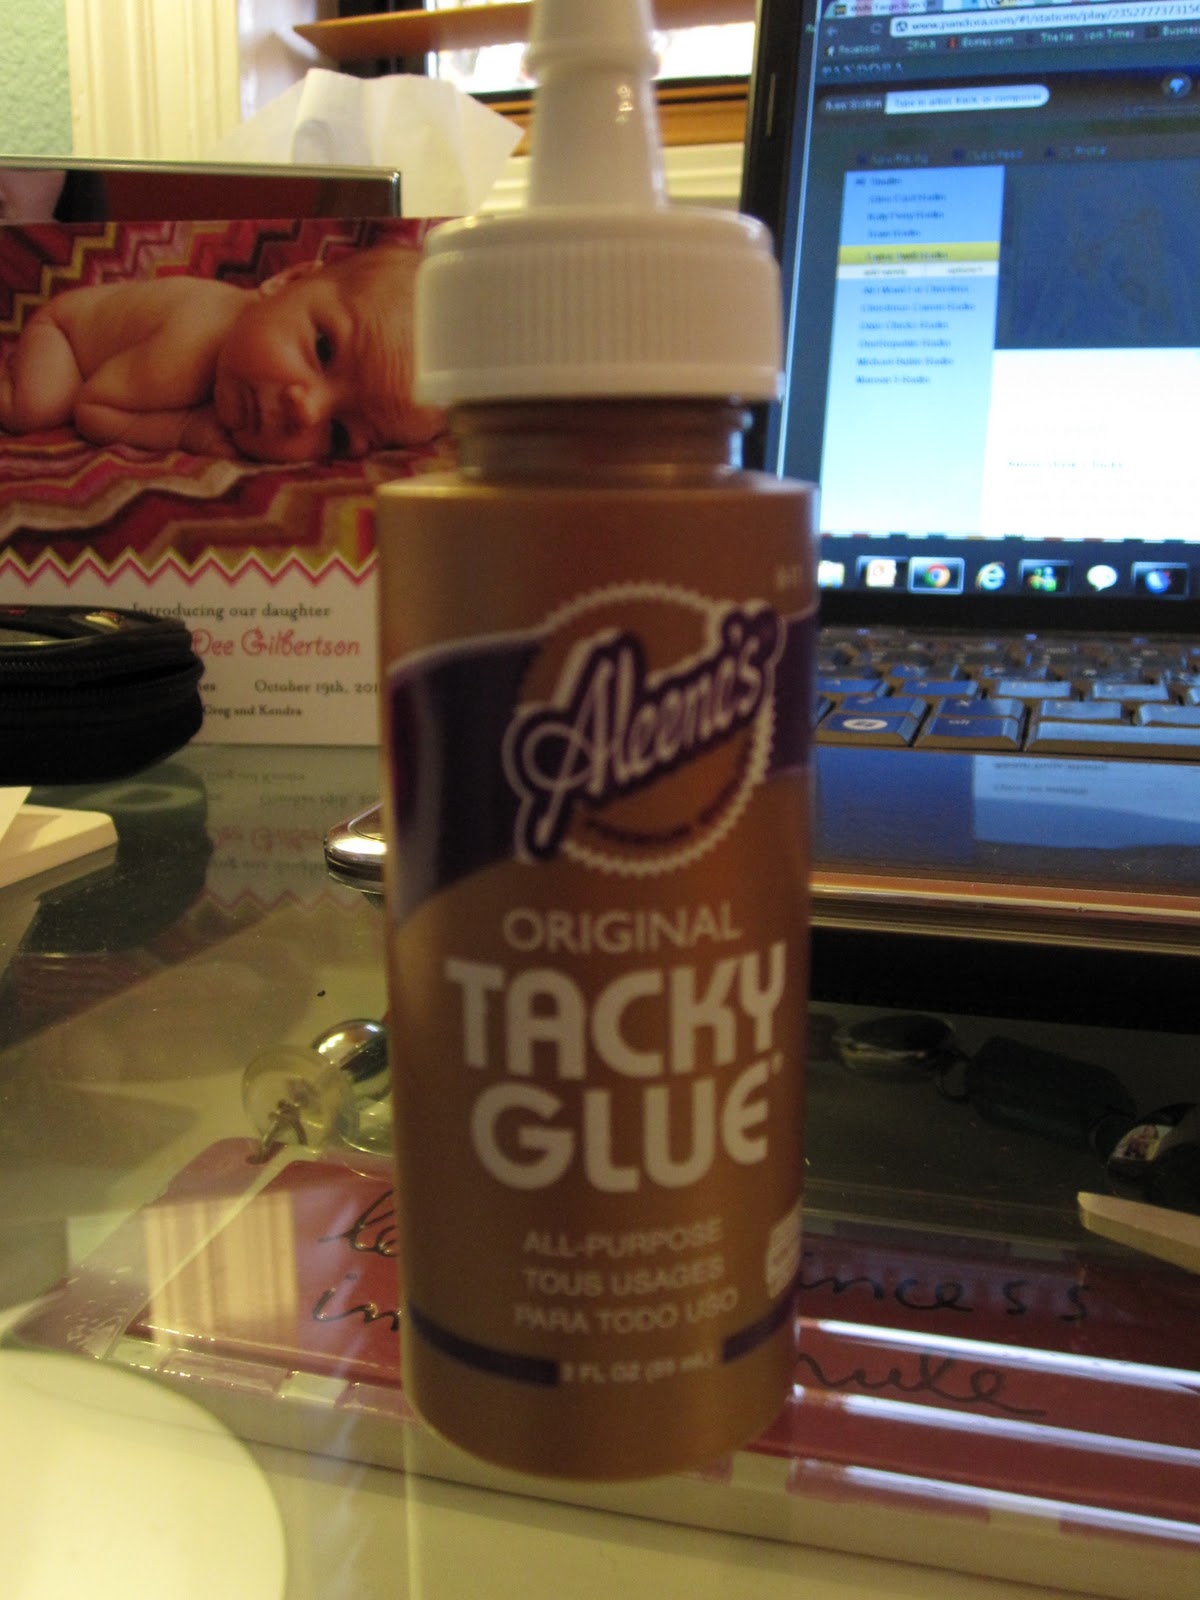
tacky glue or hot glue (optional – i used this for gluing on the letters)
thick paper or cardstock (optional – i used this for making stencils)
sewing machine (optional – i used this for making a stitch on the triangles and sewing the triangles onto the ribbon)

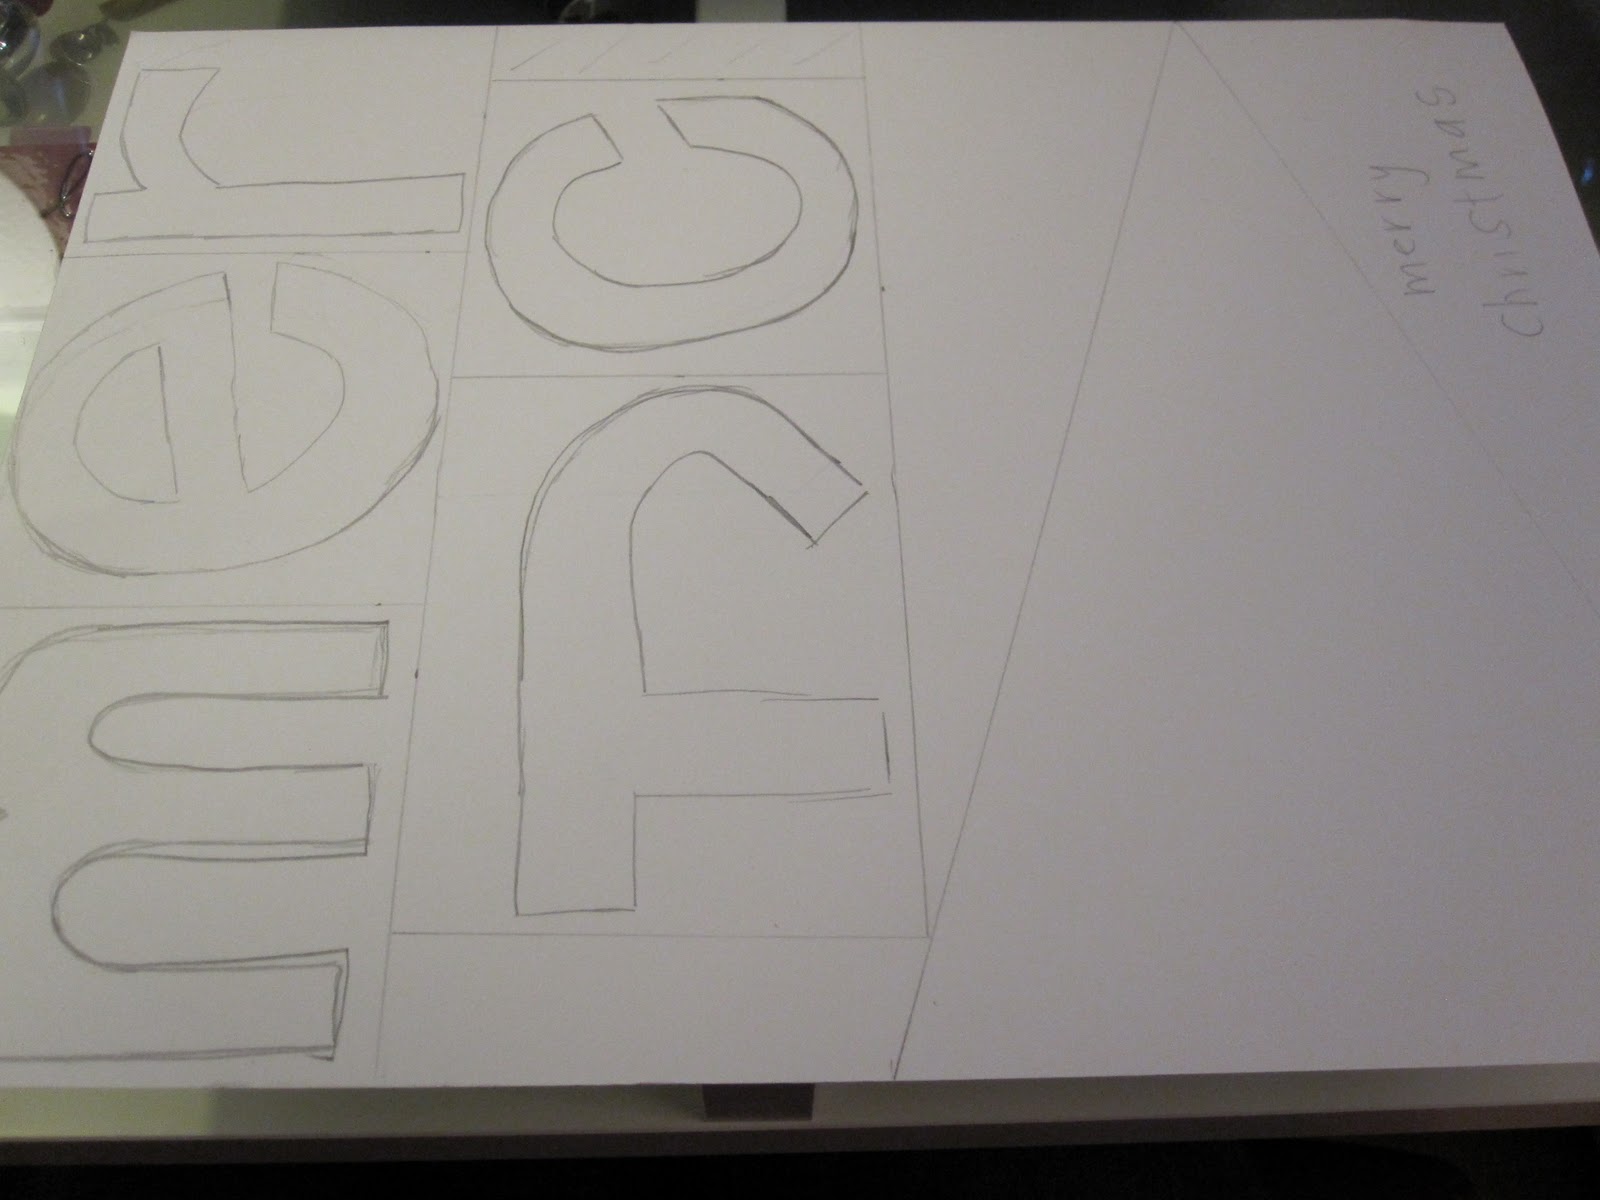
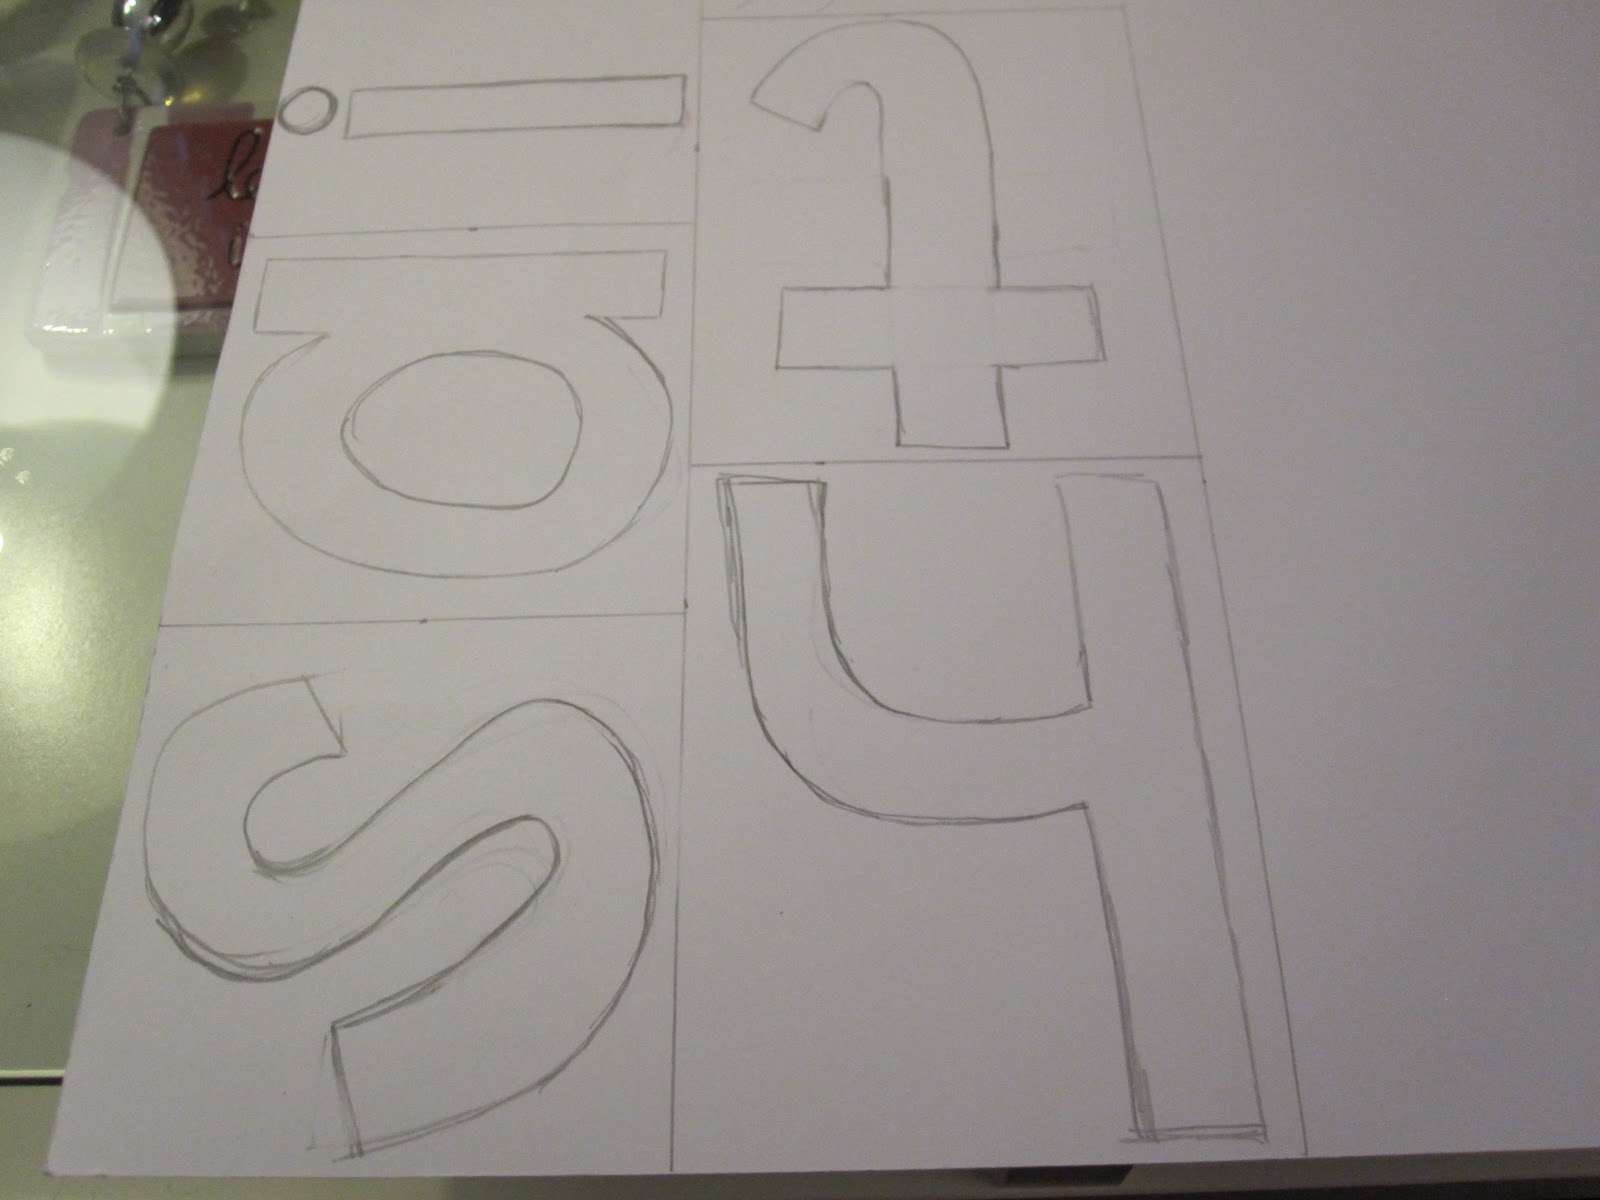
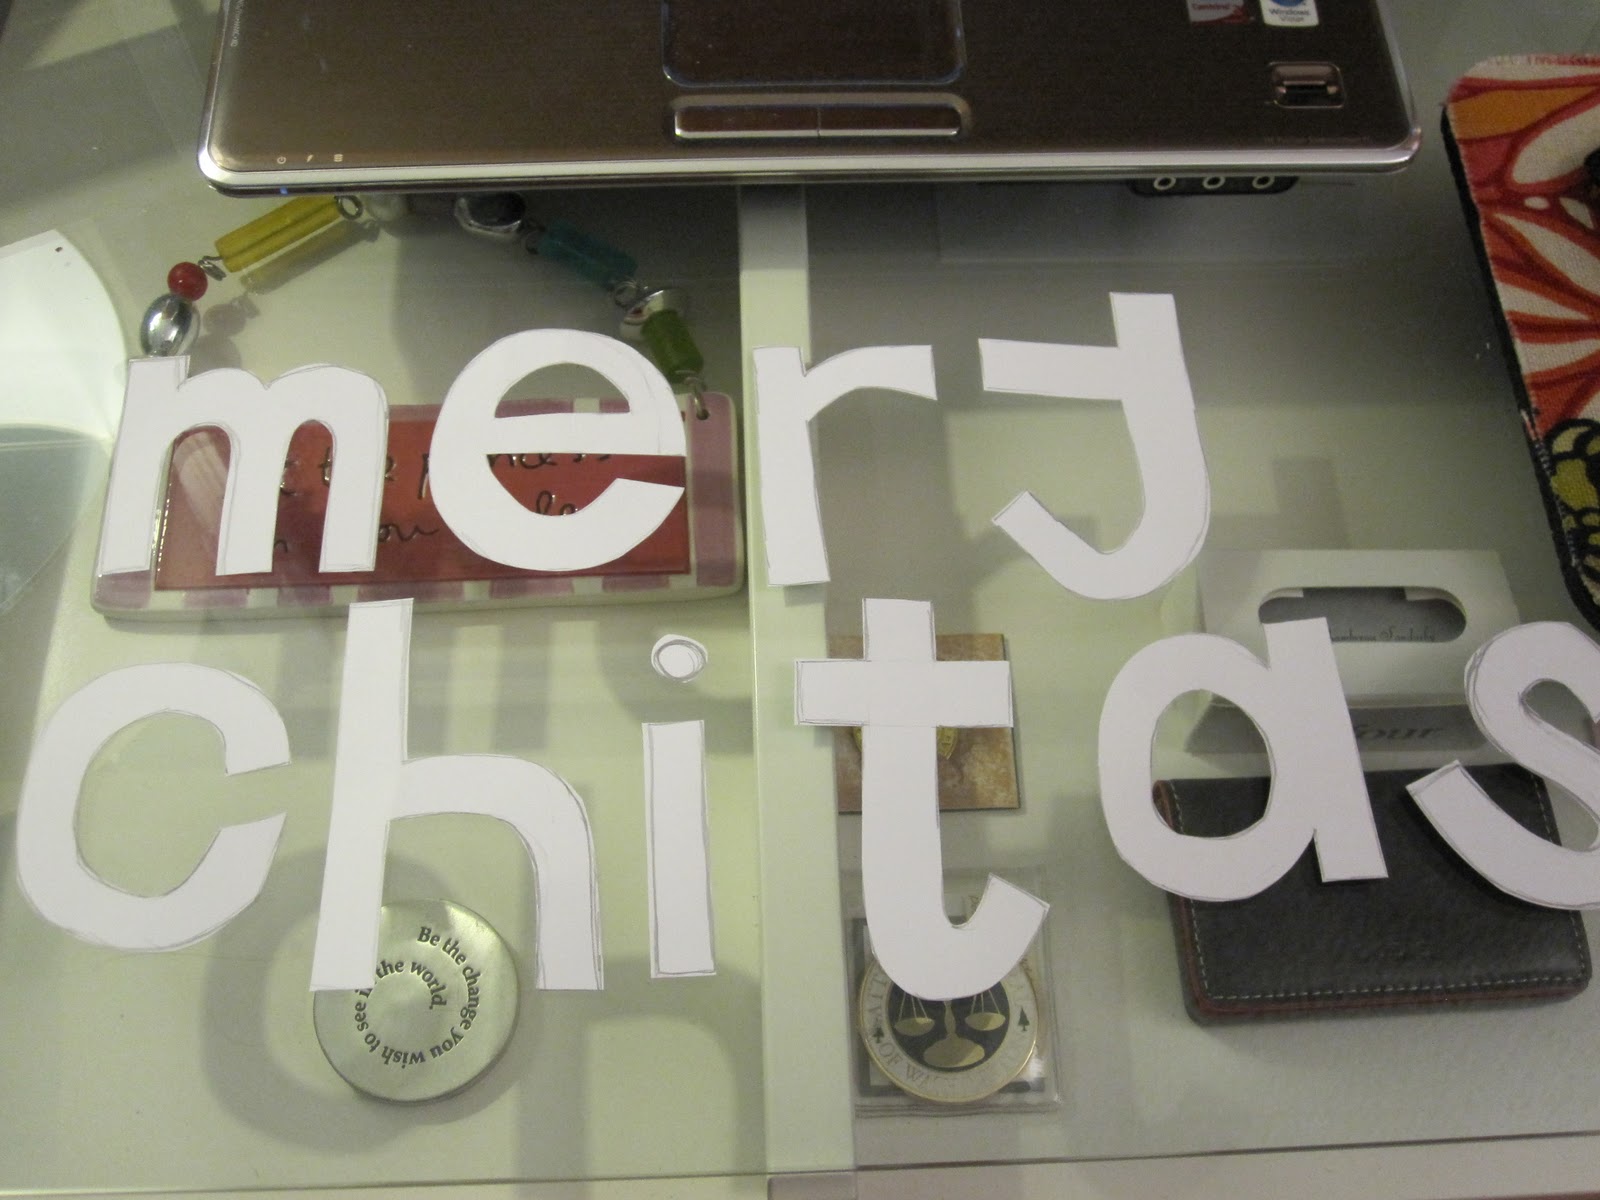
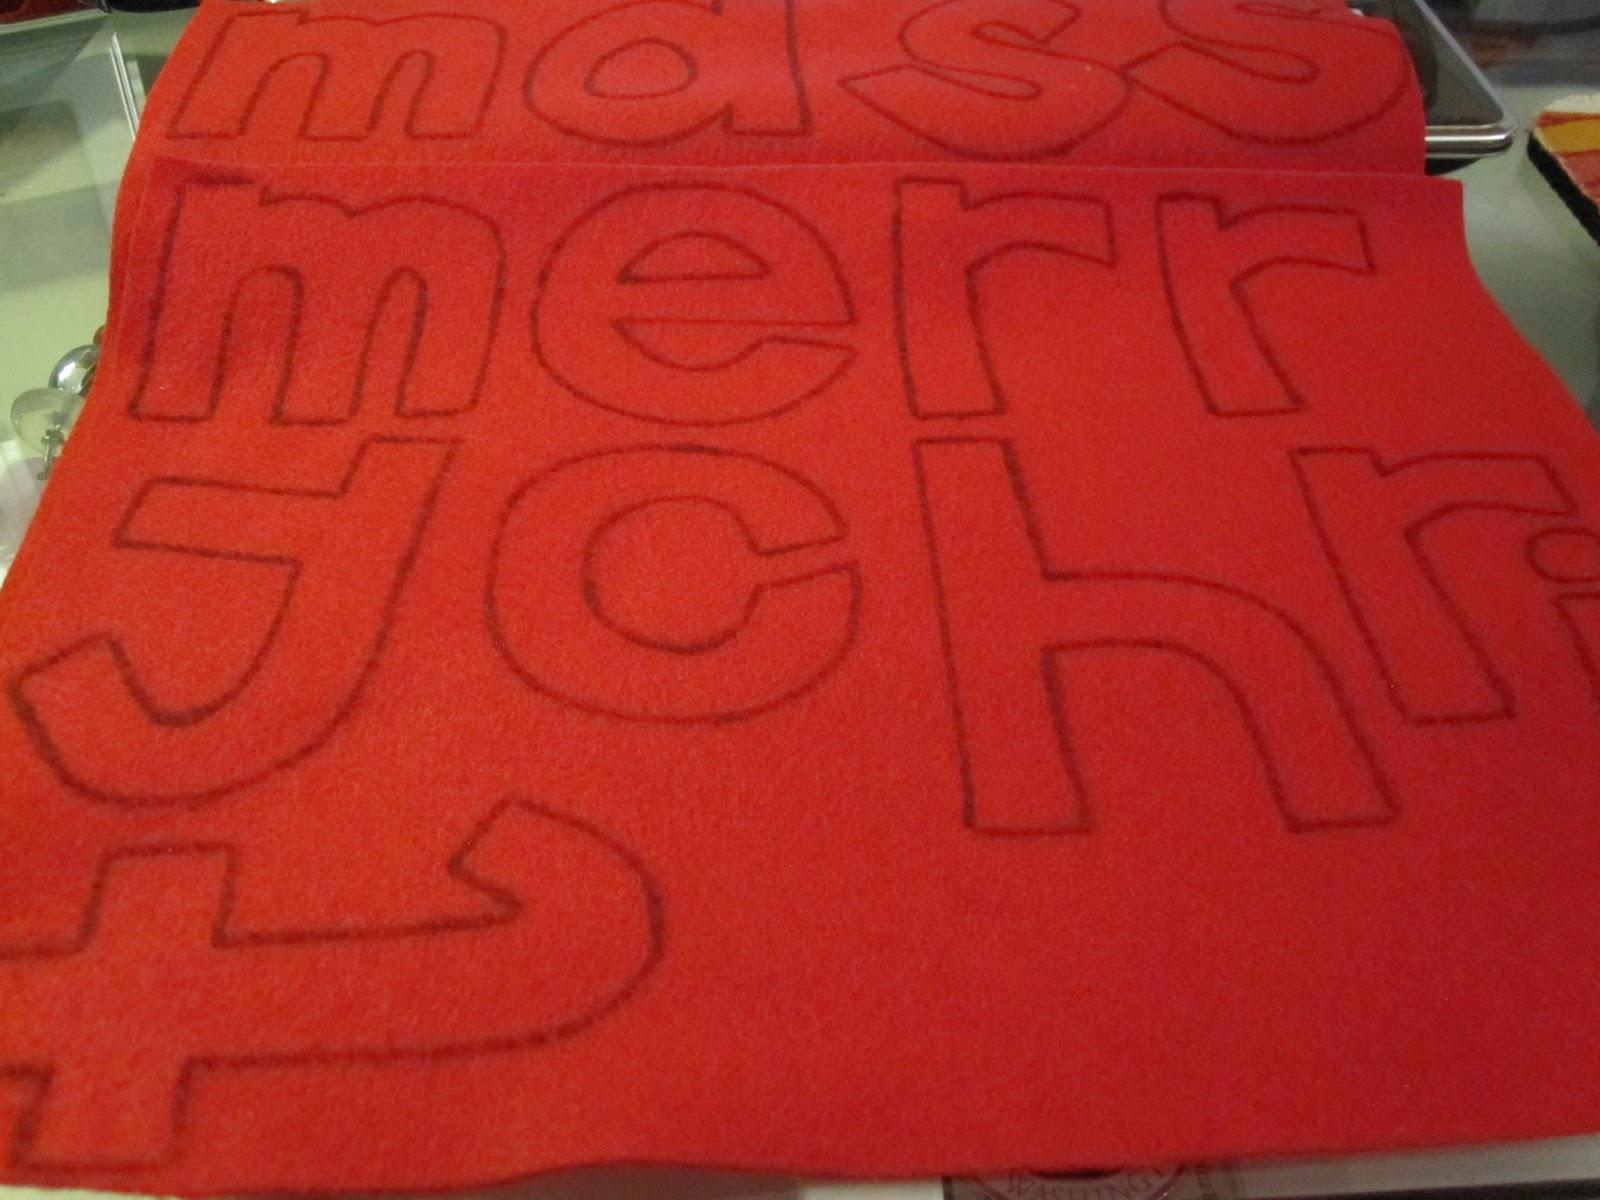
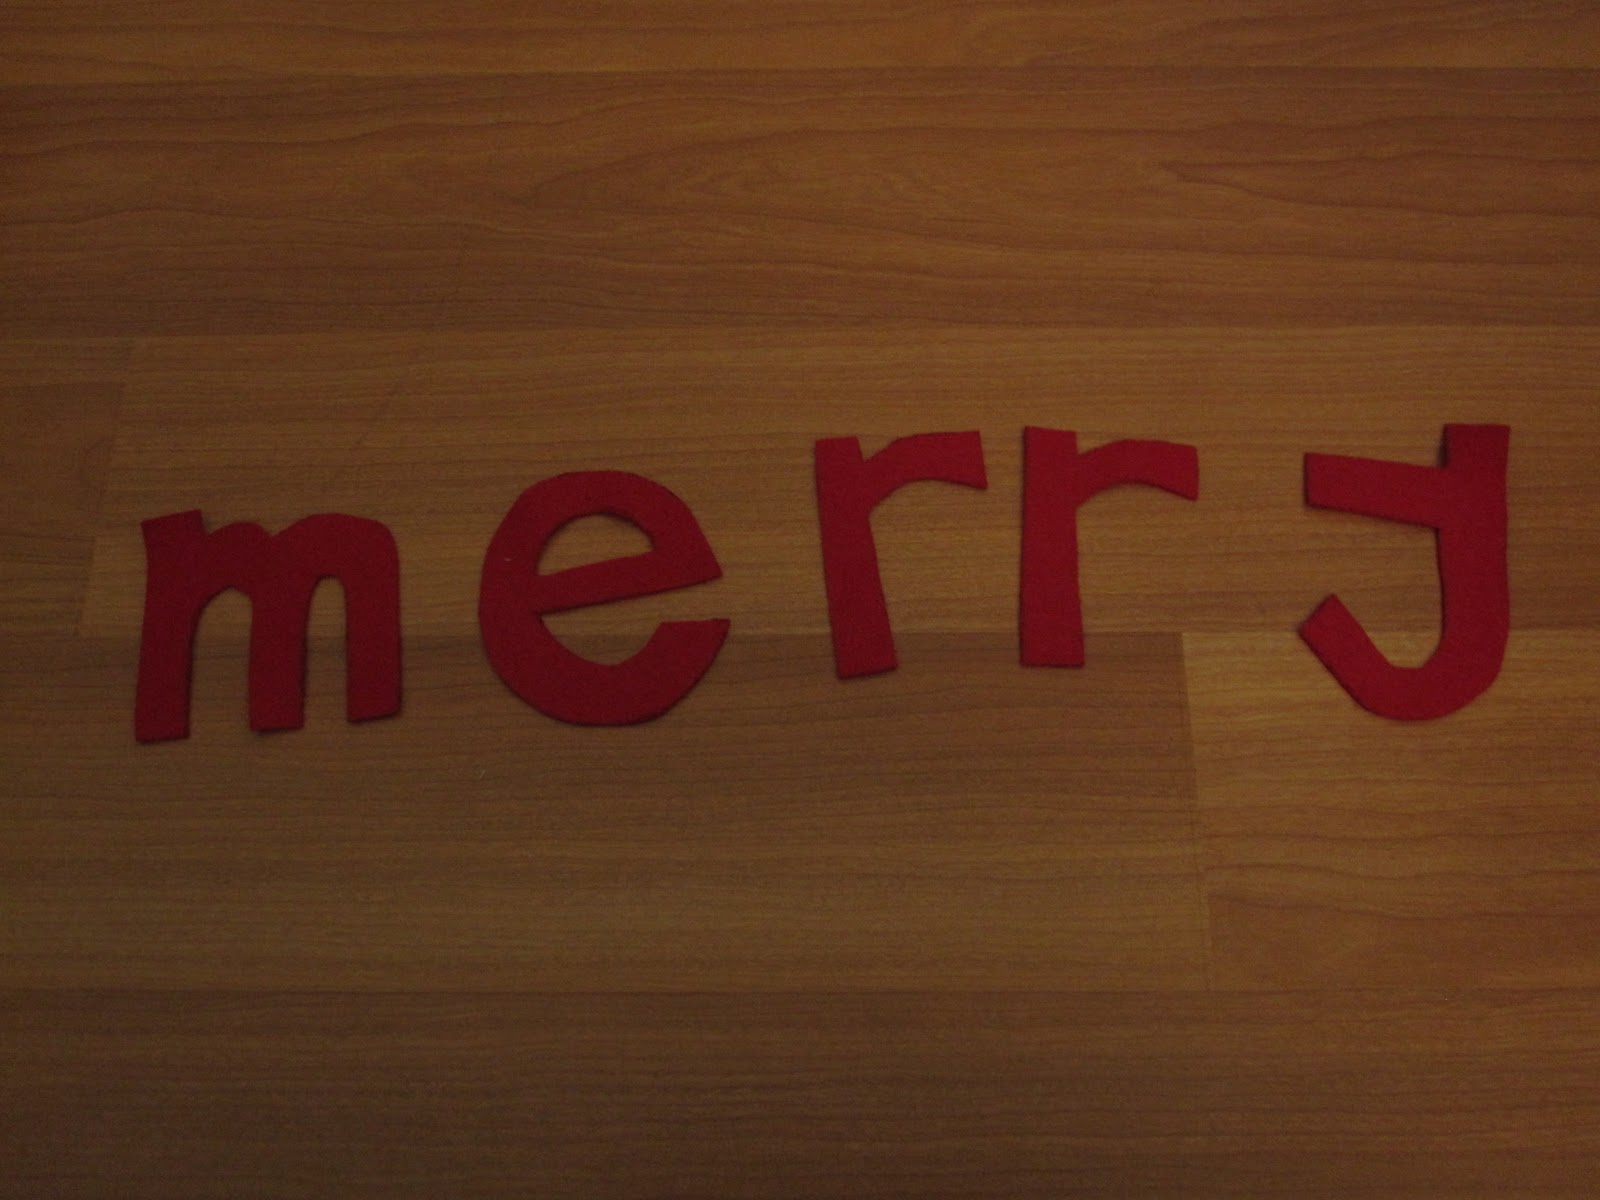
{i decided to make my own letter stencils. i drew out 3 inch squares and sketched out each letter i needed. the nice thing was that “merry christmas” has some double letters – m, r, s. then i cut out each stencil, traced it onto the felt with a sharpie and cut out the felt letters. sidenote: in hindsight, i probably would have traced the letters onto the felt backwards so that if i didn’t cut it perfectly then no black would show.}
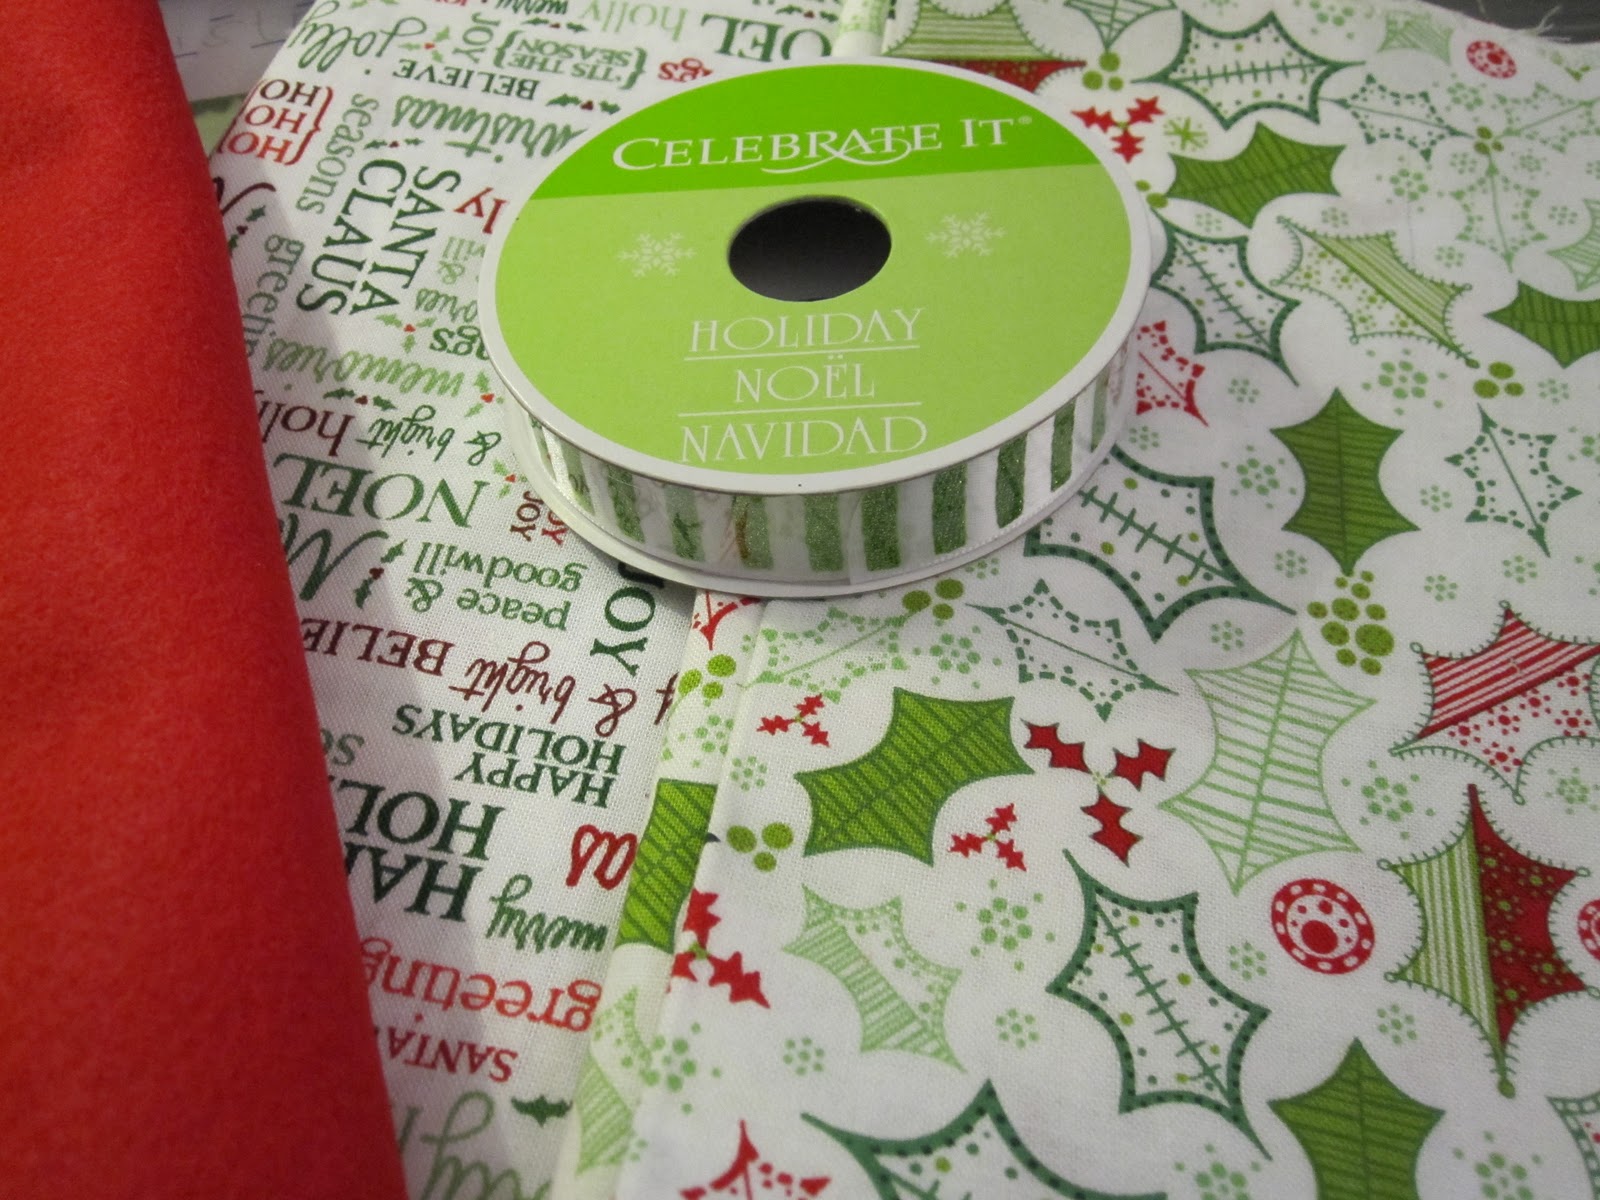
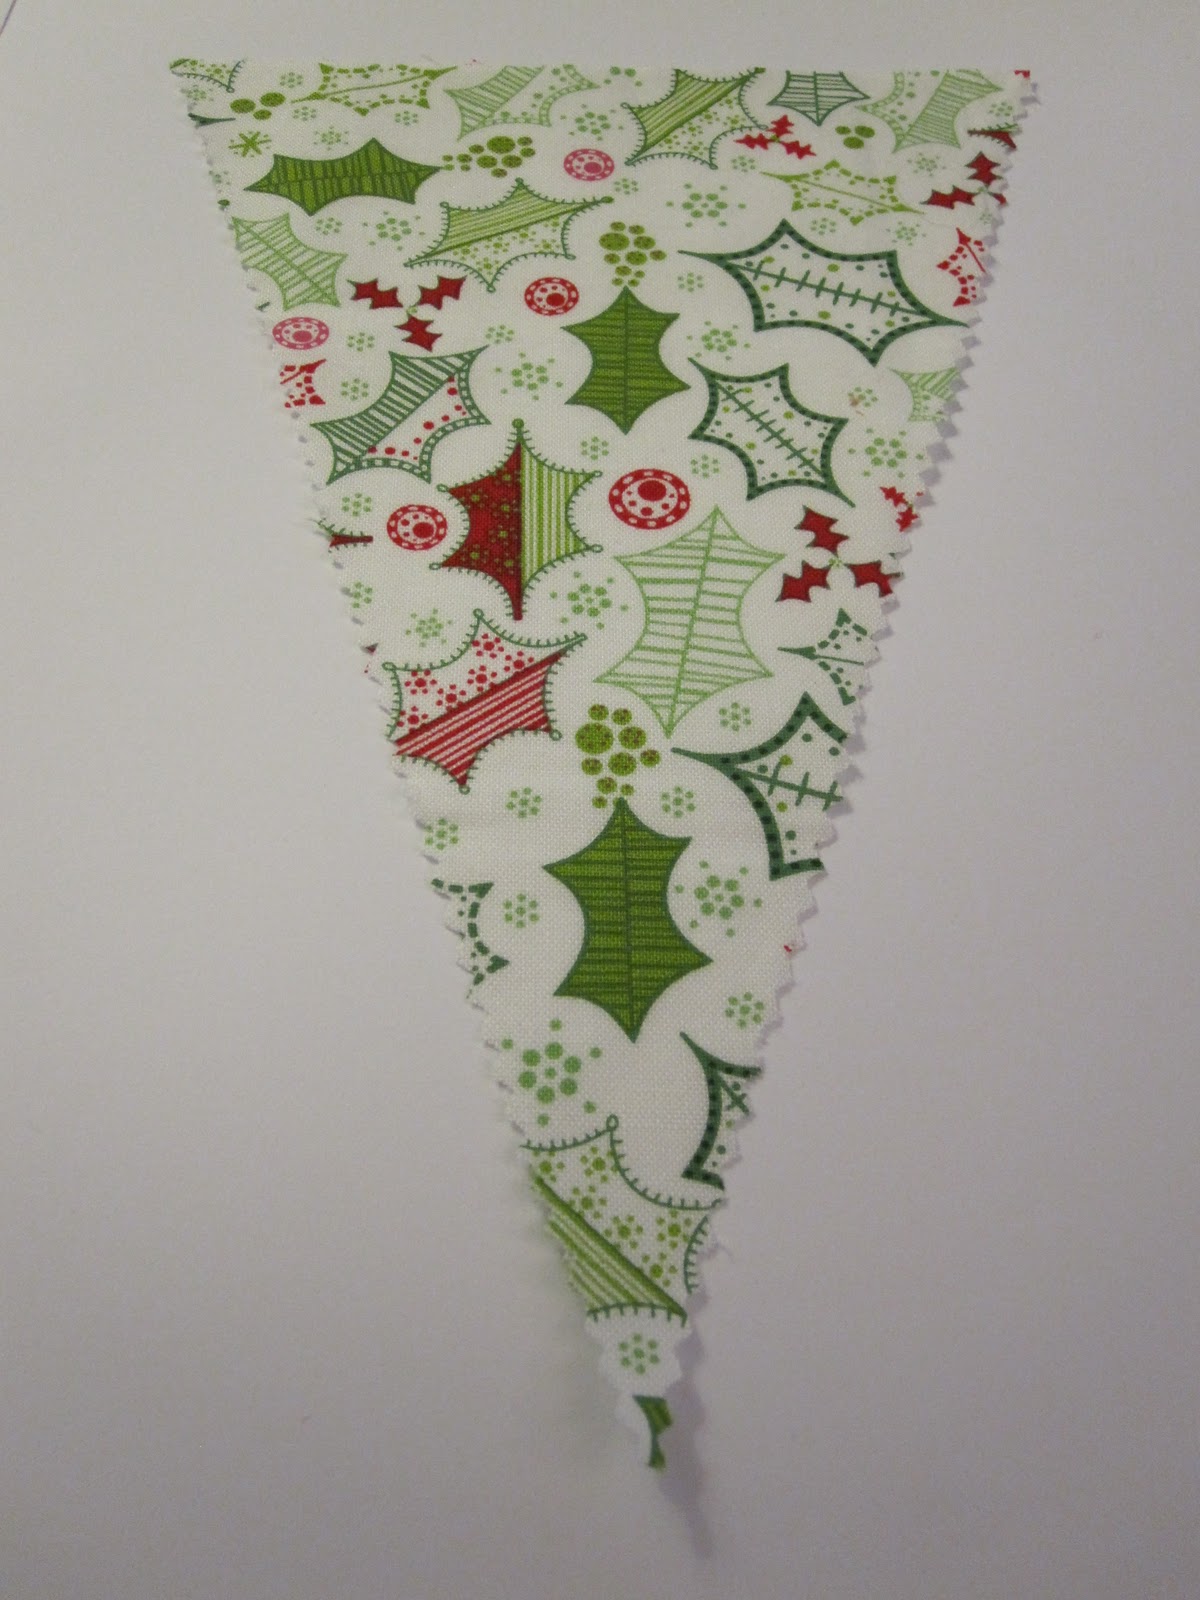
{i chose two different fabrics and ribbon with mostly green and chose red felt for the letters.} 

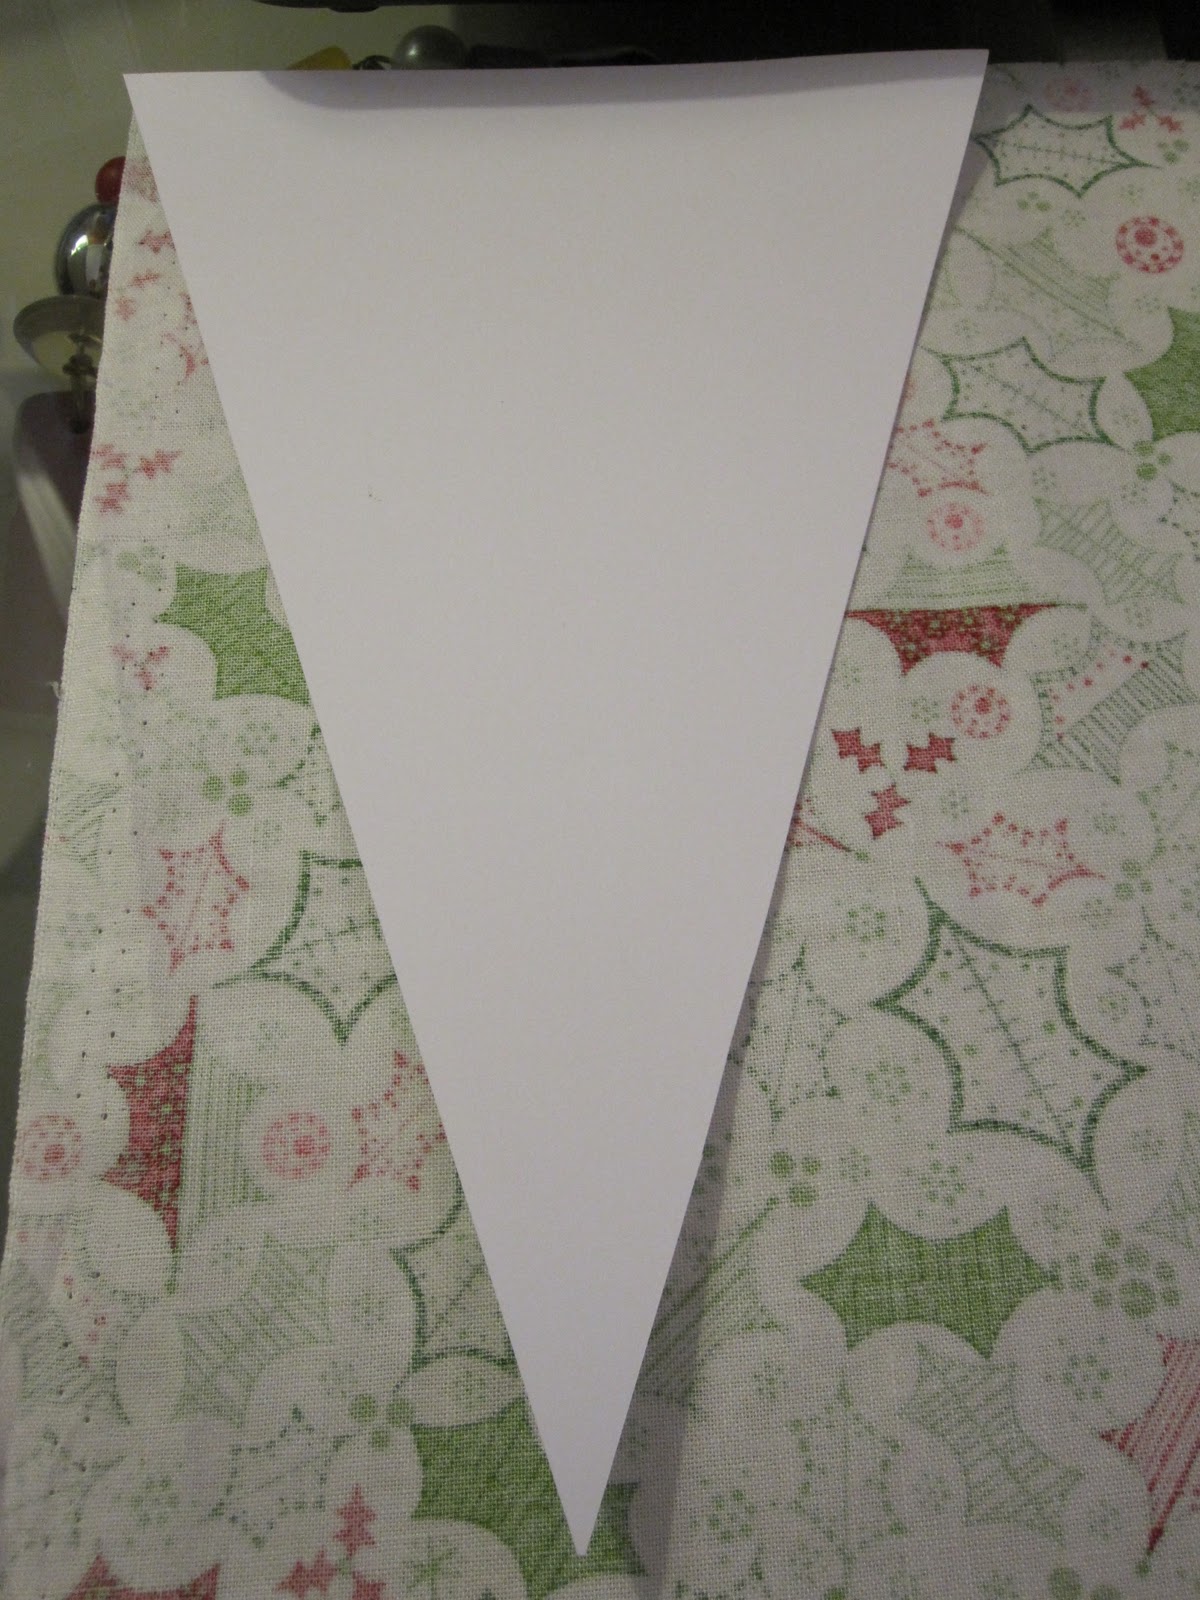
{i made a stencil for the triangles. the top part of the triangle is 5.5 inches (half the length of an 8×11 sheet of paper). to get the right correct angle for the longer sides, i made a pencil mark at 2.75 inches (half the length of 5.5) and then drew the lines to that mark.}

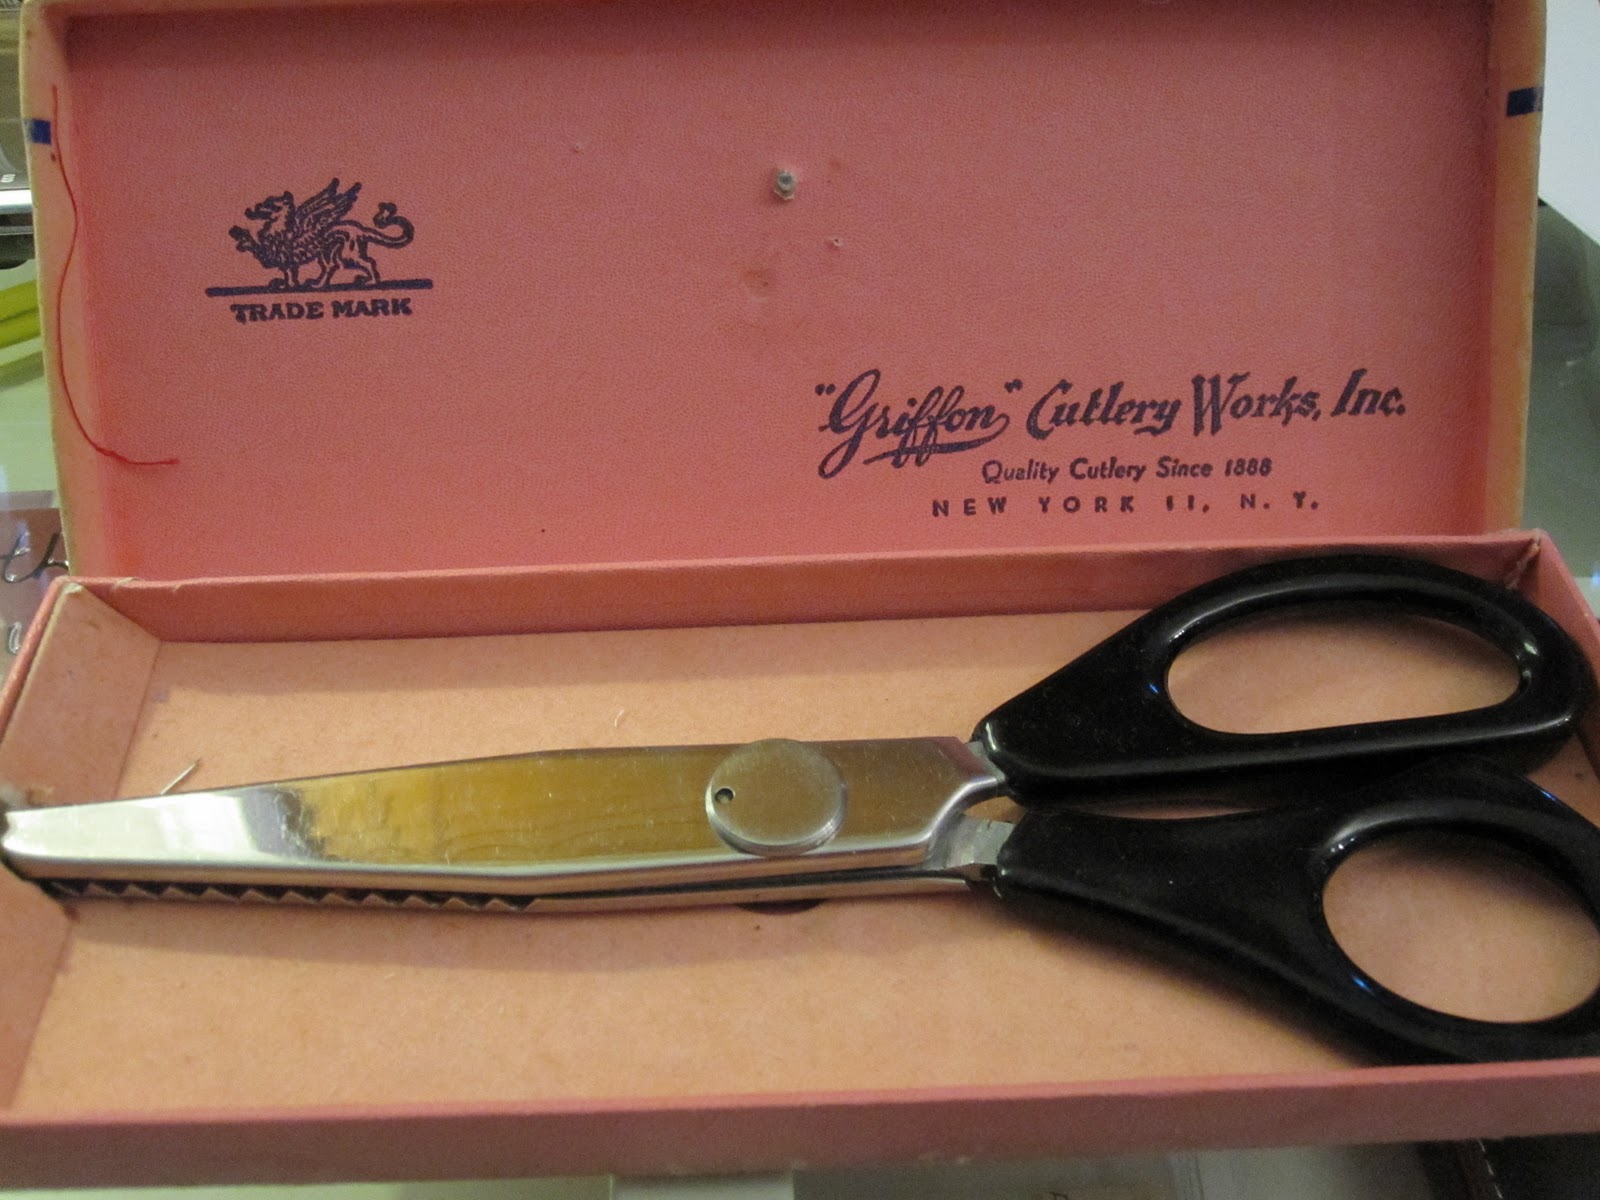
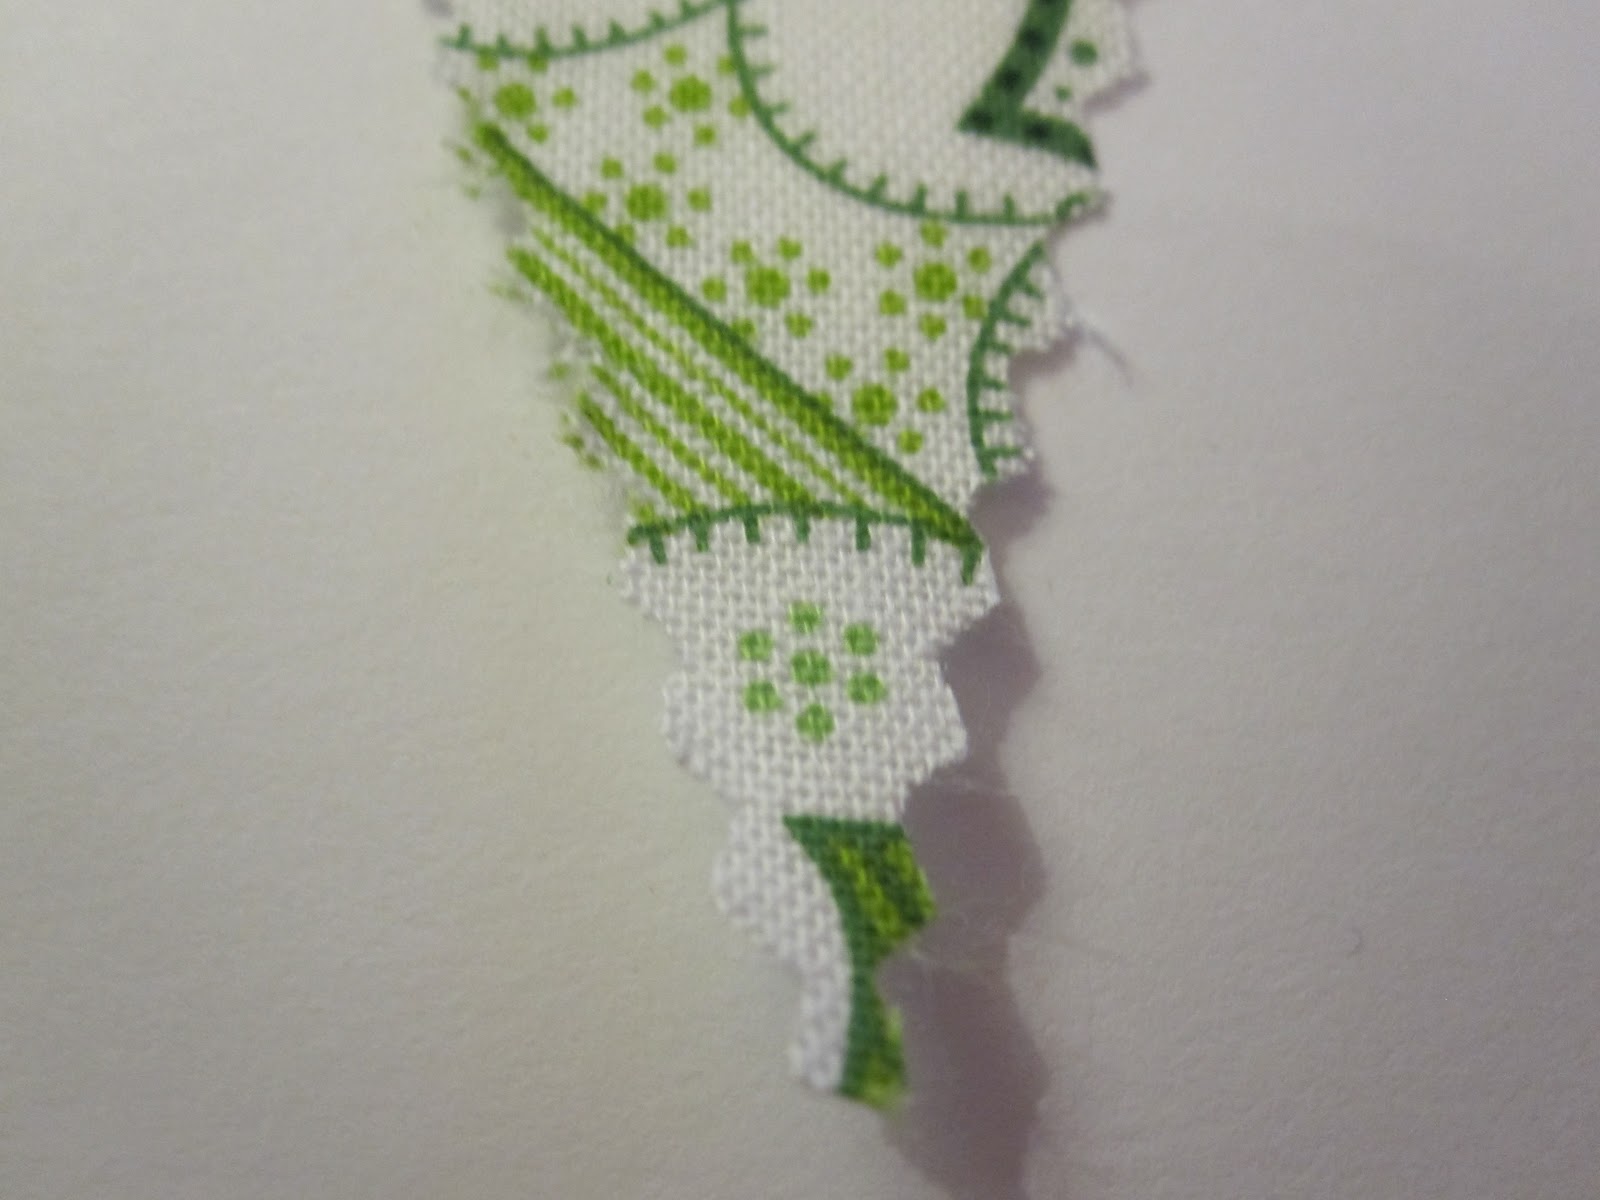
  {i decided to use pinking shears to cut out my fabric triangles. i borrowed these from my grandmother – they belong in the smithsonian!} 

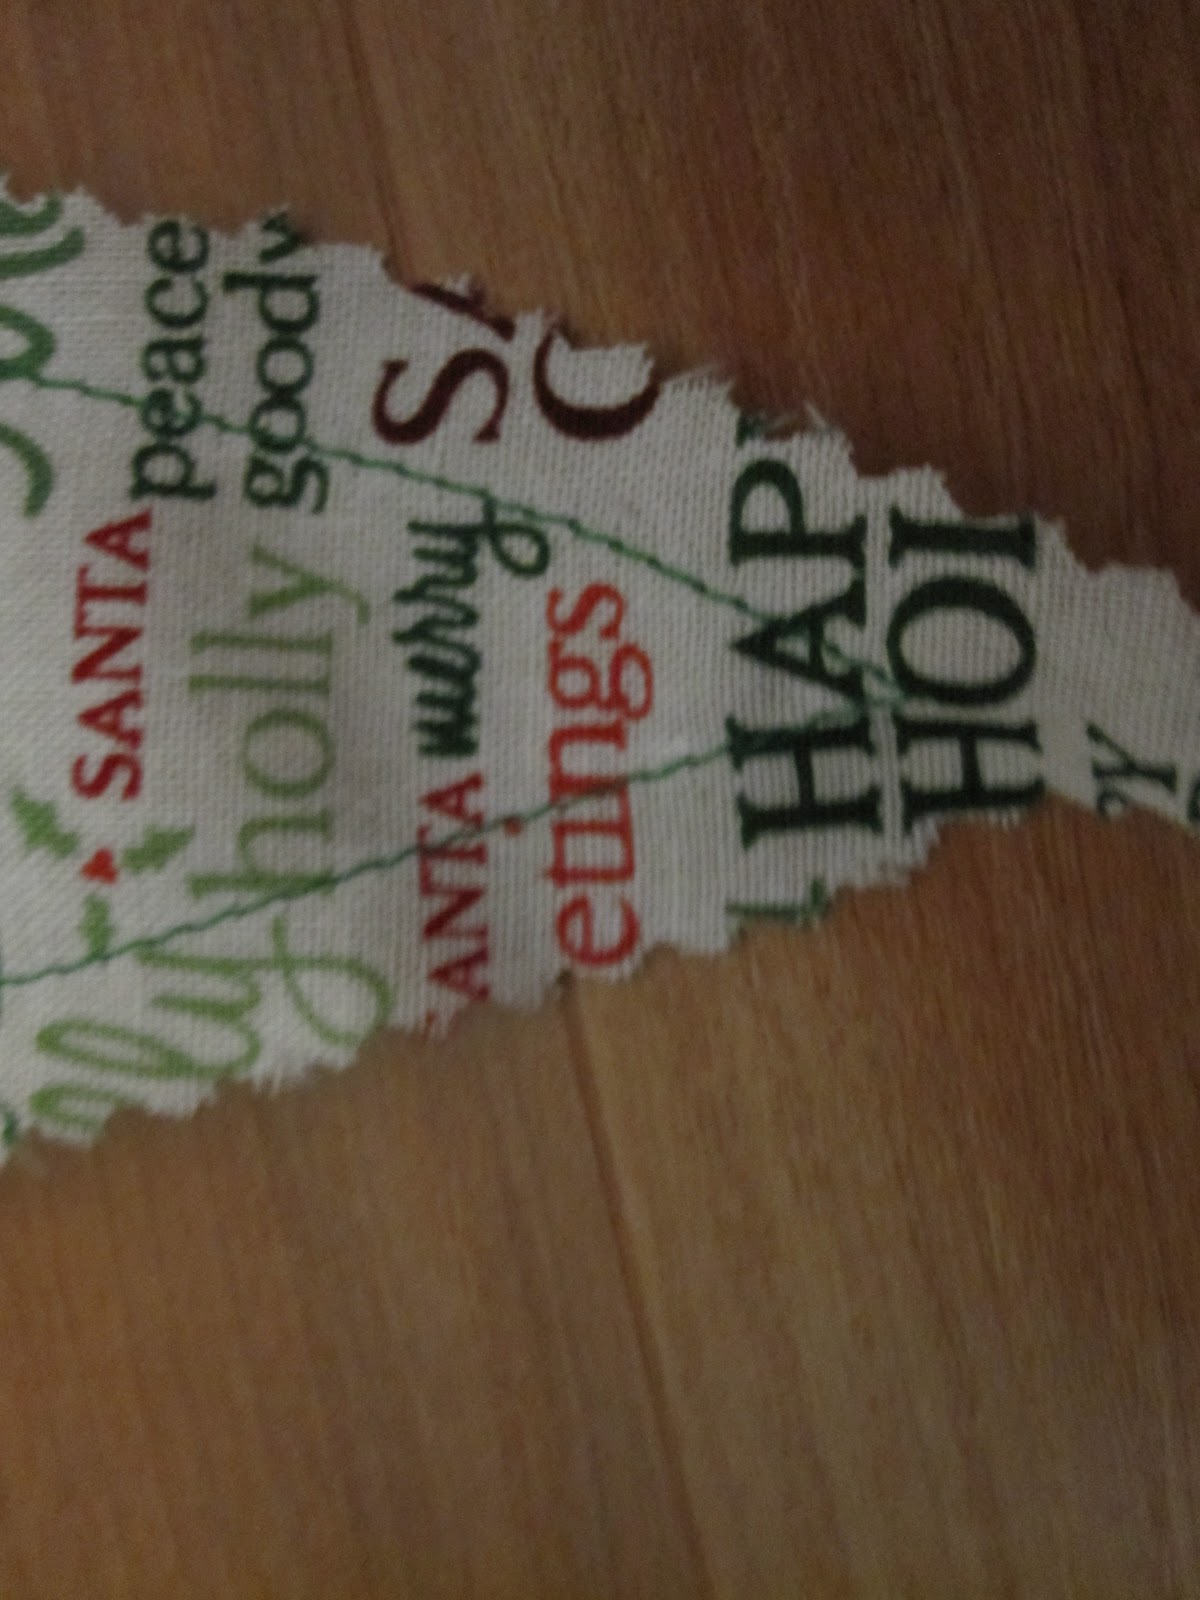
{then i ran a stitch along the long sides of the triangle.}

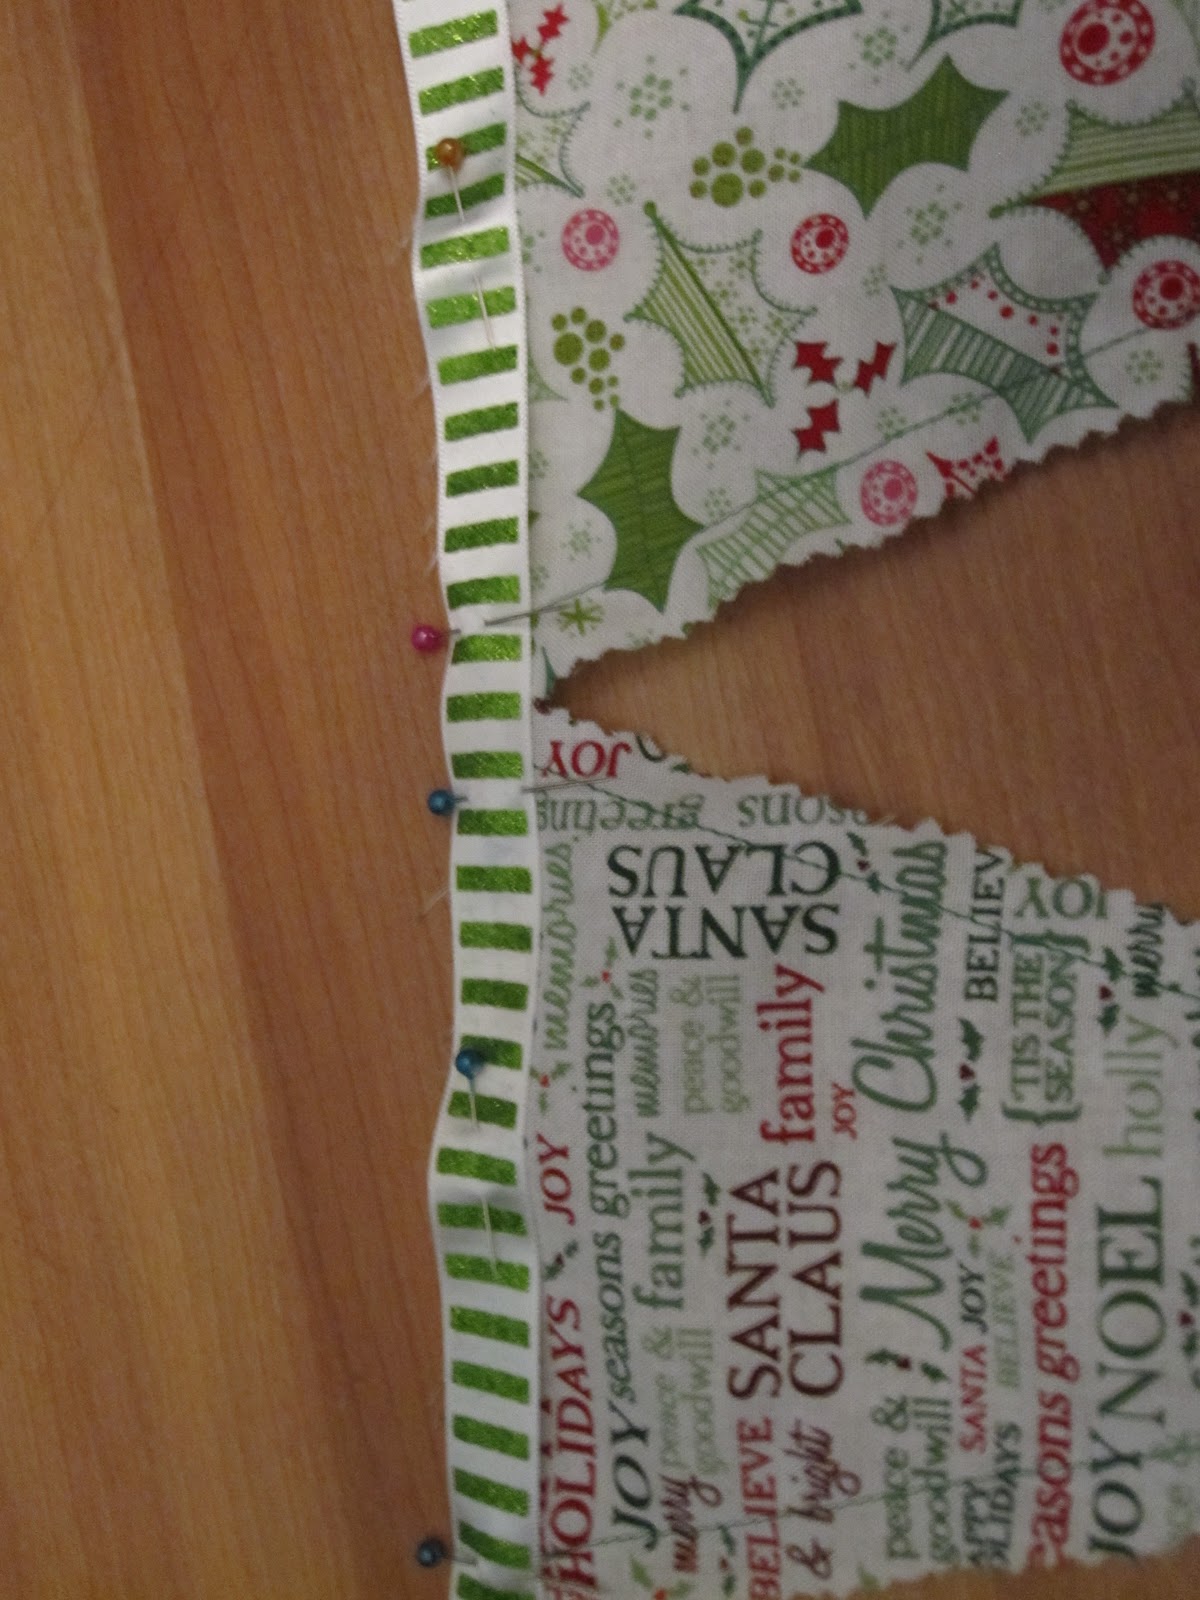
{i pinned each of the triangles onto the ribbon, alternating the fabric.}

{i used tacky glue to attach the letters onto the triangles.}

this was really pretty easy to do and only took an afternoon or so. what christmas projects have you been up to? any pinterest influence?
M

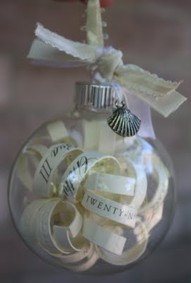
a pinterest christmas: keepsake ornament.

this is the first post of my pinterest christmas series and i am so excited to share. 
{sidenote: i have a few more projects up my sleeve & the list of projects keeps growing – i blame pinterest!} 
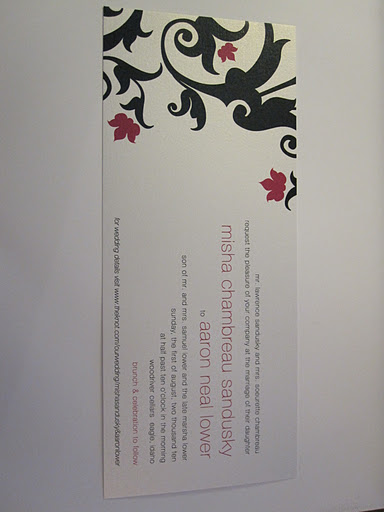
as soon as i saw this picture on pinterest, i knew i had to do this (honestly, what else am i going to do with the rest of our wedding invitations? any ideas?).
{this is the original pinterest link: wedding invitation ornament.}

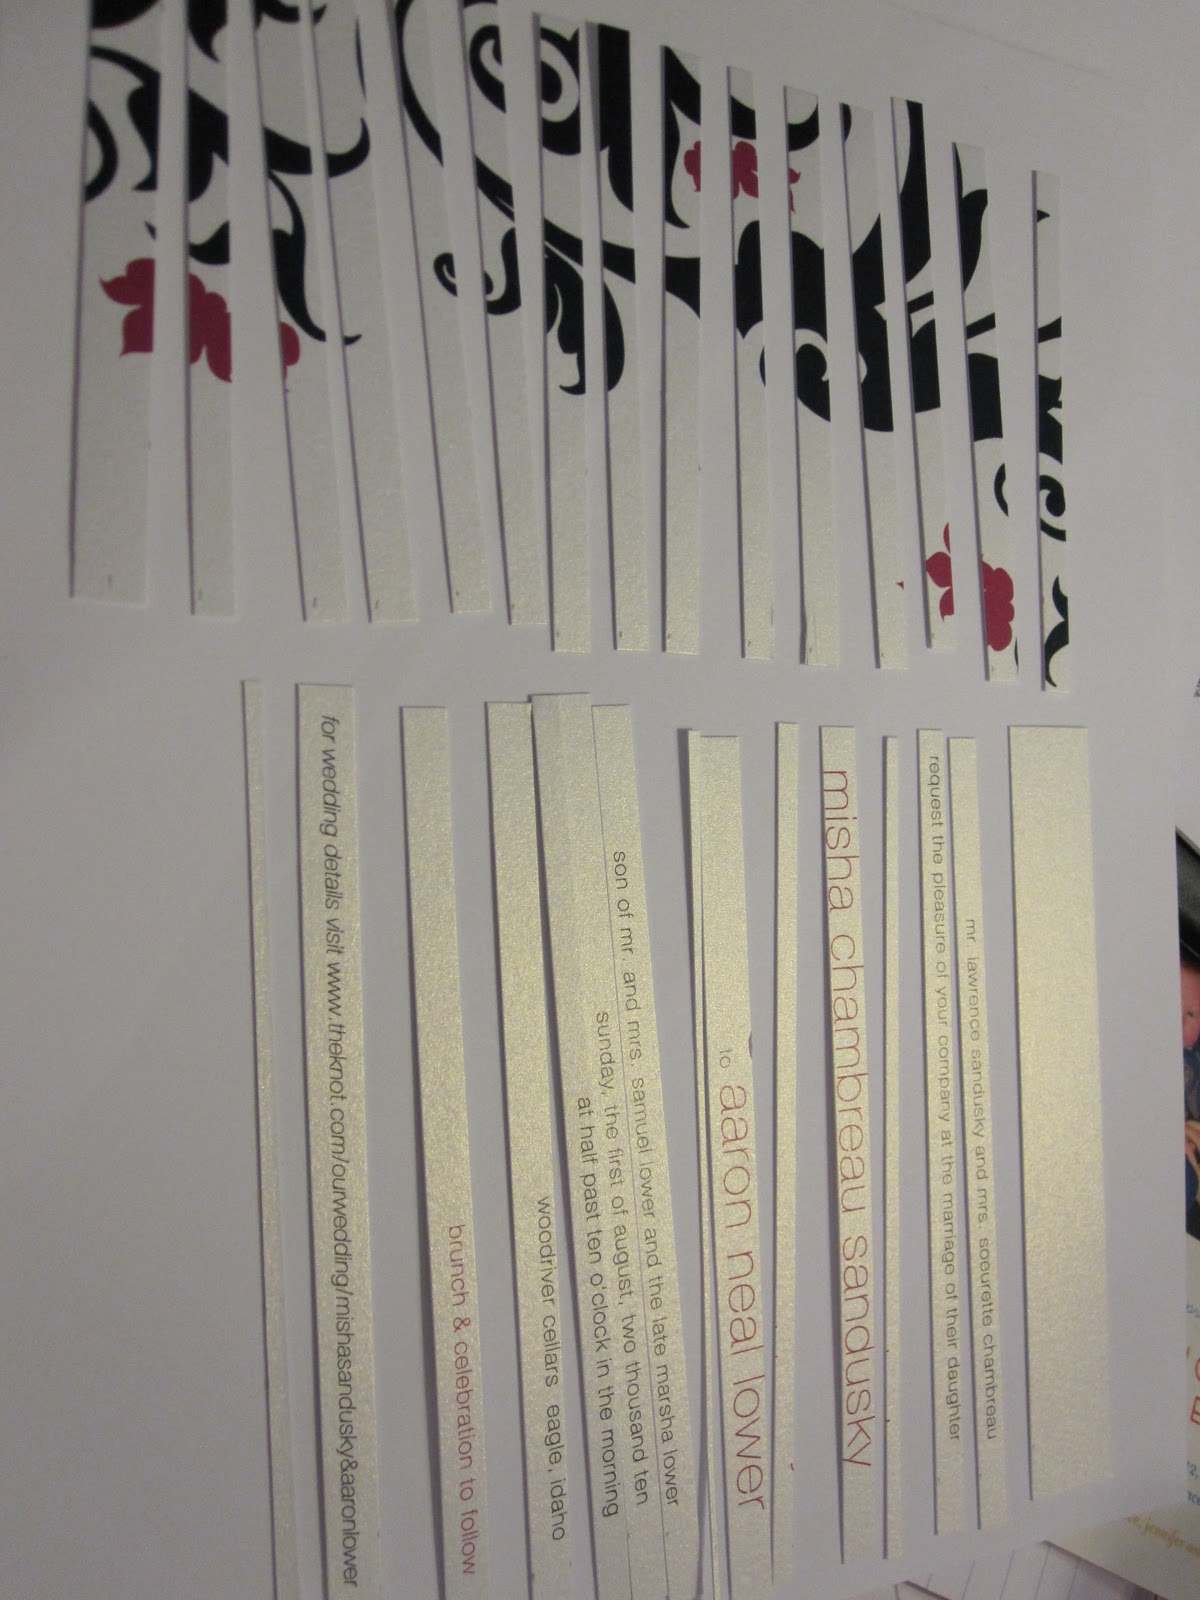
this project was pretty simple. the hardest part for me was cutting the paper strips since i had a new paper trimmer and was still learning how it worked. 
supplies:
wedding invitation, baby announcement, etc.
paper trimmer (you could measure and cut with scissors, but it would take forever.)
clear ornament (i used plastic ones from michael’s)
pencil (or something to curl the paper around)
ribbon
charm (optional)

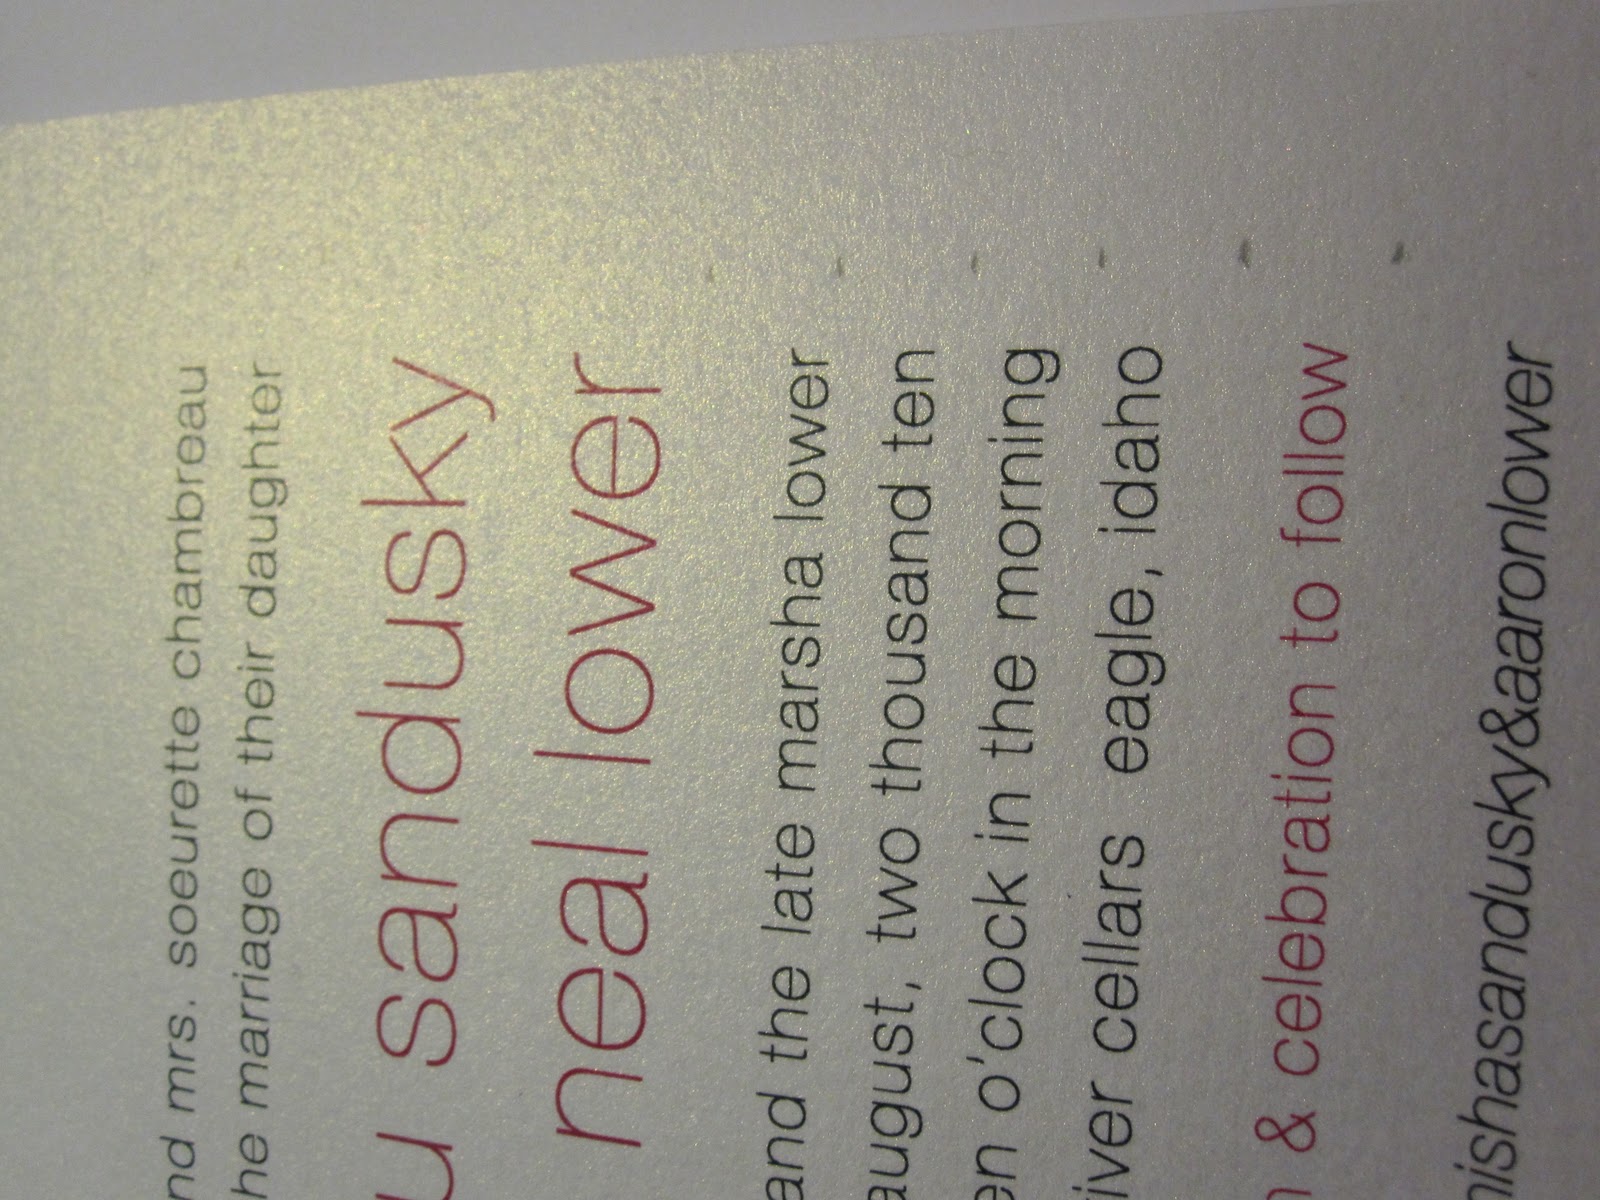
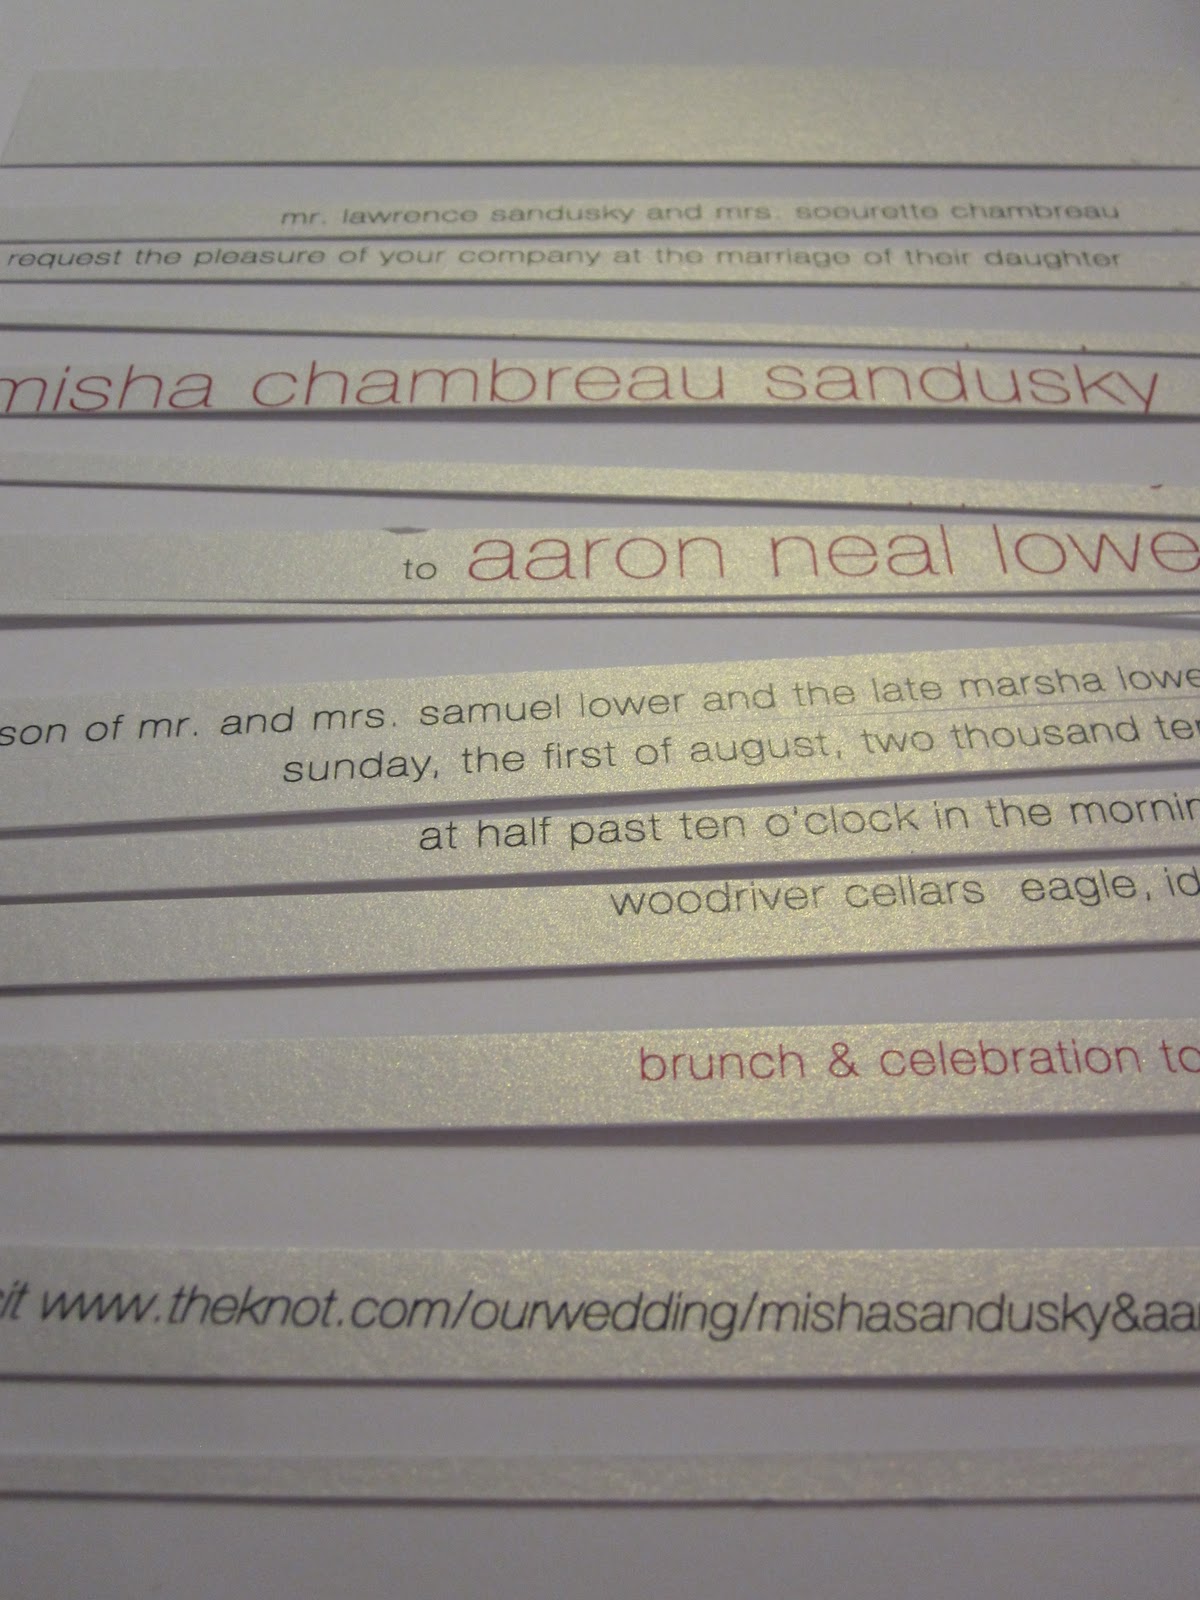
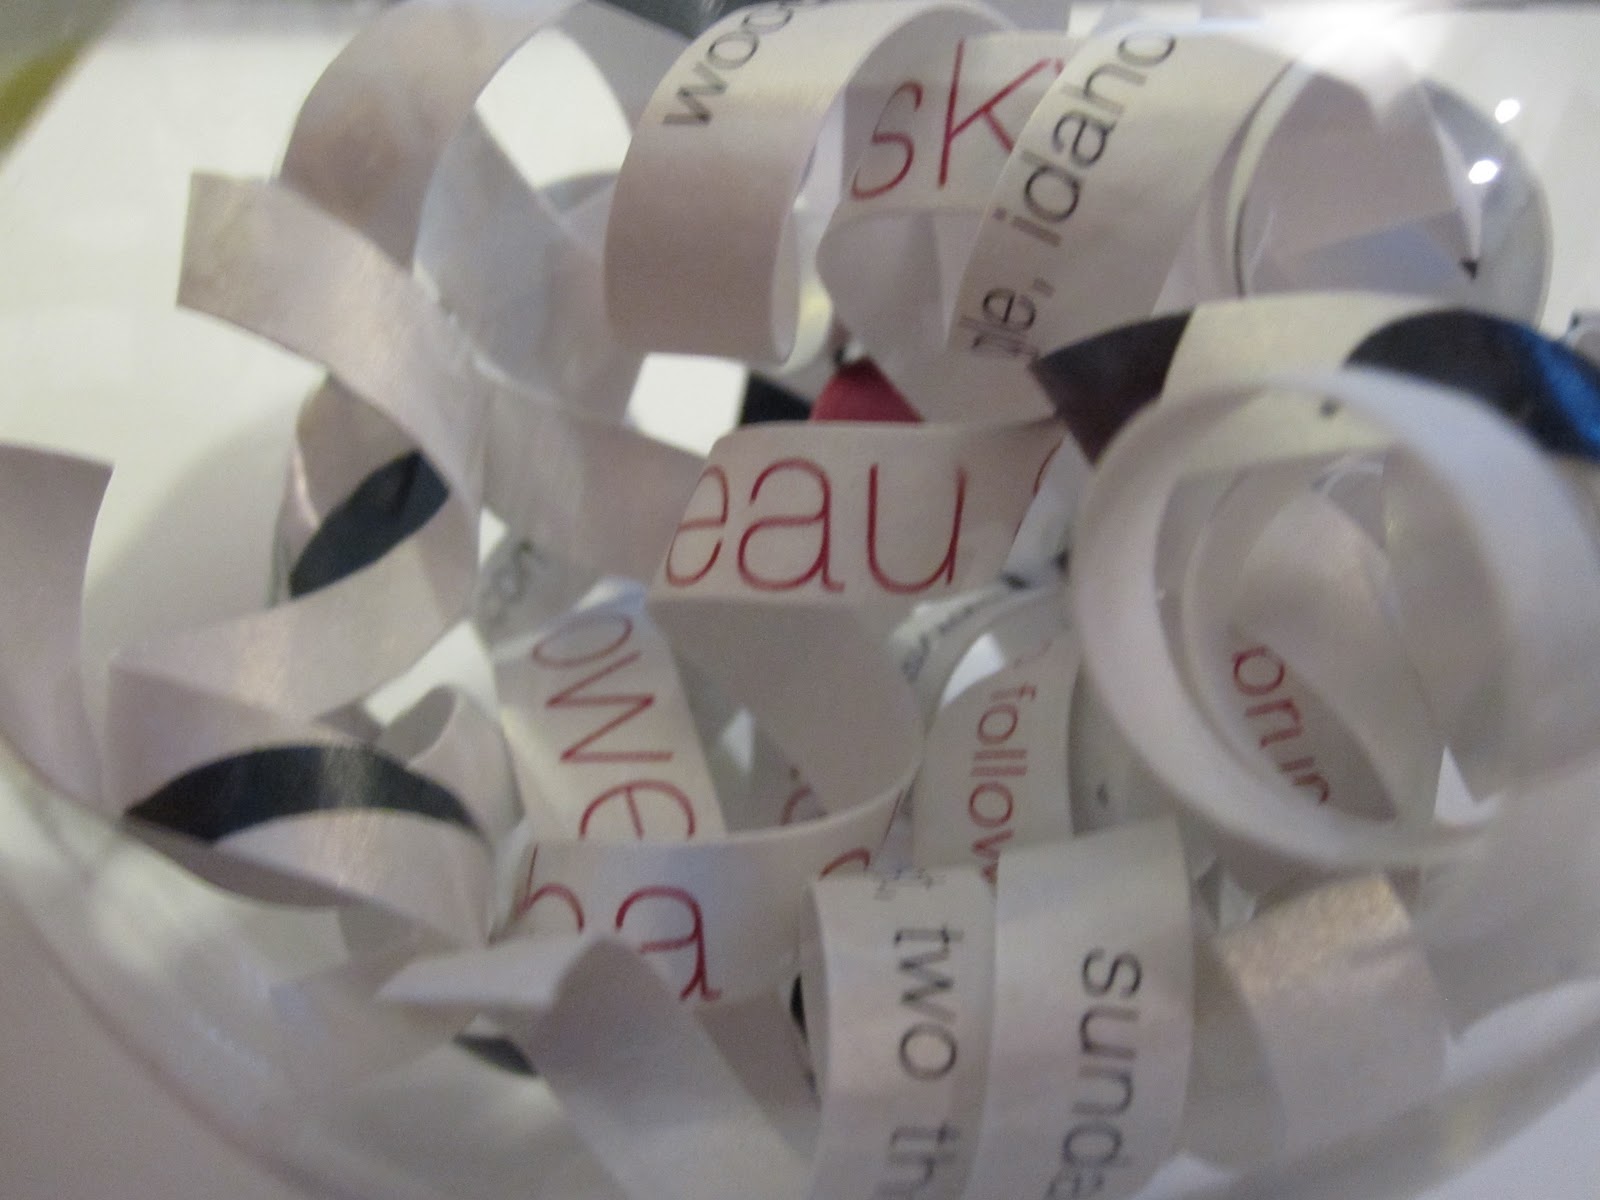
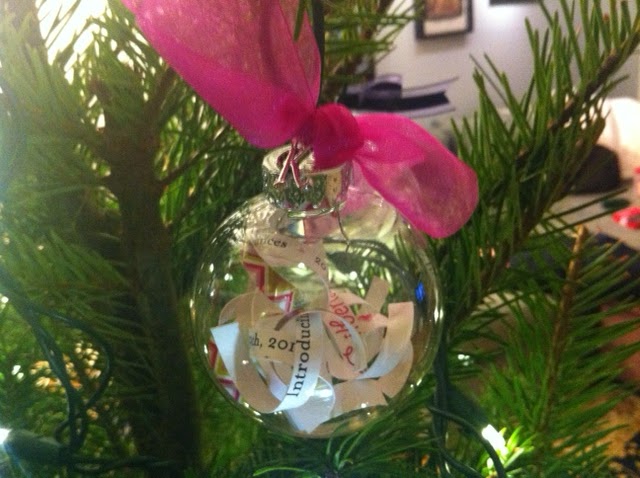
{our wedding invitation. i fall in love with it every time i see it.}

{i decided on 1/4 inch strips so i made marks before i cut so i wouldn’t be cutting thru the letters.}

{most of the strips had the important stuff like date, time, place, etc.}

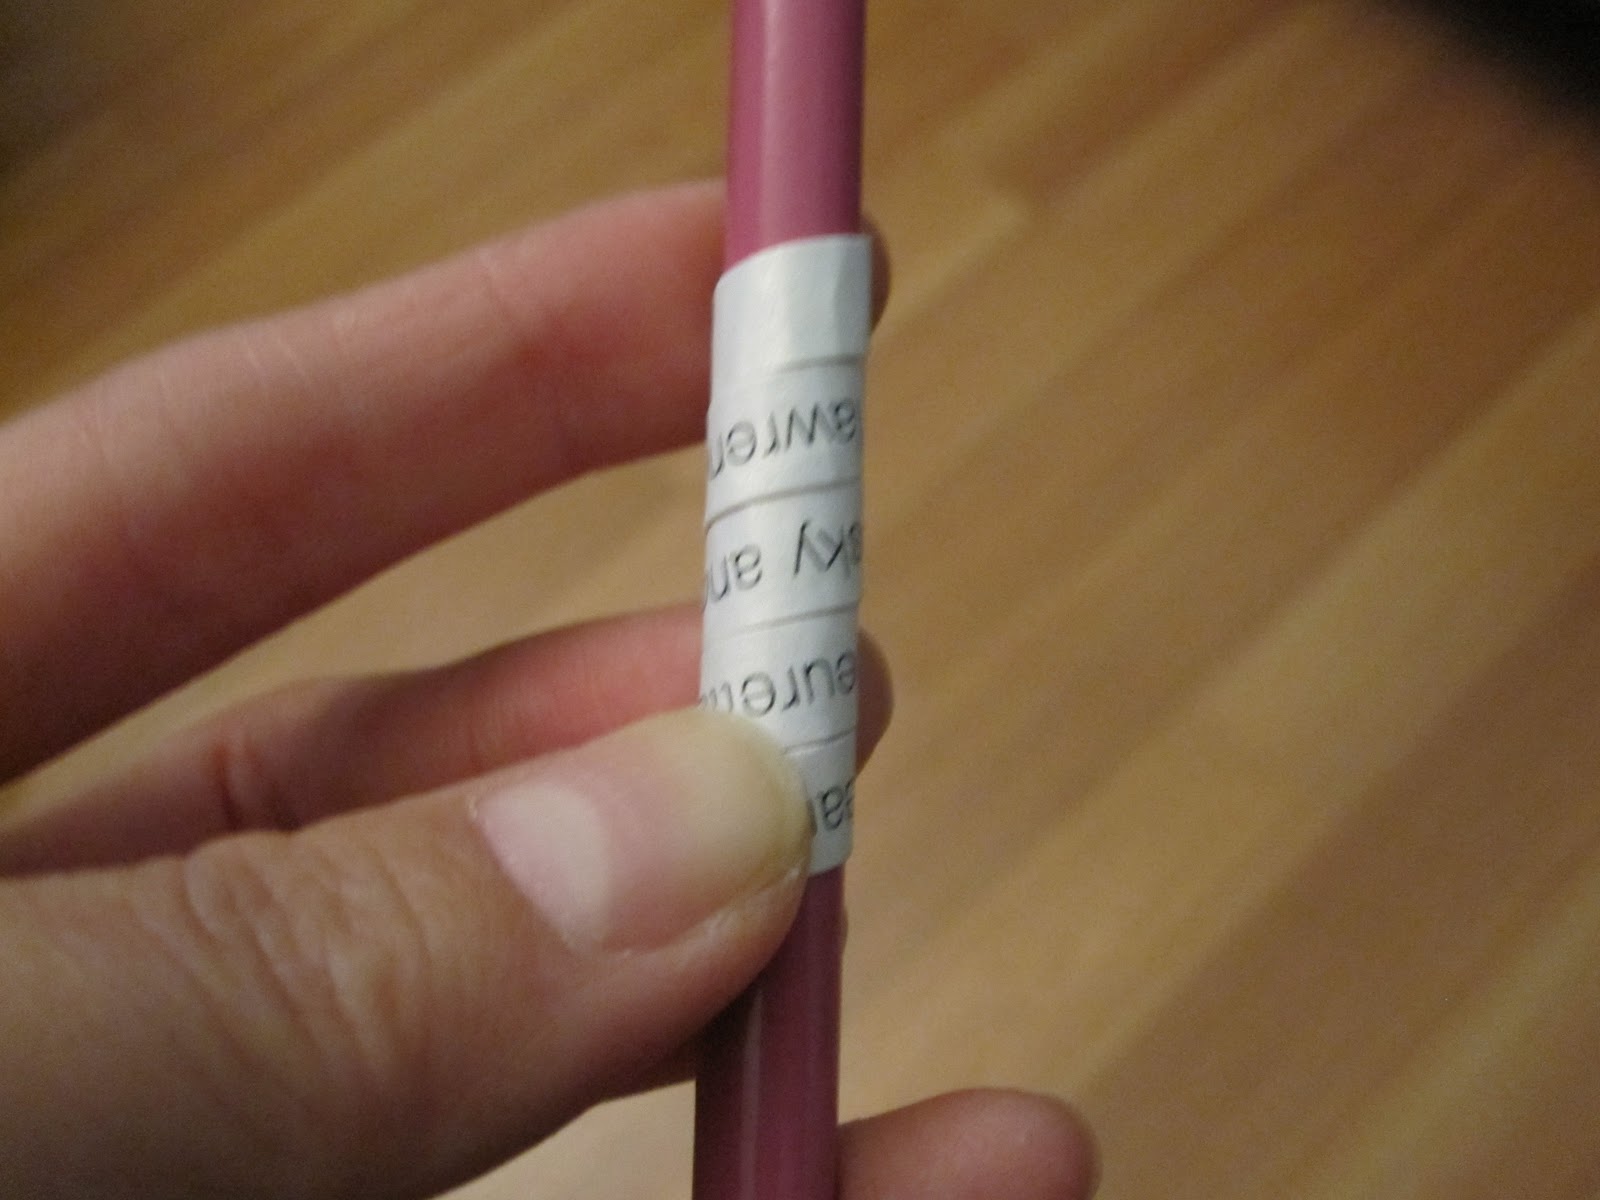
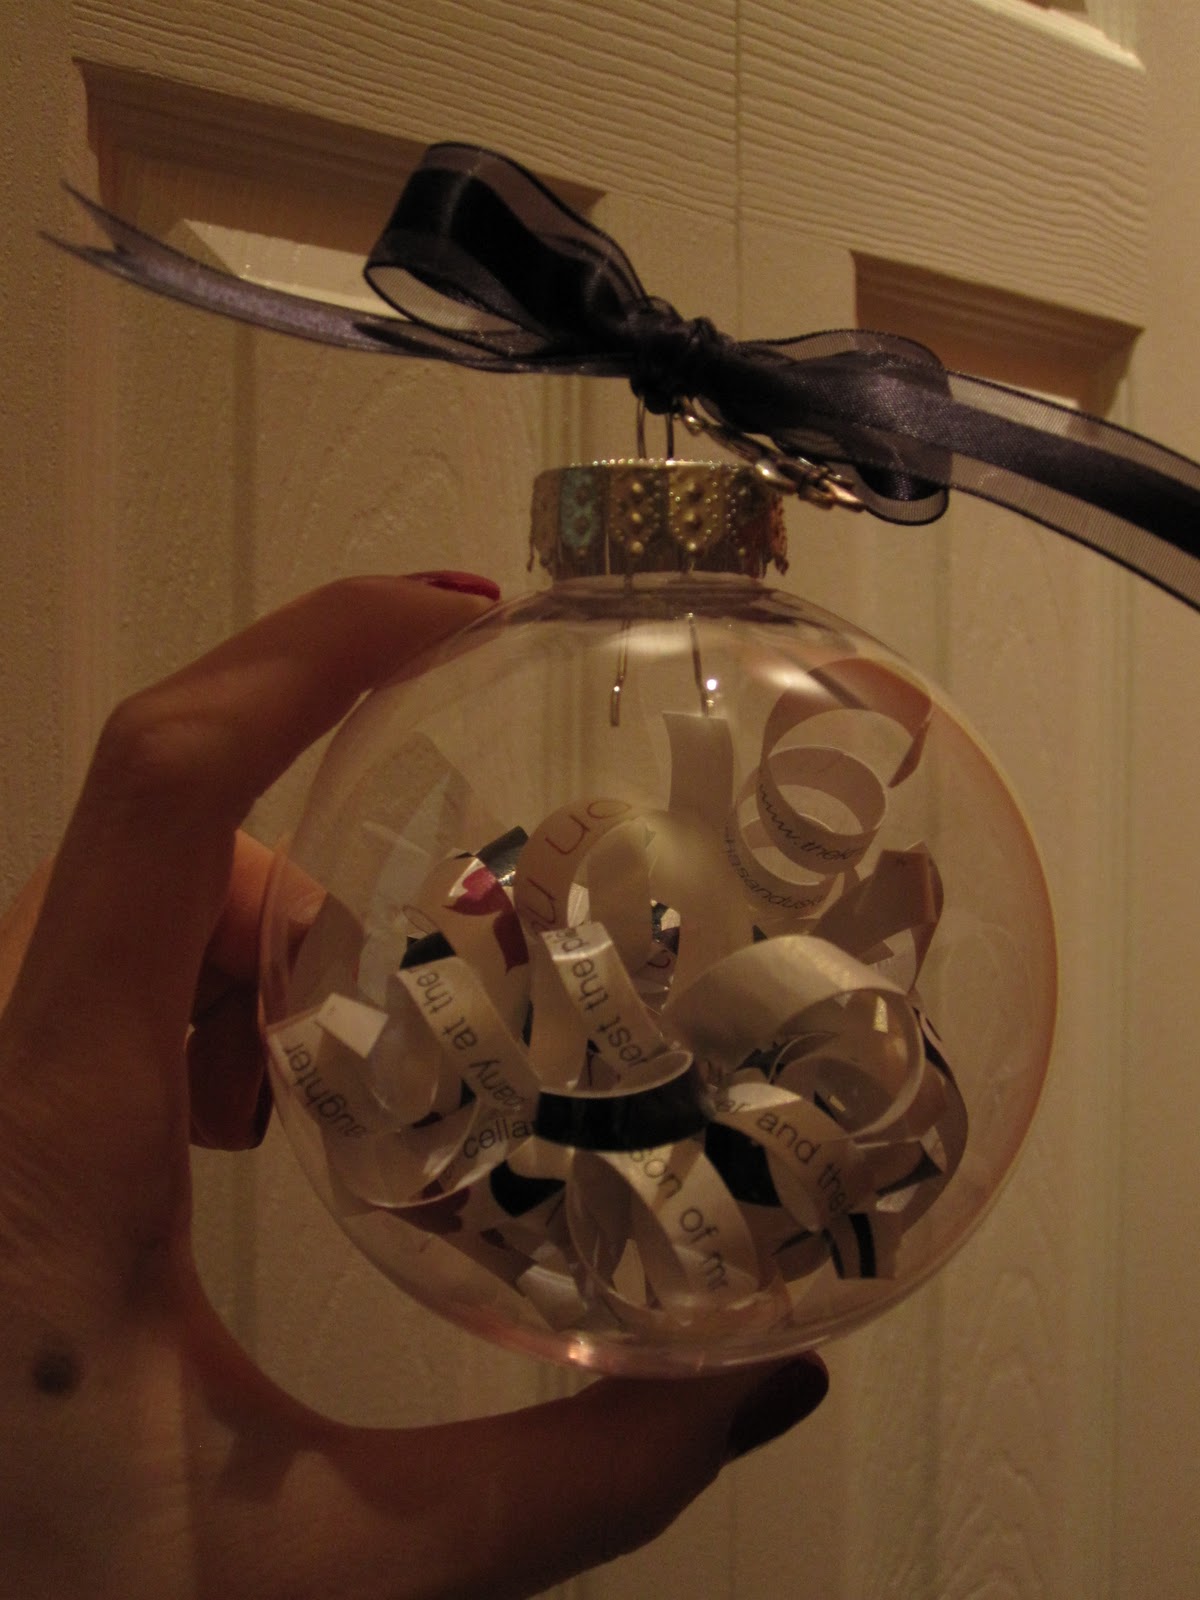
{every strip got curled around a pencil.}

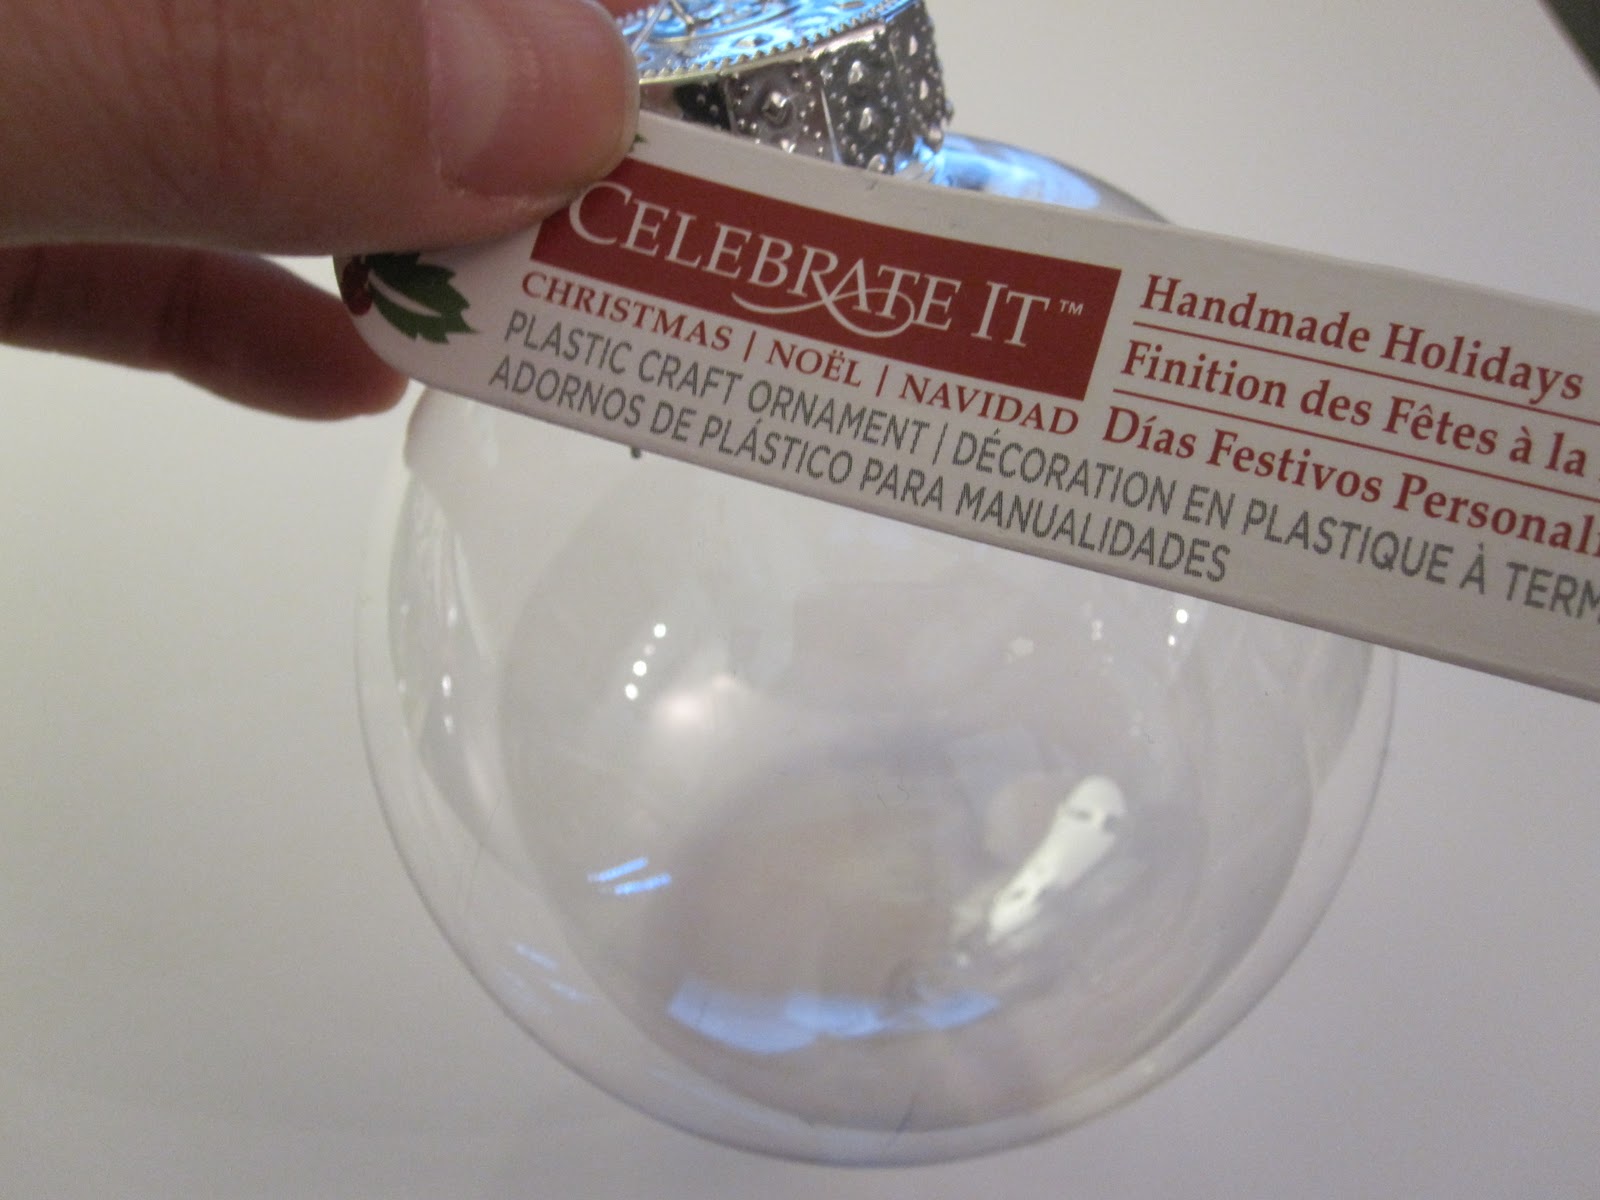
{clear plastic ornament with removable top.}

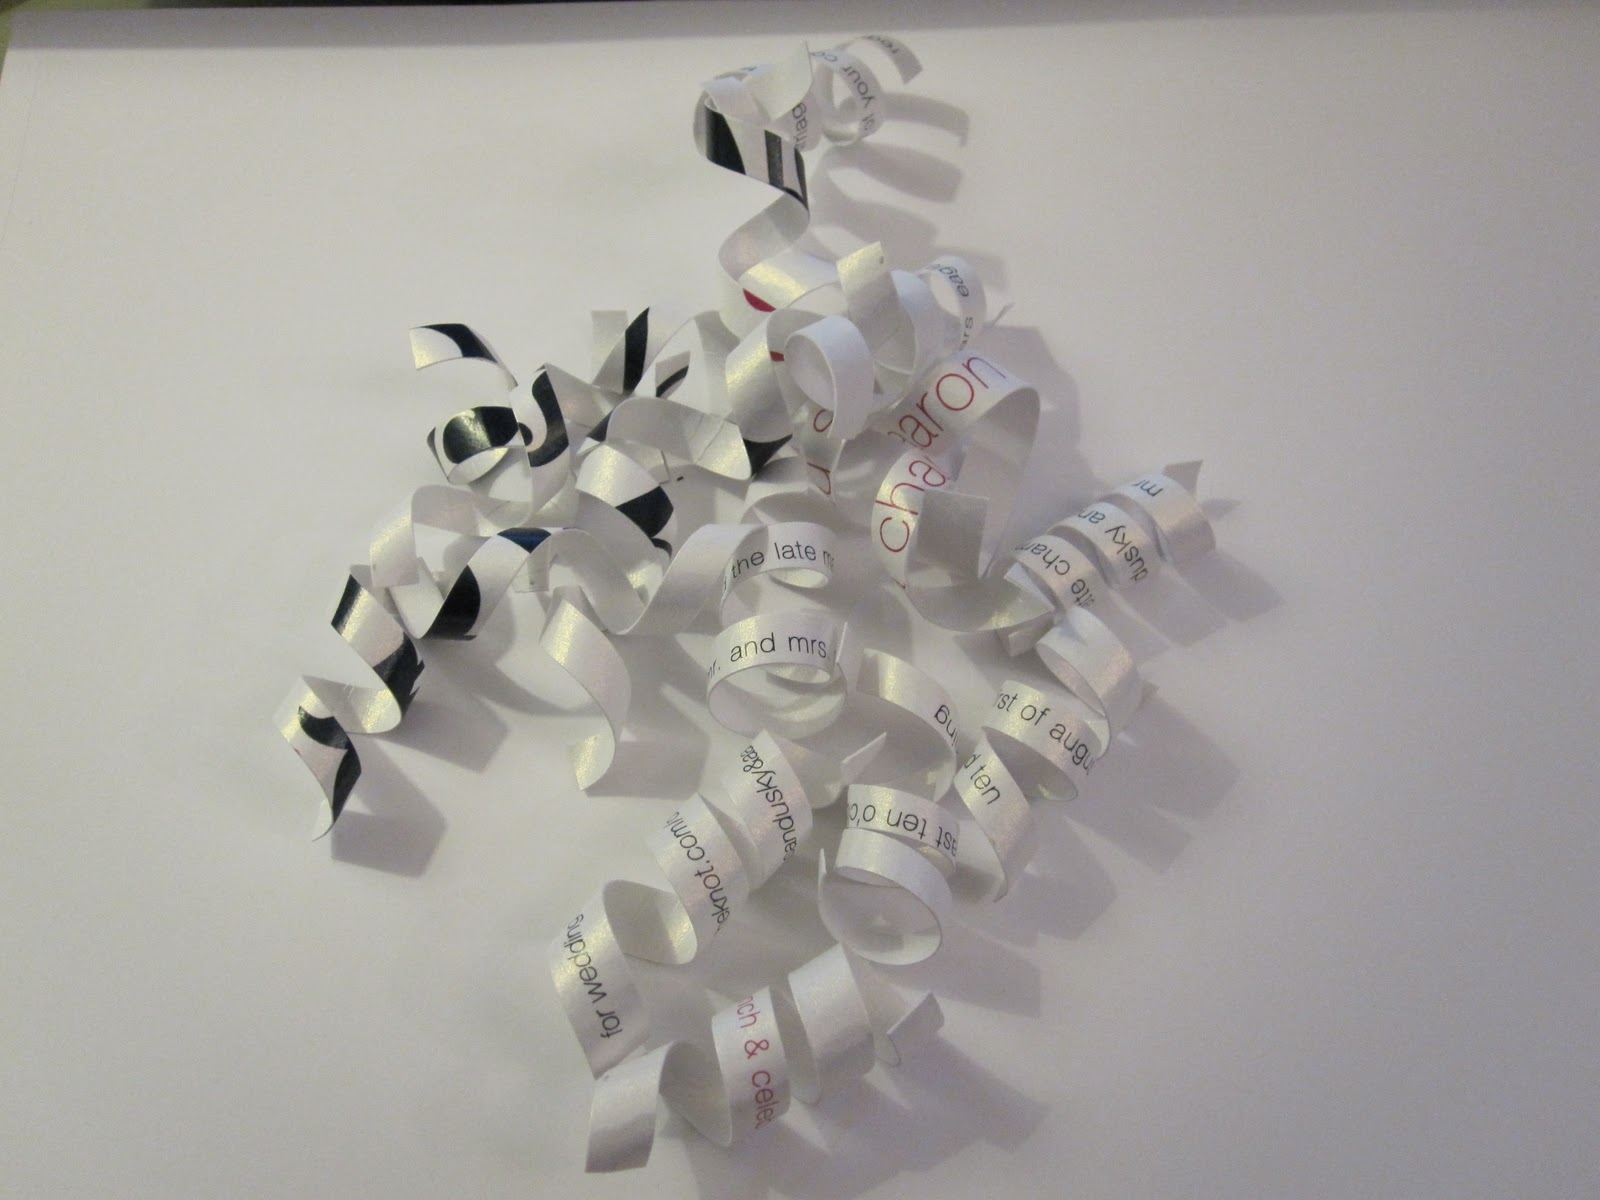
{curly-cue.}

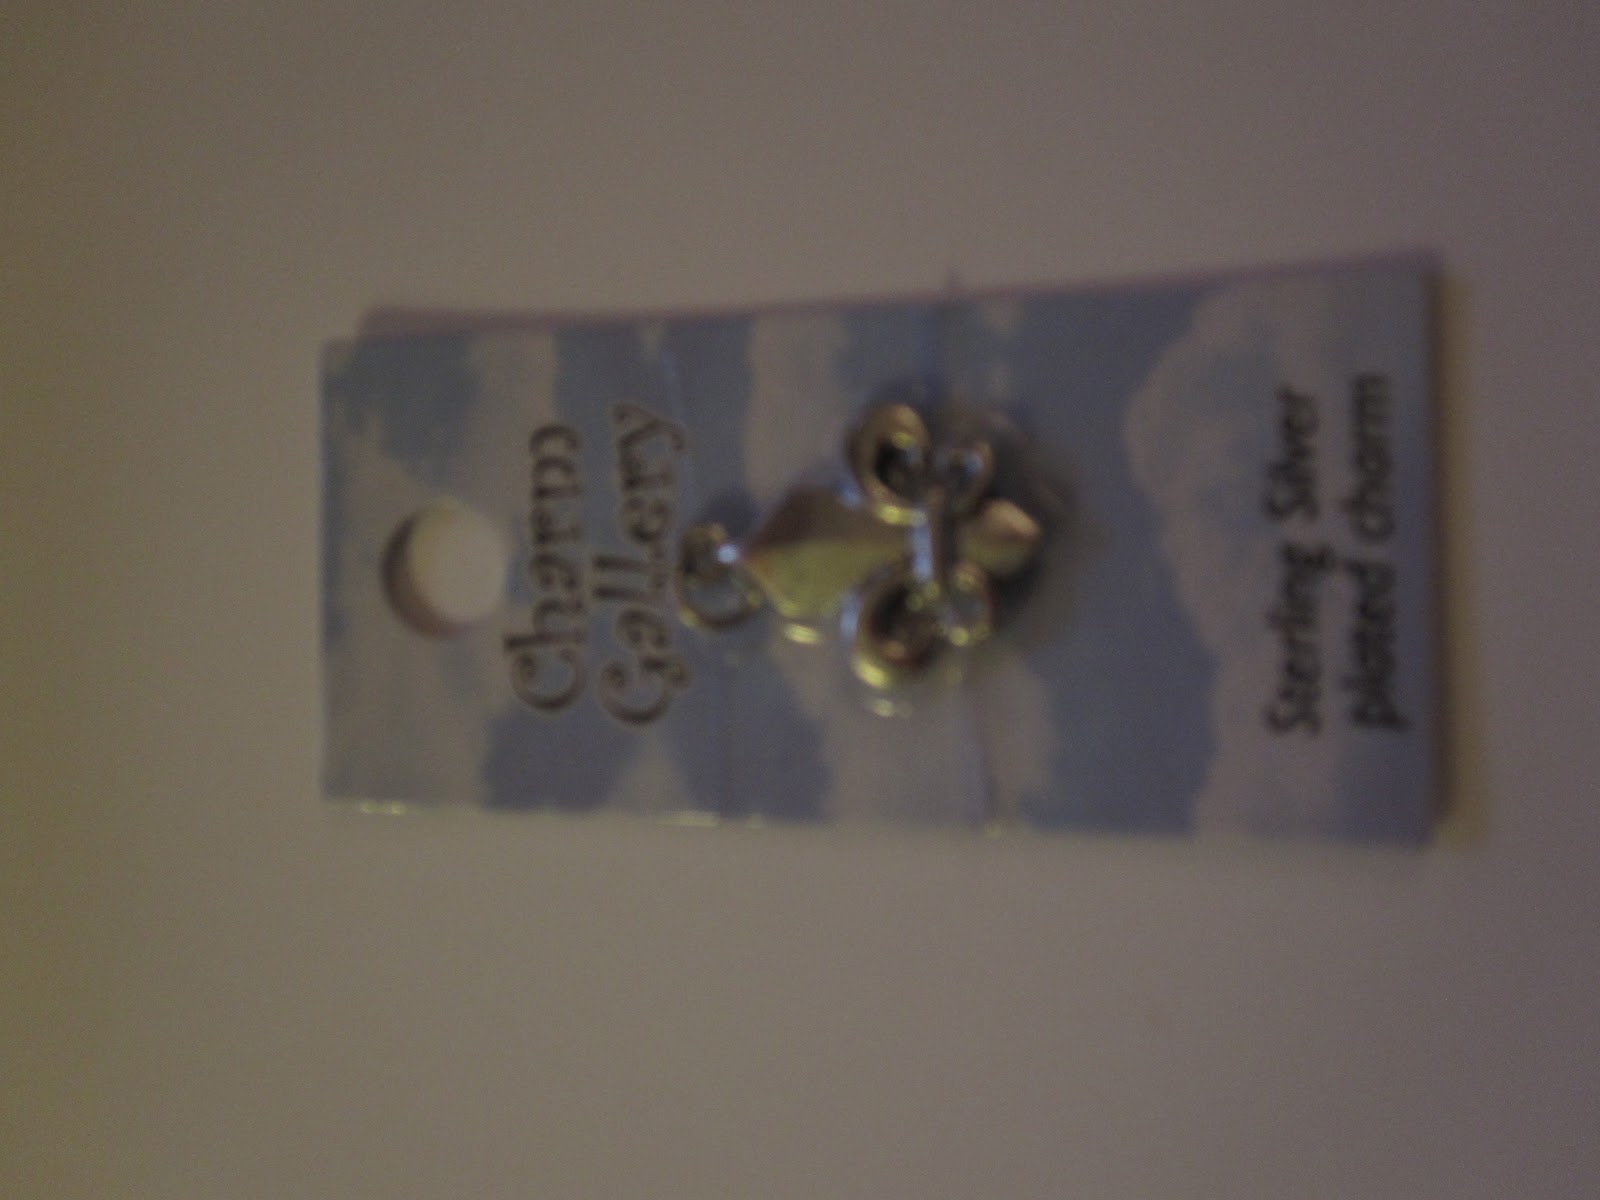
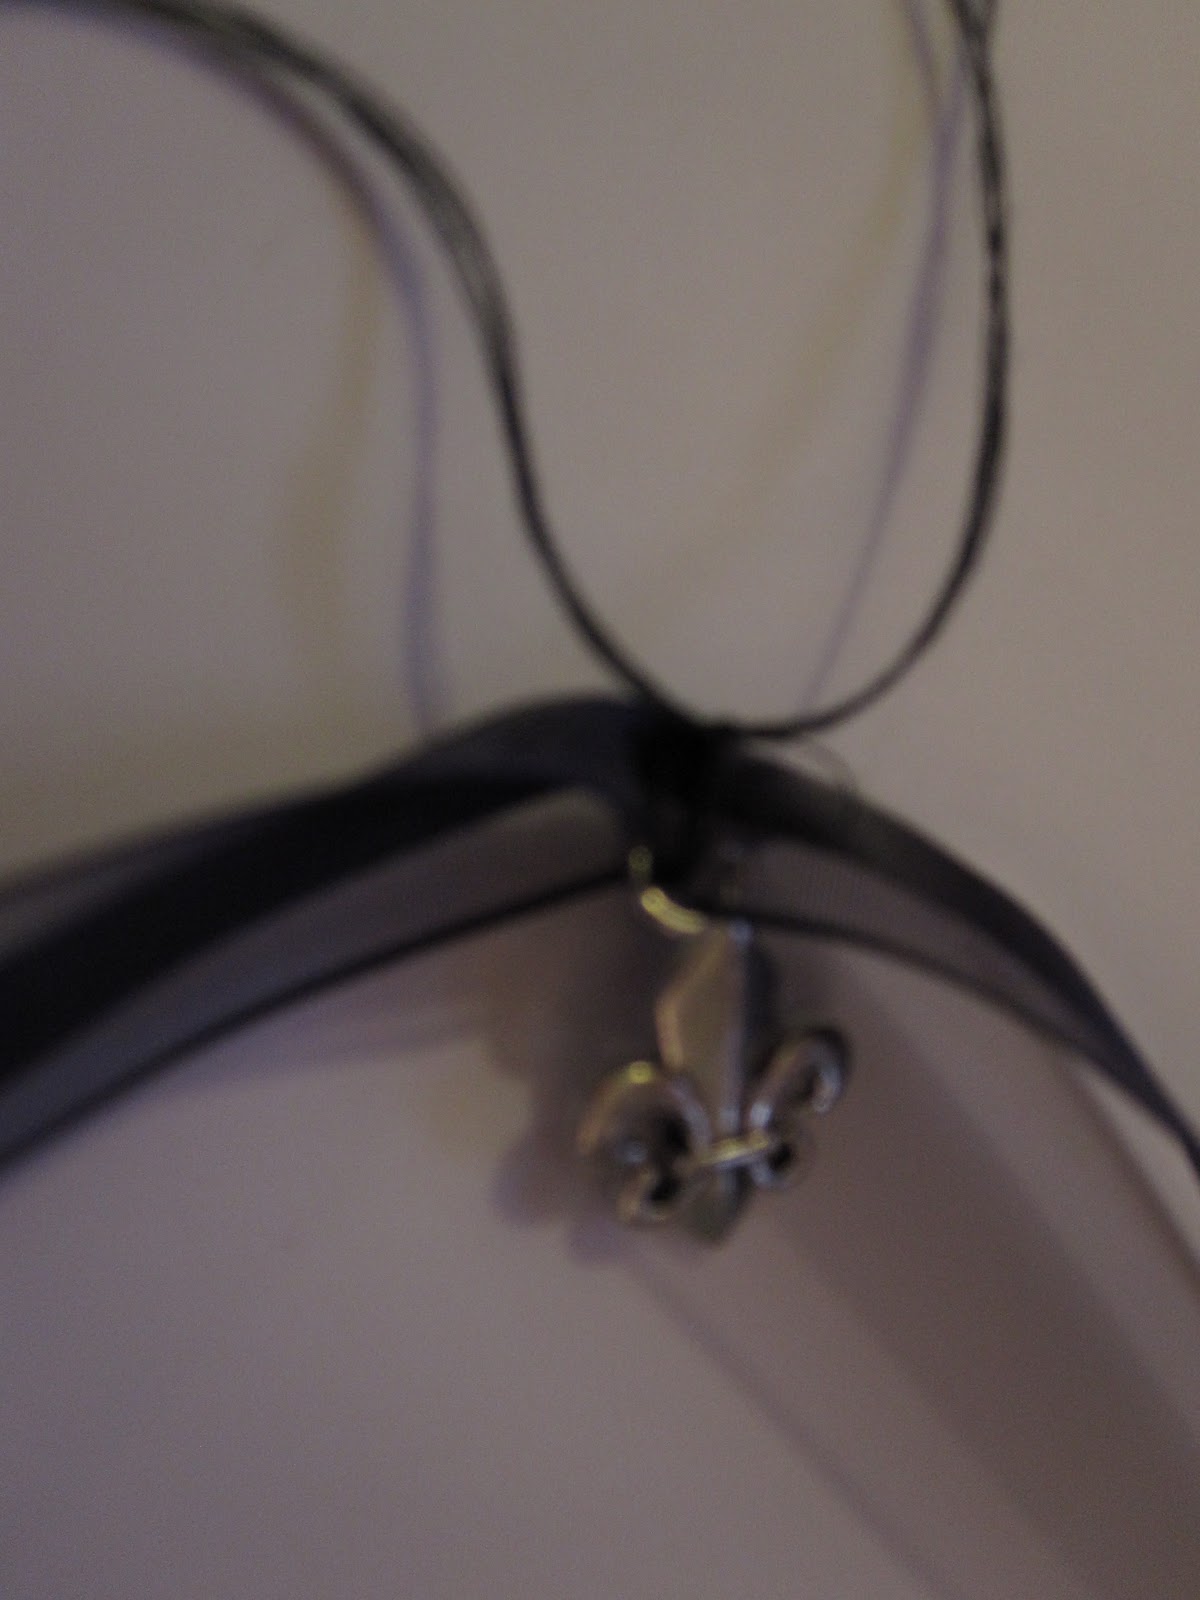
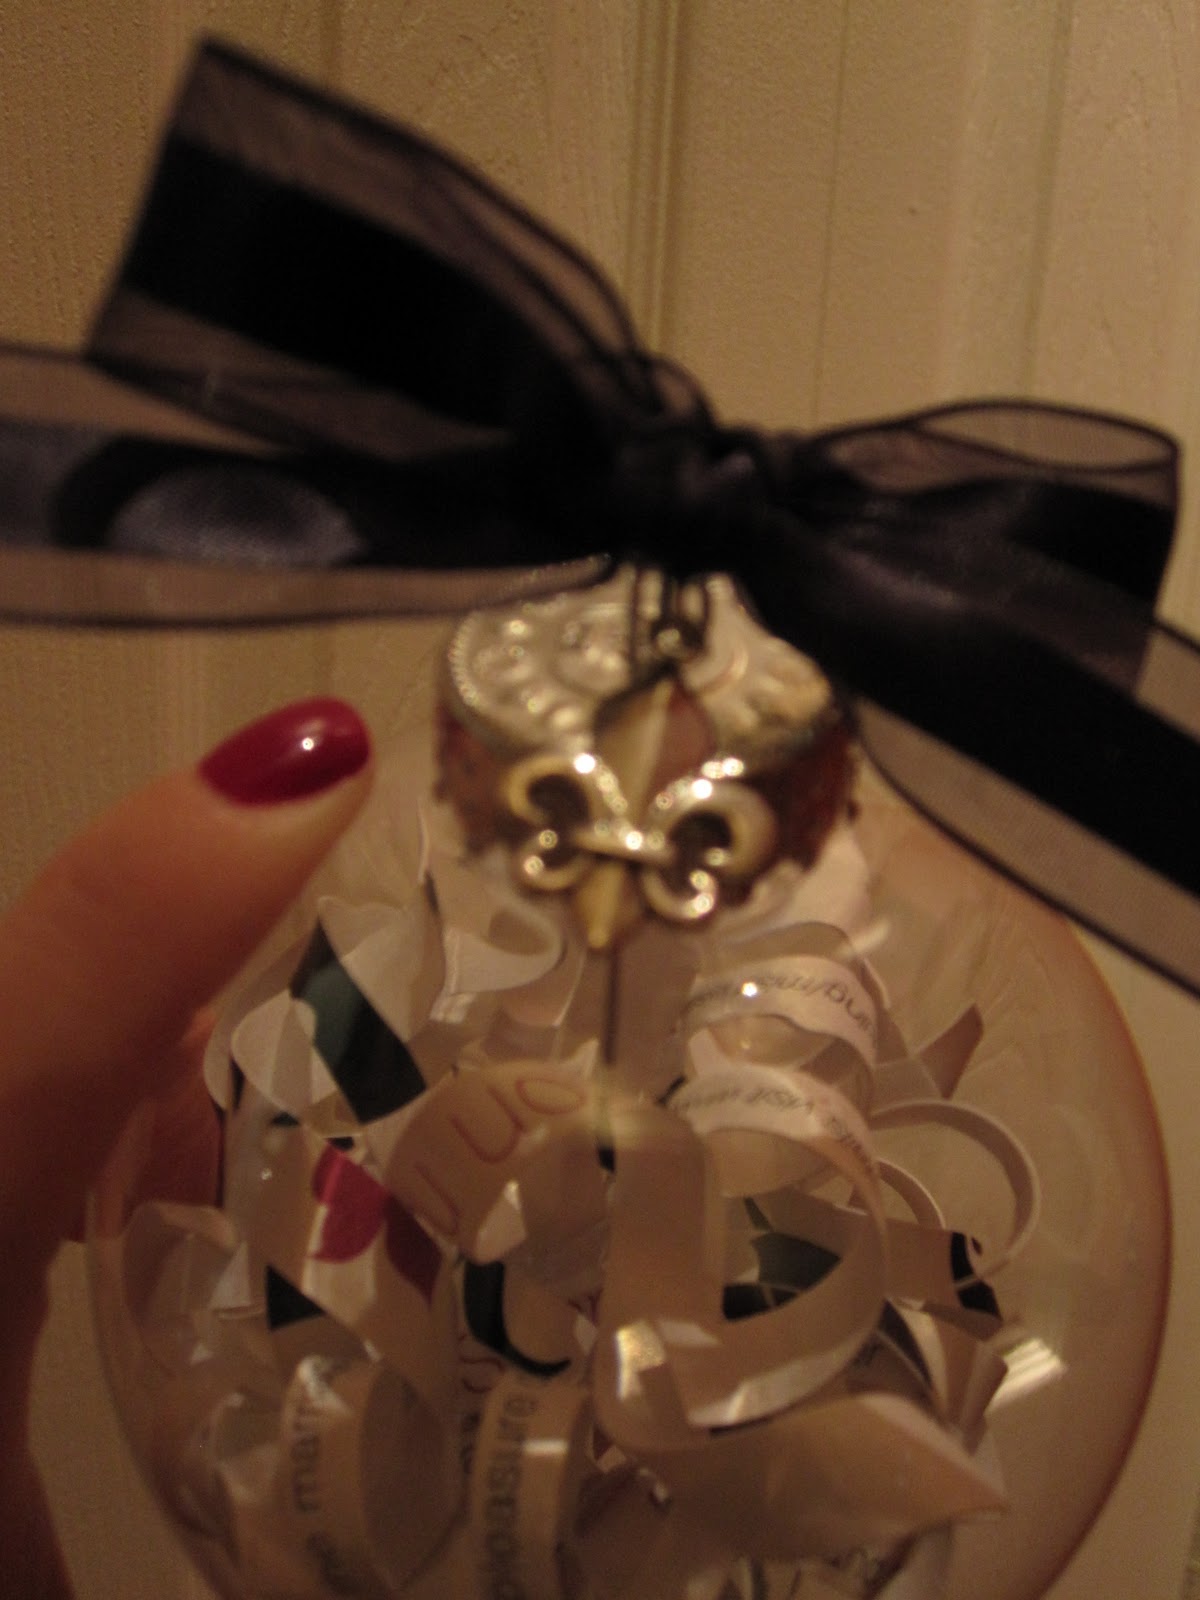
{i decided to use a small charm for the top of the ornament. this is a fleur de lis.}

{i thought that i would need to string the charm onto thread before it went on the ribbon, but you really don’t need the thread (unless you want the charm to hang way down). for the other ornaments i made, i just thread the ribbon thru the charm.}

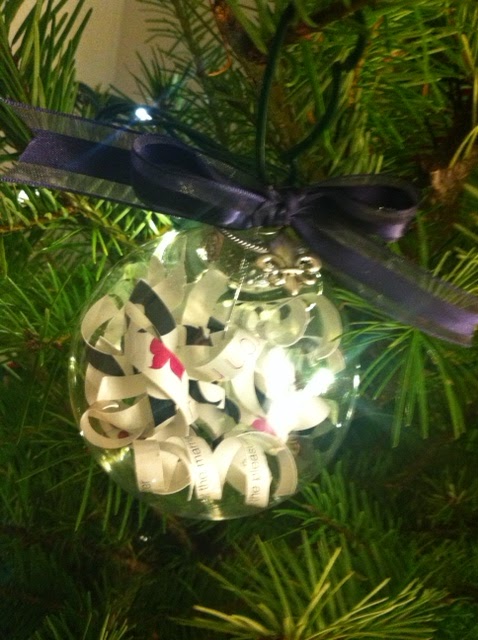
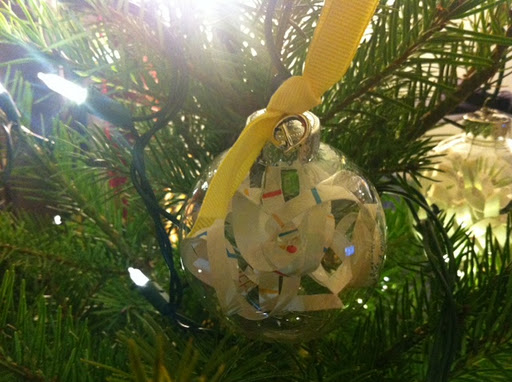
{on the tree!}
i had two birth announcements on my bulletin board and decided to make these babes an ornament to celebrate their first christmas. {jen and kendra: i mailed the ornaments on monday so be on the lookout!}

{for kenley dee. check out her mom’s blog here.}

{for deacon clifford. check our his mom’s blog here.}
this was such an easy and quick project, so start saving those keepsakes and make ornaments!
have you tackled any pinterest projects for christmas yet?
M

happy turkey day.

this year i am thankful for so many things. just a few of the things i am thankful for today: my husband, umbrellas, furry little feet, doggie kisses, warm mittens, fires in the fireplace, real christmas trees, cupcakes, fall leaves, crisp fall weather, iPhones, catching up with old friends, text messages, our (perfect) little townhouse & the internet.
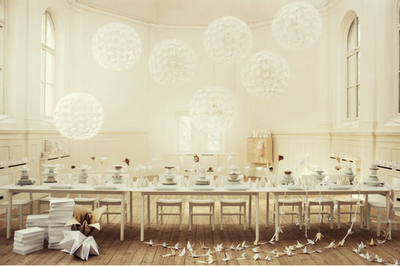
if i was hosting thanksgiving dinner this year, i would hope the spread would look like this:
{via pinterest}

{via pinterest}

{via pinterest}

what are you thankful for this year? do you have big plans for turkey day?
M