a year in review {house diys}.

it is hard to believe but we have been in our house for a year – can you believe it? while it doesn’t seem like yesterday that we were moving & packing & unpacking, it definitely doesn’t feel like its been an entire year. {where does the time go?}

i thought since so much of this blog is devoted to the work we have put into the house, it would be fun to do a review of all of our house projects over the last year. {also, this is making up for the fact that i have been horrible about keeping the house tour tab up-to-date.}

here we go! {are you ready for lots of pictures?}

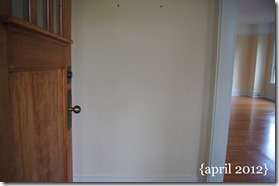
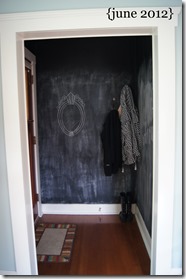
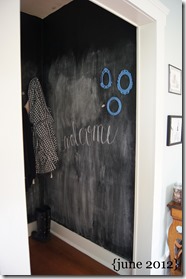
{entryway} – chalkboard paint

SONY DSC

SONY DSCSONY DSC

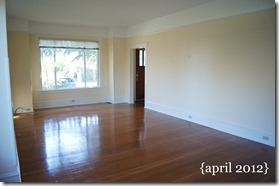
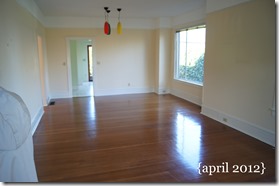
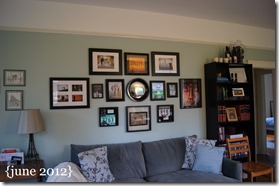
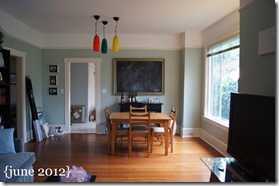
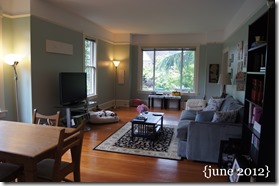
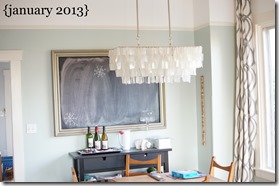
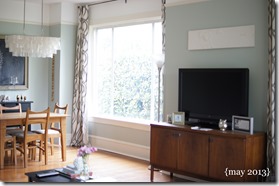
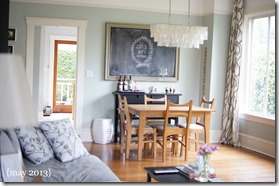
{living room & dining room} – paint color, curtains, west elm light

SONY DSCSONY DSCSONY DSCSONY DSCSONY DSCSONY DSCSONY DSCSONY DSC

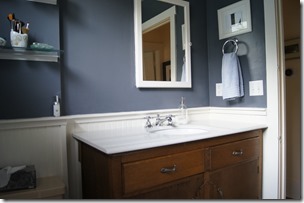
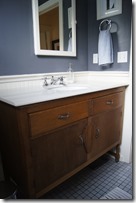
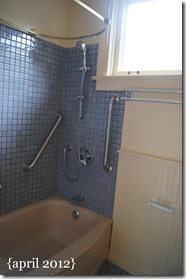
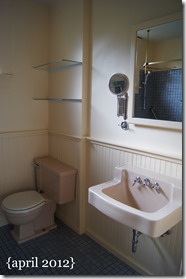
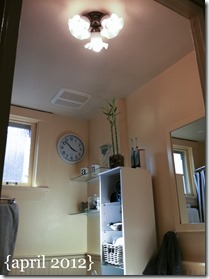
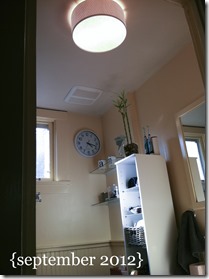
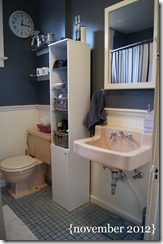
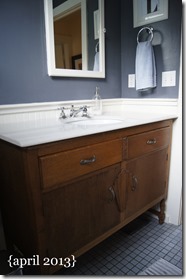
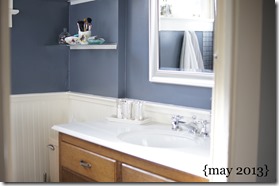
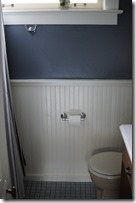
{bathroom} – paint color, Ikea light, vanity

SONY DSCSONY DSCbathroom light april 2012

bathroom light september 2012SONY DSCSONY DSCSONY DSC

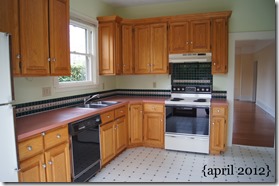
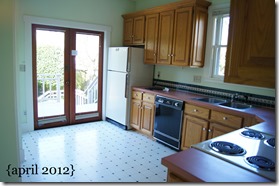
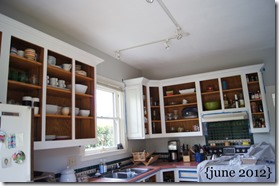
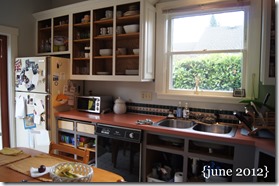
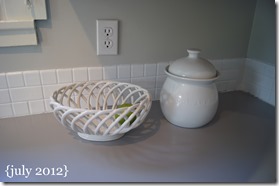
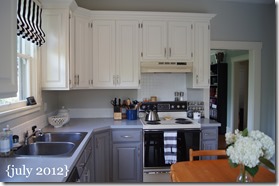
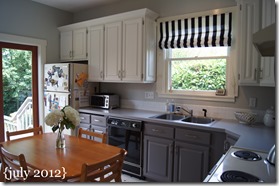
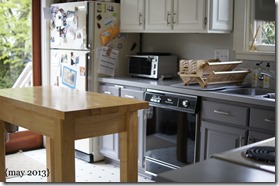
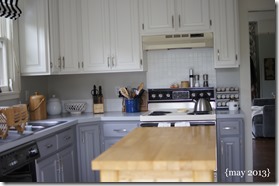
{kitchen} – paint color (walls), painted cabinets, painted countertops, painted tile, kitchen island, roman curtain

SONY DSCSONY DSCSONY DSCSONY DSCSONY DSCSONY DSCSONY DSCSONY DSCSONY DSCSONY DSC

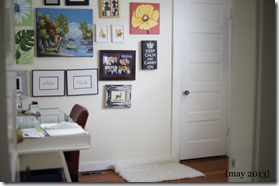
{office}

SONY DSCSONY DSC

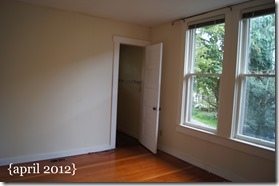
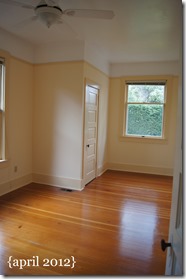
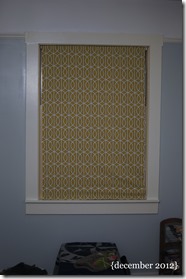
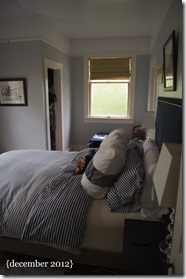
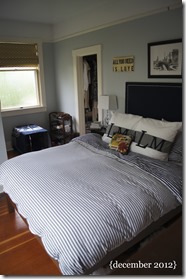
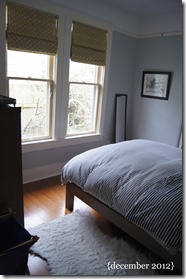
{bedroom} – paint color, roman curtains, closet doors

SONY DSCSONY DSCSONY DSCSONY DSCSONY DSC

phew! it is hard to believe we did all of that in just one year. we still have lots of things on the to do list, including some bigger projects that we are saving up for! reviewing all of these projects makes me thankful that we have such a fun house to work on & enjoy. it was scary to make the decision to buy a house last year {it felt so grown-up!} but we have loved every minute of it & learned so much.

what sorts of projects have you completed in your living space? do you ever go back & review all of your hard work?

M

my weekend in pictures.

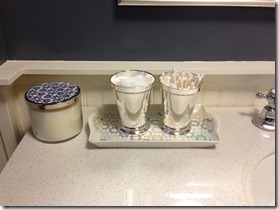
IMG_3413

{finally arranging on our new bathroom counterspace. i picked up these fun silver mint julep cups from one kings lane to hold cotton balls & q-tips.}

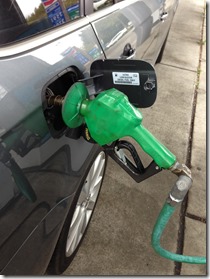
IMG_3414

{got diesel for the first time in our new car. the green is fun!}

IMG_3415

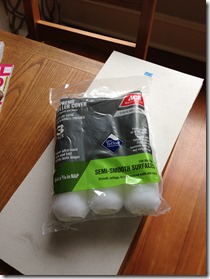
{paint rollers & drywall – story of our weekend.}

IMG_3417

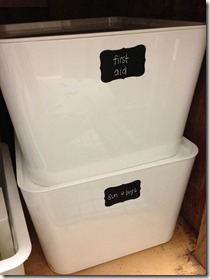
{ikea bins. i was in organizing heaven!}

IMG_3418

{finally sorted out the mess in the bathroom vanity. since i don’t have a label maker (yet) i used fun chalkboard labels instead.}

IMG_3419

{aaron joined me on sunday morning in my favorite vinyasa flow yoga class. afterwards we noshed on a bagel. carb loading post-yoga is totally legit, right?}

IMG_3420

{i had already prepped & primed the hallway before i realized we didn’t have the paint color i needed to finish painting it. alas, i see hallway painting in my future next weekend.}

IMG_3421

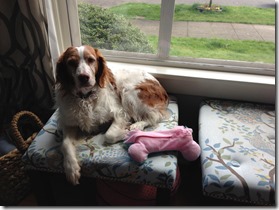
{i am glad that someone likes & enjoys these upholstered tables. they sit in front of our front window, so sadie has a view of everything in front of the house. plus, she likes to bring her favorite toys up to join her.}

we had a great weekend, but as always it went so fast! there were a lot of house projects which is exhausting but it feels great to get a few things off the checklist. we had terrible wet weather all weekend with the sun only peeking out for a few hours at the end, but we are in for a warm week (seriously, mid to high 60s you guys!). how was your weekend?

M

updated closet doors.

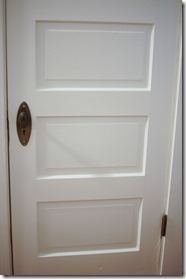
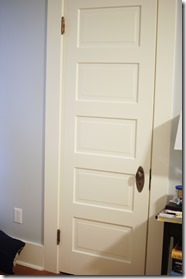
now i am sure you are thinking “updated closet doors, doesn’t seem like much of a blog post.” am i right? well, you are. except that we have been “working” on the closet doors for some time now. remember back in november & december when we painted our bedroom? well, that is when we took off the closet doors & they haven’t been up since. needless to say it is a big deal around here that we have closet doors again!

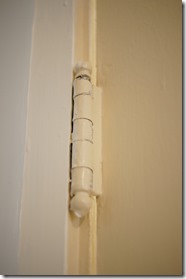
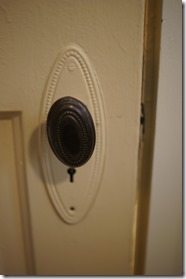
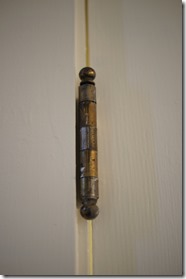
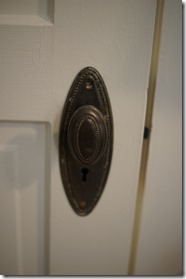
as you can see from the pictures below {the befores} whoever had painted the doors before we moved in decided it would be wonderful to paint all of the hardware too. {seriously, who does that?} so when we took down the doors to be painted from their original yellow to white-ish {the color of our trim} we decided it would be lovely to restore the hardware. once we got the hardware off the doors {hinges, hinge pins, & faceplates} we soaked them in a crockpot full of water & a bit of laundry soap. {the crockpot was a $5 steal from the goodwill that we will only use to soak old metal hardware & other crafty things.} it took two rounds of a low crockpot, but we finally got all of that paint off!

_DSC2751_DSC2752

{before}

_DSC2749_DSC2750

{after}

SONY DSCSONY DSC

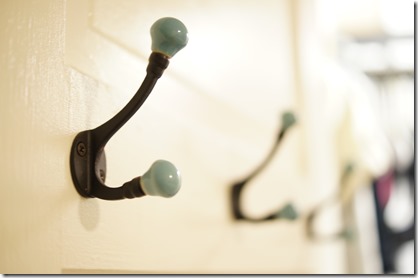
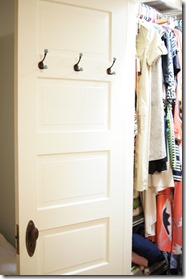
what an improvement, huh? it is lovely to have the hardware back on as it should be. you know, all metal-y & not all paint-y. plus, a bonus because i got hooks in the inside of my closet – yay! we picked up three of these hooks from anthro & while they aren’t exactly the same metal as the door hardware, it keeps with the antique-y look. i do put my clothes away, but it is nice to have a place to hang your twice-worn jeans or put together an ensemble ahead of time, don’t you think?

_DSC2757SONY DSC

have you been updating any of your hardware {buying new or refinishing old}?

M

updates to the bathroom {mirror & drawers}.

i wanted to share a few more updates to the bathroom. sorry if this feels like i am beating a dead horse, a bathroom is a bathroom, right? this is probably the last post until we do the toilet & tub.

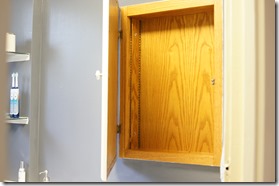
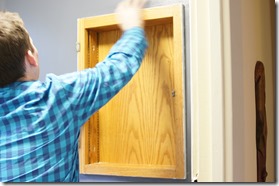
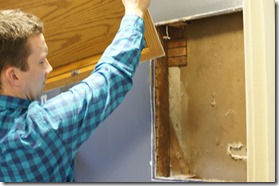
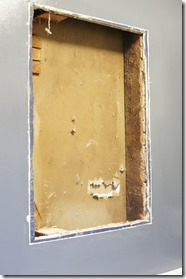
this weekend we aaron worked on the mirror situation that we had going on. we had a medicine cabinet that was recessed into the wall. after aaron was able to remove a few screws from the inside of the cabinet, he pulled it out from the wall.

_DSC2730_DSC2731_DSC2733_DSC2735

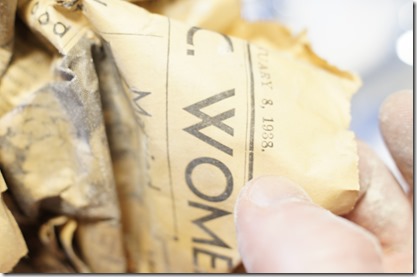
you can see the lath in the picture below that is up against the wall studs. it appears that some of our walls have dry wall right over the old lath & plaster, & some of the walls are just the old lath & plaster. in the gap beneath where the cabinet was we found a crumpled up newspaper. it was dated 1938. it is sort of hard to believe that the medicine cabinet is that old.

_DSC2736_DSC2737

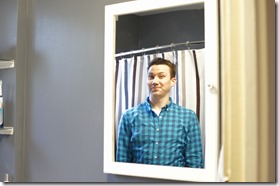
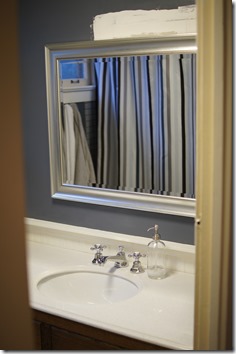
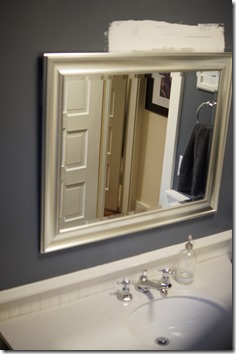
i was originally wanting to put a big antique mirror in the space above our new vanity, but price & convenience led me to target instead. i was able to find a mirror that was big enough to fit the wall space {see target silver beaded wall mirror} & could even have gone a few inches bigger {this mirror is 34” by 28”}. it isn’t perfect, but it works for what we need now. perhaps we can upgrade to something nicer in a few years.

the big white rectangle that you see below is drywall patching that we haven’t had time to prime & paint. because the original medicine cabinet hung portrait {& the new mirror is landscape} aaron had to do a bit of patching. hopefully we will be able to prime & paint it in the next few weeks.

_DSC2747_DSC2748

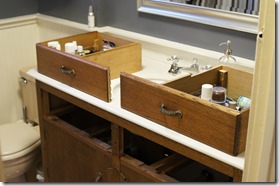
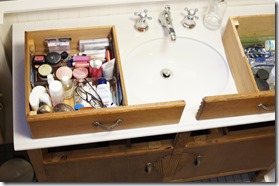
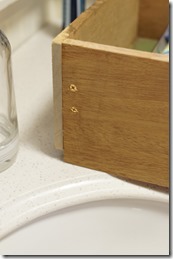
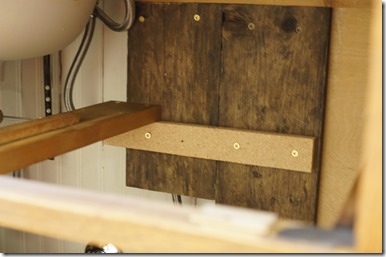
i had mentioned in the original vanity reveal that aaron & my dad had rebuilt the drawers to accommodate the undermount sink. here are some pics of that. they kept the drawer fronts, but then turned the rectangle drawers into squares. aaron also had to reconfigure the drawer supports underneath to accommodate the smaller sized drawers {shown in the last picture}. we are lucky that the drawers are deep enough to hold toiletries, make-up, etc. that we don’t want to get lost under the sink.

_DSC2739_DSC2740_DSC2741_DSC2744

have you been shopping for mirrors lately? where is your go-to place?

M

my weekend in pictures.

IMG_3366

{aaron & i made the snapshot of the day at work with a pic taken from our machu picchu trip.}

IMG_3367

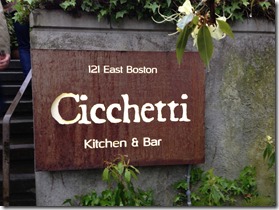
{double dinner date at ciccehtti, the sister restaurant to my very favorite serafina.}

IMG_3369

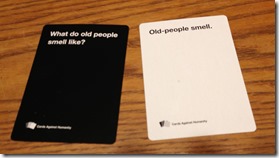
{this may have been the best play of the night in a fun round of cards against humanity.}

IMG_3370

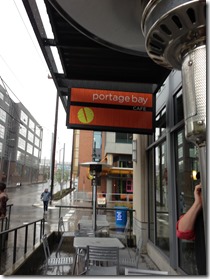
{we dined at portage bay – one of our favs! – for breakfast this weekend. twice. yep, saturday with aaron’s cousin nathan, his wife kendra, & ben & sarah, & then again sunday with our friend jerry.}

IMG_3371

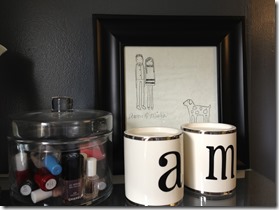
{you may recognize that art from a pillow we used to have. well, after sadie murdered the pillow, i salvaged the art & framed it.}

IMG_3373

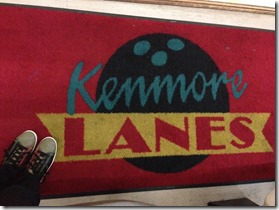
{saturday night at kenmore lanes with nathan & kendra. it was quite the happening place!}

IMG_3376

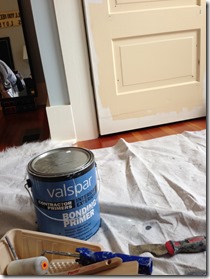
{back to some painting on sunday afternoon. priming & painting our closet doors that finally made it back up after removing & soaking all of the paint off of the hardware.}

IMG_3377

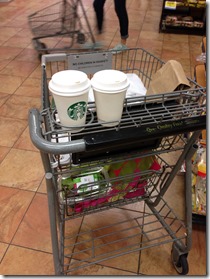
{we needed a pick-me-up to make it through our sunday evening grocery trip. thank you starbucks for being in our qfc store.}

IMG_3378

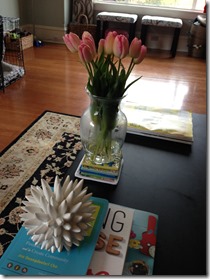
{i love the spring as it means fresh bouquets of flowers in the house every week!}

IMG_3379

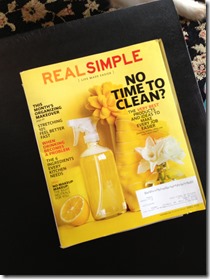
{aaron surprised me with a subscription to real simple.}

we had a really fun weekend working around the house to finish up a few never-ending projects & also seeing lots of family & friends. aaron’s cousin nathan & his wife kendra were in town & we had such a blast with them on saturday. it is hard to be so far away from family sometimes, but awesome when we can all get together! the rain returned to the emerald city as it normally does this time of year. while we are bummed that the temperatures have dropped, we are hopeful that the continuing rain & showers will help our soon-to-be-planted grass seed fill in our lawn in a few rough places. how was your weekend?

M

old turned new {an update to our bathroom vanity}.

to start out, i want to give a HUGE shout-out to aaron, my dad, & our friend rhett for making this project work. it wouldn’t have come together so well without all of them, so thank you, thank you, thank you!

as most of you know, we have been itching to get a vanity of some kind into our bathroom since day one. the sink hanging from the wall was just not cutting it as it gave us approximately 2 inches of “counter space” on either side of the sink. given the age of our house, it felt wrong to just buy a brand-new vanity so we i decided we should find an antique piece to convert.
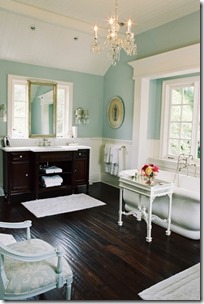
pinspiration bathroom

{my favorite bathroom pin via pinterest}

it took a few weeks to scour craigslist in search of the perfect antique piece. at first i searched for dressers, but then switched to sideboards when i decided i would rather have doors than drawers for storage. we were obviously limited in the space we had which was a bit of a challenge when searching for a sideboard, but i also wanted a good wood color as i planned on leaving the wood {& not painting}.

this isn’t really a diy post {even though it was diy’d} as the project was done based specifically on this antique piece & there wasn’t step-by-step photography taken. however, i can give you the general idea of what was done.

supplies:

  • antique hutch/sideboard/dresser – we found ours on craigslist
  • countertop with undermount sink {or sink to mount on top} – we found ours at lowe’s* {i can’t find it online, but the brand was allen+roth}
  • faucet – we found ours on overstock.com {it looks identical to this one from pottery barn}
  • wood glue, drill, scrap wood pieces, plumbing {p-trap, etc.}

*when we went shopping for countertops to fit over our 19 w x 47 l x 36 h sideboard we immediately assumed that in order to get a top that would have a one inch overhang on all three sides, we would have to custom order something. so we spent a lot of time with the good folks at both home depot & lowe’s pricing out different options for a countertop in everything from marble to granite to hi-mac {which is LG’s new composite product}. we were ready to pull the trigger & spend $700 on a custom white quartz countertop from lowe’s. we went over to price out/buy an undermount sink when we discovered a pre-made quartz countertop with an undermount sink that was one inch bigger than what we were looking for. it wasn’t pure white, but it was only $230! one guess on which one we chose…

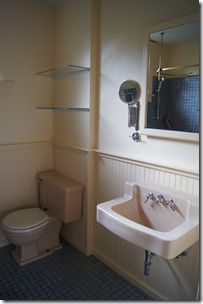
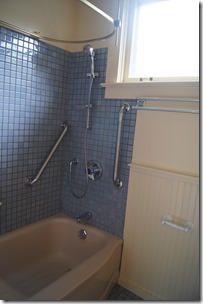
before i get into pictures of the process, let’s take a look at the bathroom when we first bought the house.
DSC00816DSC00817

a few months later, we added a few updates as seen here. the light fixture update here. and then we did the paint update on the bead board & walls.

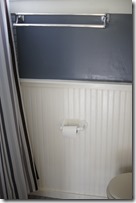
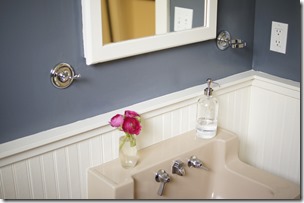
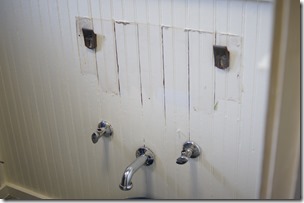
we also did a fixture update, so here are the original fixtures in the bathroom. none of them were really awful but we didn’t really like any of them & took the opportunity to give them an update as well.
_DSC2708_DSC2709

{double towel bar & tp holder // hand towel hooks & glass holder}

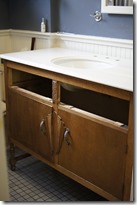
aaron started by un-attaching the plumbing & taking the sink off the wall {it was mounted by two all brackets}. then aaron & my dad moved the sideboard up into the space. originally we all thought there would need to be a hole cut to accommodate the undermount sink, but they found out that the top piece was easily removed.

next they placed the countertop onto to sideboard to determine how best to anchor the countertop to the sideboard & the sideboard to the wall, as well as how to stabilize the sideboard in the back.
_DSC2710_DSC2711

once the sideboard & countertop were completed {which took an entire weekend!} it was time to re-work the front drawers to accommodate the undermount sink. aaron & my dad took apart one-half of the drawer & rebuilt the inside edge to basically go around the sink. we ended up losing only one-third of the drawer space! {sidenote: we don’t have pictures of the drawers & will update soon!}

& the reveal of our new bathroom vanity! the other bathroom fixtures {tp holder, towel hooks, hand towel ring} are all from the pottery barn mercer collection.
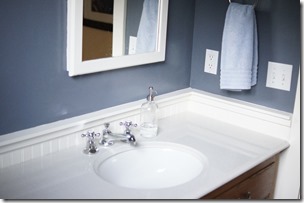
_DSC2723_DSC2724_DSC2728_DSC2727

isn’t it lovely? i am still amazed that they were able to take the basic idea of converting an antique piece & coming up with this!

it is big, well huge considering what we started with, & for some may seem too big. it is also tall standing at 37 inches. {we could have done shorter by chopping off the legs, but we wanted to be able to clean under the piece, & perhaps add storage baskets. also, my mom & dad’s house has tall counters in all of the bathrooms so that is what i grew up with.} despite the large contrast in size from before to after, we are really happy with the piece, the counterspace, & the storage. it is exactly what we wanted.

we are loving the color of the piece & are so glad we didn’t/don’t have to paint it. the richness of the wood is great in contrast to the bright white of the counter & bead board as well as the dark wall color – don’t you think? it just needs a little oil, some storage organizers underneath & we are good to go. {sidenote: we plan on also updating the toilet & bath to be white, but are still saving up! also we plan on taking out the old medicine cabinet & replacing it with a big mirror. we are undecided on the glass shelves.}

what do you think about converting antiques into bathroom vanities {or kitchen islands or entertainment centers}?

M

diy framed key.

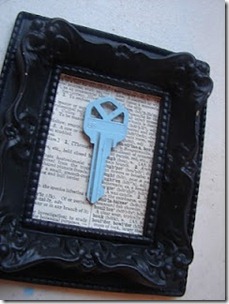
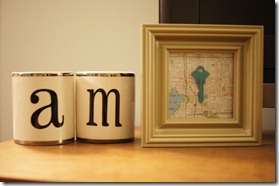
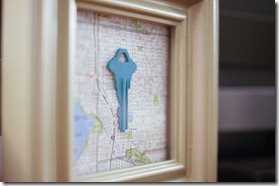
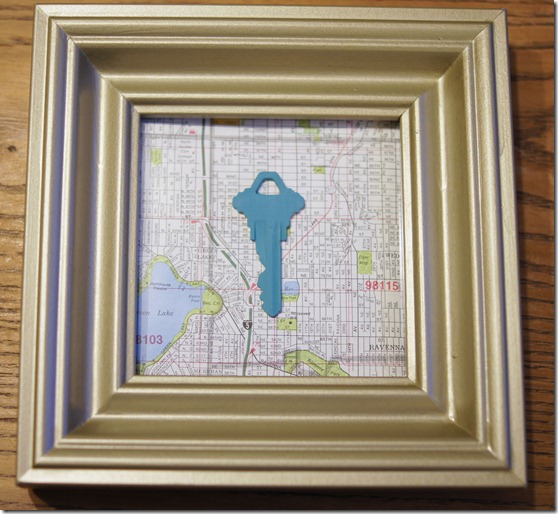
i mentioned in my weekend update that amanda & i had a crafternoon on sunday. we decided to make a simple project, but it was fun & i am super happy with the result. this is a project you could do with just one key {like i did with our first house key – yep, just the one house} or with multiple keys {like amanda did with keys from both her first & current house}.

framed key

{original pinterest link here}

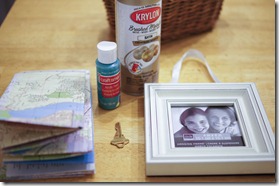
supplies:

  • frame – i got mine at michaels & painted it a champagne gold
  • house key – i painted mine with acrylic paint
  • map of where you live, text page, scrapbook page, or some kind of background
  • glue or adhesive

the how-to is pretty self-explanatory, but here you go:

1. paint frame & key.

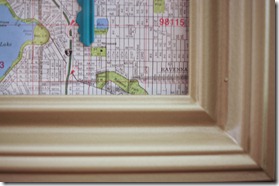
2. cut out map – i off-centered where we live so that the key was in the middle of the frame & our house is to the right of it a bit. i also got lucky & captured our neighborhood name – ravenna – in the bottom right corner.

3. glue map to cardboard backing {the one that comes with the frame}.

4. glue key to map.

5. close up the frame.

SONY DSCSONY DSCSONY DSCSONY DSCSONY DSC

do you keep all of your old house keys? {i sorta wish i had so i could do something a la YHL} have you ever thought of painting them & framing them?

M
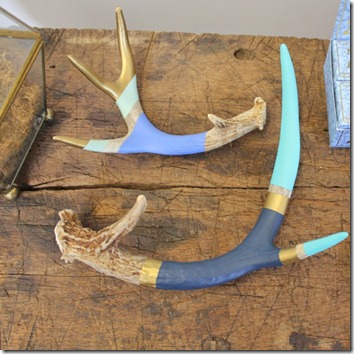
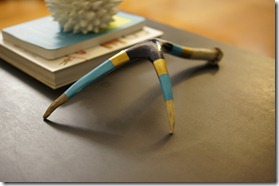
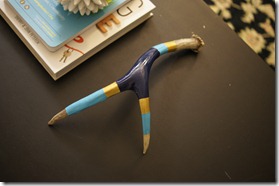
diy painted antler.

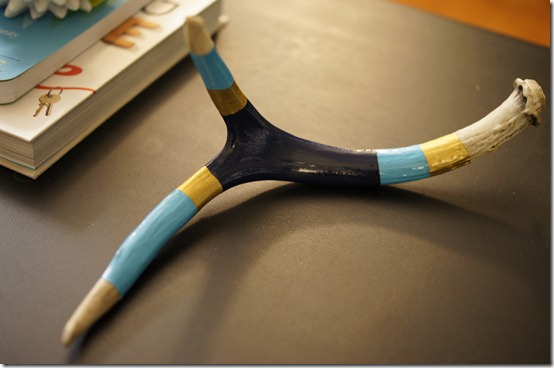
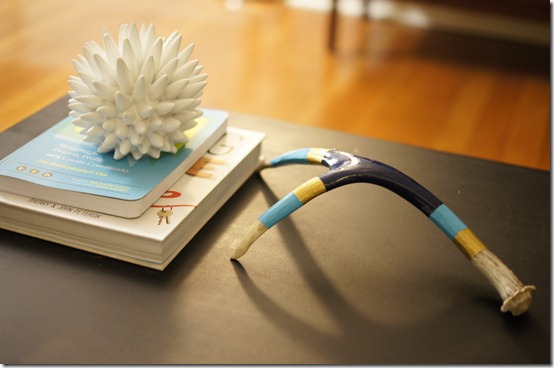
i have been seeing a few painted antlers on pinterest & i thought they were cool looking. it just so happens that my brother has a massive collection of antlers & acted as my source while we were home at christmastime. armed with two antlers {spoiler alert: i have only painted one so far} i have spent the past few months figuring out how to paint an antler. this project didn’t take me that long in total, but i spread it out over the course of almost three months due to life, i guess. also, it turns out it isn’t too hard to paint an antler.

painted antlers

{original pinterest link – source unknown}

supplies:

  • antler – i am sure you could find some on etsy or perhaps a craft fair
  • primer – i used bonding primer
  • small paintbrush
  • frog tape or painter’s tape
  • acrylic craft paint – if you want to do gold or silver, make sure the label says “metallic” so it’s super shiny
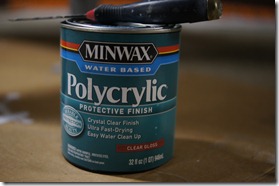
  • glossy protective finish – i used Minwax {pictured below} which i also used here

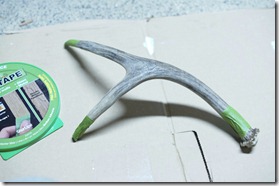
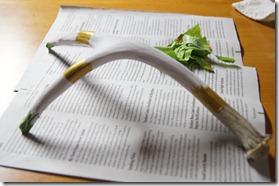
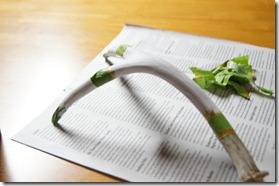
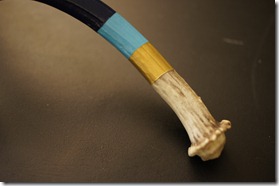
i started out by taping off the end of the antler and each tine as i knew i wanted these pieces to remain unpainted. in order to get a straight line, you will have to create the line with tape {if you just put a single piece of tape around any part of the antler, there will be a small v where the ends meet}. also, you will need to firmly press the tape edges to the antler to ensure you get a clean line.

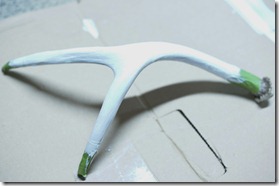
you wouldn’t need to tape at first if you want the entire antler painted, or you could add more tape {like stripes}. then i primed the antler with one coat of bonding primer. {side note: as this was my first painted antler attempt, i am not sure whether regular primer would work. i typically use bonding primer on all of my projects that aren’t drywall because it generally sticks to everything.}

SONY DSCSONY DSC

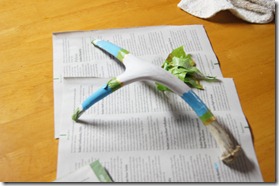
after the primer was dry, i started painting. you won’t need to tape off again with the first color. also, i painted from the outside of ends of the antler in {if this doesn’t make sense, you can see it from the rest of the pictures}. i started with gold & painted four coats to ensure it was a nice solid color. four coats sounds like a lot, but the areas are small so you don’t use much paint and the in-between dry time is about an hour.

DSC02677DSC02682

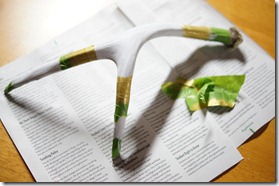
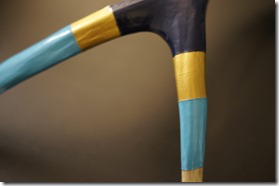
i let the fourth coat of gold dry for 24 hours before i started with the next color as it required me to tape over the gold to make a clean edge.  then i painted four coats of my next color – light blue.

i left the fourth coat of light blue dry before taping over it to add the last color –navy blue {not pictured}.

DSC02683DSC02684

after my final color was on & the antler was fully painted the way i wanted it, i painted on three thin coats of minwax polycrylic which gave the antler a high gloss finish.

DSC02625

i am thrilled with the finished result! this is a really fun piece that is really unique – definitely a conversation piece. {though i am a bit sad that i can’t showcase my new painted antler on the coffee table as it is still an antler & sadie thinks the ends are a tasty treat.}

_DSC2695_DSC2696_DSC2697

_DSC2698_DSC2699_DSC2700

what do you think of painted antlers? have you been taping & painting anything interesting lately?

M
we bought an island {kitchen update}.

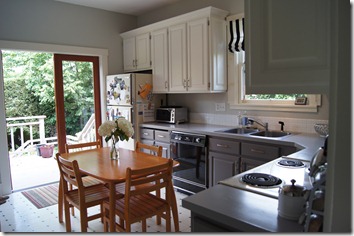
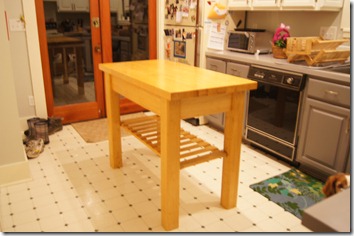
our kitchen has an “L” shaped{ish} counter so when we moved in last spring with two kitchen tables, one went in the dining room & one went in the kitchen. it was nice to have two big surfaces in the house as one typically acted as our eating area while the other acted as a crafting/project space. but, it did seem weird to have two kitchen tables in our small, little house, so we i have been on the hunt for a kitchen island for the past few months.

DSC01417

{the kitchen right after it was updated.}

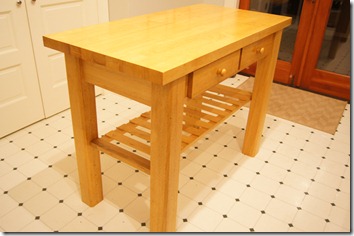
i was randomly searching on craigslist a few weeks ago when i found a simple kitchen island that seemed to fit our my wishlist: butcher block top, counter height, and allows for stools. we called the seller to ask if it was still available & we were confident enough in it to borrow a friend’s truck {thanks colin!} & drive almost an hour north to look at it.

well, needless to say we ended up buying it & hauling it home. once aaron tightened up the legs, it was ready to go! we are really happy with the piece & while it is not perfect {yet} it is really nice to have extra counter space.

DSC02680DSC02681

we are content with the island for now, but do have plans to remove the shelf {it is right at sadie-height so not much can be stored there}, sand the glossy finish off the top, paint the legs, & add stools. it shouldn’t be too big of a project after tackling all of the kitchen cabinets last spring, but i think we will wait until it is warm enough to just move it out to the deck to do the work – rather than move it down to the basement – so basically anytime after july 4th! {for those of you not familiar with the quirky seattle weather, we basically don’t get summer weather – read: hot – until after the 4th of july.}

do you have an island or an eating area in your kitchen or both?

M
my weekend in pictures.

IMG_3188

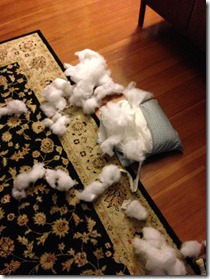
{came home to this on friday night. sadie apparently didn’t like that pillow on the couch & murdered it. anyone free in the afternoons to play with sadie?}

IMG_3189

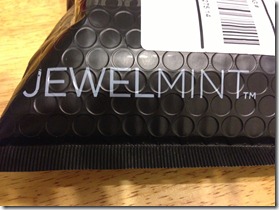
{a package from jewelmint in the mail is always a good idea.}

IMG_3190

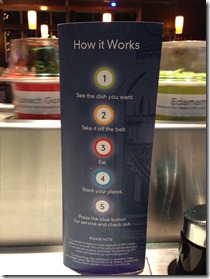
{sushi date at blue c.}

IMG_3193

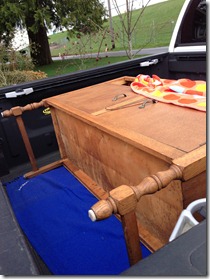
{i think we found an antique hutch for an upcoming house project!}

IMG_3194

{saturday night dinner & a movie with my grandmother. we saw silverlinings playbook which i thought was good but, honestly, i am surprised by all of the awards buzz. anyone else seen it?}

IMG_3195

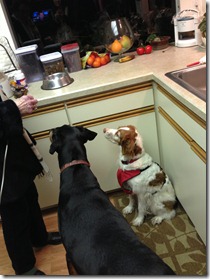
{sadie & greta – my grandmother’s doberman – awaiting treats.}

IMG_3196

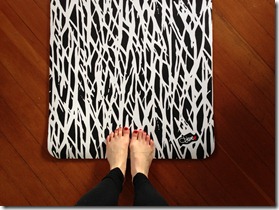
{sunday morning yoga. much needed.}

IMG_3197

{flowers & pie for a dinner party.}

IMG_3199

{thanks miriam for the beautiful birthday flowers! only 3 days until the big celebration, but who’s counting?}

we had a good weekend, but boy it went so fast! we got a few things done around the house, got to hang out with some old friends over dinner, & enjoyed some much needed sunshine {not much but a bit!} – i call that a weekend well spent. how was your weekend?

M