DIY curtain lengthening {west elm}.

DSC01128

{our living room in 2012 – this picture is SO dark, long before I knew how PhotoShop!}

Three years ago I finally bit the bullet & hung the BEST curtains in our living room {see that post here}. It was my first real trek into window coverings, & I was so excited about having these beautiful, long, perfectly-pooled curtains {they are these ones from West Elm in 108″ length}. Fast-forward to our house remodel & despite my best efforts to keep these curtains out of the construction zone, they ended up needing cleaned before being hung back up. During that cleaning (a cold wash cycle) they shrunk a few inches. Boo. Then we had to have the curtains cleaned again after I over-boiled my pump parts & caused some smoke damage, & when we got the curtains back & hung, they were so, so short! Like high-water pants short (about 4 inches off the ground). It was awful. I was so embarrassed every time someone came over, & even though not a lot of people probably even noticed, I knew they knew. I didn’t even take a picture. Seriously. Just trust me that they were short enough that it seemed like I didn’t know what I was doing – I promise I know curtain lengths!

Any-hoo, this post is not about never washing your curtains or being mad at West Elm for having magically shrinking curtains (nope, I could never hate West Elm!), this is a post about how I made my curtains longer so they perfectly pool on the ground again!

Over months, I thought about how I could add length to the curtains (rather than replacing ALL of them – eek!) but was caught up on what fabric I would use. Fabric shopping is super tricky these days with a toddler in tow, plus I wanted to make sure the fabric was the right weight & color. Then I had an epiphany: why not just buy one curtain panel, cut it up, & sew pieces to each of the curtain panels? Genius! Plus, my mama gave me the idea to add the length to the top of the curtain, rather than to the bottom (so there wouldn’t be a weird break in the fabric as it hit the ground). So that’s what I did & the bonus was that West Elm frequently marks curtains down 20% (so take note if you are in the market for curtains).

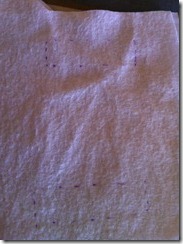
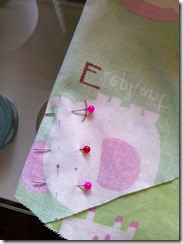
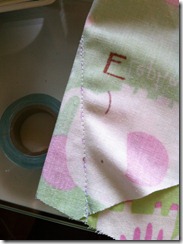
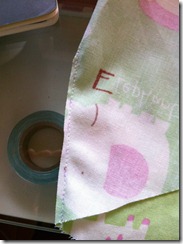
This was my basic plan & it worked! I ripped out the top seam of the hidden tabs on the back of the curtain, & then cut off the bottoms of the tabs right at the seam. Then I cut a 7 inch piece of the extra curtain panel, hemmed the top edge to include the tops of the curtain tabs, then sewed it to the top of the old curtain panel, & finally I sewed the bottom of each tab down. This way the curtain hung in the exact same way as it did before & I didn’t have to cut & sew all of those tabs! I didn’t make an effort to try to match up the patterns on the old curtain panel & the new piece; even if I was that good of a seamstress, I probably would have needed another curtain panel.

In hindsight, I should have added an inch or two more, but I was worried at that point about adding too much length! This is a super simple project that took me just two days’ worth of naps (about 4 hours) & you can’t even tell that I added any fabric!

SONY DSC

SONY DSC

SONY DSC

SONY DSC

SONY DSC

SONY DSC

SONY DSC

SONY DSC

SONY DSC

SONY DSC

SONY DSC

have you ever had issues with curtain length or is it just me?

M

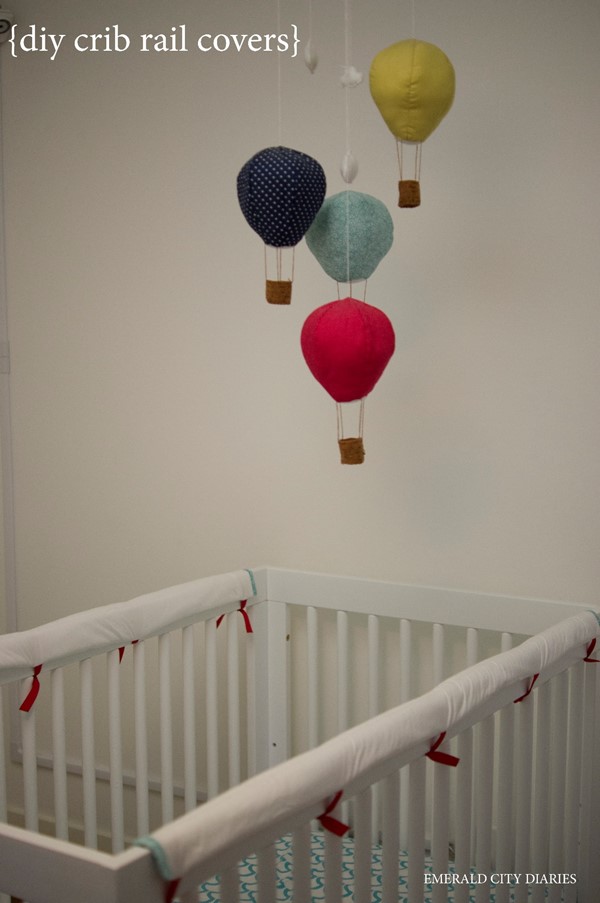
diy crib rail covers.

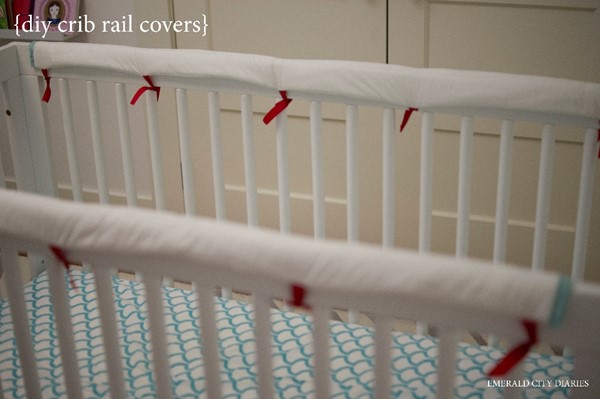
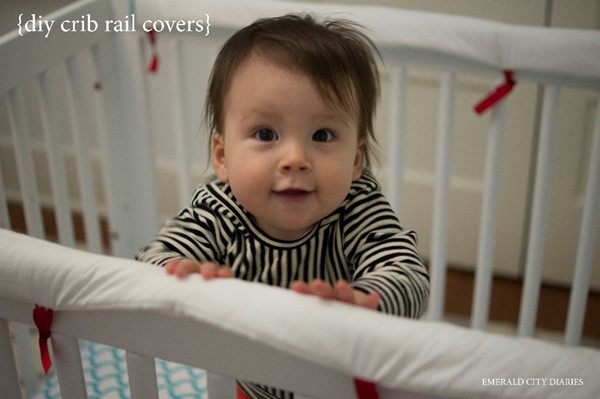
shortly after eloise got her four top teeth (this winter) I noticed a few gnaw marks on one end of her crib rail. it is something I had always heard about, but never really thought of. but lo & behold, pinterest was filled with crib rail covers! luckily, Amanda also did a short write-up/tutorial about making custom crib rail covers for her daughter some time ago.

as with my quilt post, I am not making this a “tutorial” post because I definitely shouldn’t be showing anyone how to make these covers! they turned out well in the end, but I spent A LOT of time (really too much time) going back & fixing mistakes that I had made. basically this is a pretty straight-forward project, but for whatever reason I had a little more trouble with it. (I am blaming it on the fact that I have been elbow-deep in three different sewing projects!)

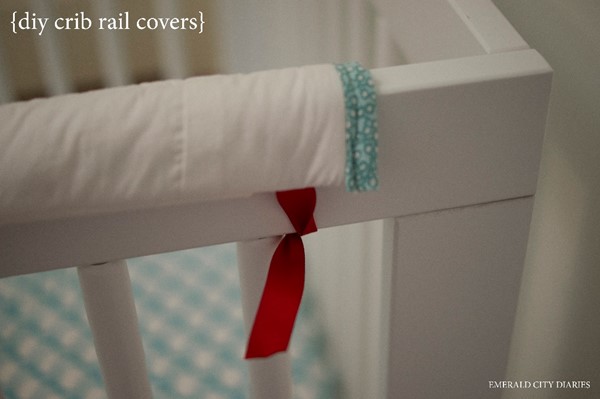
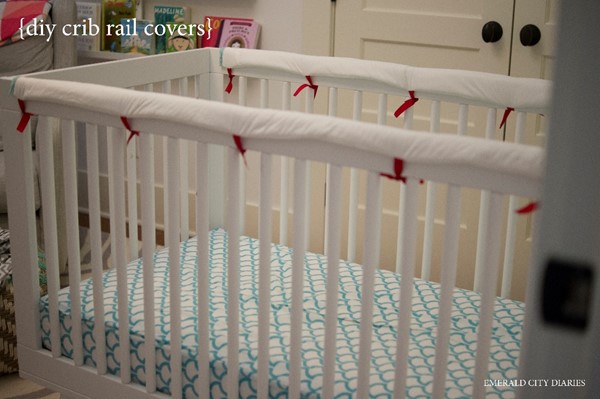
I didn’t want these covers to stand out a lot in eloise’s nursery & since everything in that room is pretty neutral, I followed suit when fabric shopping. I figured out white fabric would be best since her crib is white. then I used some left-over fabric from her balloon mobile to add to the ends, & a little red ribbon to give a small pop of color (& one that is already present in the space). I am really happy with how these turned out; they aren’t too matchy-coordinated, & don’t stand out too much.

I didn’t see any more teeth marks on the crib railings before these covers went on, & haven’t noticed eloise gnawing on the covers lately, but it gives me some piece of mind that she won’t completely destroy the crib. I have a mama friend who has teeth marks all over her daughter’s crib from another baby (& the ironic part is that, at the time, her daughter didn’t have any teeth!) – so there’s that! {UPDATE: so before this blog post is even going to go live, I noticed teeth marks on one of the side rails… guess I am making two more covers. thanks eloise!}

maybe someday I will get around to sewing some cute crib sheets! (also, you can see that we dropped the mattress enough that I no longer need a crib skirt! maybe for a future nursery.)

M

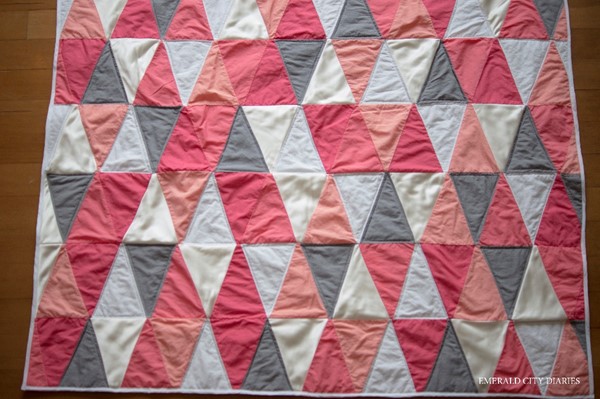
diy triangle quilt for eloise.

we decided not to go overboard with presents for eloise when she turned one which is pretty much our gift-giving philosophy for our kids. we did the same at Christmastime – just a few small stocking stuffers and one bigger gift. this helps because not only do we not have the space for lots & lots of toys, but we like the idea of toy minimalism, other people are very generous at birthday time, & eloise is too young to really know about new toys (& we are taking advantage of that for as long as possible!). maybe we will change our mind in later years, but for now this is pretty awesome. {we did get her this cute little IKEA cart & this first mobile phone.}

but, I did want to do something special for eloise, & by “do something” I mean “make something.” & what I ended up making her was a quilt. it was my first one (well, other than this quilted playmat that I made her in the spring, but I really don’t consider that a quilt, especially after making this one!).

the idea of a quilt has been around for quite a while & it started when I picked out my wedding dress. yep. my dress had this tremendously long & gorgeous train. I knew that some day I wanted to have quilts made out of it for our future children, so I kept the train but not the dress. I honestly thought I would have to find someone to make a quilt for me since the fabric of the train is silky, but I challenged myself to give it a try first, especially since there is so. much. fabric.

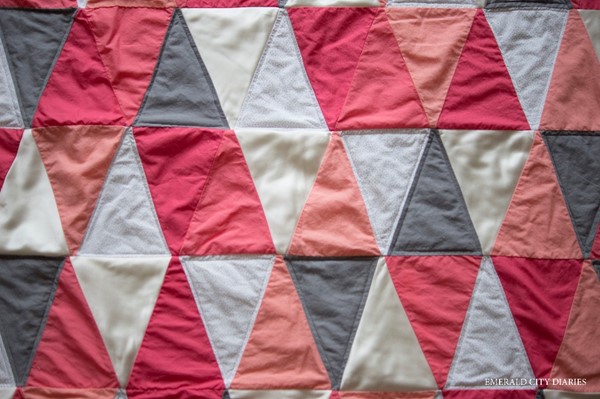
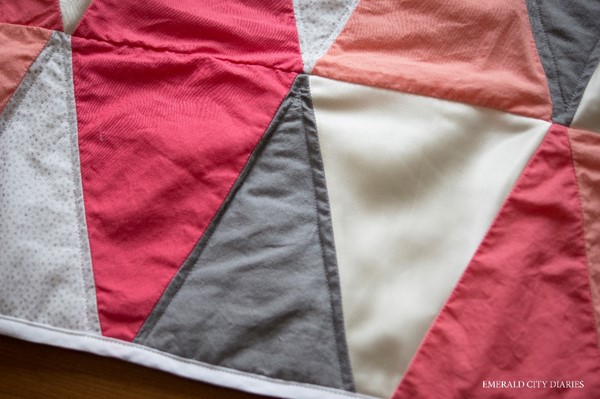
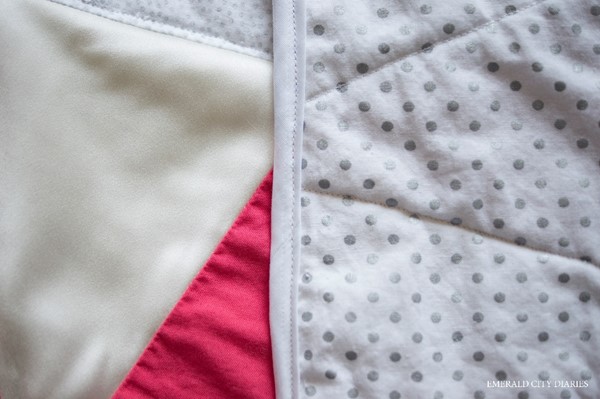
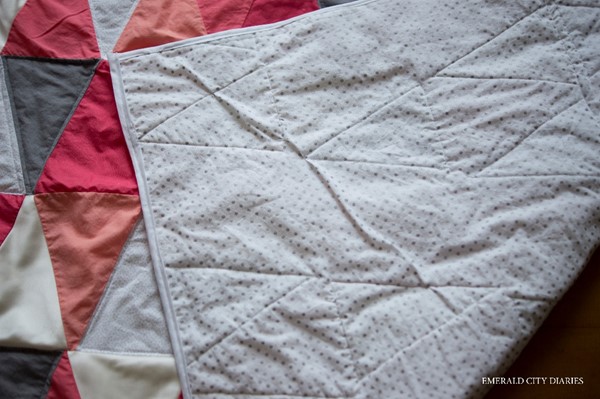
I scoured Pinterest to find a simple quilt pattern & quickly found this triangle one. it was perfect! the pattern was simple & I loved the ombre. (I realized that I had my choice to do ombre or not, but I really liked the look of this original quilt). when I was buying fabric (at Jo Ann since I have trouble buying fabric online – I like to see it, feel it, & look at it along with other fabrics) I was less than excited about the color choices in solid cotton. I was really wanting to do a coral ombre & grey, & ended up having to go way pinker than originally intended. that said, in the end, I really like the pinks with the cream color of my train. instead of white fabric I used my dress train along with dark pink, pink, light pink, grey, small grey dots, & larger grey dots (for the back).

while I normally add a tutorial with my DIY posts, there is no way I qualify to write a tutorial for making a quilt. I learned SO much on this project, but spent SO much time re-doing a lot of the aspects of this quilt. the sewing of the triangles went pretty well & I used a basting adhesive spray to help keep the train material from slipping in my machine. it worked well keeping fabric together but was really sticky on the fabric; I had to wash the front of the quilt twice to get the adhesive off. {a sewing friend told me later to use tracing paper on top of the fabric to keep it from slipping & then rip it off once the stitches are in place – this is an awesome trick!} once I started quilting the triangles (the white dots & the grey), I realized that the batting I was using was WAY too thick (I used the same thick batting as the quilted playmat) but kept on quilting. & then I got 90% done & decided I didn’t like it, so I ripped all of the quilting out! I asked Amanda about what quilt batting she uses (see her quilts for us here & here) & ended up taking her advice, using this batting at her recommendation. quilting went so much better & looked so great! then I got to the binding & it was a lot more ripping of seams. I used pre-made binding (rather than making my own) but I had no idea what I was doing & ended up buying binding that was too thick. after binding one side, I ripped it out & trimmed the binding down by half. it went much better the second time around, though I wish I would have hand-stitched the second set of stitching on the back of the quilt (the idea of hand-stitching sounded so awful & tedious at that point!) but oh well. I am still really happy with the quilt. & there is SO MUCH fabric left fo future children’s quilts!

eloise was pretty pleased with the quilt when I first showed her & she pointed out the colorful triangles – it melted my mama heart!

have you made a quilt before? any tips you want to share?

M

this post contains affiliate links.

diy quilted playmat.

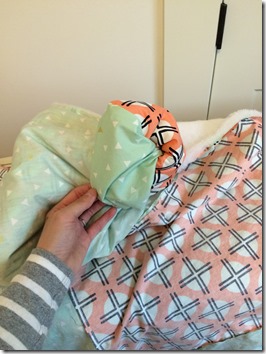
eloise has a corner of the living room where she can sit & play with her toys. it is nice because it is out of the way of any foot traffic & allows her to have independent playtime. when I first set it up, it was a hodge-podge of thick blankets & her play gym since she was still learning to roll & sit up. I didn’t like the way it looked, so I made something I liked instead!

I knew I wanted something quilted to give eloise some padding on our hardwood floors. I really love hardwood, but when your baby is learning to roll & sit up, it can be brutal! I found this fun playmat on Purl Bee (via Pinterest) & made it slightly larger. I am really happy with the way this playmat turned out, I just wish I would have made it sooner!

{via Purl Bee}

supplies:

{sidenote: I apologize for the iphone quality pictures. I did this project in tandem with my chair & needed the SD card in my computer (rather than in the camera) so that I could see how the pieces went back on. I guess that’s the problem with multi-tasking!}

I (mostly) followed the directions on the Purl Bee post, but added an extra set of four squares (so my finished quilt was six squares on each side rather than four).

first I cut out all 12 squares. I typically have issues with the cutting part of sewing projects, but squares are nice because you can cut two sides & then fold it in half & then cut the remaining sides.

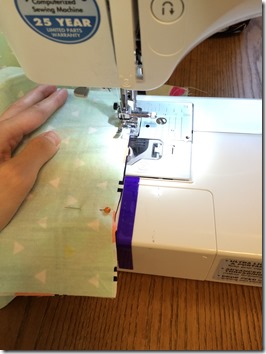
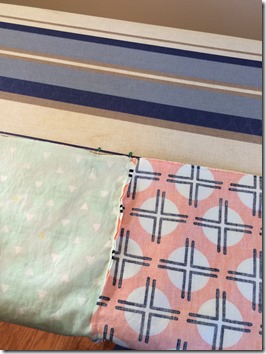
then I pinned & sewed two sets of squares together (one of each fabric) & then sewed three sets together (to make two sets of six). the seam allowances for this project were really small (in my opinion) & I wish I would have followed my gut & made them bigger from the beginning. I was worried about it the entire time, & lo & behold, I had two places on the quilt where I didn’t quite catch enough fabric & have to handstitch the area closed… oh well!

20150326_230717769_iOS20150326_231411711_iOS

I didn’t get a picture of this part, but then I made the quilt batting “sandwich” where you layer the fabric right-sides together on top of the quilt batting. then you sew around the entire perimeter, leaving a few inches to reverse the fabric right-side out. then you sew the hole shut by hand. I normally would top-stitch something like this to give it a nicer finish, but I didn’t think I could do a good enough job going thru the batting.

20150331_234444553_iOS

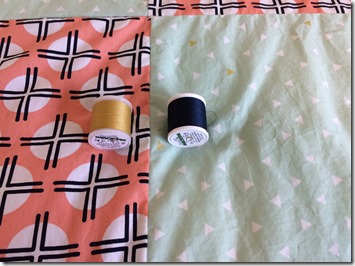
next it is time to quilt! I chose contrasting thread colors like in the original post. since I didn’t use exactly the same fabric though, I had to make up my own way to quilt the shapes. I had though thought about this when I bought the fabric, making sure I ended up with two patterns that would lend themselves to this type of quilting.

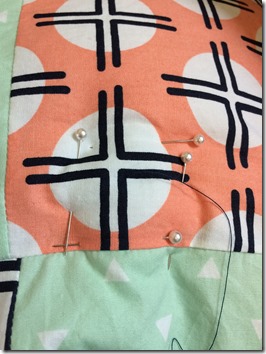
once I got started, I found that it was easiest to pin all around the area I was quilting to keep the fabric & batting from moving around.

20150401_202801573_iOS20150401_210907889_iOS

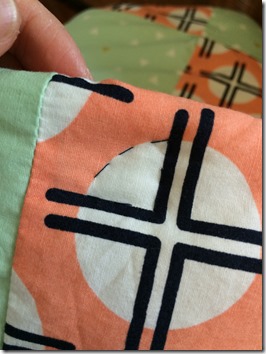
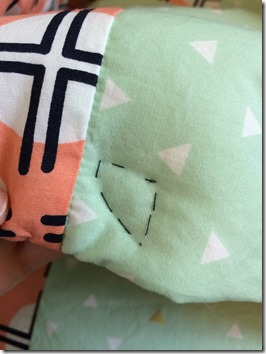
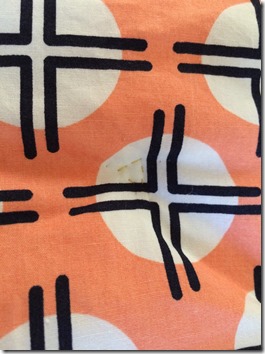
on the Clay Sundot fabric (peach) I quilted a quarter circle with navy thread. you can see what it looks like on the backside of the quilt too.

20150401_205544023_iOS20150401_205549677_iOS

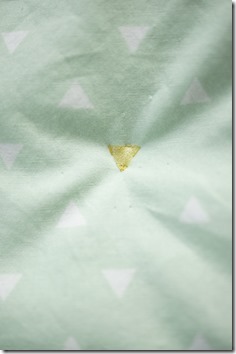
on the Triangle Token Medallion fabric (mint green) I quilted some of the gold triangles with yellow thread. you can (sort of) see what it looks like on the backside. I followed the advice to have some quilting at least every eight inches in order to keep the batting in place. for each square, I quilted the first shape & then measured out eight inches or so to pick the remainder of the quilted shapes.

_DSC602320150401_234837489_iOS

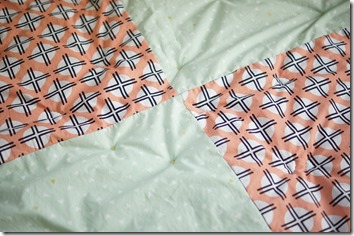
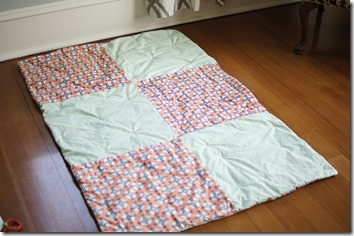
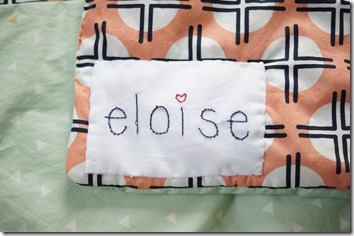
and the finished product! I really LOVE how this turned out & that I was able to choose fabric that was fun, but not too juvenile. it coordinates (sort of) with our living space & hopefully it will be a quilt eloise can use for years. I especially adore the embroidered name tag – a fun last-minute addition! (I just cut out two smallish rectangles of white cotton muslin that I had leftover from the chair project & ironed them flat. then I lightly traced out the letters spelling “eloise” before hand embroidering along the penciled lines. I stacked the second cotton muslin piece behind the embroidered one before hand sewing it onto the corner of the back of the quilt.)

_DSC6025_DSC6020_DSC6026

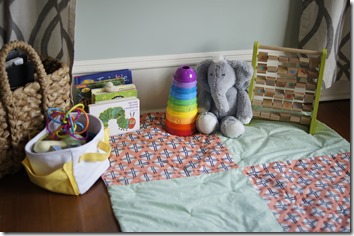
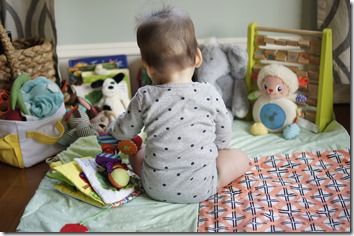
this is such a great place for eloise to play now when she isn’t rolling or crawling all around!

_DSC6027_DSC6032_DSC6034_DSC6036

how have you set up the playspace for your kiddos?

M

my {long holiday} weekend in pictures.

IMG_4981

{me & the bump celebrating the 4th of july.}

IMG_4982

{the land of nod store is under construction & has a pretty fun entryway right now.}

IMG_4985

{sadie’s new dog door at the house. pics to come later in the week of the rest of the house!}

IMG_4986

{we attended a very patriotic party to celebrate america’s birthday.}

IMG_4987

{the annual 4th of july parade in our neighborhood. such a treat!}

IMG_4988

{we stopped by to see andy & hailey, & sadie loved sleeping in the grass lake-side.}

IMG_4989

{sadie insisted on sitting right in between us during a small fireworks show. she didn’t last long before she wanted to be inside away from the noise. poor kid.}

IMG_4990

{we went to ikea to pick up a few things for the house. #nesting}

IMG_4991

{& amazingly it all fit in our car! sadie & I shared a seat in the back, but it worked. thank goodness we have a hatchback!}

IMG_4994

{I finally found some time to finish up a sewing project for baby lower that I started some time ago. hope to share pics soon.}

IMG_4998

{due to the many residual fireworks over the weekend, sadie got to sleep in bed with us. she hated it, obviously.}

what an awesome weekend. can every weekend be a three-day weekend, seriously? we got to sleep in, see lots of friends & family, & check some things off the ole’ to-do list – doesn’t get much better than that. we were a bit disappointed in the weather this weekend {rain when it wasn’t actually forecasted} but it is definitely feeling like summer here in the emerald city. I am still in shock that we are already so far into july – slow down summer!

how was your weekend?

M

valentine’s day diy: heart elbow patches.

valentine’s day holds a special place in my heart for obvious reasons {pun intended & it is my birthday}. i thought it would be fun & festive to share a few valentine’s day diy projects over the next two weeks, well 11 days.

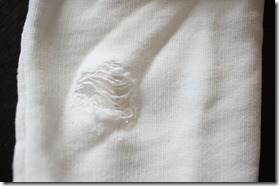
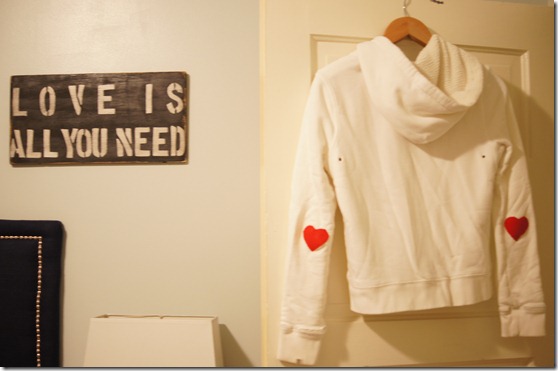
this first project is something that i have been wanting to do for a few years. i had an old j.crew hoodie {my fav} that i literally wore the elbows thru {sad story, i know}. i wanted to put patches on the elbows but it has taken me a while to figure out what i wanted. in thinking about valentine’s day, i figured it would be fun to put heart patches on the elbows. worst case, i could take them off & try something different!

supplies:

  • sweater/sweatshirt/shirt with worn-out elbows {or not, the patches could be decorative}
  • red felt
  • red thread
  • scissors
  • paper or cardstock {for stencil}

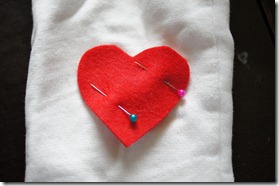
i started by cutting out a heart-shaped stencil from cardstock. to keep the shape consistent on both sides, i folded the cardstock in half & drew out just one side. also, it is important for an elbow patch to bigger than the hole; this sounds obvious but the first heart stencil i cut wasn’t quite big enough. fail. after i made a stencil that was the right shape & size, i cut two hearts out of felt.

DSC02646DSC02644DSC02645

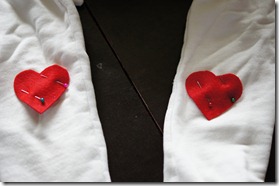
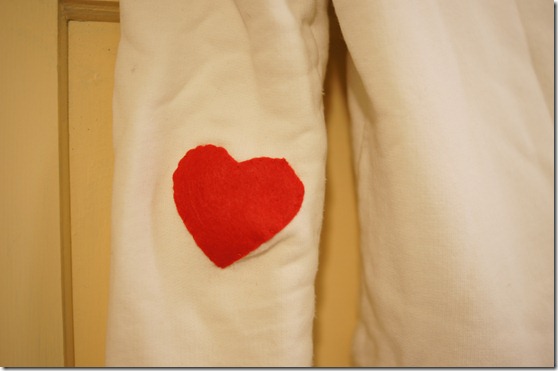
then, i pinned & sewed the hearts over the holes. the holes were a bit off center on the sleeve, so in order to avoid putting huge heart patches on the elbows {i thought that may be a bit much}, my patches are off-center.

DSC02647DSC02648DSC02649

happy elbows!

DSC02650

DSC02652

have you patched anything with hearts?

M

diy baby shower gift: baby swaddler.

when it came down to the gift that i wanted to give amanda at her baby shower, i knew i wanted to make something. amanda is one who loves things handmade – you should see the beautiful cards she makes! – plus, i liked the idea of hand making something for the new baby (seems more personal).

this could be considered another pinspiration project because i found the idea from pinterest!

from the very little that i know about infants, i do know that swaddling is a way to help them feel like they are back in the womb. however, amanda & her husband are first-time parents & the process of swaddling a baby seems, well, difficult. a wailing infant with flailing arms & legs? no thank you.

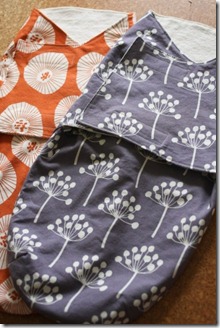
so, why not a swaddler. an infant-sized sleeping bag that allows those arms & legs to be gently velcro-ed in. genius! {sidenote: i really hope this was a thoughtful present after all, meaning that i hope it really works!}

*update: the little babe i made this swaddler for was only about 7 pounds when she was born, so the size of this swaddler is too big. if you know how big the baby is, you can adjust the size accordingly.*

75013150013202738_ruNM1tJg_f

{original tutorial: snuggler}

{sidenote: the gal’s blog who posted the original tutorial makes an amazing amount of things by hand. if you want some inspiration, definitely check out her blog!}

supplies:

  • pattern printed {updated link!}
  • instructions (attached to the pattern pdf)
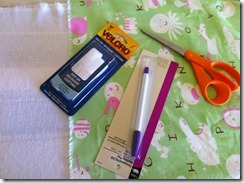
  • 1 yard fabric – fun fabric for outside of swaddle (i used fabric from pacific fabrics)
  • 1 yard fabric – flannel or soft cotton fabric for inside swaddle (i got organic cotton flannel from this etsy seller)
  • pins
  • fabric scissors
  • fadeout marker (the type of marker that either has disappearing ink or disappears with water)
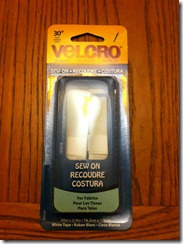
  • velcro
  • thread (i used white)
  • iron
  • sewing machine
  • ruler (i used it to help me transfer the dart pattern)

{sidenote: please excuse the bad lighting in the last set of photos. i was taking them in the evening without sunlight, so the color is funky. the real color of the green fabric is mint green & is best seen in the first part of the tutorial.}

this was the first time i made something from a pattern, so i was a bit nervous. plus, it was intended to be a gift to a crafty girlfriend who was expecting her first baby – no pressure! after my first read-thru (& second & third!) i found some of the instructions a little confusing. my remedy was to just go ahead & start, & i would work out the finer details as i came to them; turns out, this was a pretty good method!

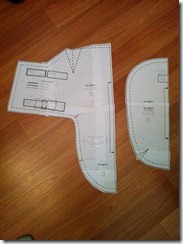
first, print out, cut out & tape together the pattern (there are two main pieces). then iron your fabrics (after pre-washing them in hot or warm water to prevent later shrinking!).

IMG_1508IMG_1568

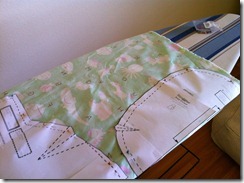
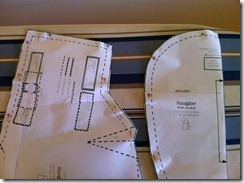
fold the printed fabric in half & pin the patterns to the wrong side of the fabric, lining up the folded edge to the inside of the pattern (there is a note on the pattern where it should line up with the folded edge). cut out the fabric along the pattern.

IMG_1569IMG_1570

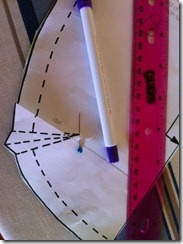
before removing the pins, trace the dart pattern onto the wrong side of the fabric. i placed a pin at the top point of the dart triangle (so that i could lift the paper to expose the fabric) & then used a ruler to draw very faint dotted lines onto the fabric with my fadeout marker.

IMG_1571IMG_1572IMG_1573

the instructions also tell you to transfer dotted lines where the velcro strips will be placed. {sidenote: i did this, but in hindsight i think it is unnecessary. the velcro “placeholders” that i made were much bigger than the velcro i ended up using & so there was a lot of blotting with water to remove the ink from the fadeout marker. i think that once you are at the point where you add the velcro – later in the tutorial – you can look back to the pattern to determine where the velcro strips should be sewn on.}

IMG_1575IMG_1576

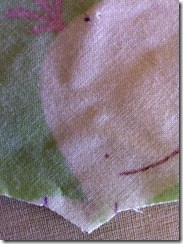
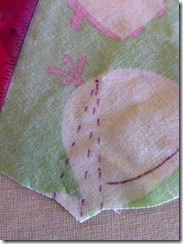
sew the darts into place. this was my first time sewing darts, but it is a fairly easy process. you basically fold the fabric in half (the middle dart line becomes the fold) & pin. then you run a seam towards the raw edge of the fabric. then you cut off the extra fabric.

IMG_1578IMG_1579IMG_1580

IMG_1581

{darts completed on both fabrics. you can see the remaining ink lines here; i blotted the ink with a damp washcloth to make it disappear before i sewed the pieces together.}

repeat all above steps with the flannel fabric. then, you should have two identical pieces, one in printed fabric & the other in flannel fabric.

IMG_1583

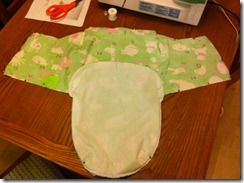
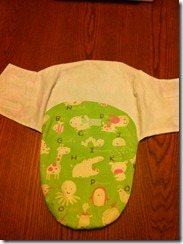
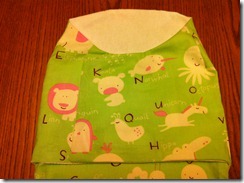
then you place the flannel piece (inside out) into the fabric piece (inside out) & pin the pieces together. then attach the pieces by sewing around the half moon piece, as well as along the arm pieces, leaving a couple inches at the bottom of the left arm open (to flip the fabric). trim the seams.

IMG_1582IMG_1588IMG_1589

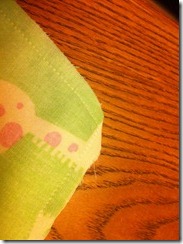
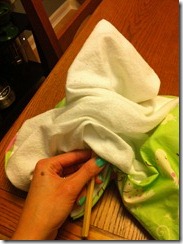
flip the swaddler right-side out. i used a chopstick (clean, of course!) to help turn the corners & edges.

IMG_1590IMG_1591

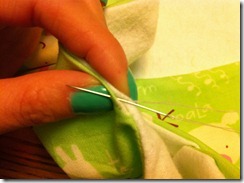
then hand sew the remainder of the edge shut.

IMG_1592

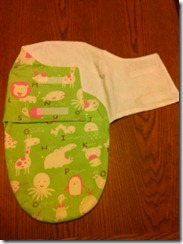
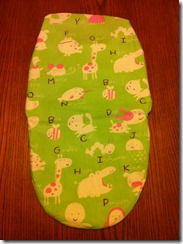
grab your velcro & lay out the pieces. cut three lengths of velcro (both pieces!) a couple of inches long. one piece goes on the front half-moon piece (middle picture) & two go on the outside left arm/inside right arm (far right picture). i sewed the rough piece of velcro to the front half-moon & also to the front side of the left arm; the soft velcro pieces are placed accordingly so that the velcro will properly close.

IMG_1593

IMG_1594IMG_1595

IMG_1596IMG_1597IMG_1598

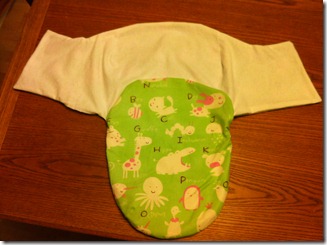
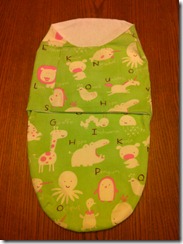
{the final swaddler!}

what do you think of handmade baby shower presents? also, to my readers who have infants or kids, did you swaddle?

M

a baby shower.

last weekend i was lucky enough to co-host a baby shower for one of my dear friends amanda. amanda & her husband are expecting their baby girl this summer!

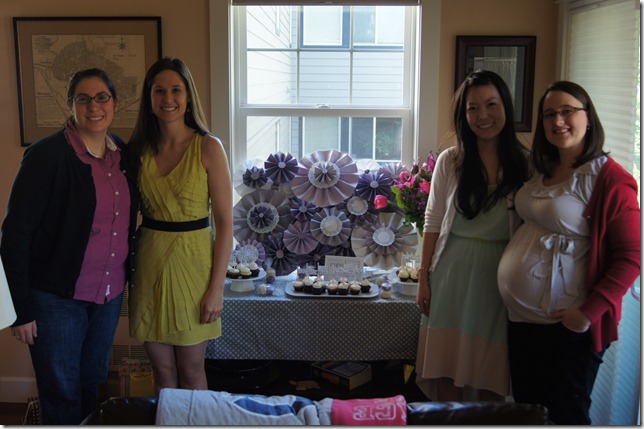
i was in charge of decorations & dessert which was so much fun! i had lots of ideas at first but really used pinterest to help me organize the details. {you can see the baby shower pinboard here.} the other co-hosts (sam & denaye) and i decided that we would keep the shower theme simple, so we went with a theme of purple (the mom-to-be’s favorite color!).

DSC00730

DSC00731

DSC00738

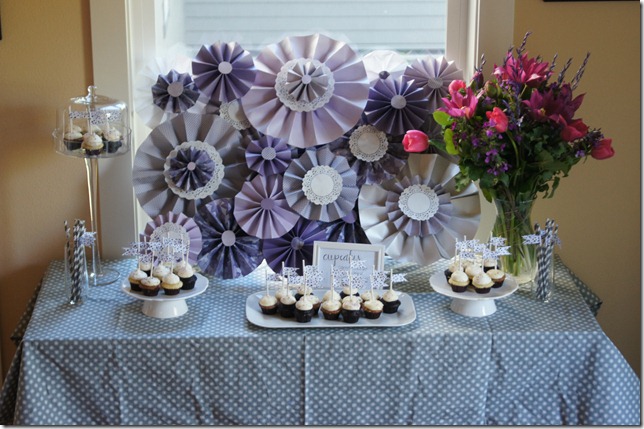
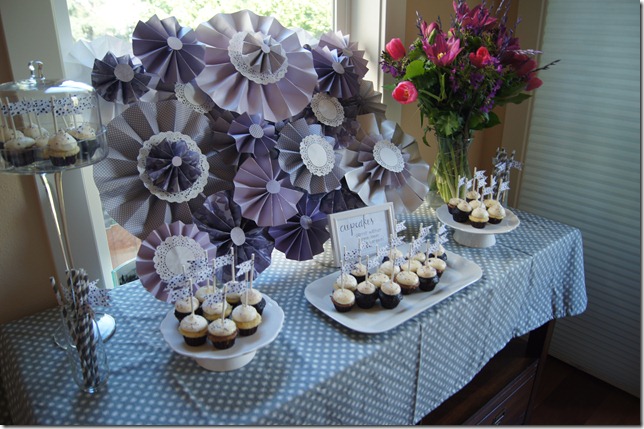
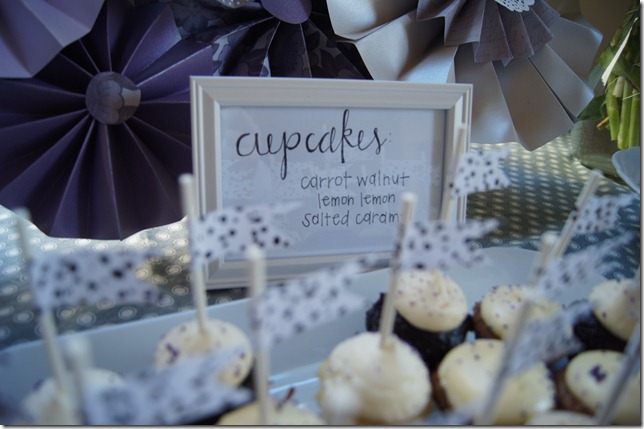
{the dessert table: mini cupcakes from trophy, cupcake flags (diy), paper pinwheel board (diy), tablecloth (diy), flowers from pike place market, tall glass cake stand from tj maxx, white cake stands and platter from crate & barrel, stripey straws from amazon & diy flags, “cupcake” sign (diy).}

DSC00733

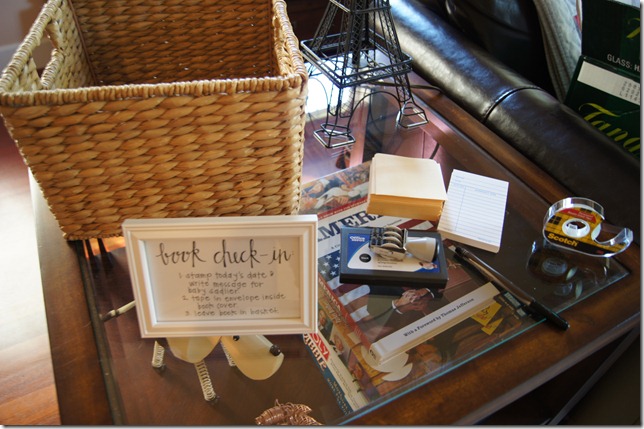
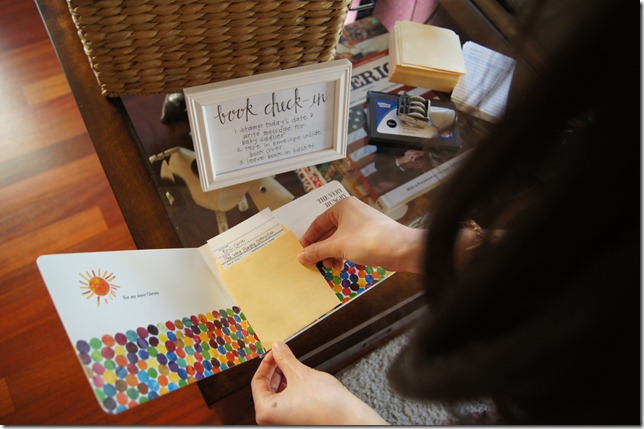
{the book check-in. denaye had the idea that guests could bring a book in lieu of a card to help the baby’s library grow. i thought it would be fun to include a card inside each book that had a note to the baby, so we used old school library cards.}

DSC00736

{i gave the baby my very favorite book the very hungry caterpillar.}

DSC00742

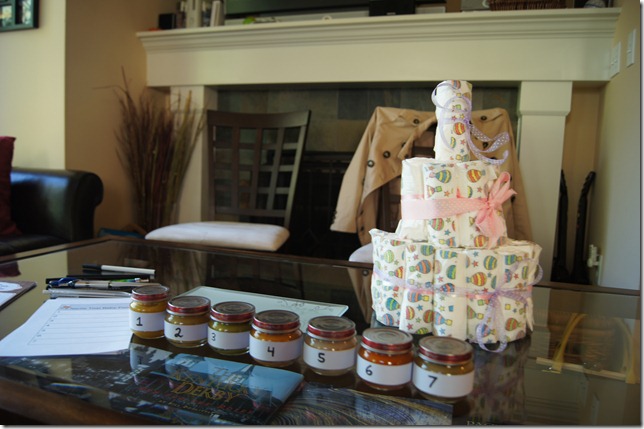
{sam made a cute little diaper cake.}

DSC00750

{sam, denaye, me & amanda.}

DSC00752

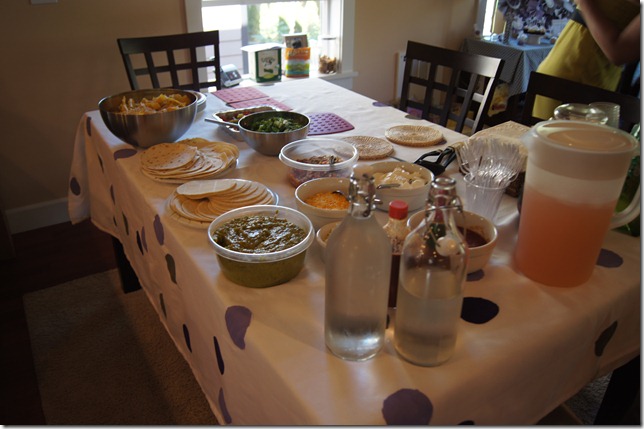
{the food table: homemade mexican enchiladas & fajitas by sam & her husband, sangria by sam, lavender lemonade by denaye, tablecloth (diy).}

DSC00754

DSC00755

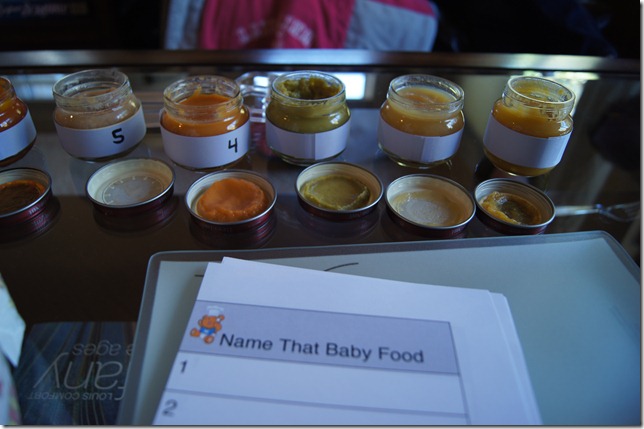
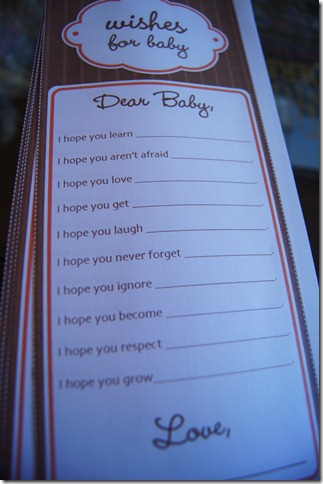
{baby shower games: name that baby food which entailed guests tasting (or smelling) baby food & writing down their best guess. wishes for baby allowed each guest to fill-in-the-blank. fill-in-the-nursery-rhyme (sorry there isn’t a picture) which had guests fill in the missing words to the nursery rhymes we all grew up with. sidenote: i totally rocked this game & walked away as the winner with a set of bubbles! on the other hand, i failed miserably at the baby food game.}

DSC00769

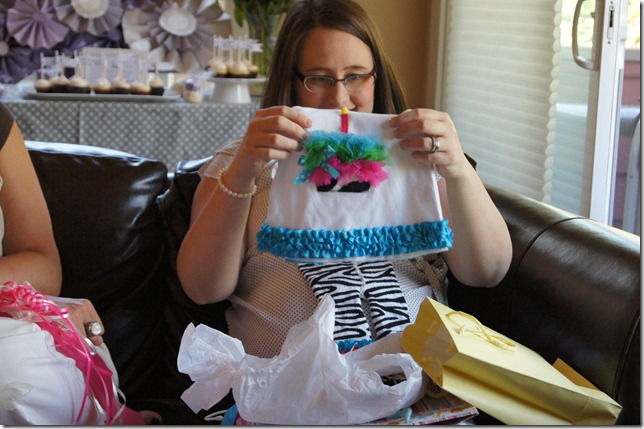
{amanda isn’t big on really girly stuff for the baby, but this outfit was insanely cute!}

thanks to sam & denaye for being fantastic co-hosts! {the food was so delish (thanks sam!) & denaye brought the cutest (and tastiest) macaroons from chicago as party favors.} thanks also to amanda for letting us throw a shower in your honor & letting us surprise you with all of the details! i can’t wait to meet your baby girl.

i am planning on posting later in the week about all the diy projects!

also visit amanda’s blog for scenes from the baby shower & a shower game.

have you attended or thrown any showers lately?

M

pinspiration: floor cushion.

crafternoon (noun): a mid-day spent crafting.*

my friend amanda & i had a crafternoon this week and it was a perfect time to bust out another pinspiration project!

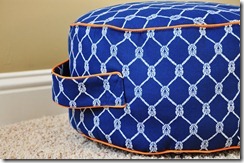
floor cushion 3

{the original tutorial link: floor cushion}

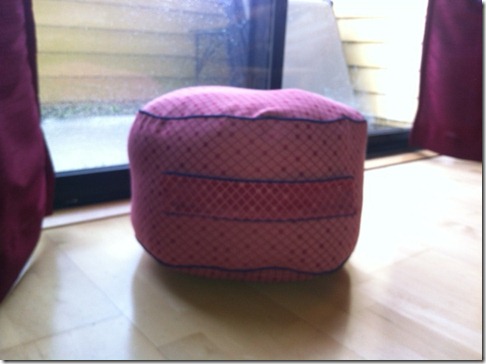
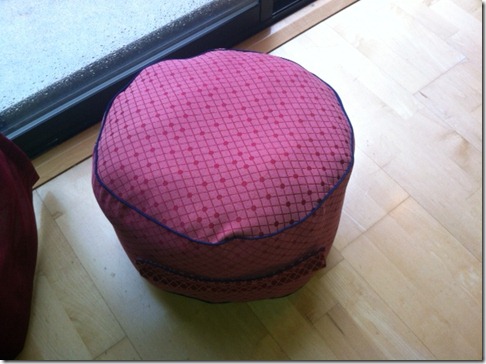
i didn’t take pictures during the process to create my own tutorial because i thought the original tutorial was really well done. we didn’t have a compass on hand, so we used a piece of string tied to a pencil which resulted in non-perfect circles that were closer to 15 inches in diameter than the original 17 inches. oh well!

this is the first time i sewed piping onto anything & it was much easier than i expected! {sidenote: i apologize for the blurry first picture. the lighting is terrible since we have grey & rainy.}

floor cushion 2floor cushion

have you been crafting in the afternoon lately (that would be referred to as crafternooning)?

M

*i thought i was so smart thinking up this term, but alas, it has already been coined. formally. see here.

pinspiration: sewing machine pin cushion.

i have a few sewing projects on my mind, but have yet to find a pin cushion. i realize that something like a pin cushion is really a practical thing, but i have been holding out for a pin cushion that i really like.

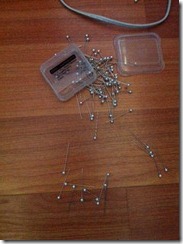
i am clumsy & drop boxes of pins all the time resulting in pins all over the floor & occasionally in stepping on pins – ouch! after this happened to me for the millionth time this afternoon, i knew that i had to do something about my pin cushion situation.

photo 6

{story of my life.}

enter pinterest & the genius ideas that i pinned months ago…

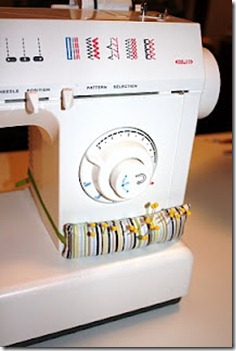
Sewing Machine Pin Cushion 6

{see original pinterest link: sewing machine pin cushion}

supplies:

  • scrap fabric
  • ribbon
  • hand needle
  • thread
  • sewing machine {you could do this by hand, but it would be ironic to make this by hand for a sewing machine}
  • scissors

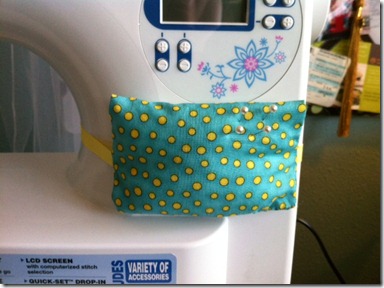
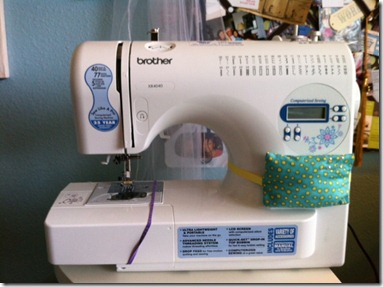
i already had fabric scraps & ribbon, so it was just a matter of sewing a few simple seams. my pin cushion is a bit squarer due to the shape of my machine’s arm & the ribbon length is only one time around the arm for each side.

photo 5photo 4

i will still be on the quest to find the perfect pin cushion, but for now, this one will do!

do you have a habit of dropping pins all over? do you use a pin cushion?

M