Welcome to week two of the Pinterest Christmas series for 2015! {See week one here!}
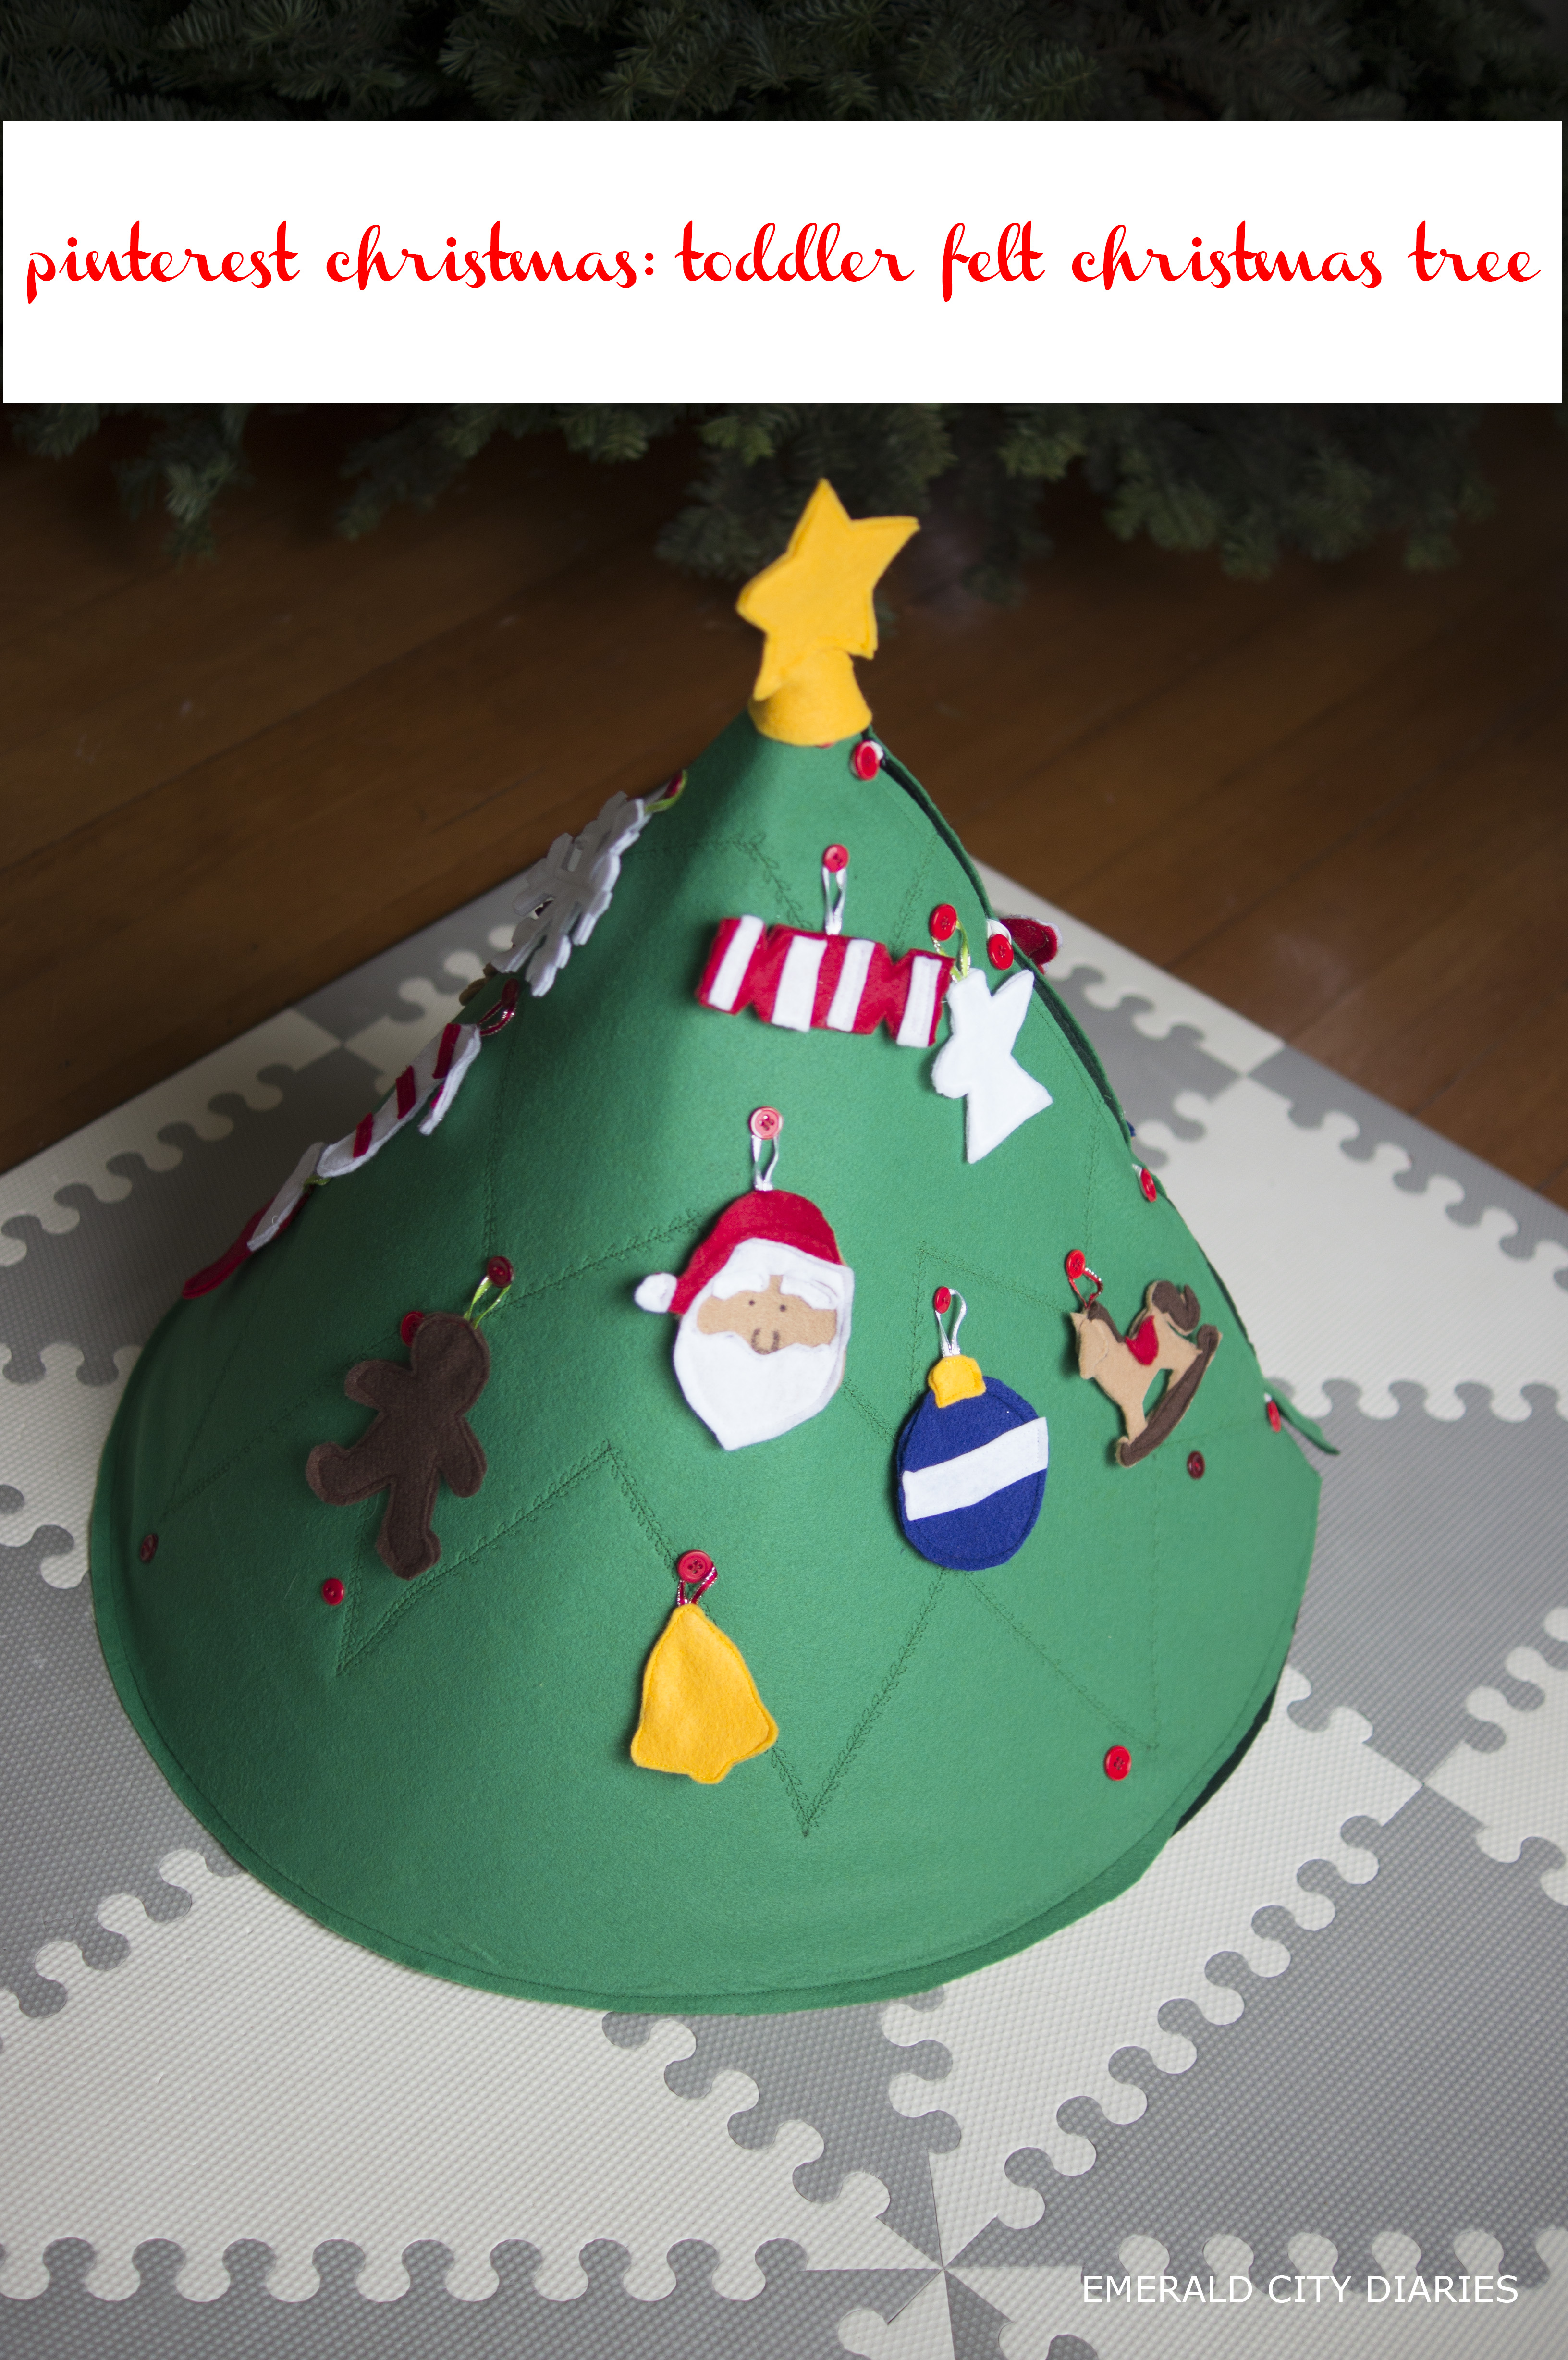
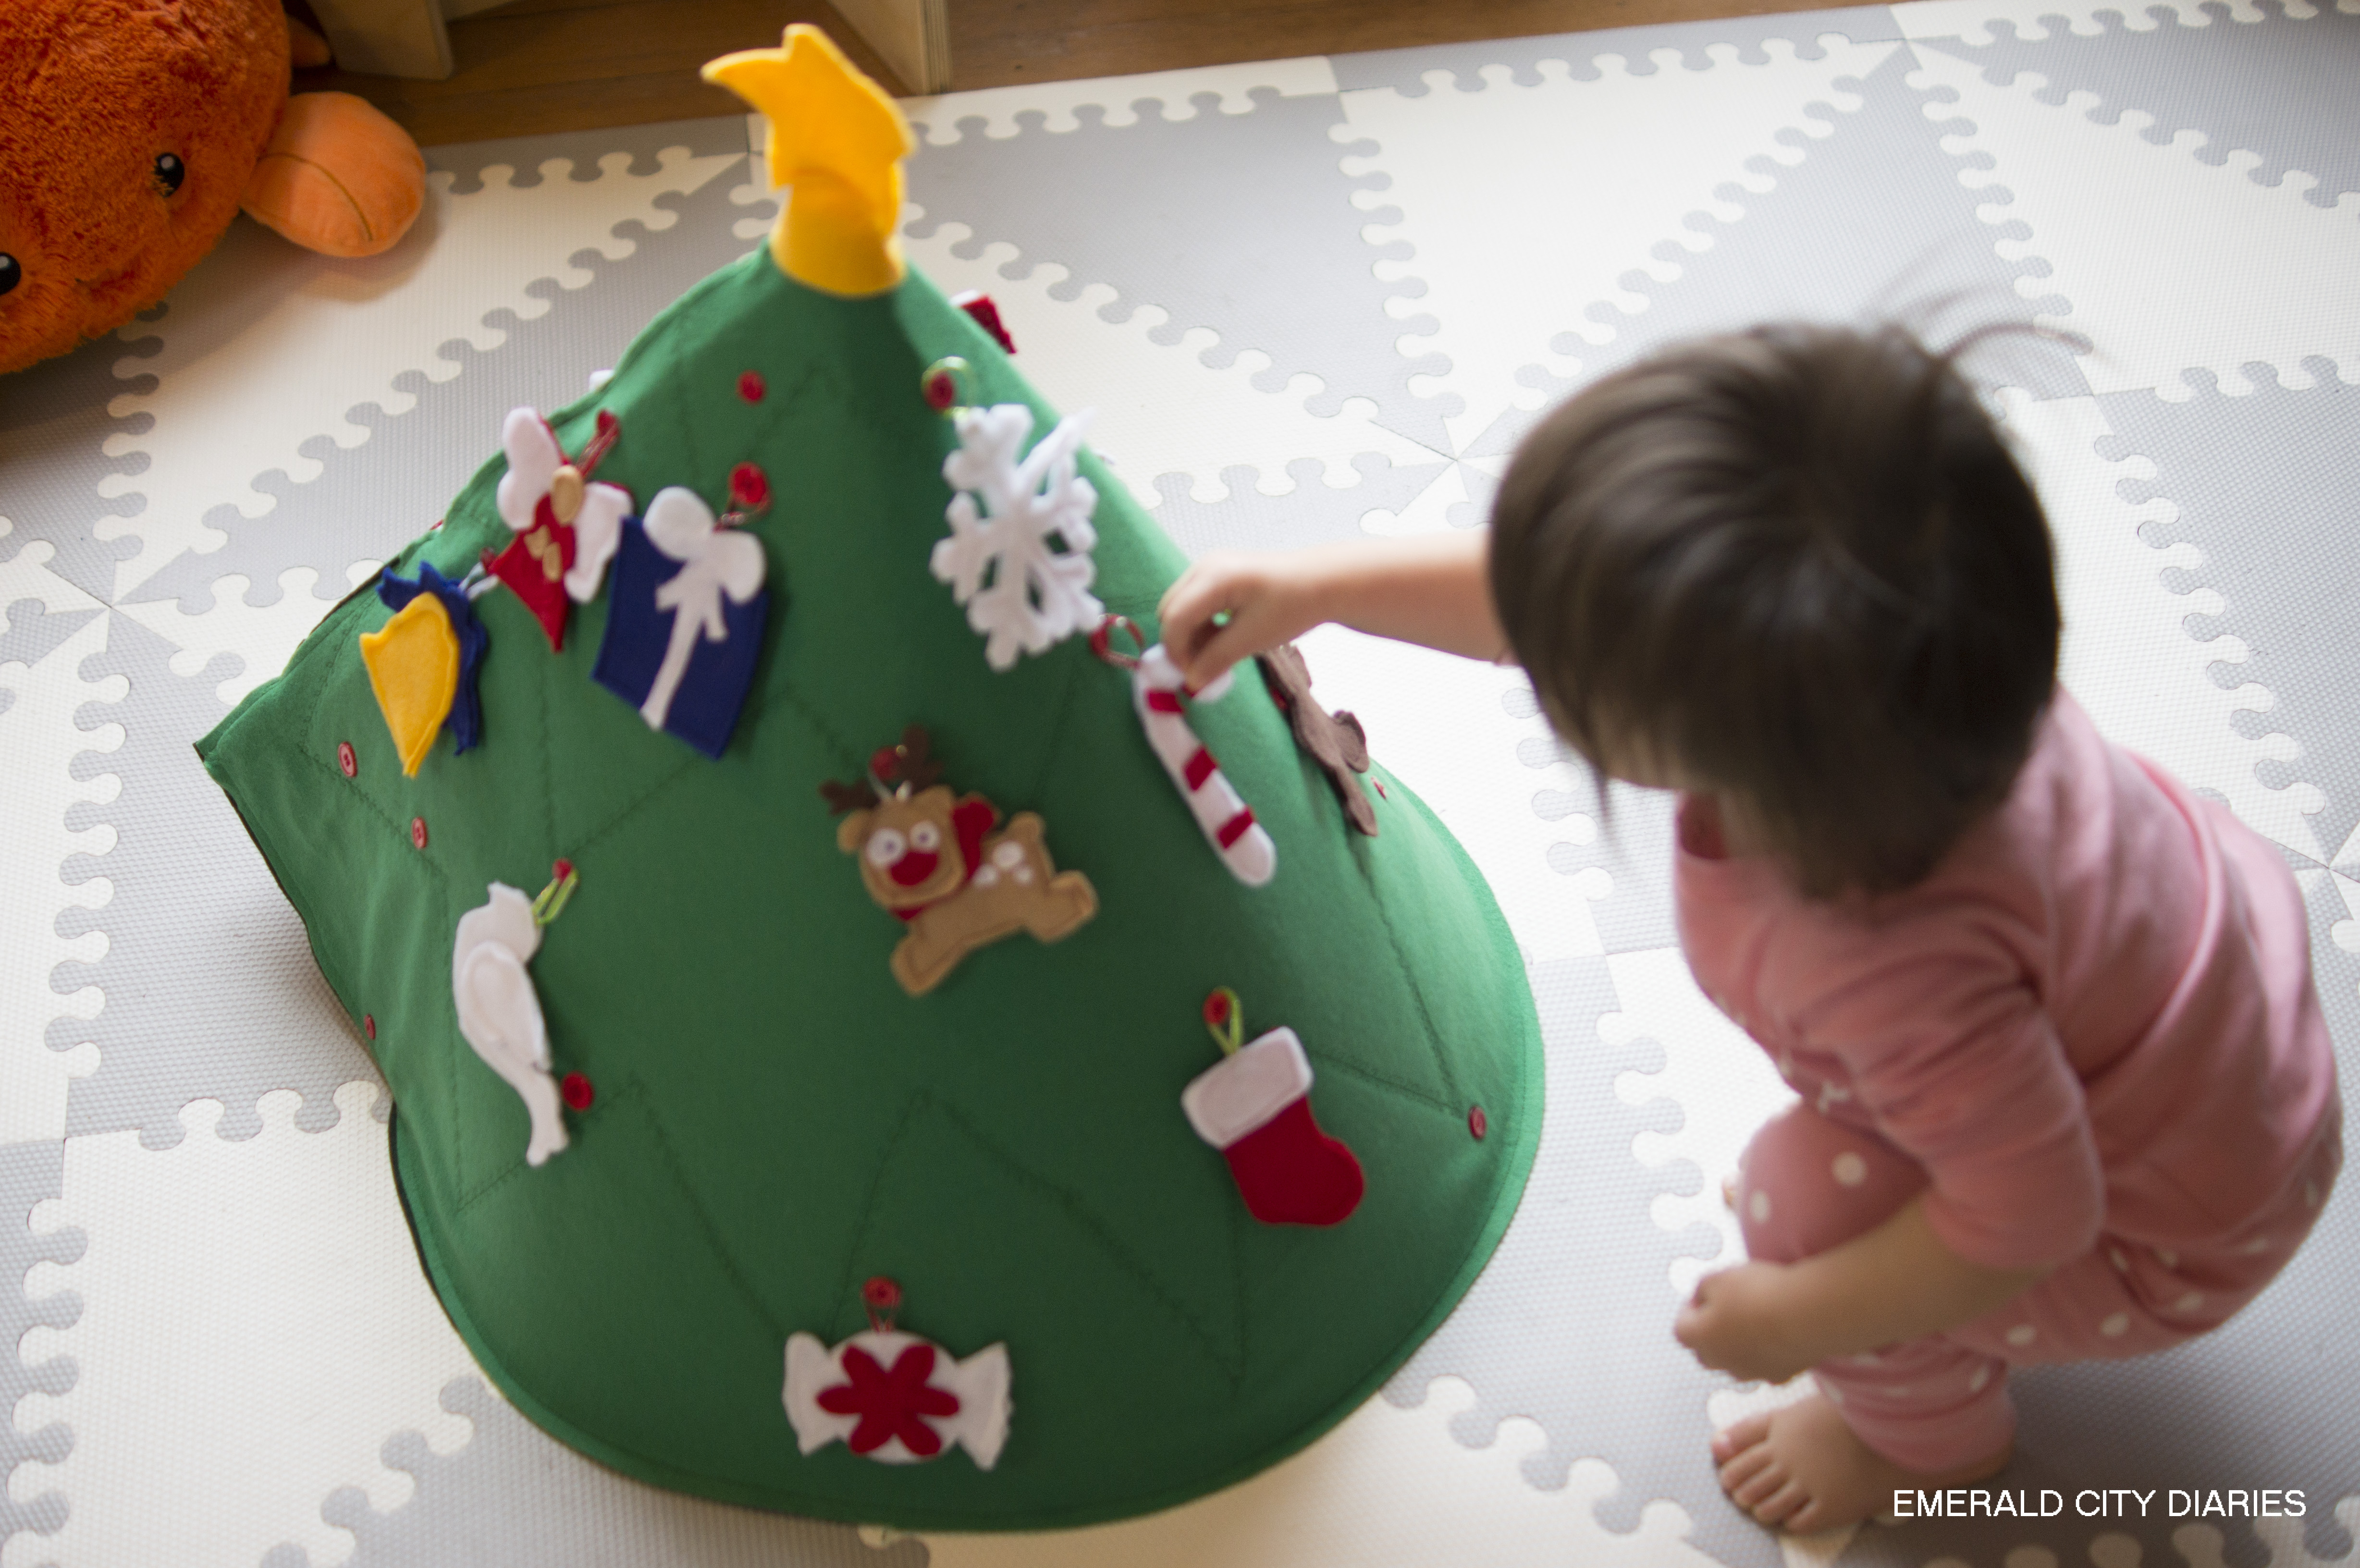
This week I am sharing a felt Christmas tree I made for Eloise. Like most toddlers, Eloise is busy & curious, so a Christmas tree in the middle of the living room sort of seems like a disaster waiting to happen. The idea of not having a tree for these toddler years is out of the question (I LOVE having a tree!) so I thought I could make something to at least distract her a little bit. And who knows, maybe it will keep her from playing with our real tree? #wishfulthinking
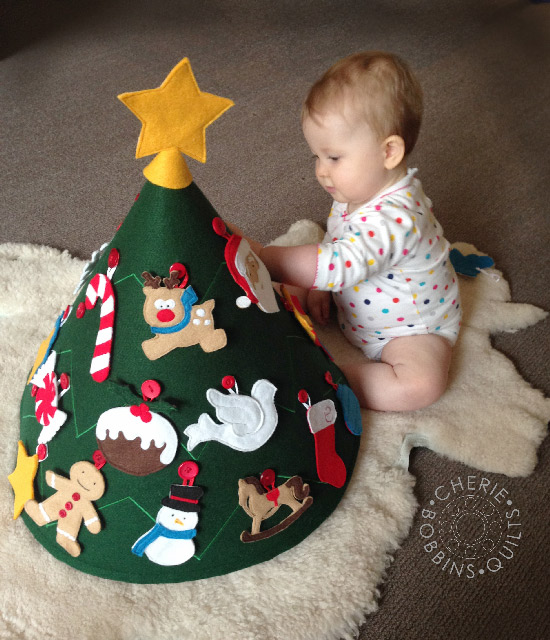
{original Pinterest link – Felt Tree}
Supplies:
- Felt (assorted, see details below)
- 1 yard stiff felt (I bought dark green premium felt but it wasn’t stiff enough to completely hold the tree’s shape)
- 1 yard fusible fabric stabilizer (to remedy my above problem; I used Pellon Pelted 71F Single-Sided Fusible Ultra Firm Stabilizer)
- 1 yard green felt
- white
- red
- light brown (for Santa’s face, reindeer, etc.)
- dark brown
- blue
- yellow
- red
- Scissors – fabric scissors work best on felt!
- Sewing machine
- Buttons – 28 + 4 assorted red buttons (I bought a package of assorted buttons at JoAnn’s)
- Ribbon – thin ribbon (1/8 in.) works best for attaching to the tops of the ornaments
- Elastic – thin elastic for securing the ends together (to form the tree)
- Ornament templates – see here
- Needle
- Thread
- Iron
For this project, I basically followed the original tutorial. I had to tweak it a bit since the measurements were in metric, but for the most part it worked!
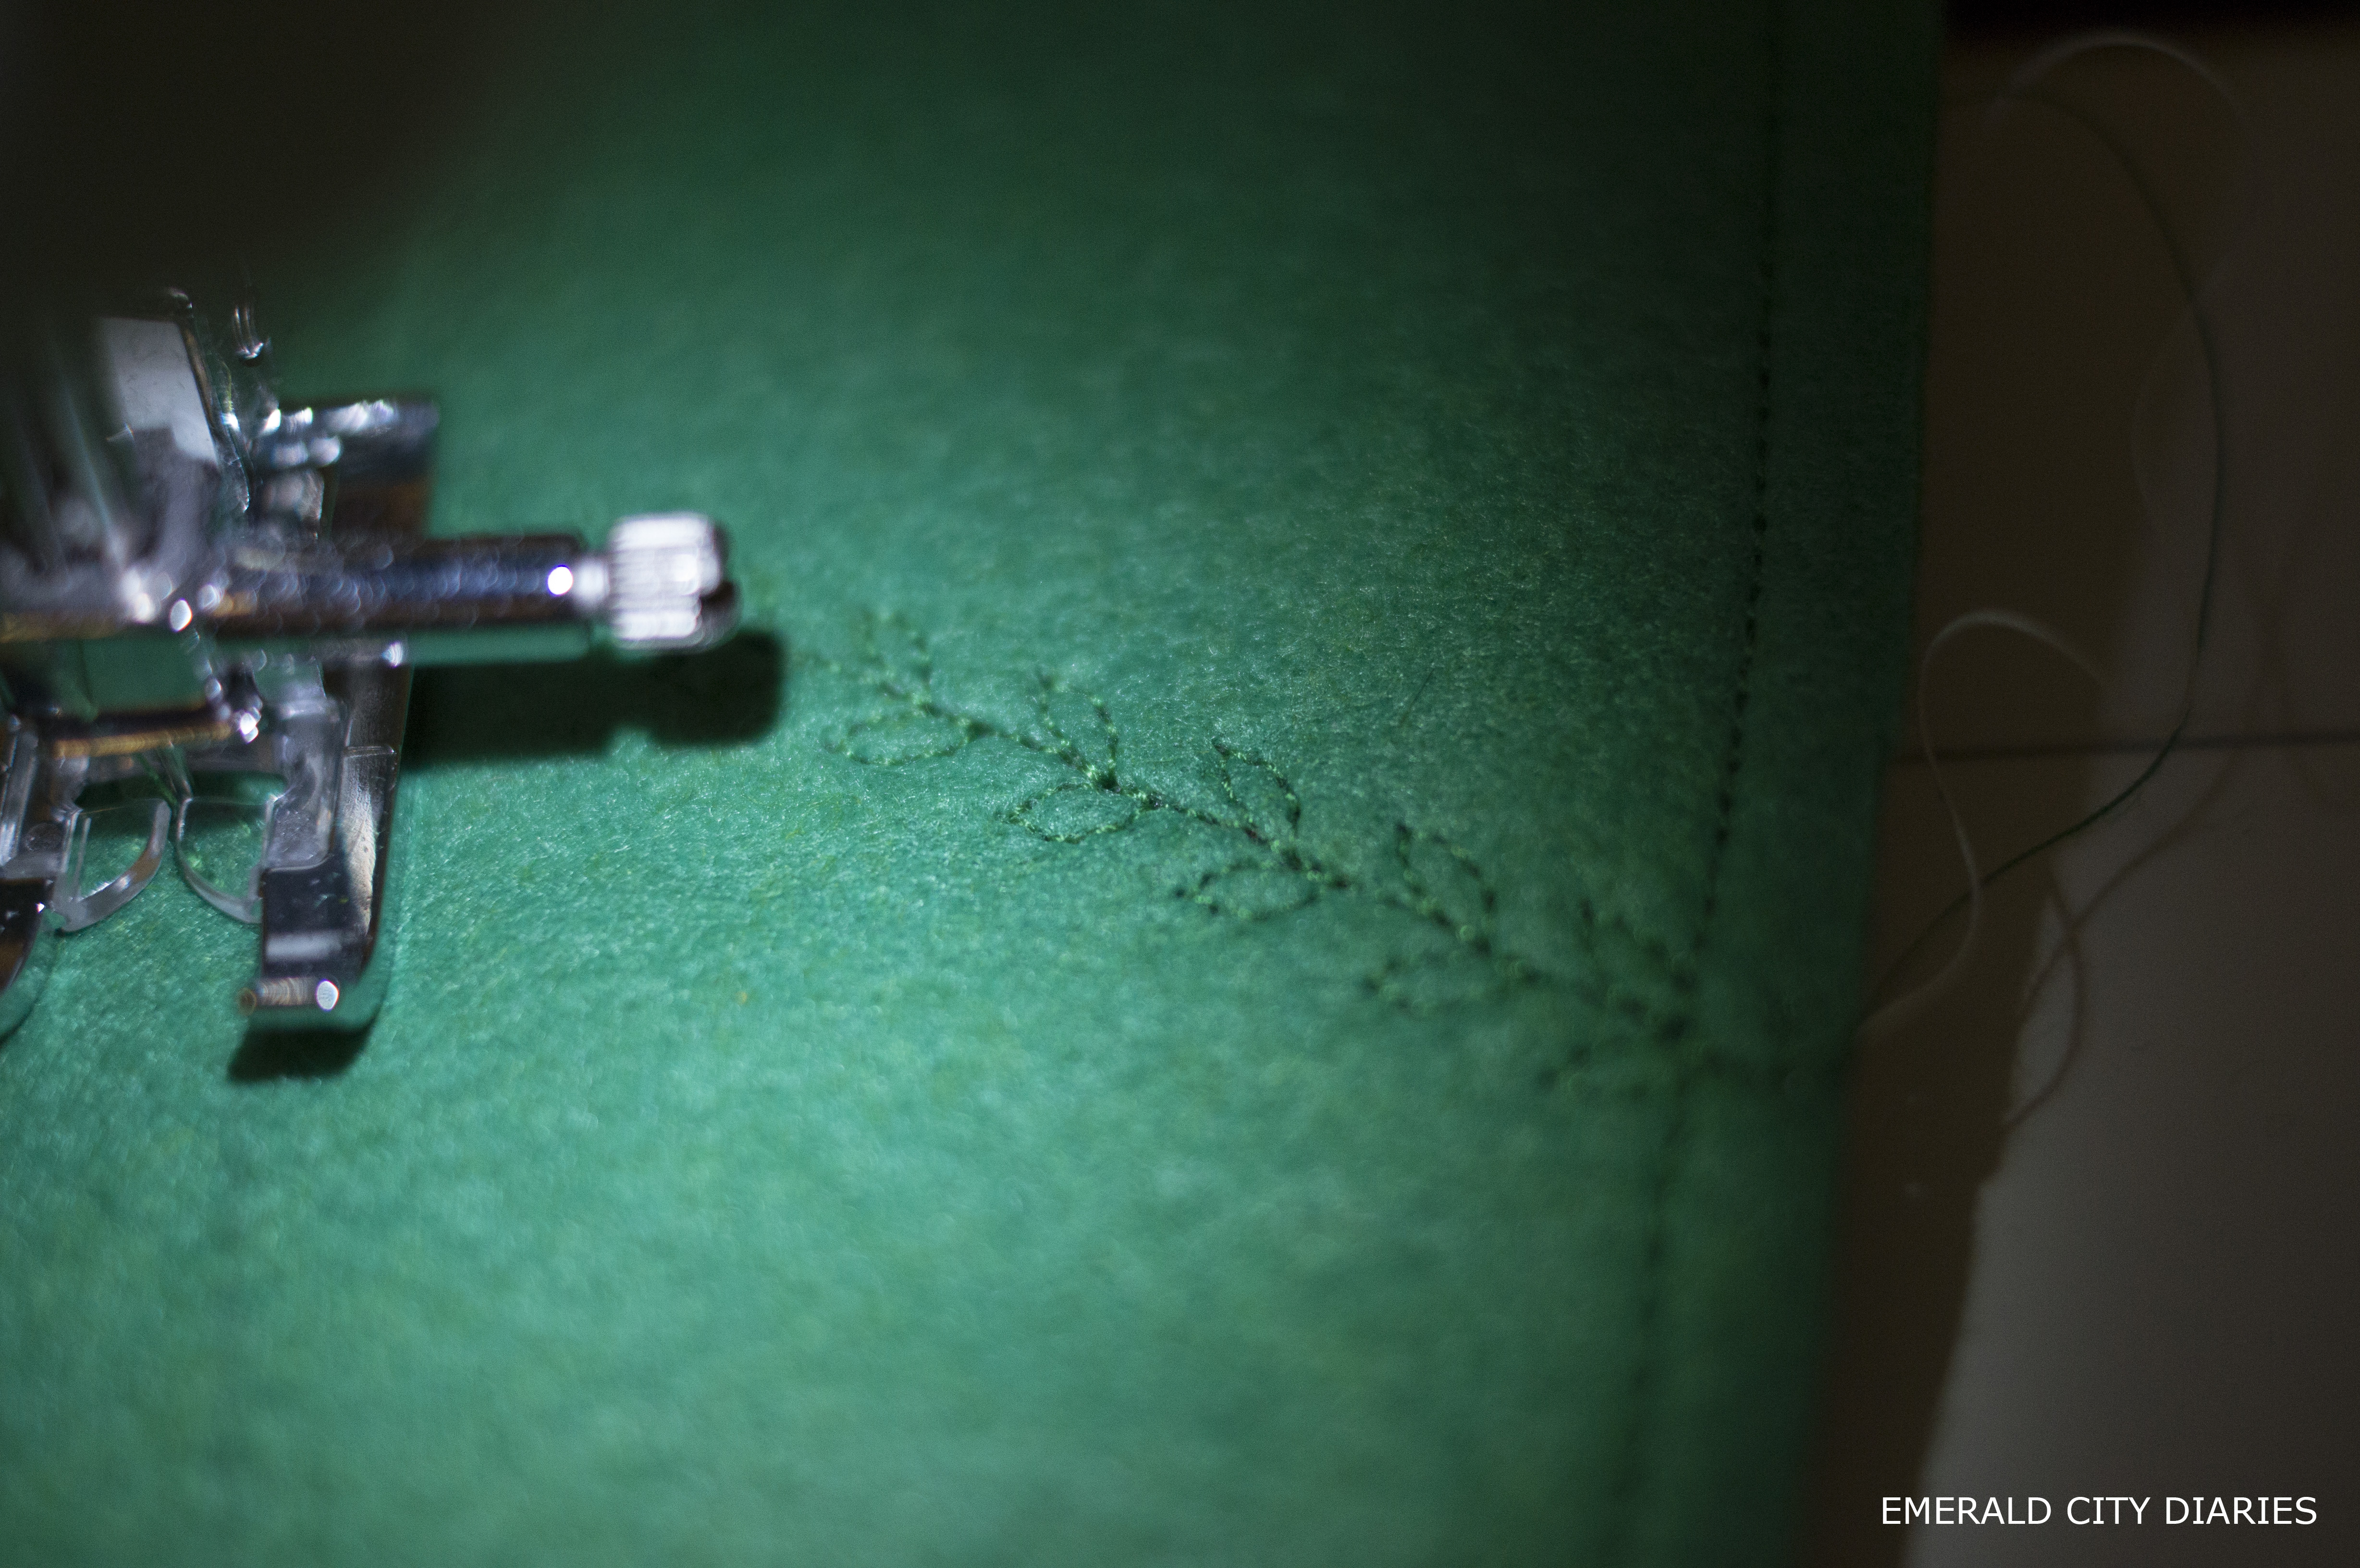
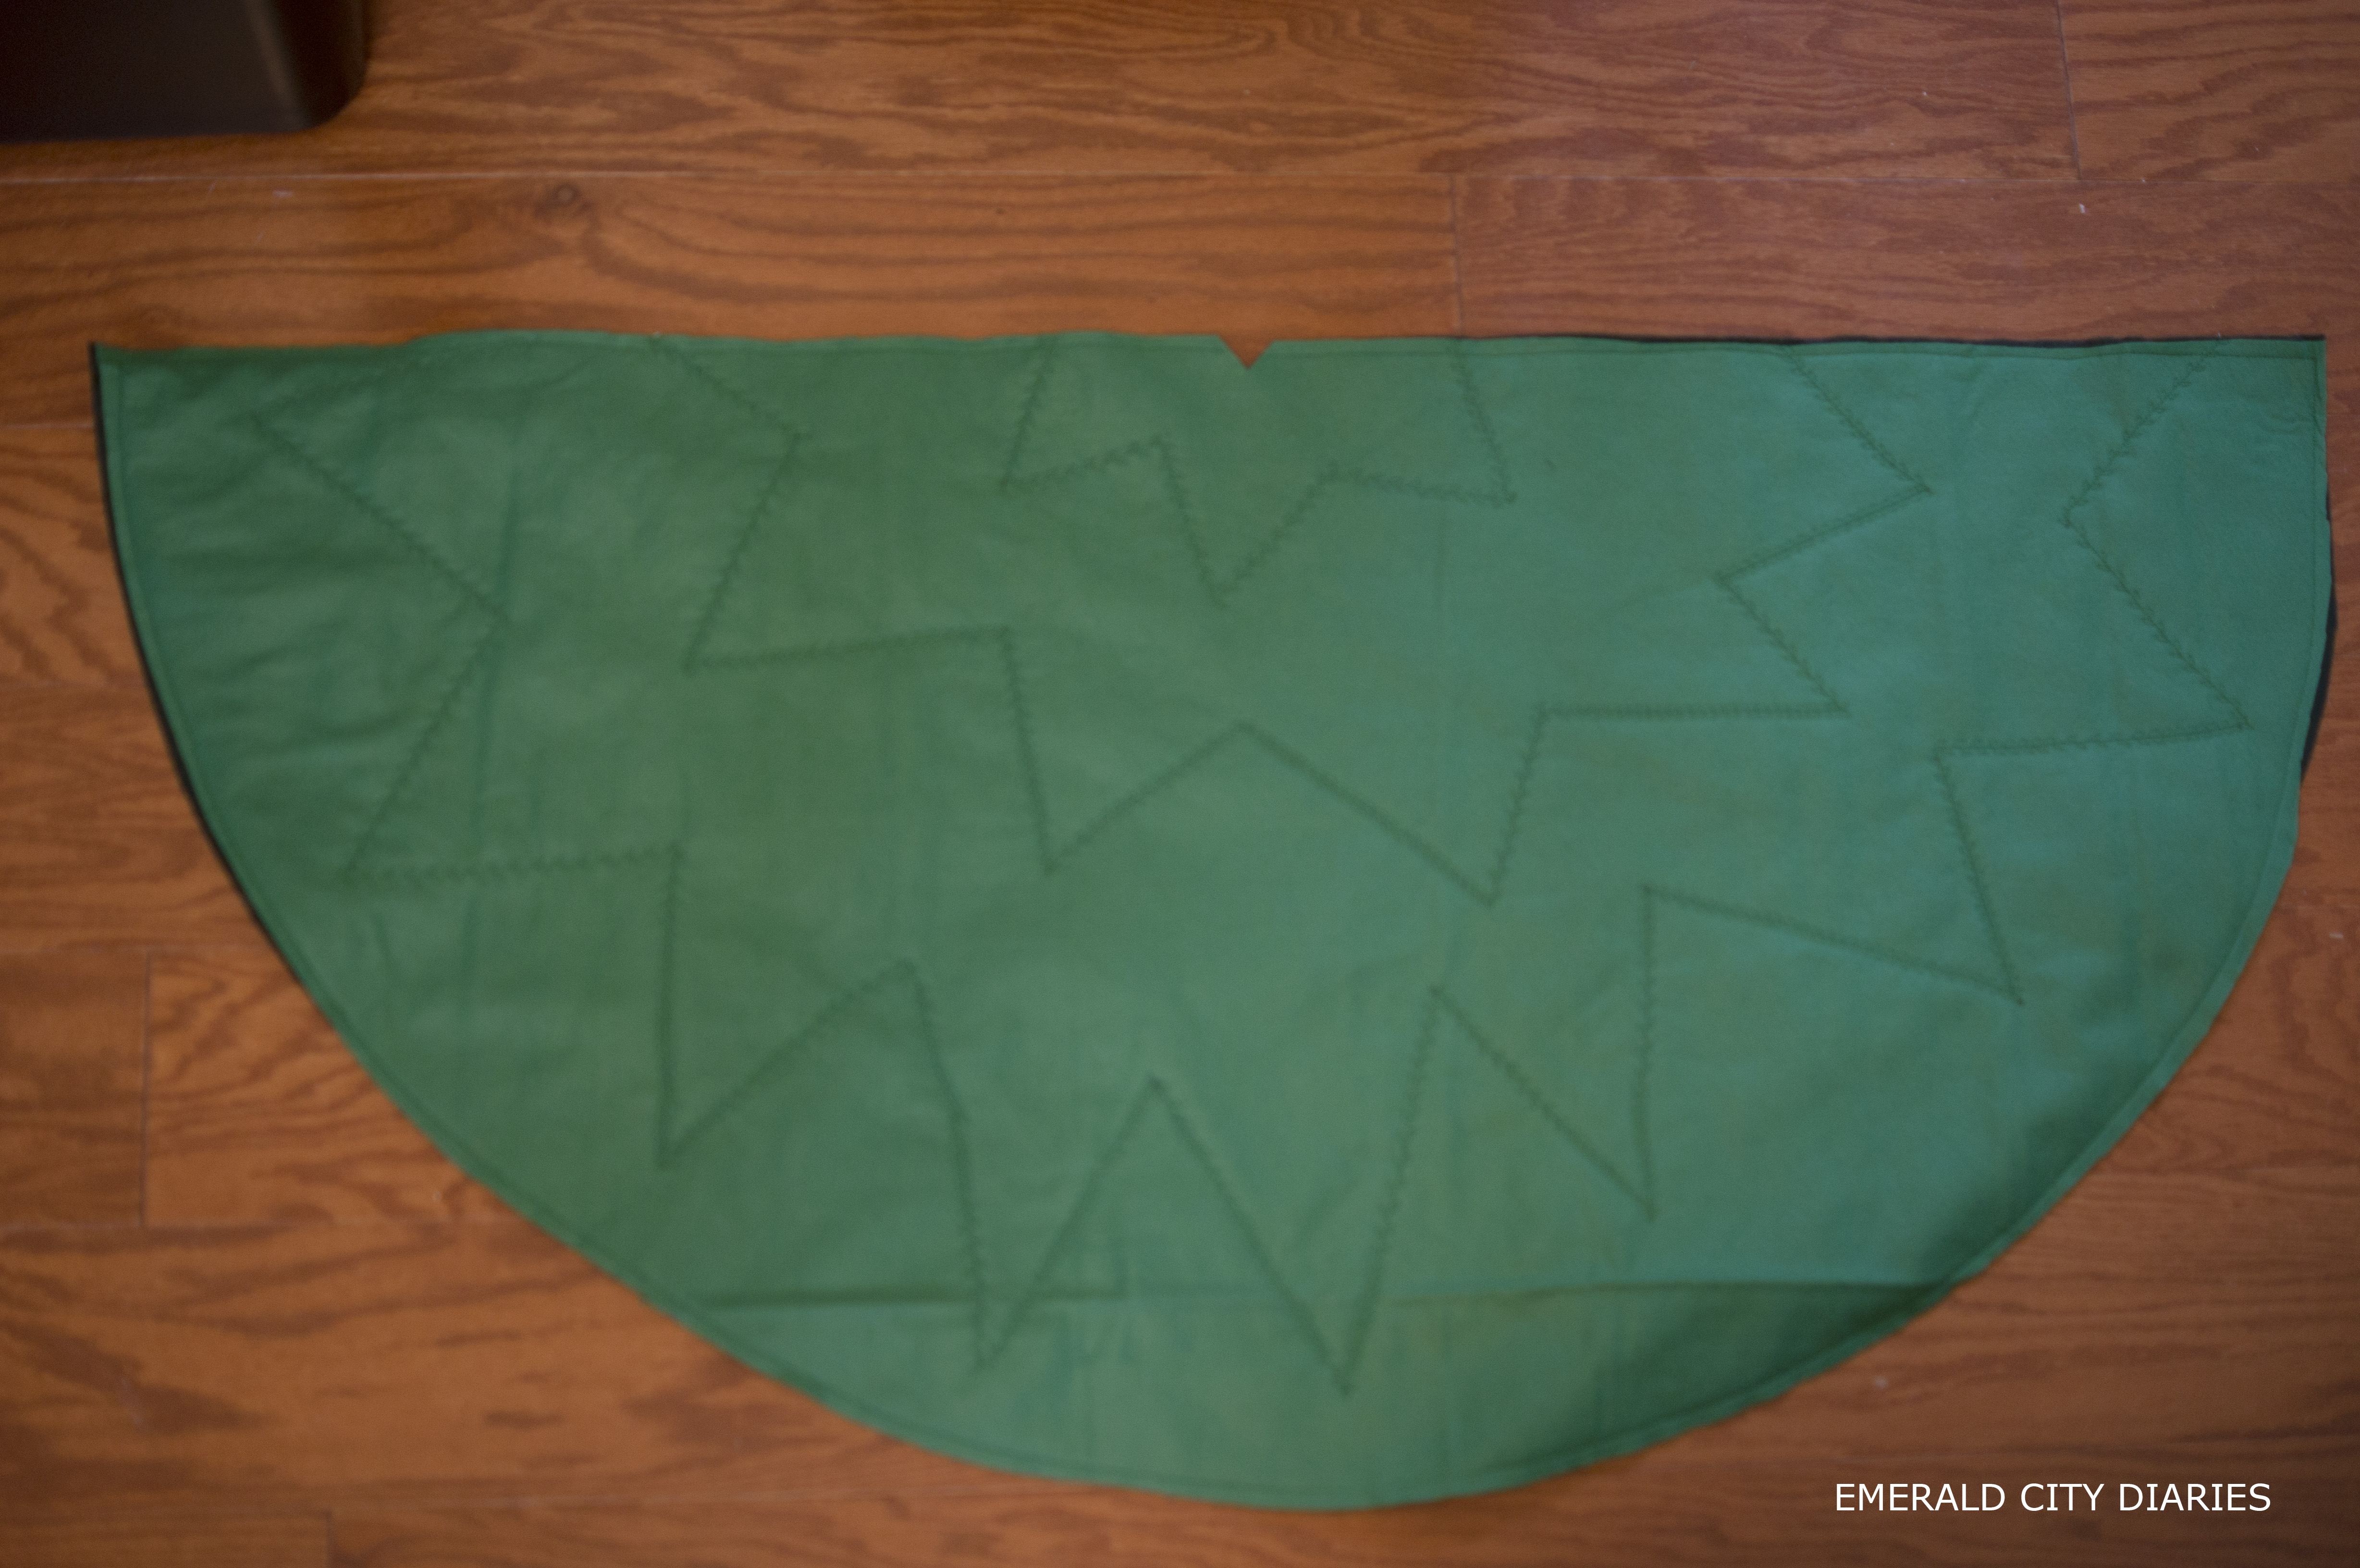
First, I cut the felt for the tree. I opted to sew the two big pieces of felt together right away. It is cleaner if you follow the original tutorial & wait until all of the stitching is done on the top of the tree, but oh well. I also didn’t have super stiff felt for the underside of my tree.* I didn’t satin stitch the lines on the tree mostly because I didn’t have a double needle for my sewing machine (nor have I ever used one!). I opted to try out one of the fun stitches I have on my machine – the leaves were a nice touch I think!
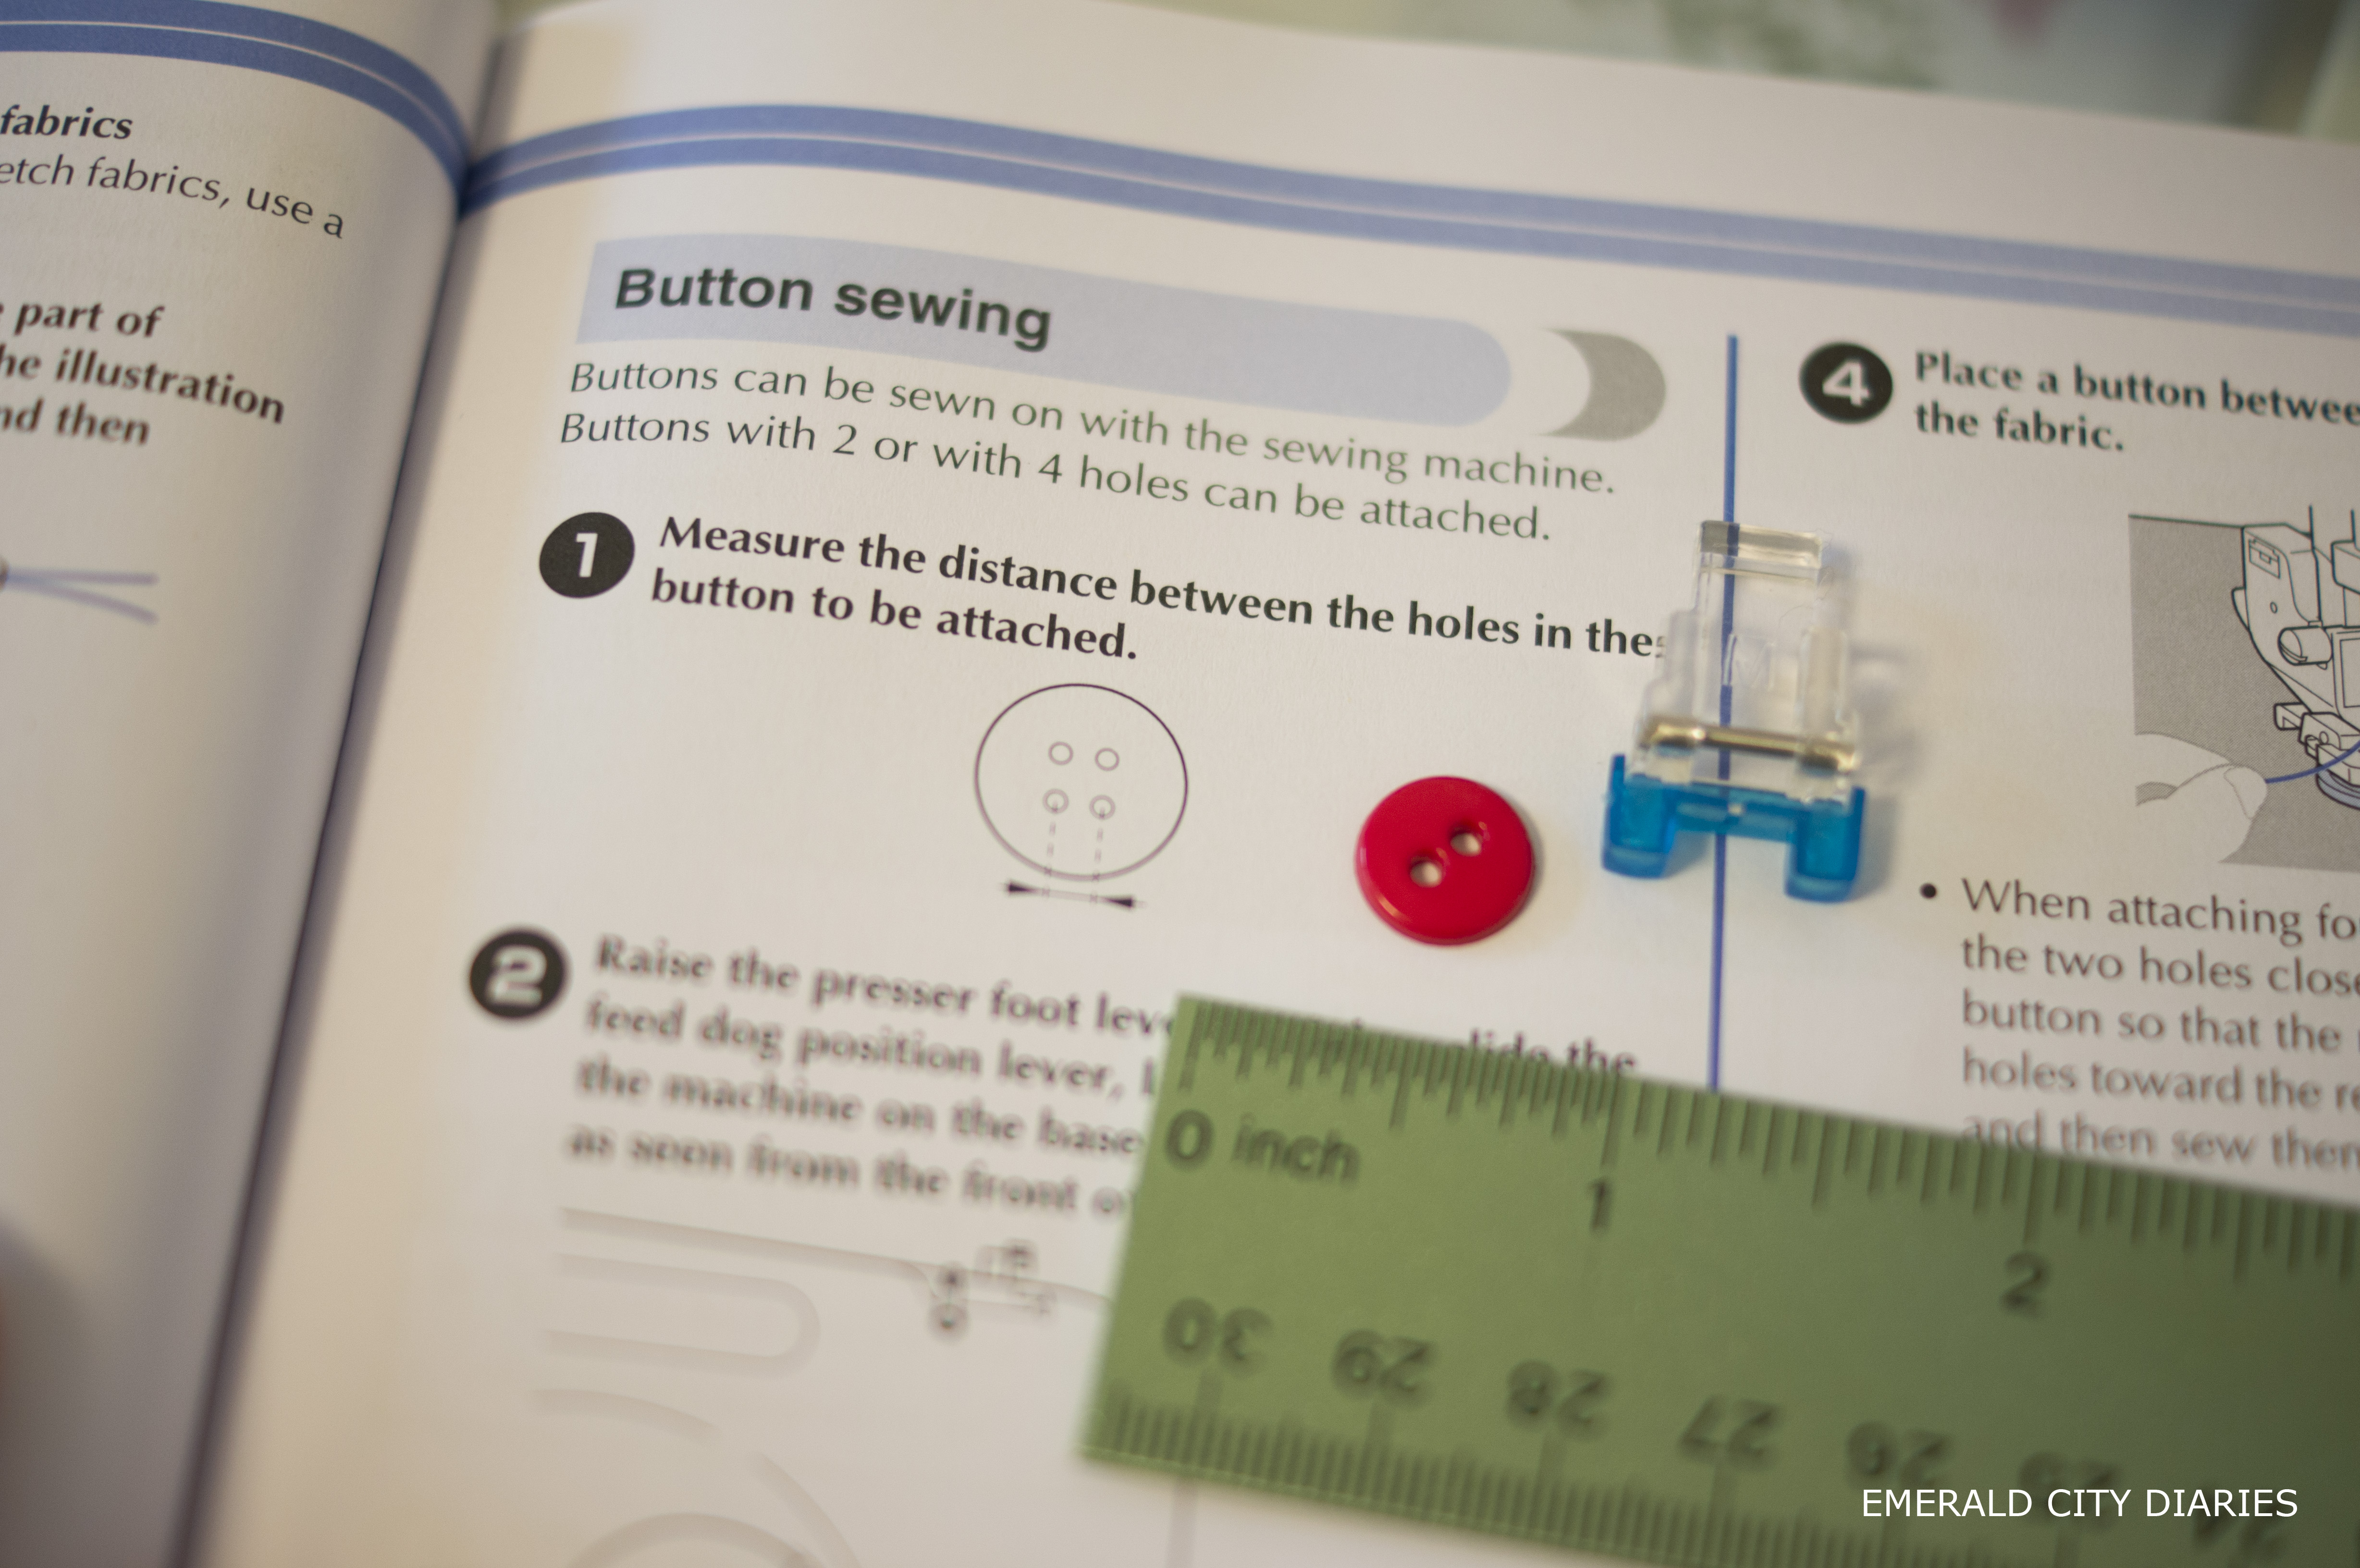
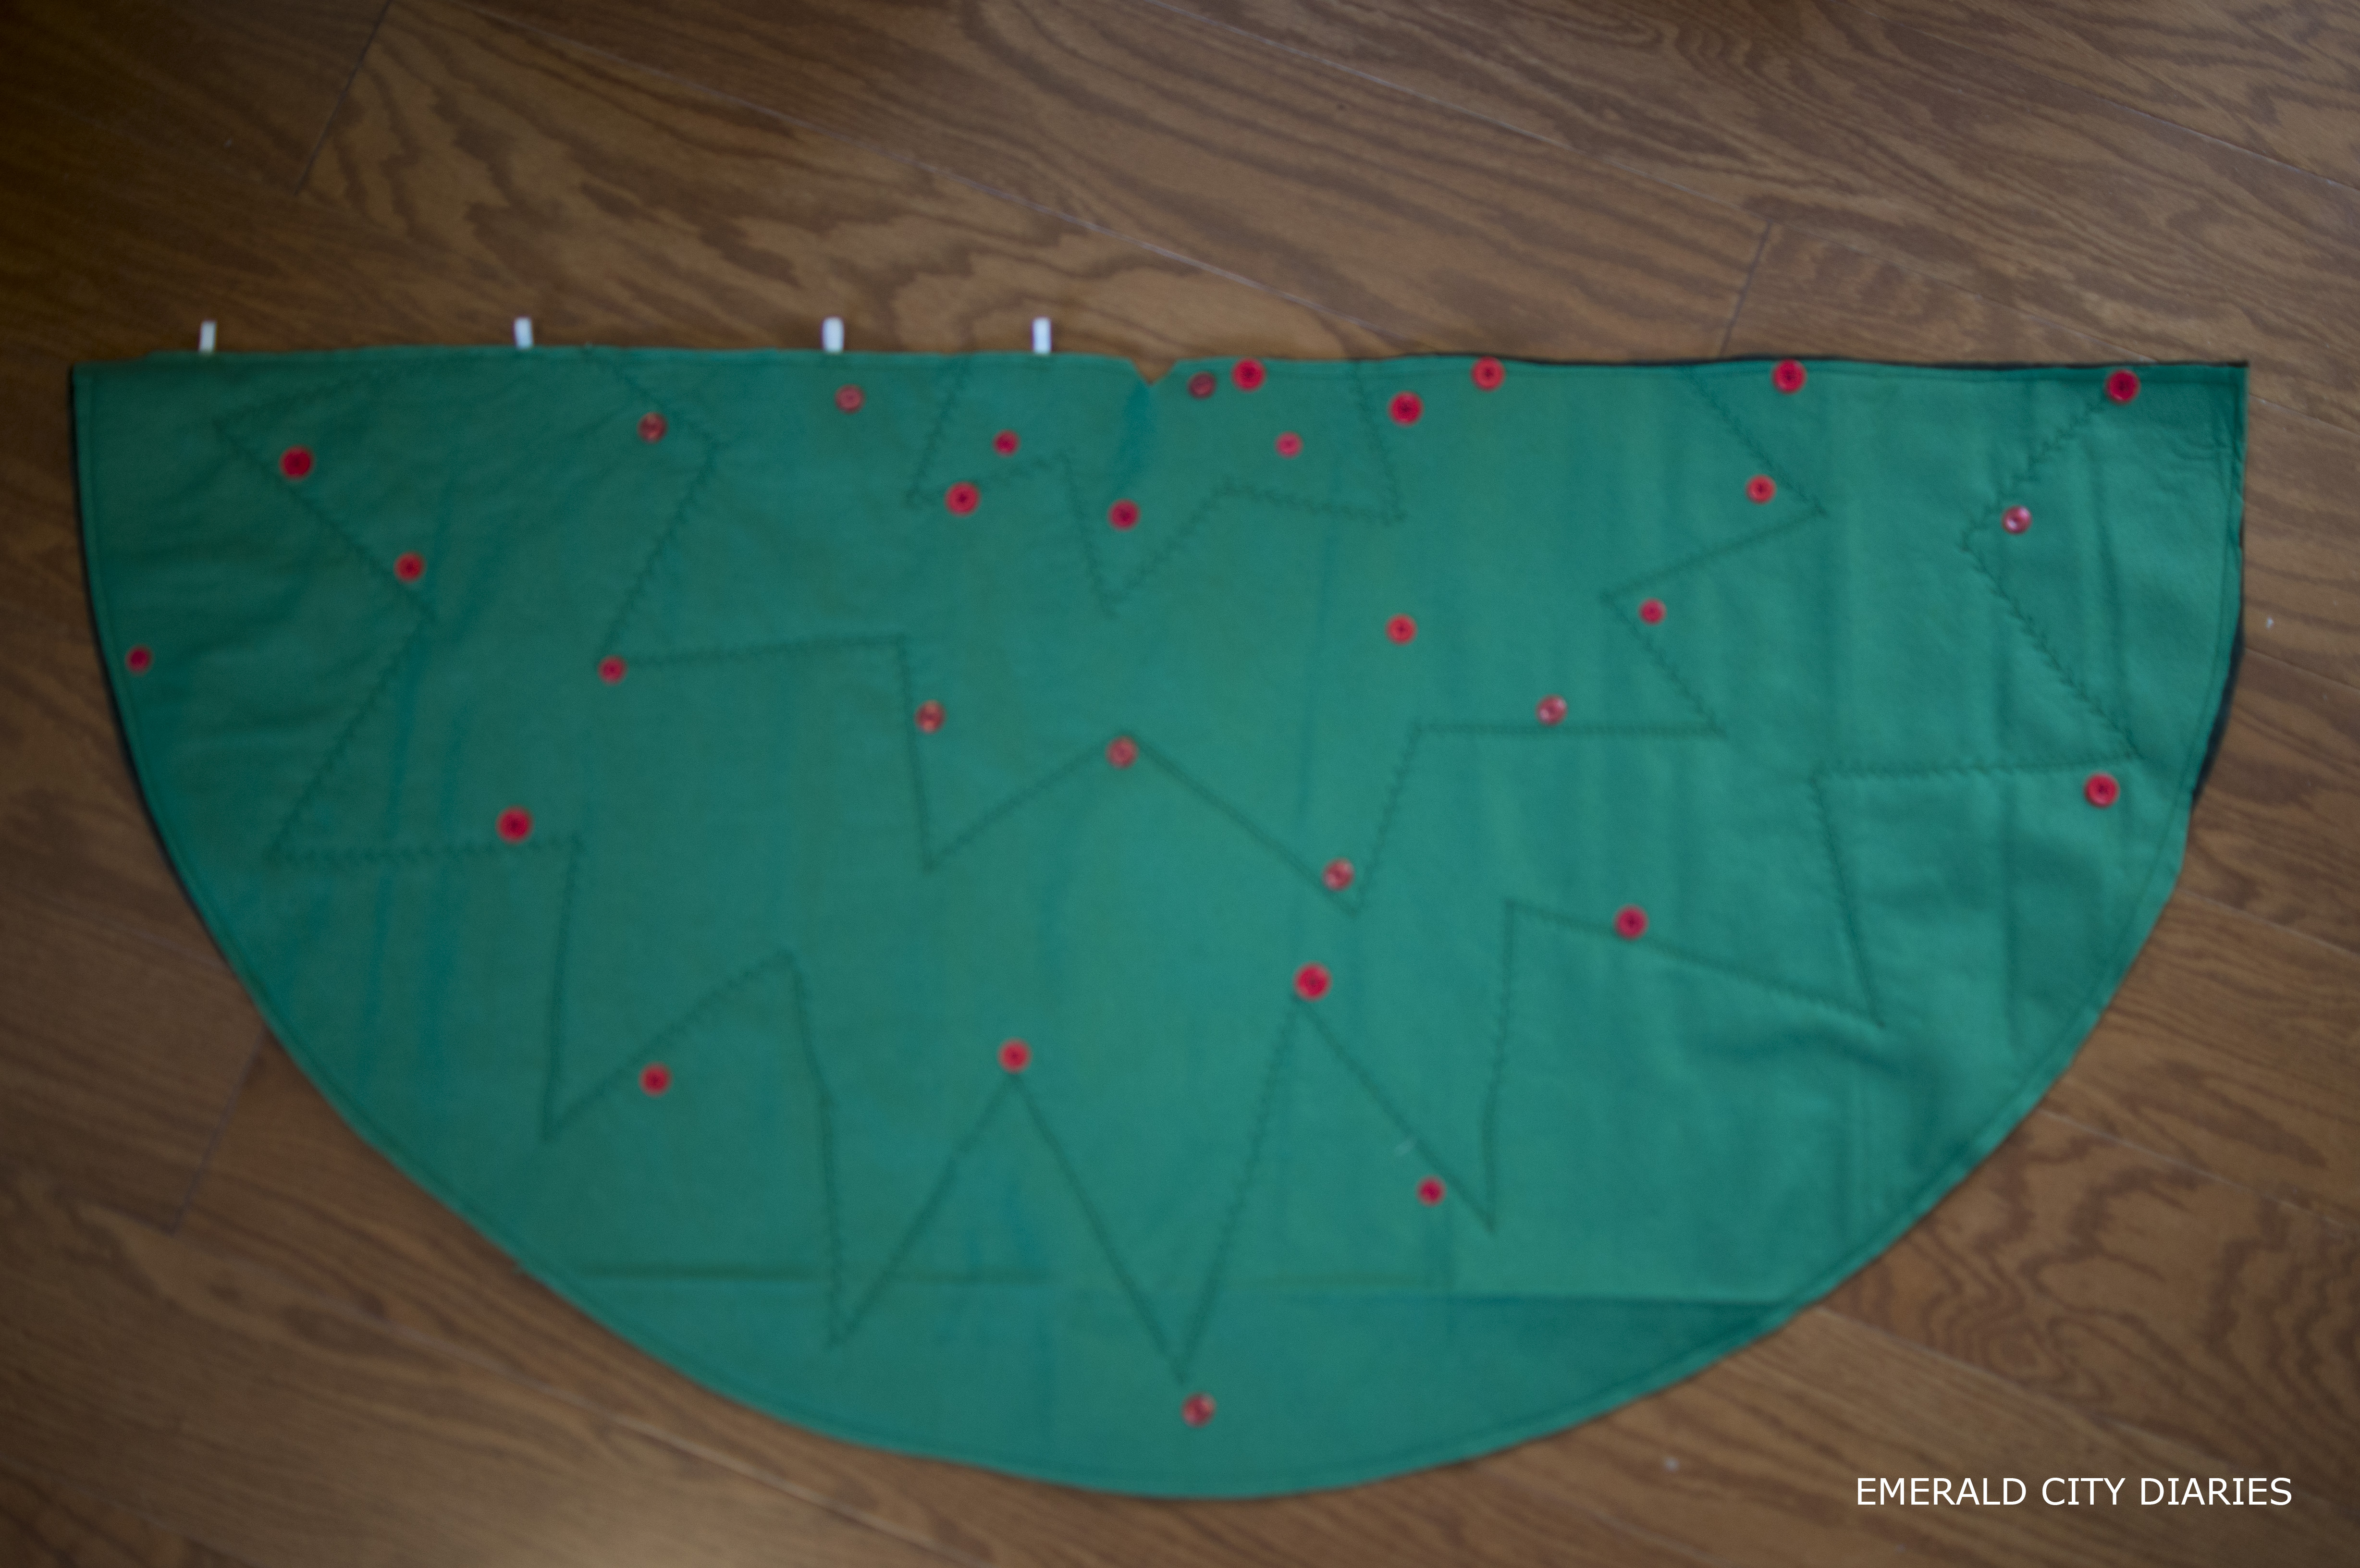
Next, I sewed on the buttons, 24 of them, all over the tree. I tried to scatter them around the tree & looked to the original tutorial for guidance on placement & distance. I also discovered, during this step, that my sewing machine sews on buttons! Yep, you read that right, buttons! And it is the absolute coolest thing I have ever done! Sewing buttons on by hand isn’t hard, but it is time-intensive (at least for me), so this saved me SO much time! Then I added the four buttons along the edge that will button up the tree. And finally I added four elastic loops to the opposite edge.
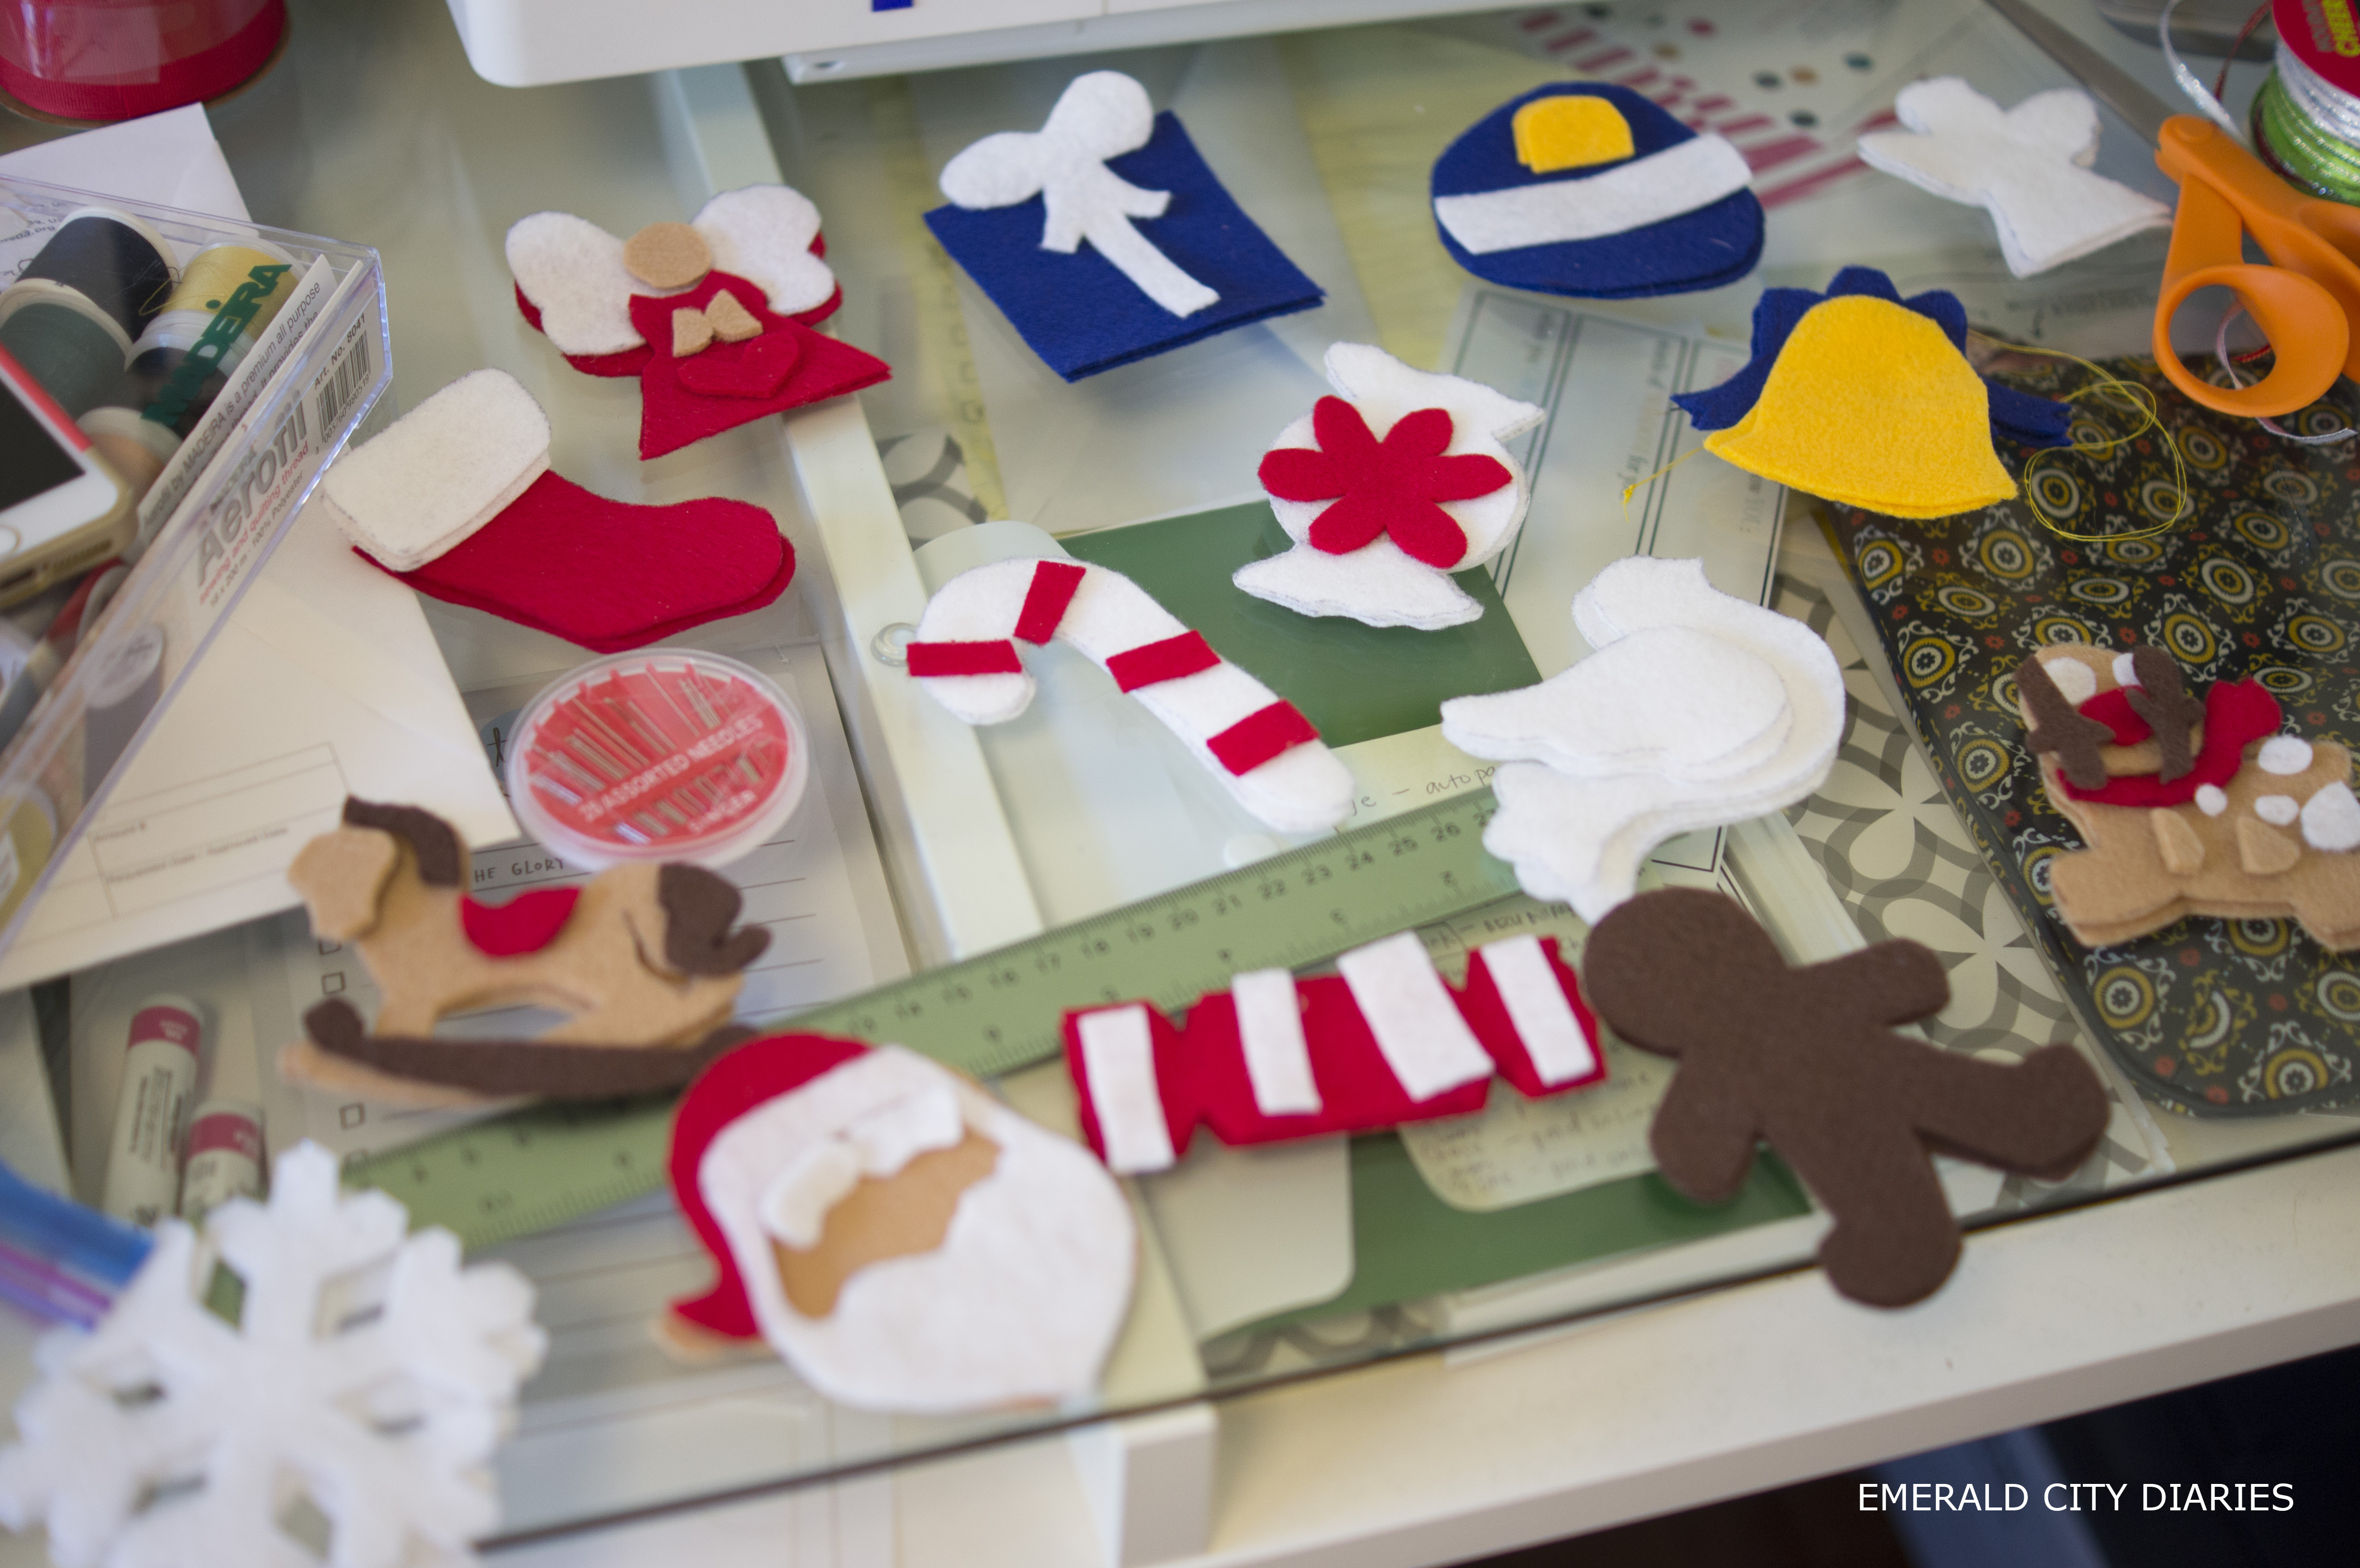
The final step was to make all of the felt ornaments. Not an easy task, but the entire point, right? I first printed out the ornaments (three pages) & cut them out. Next I traced each cut-out on the coordinating felt color (I looked to the original tutorial); I just used a pen, but in hindsight I would have tried a vanishing marker (they are sold in the sewing section). Then I cut out each piece of felt in the color that I needed for each ornament. I eye-balled the smaller pieces & didn’t worry about making anything perfect. I tried to machine sew as much of the ornaments as I could since I find it faster than hand sewing. I also attached the ribbon loop for the top of each ornament with a sewing machine (using a forward & backward stitch, repeated) with the ribbon ends sandwiched in-between the front & the back of each ornament piece.
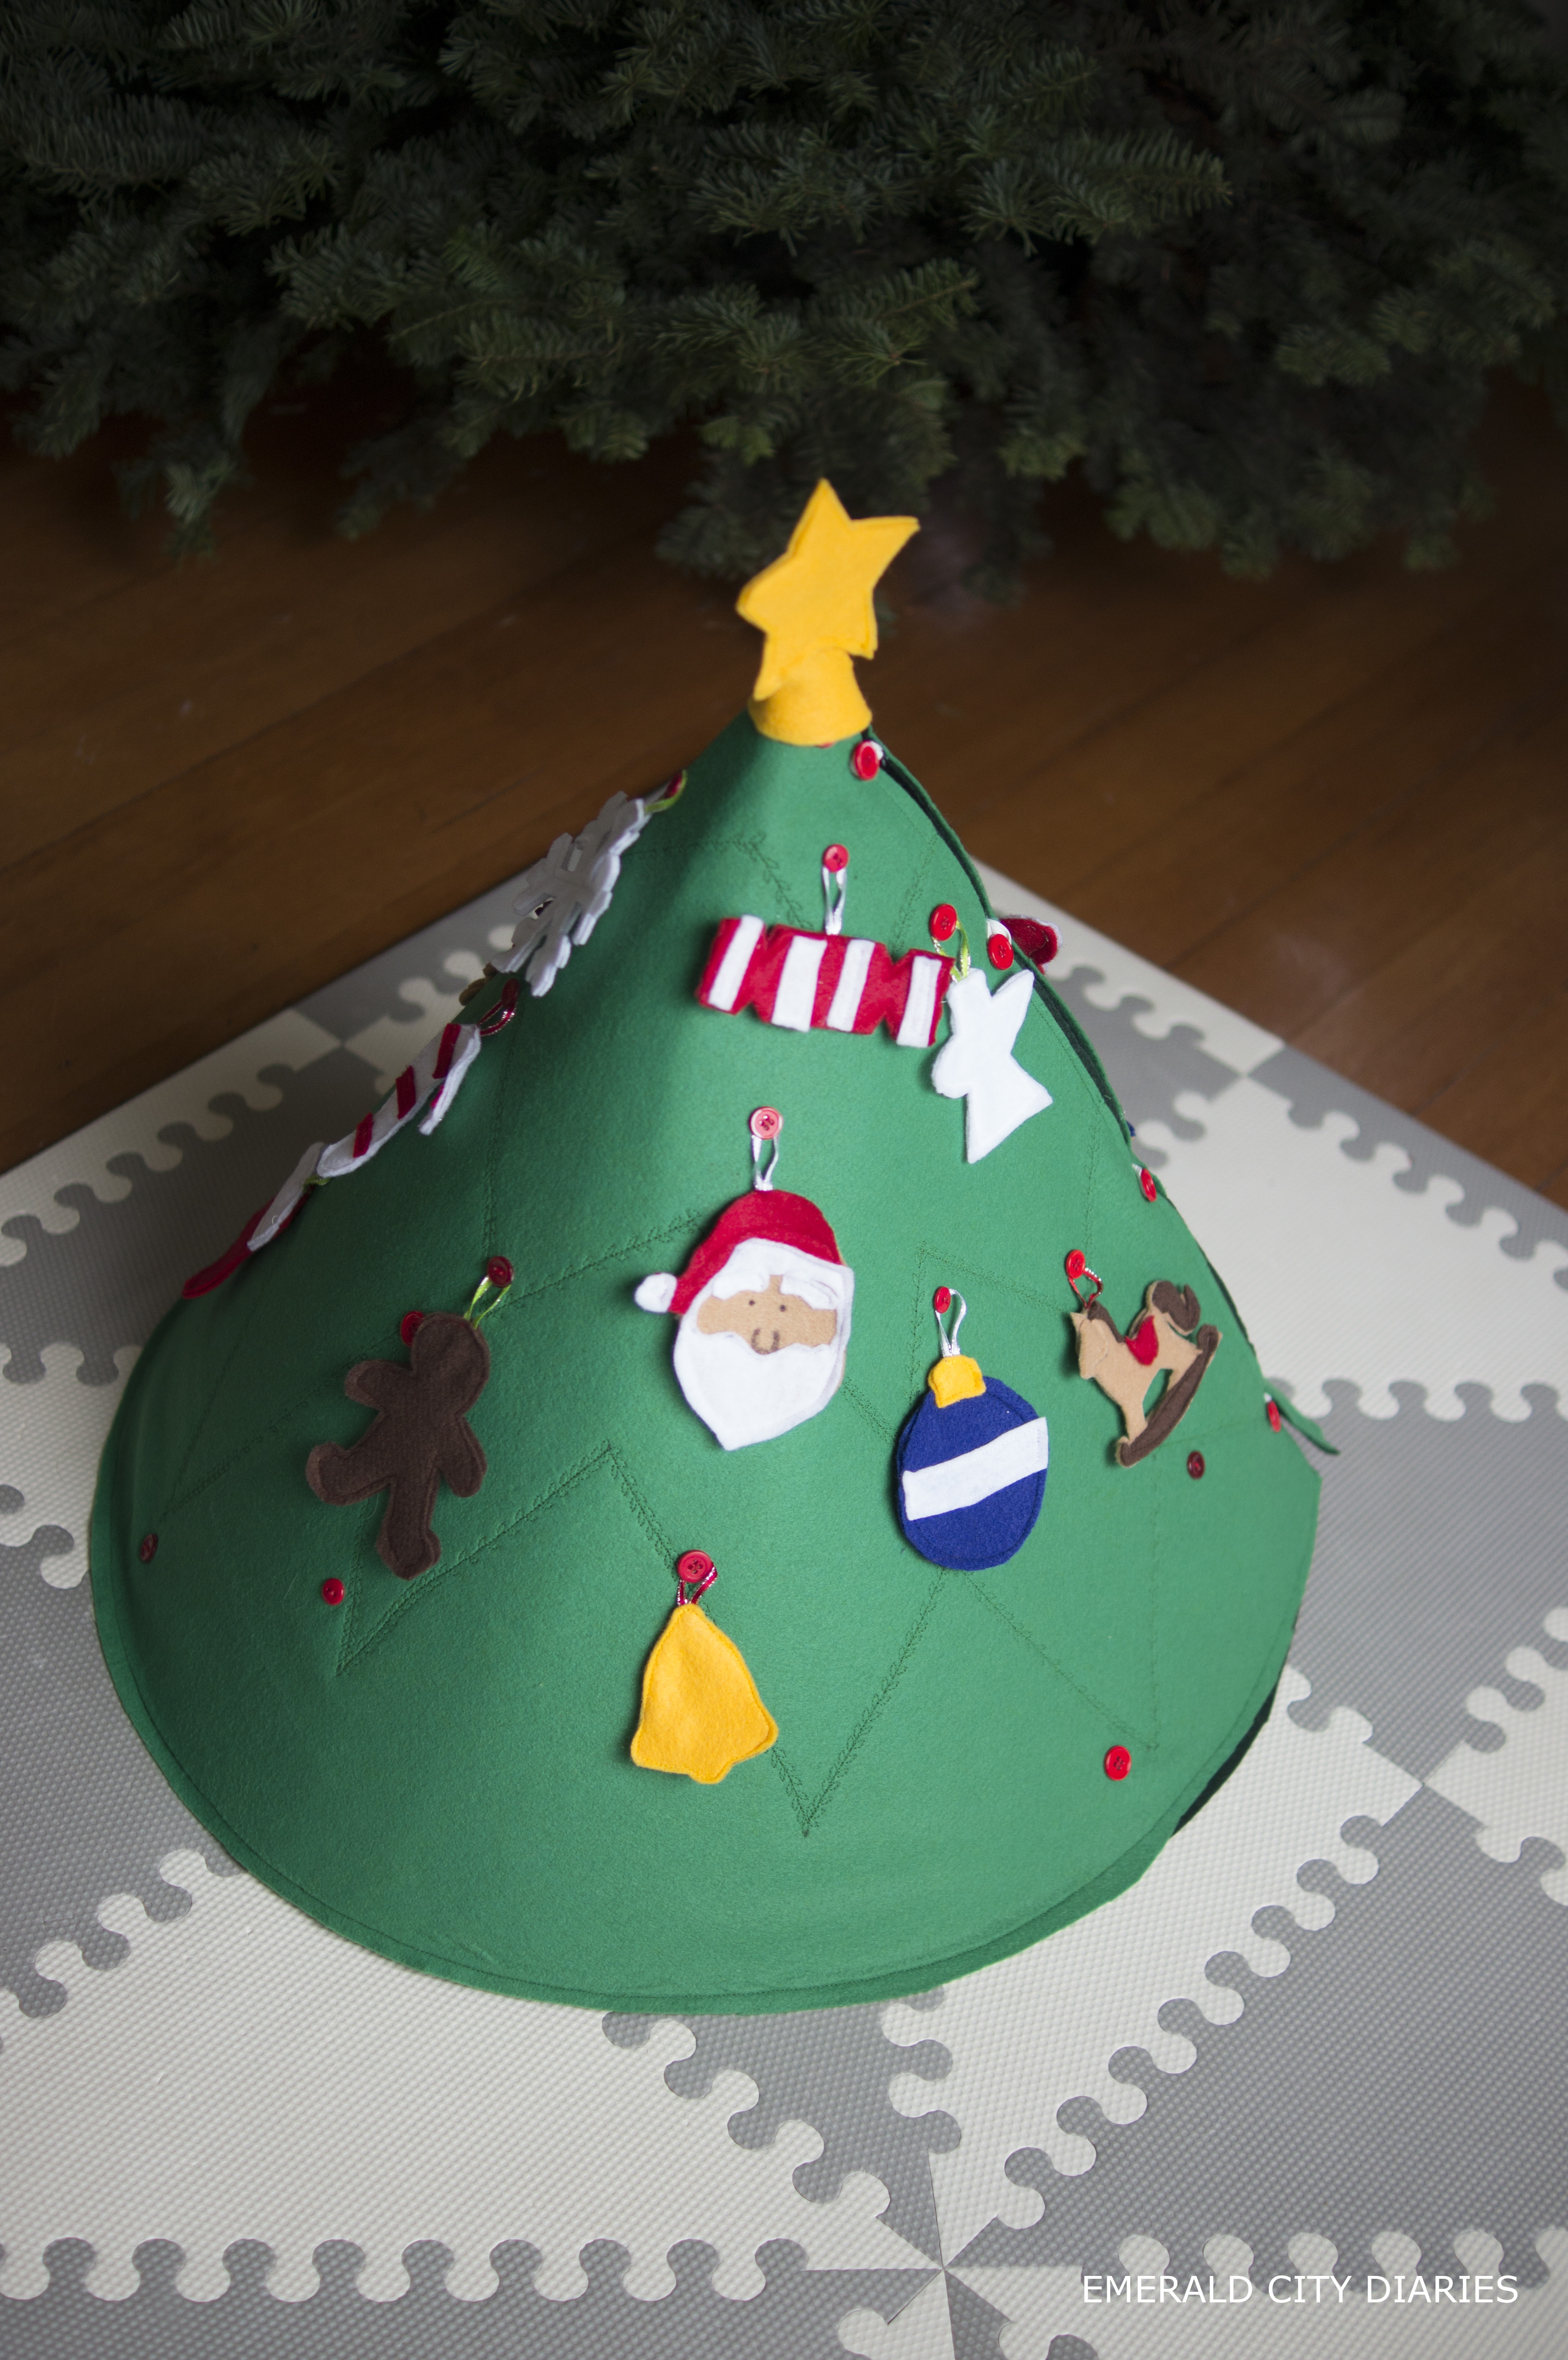
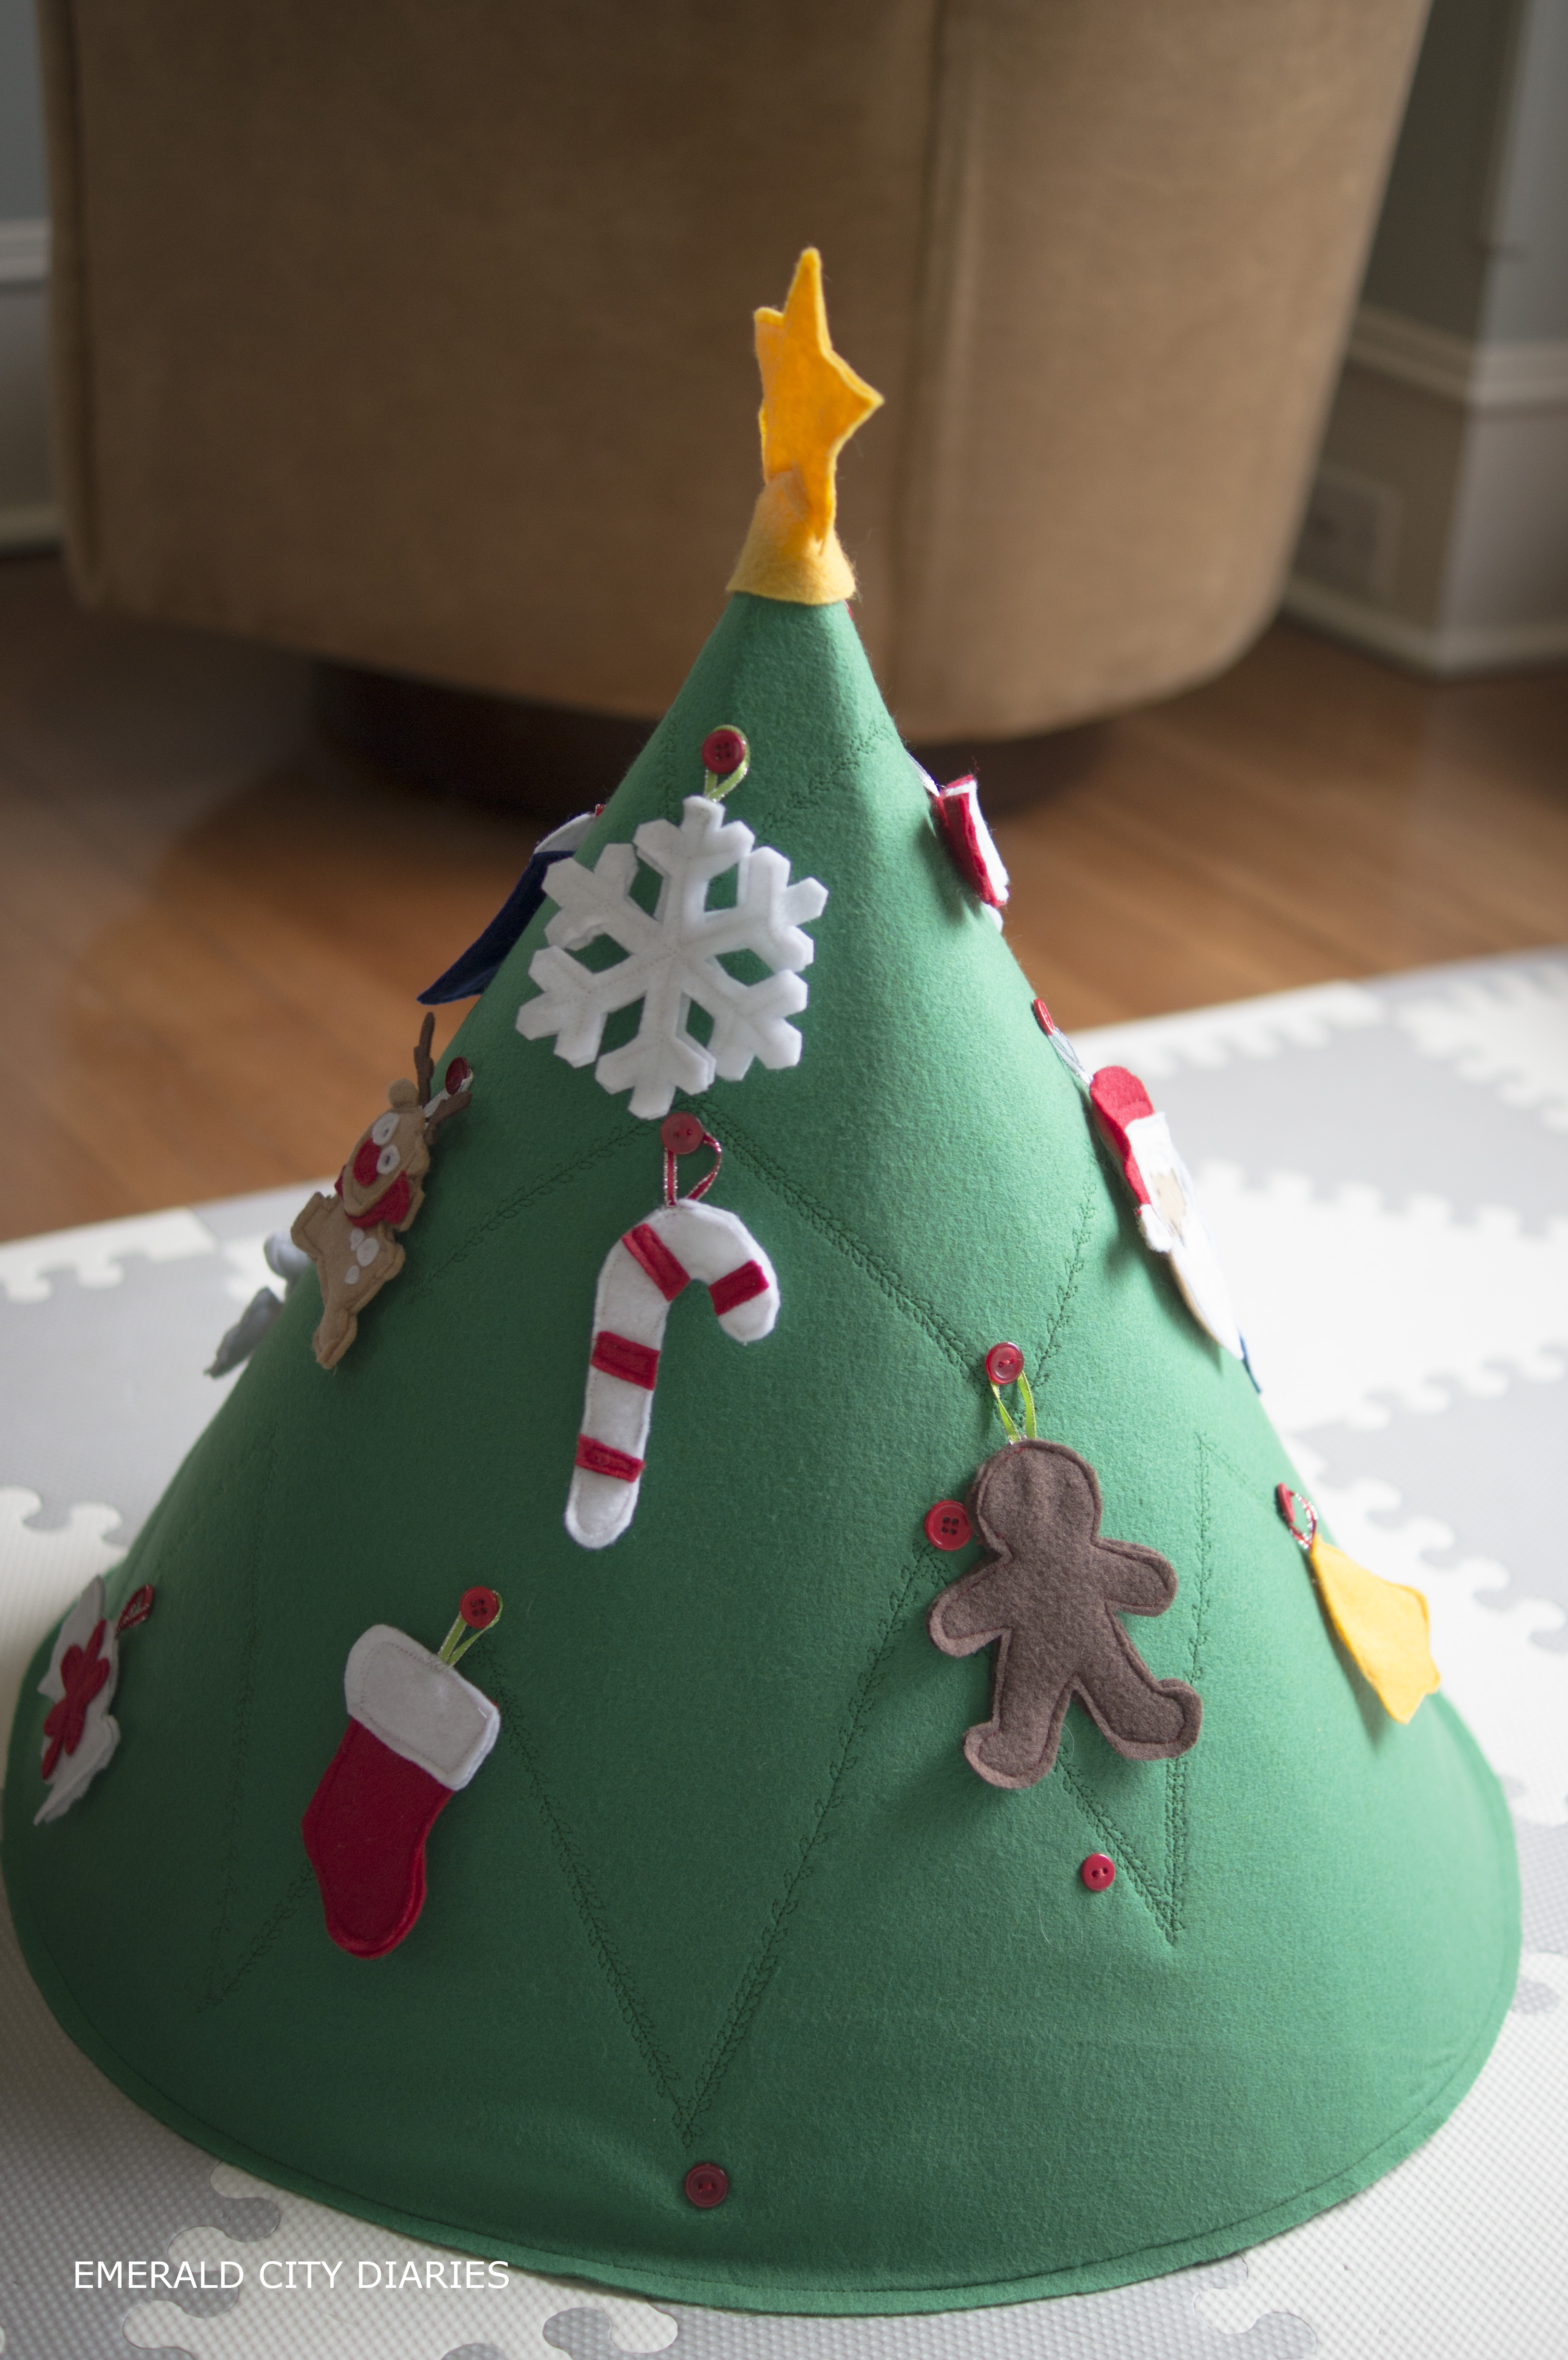
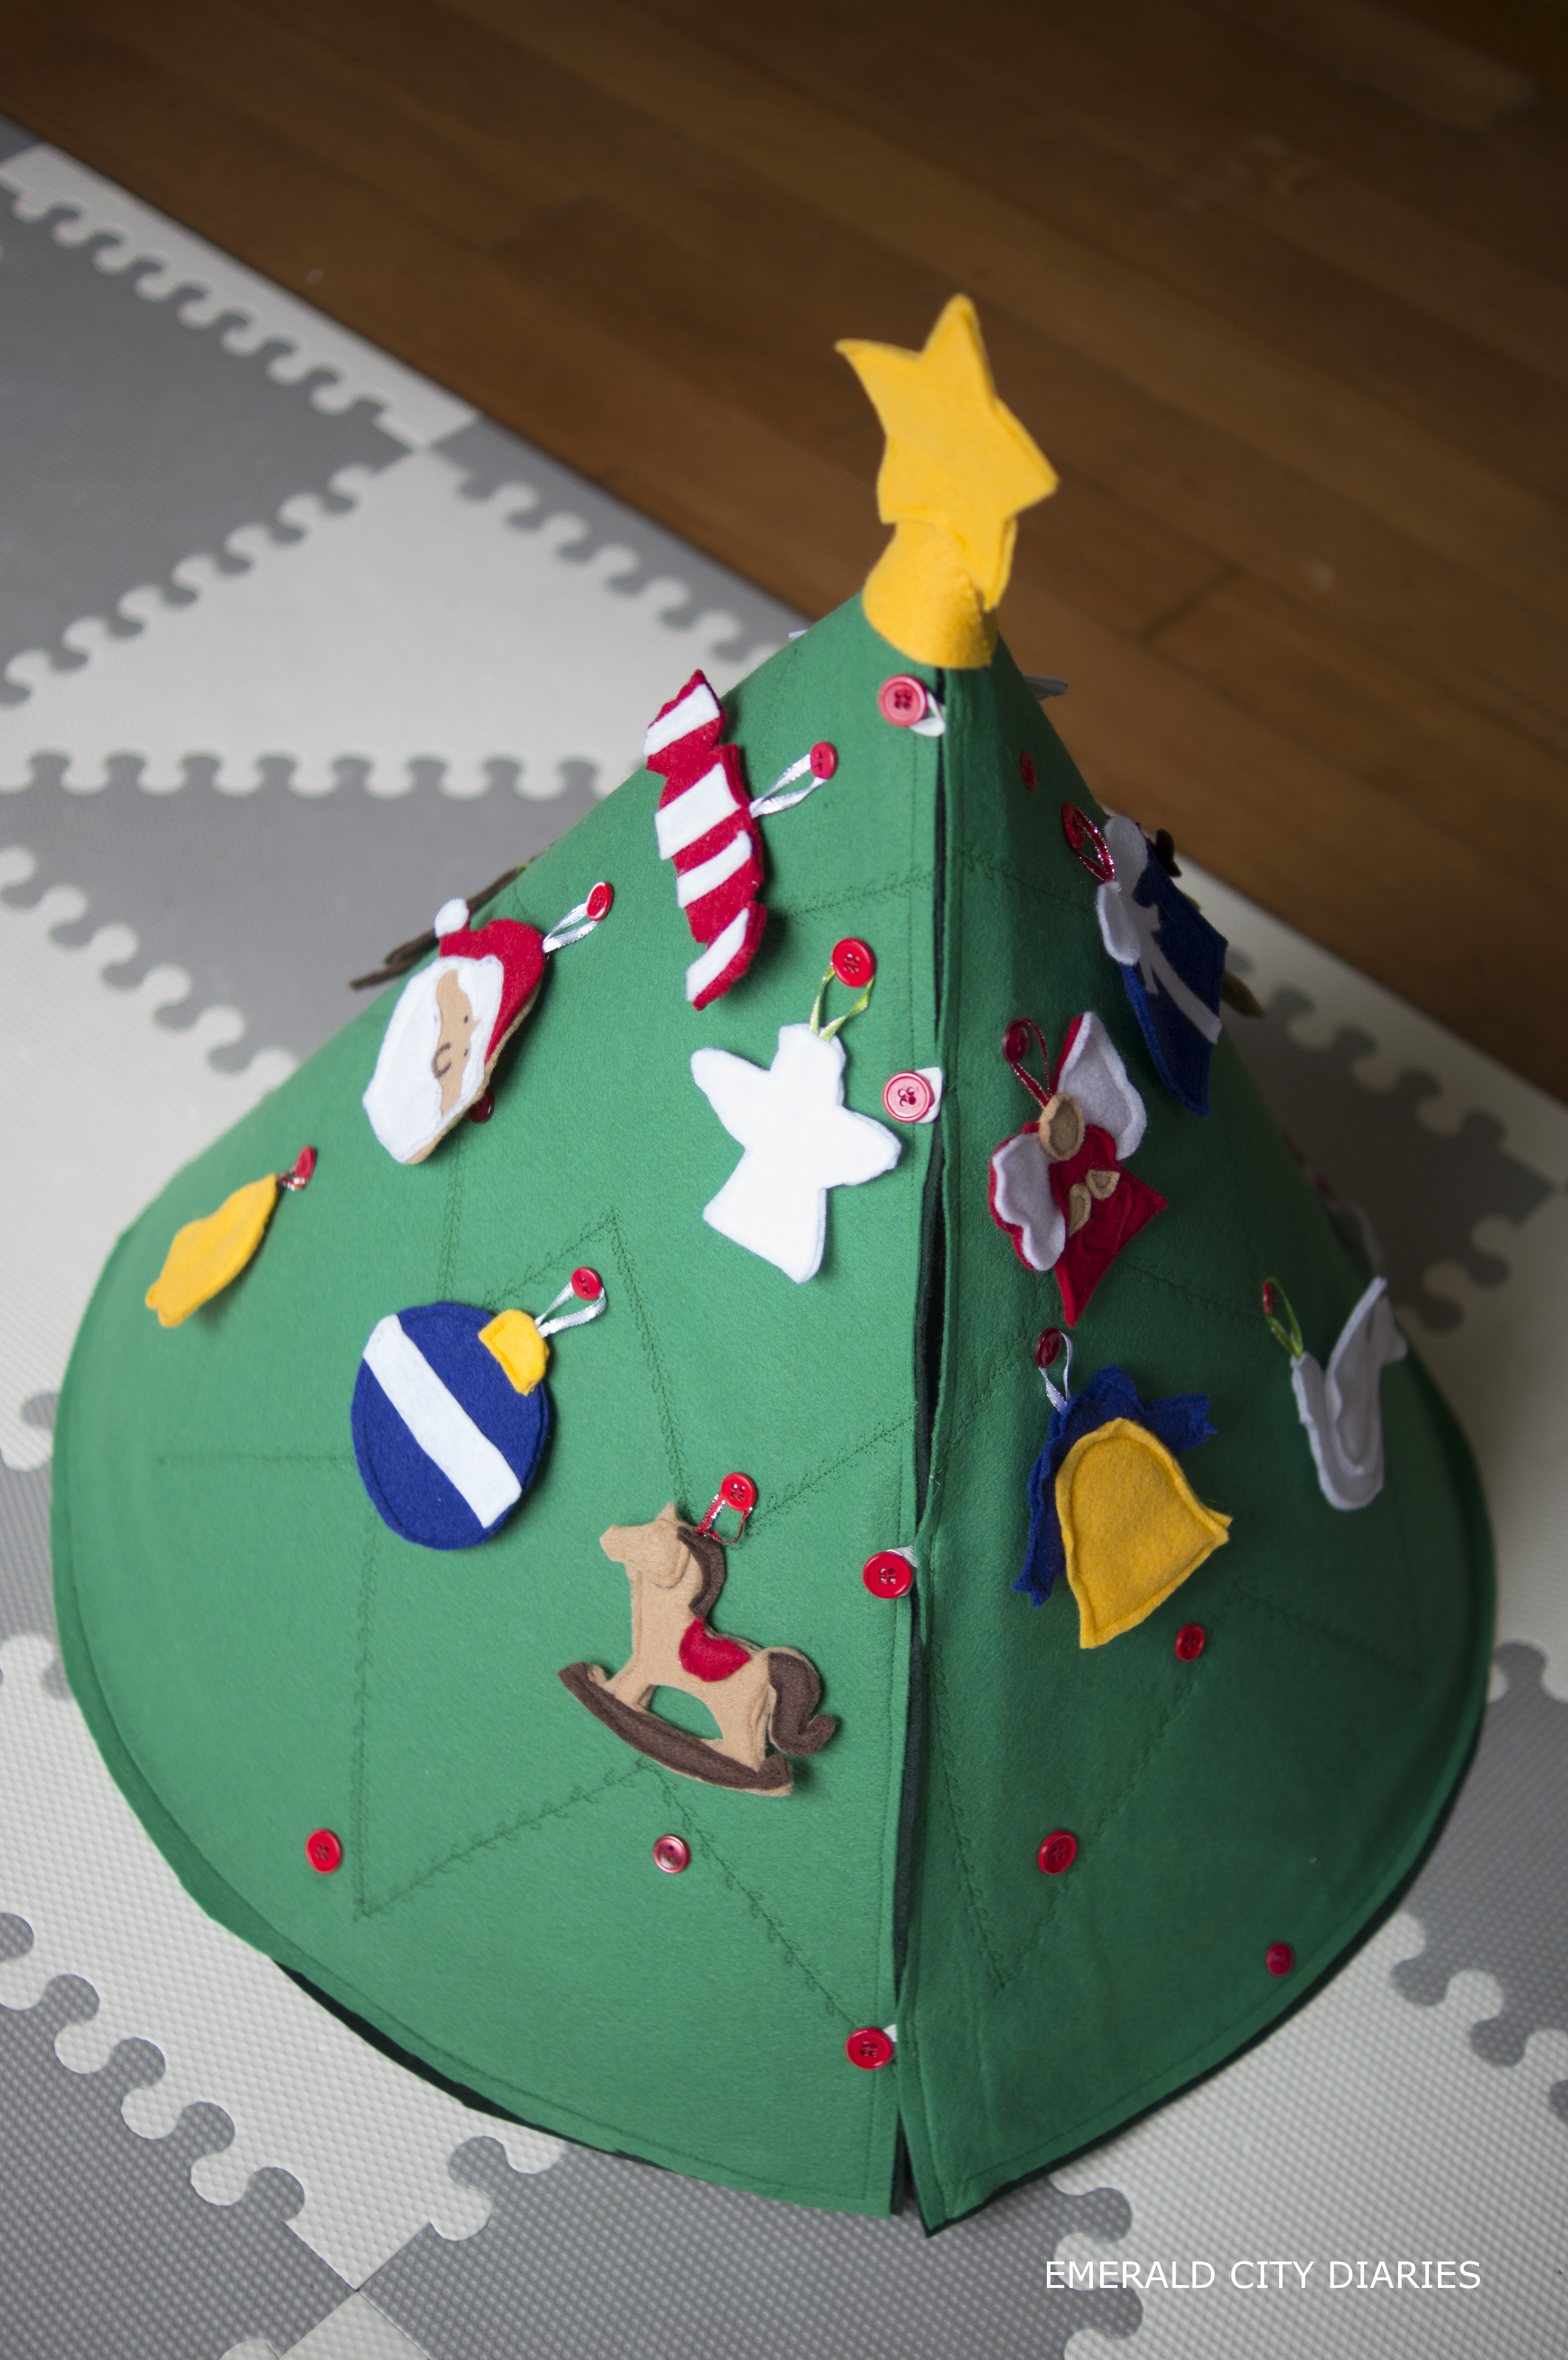
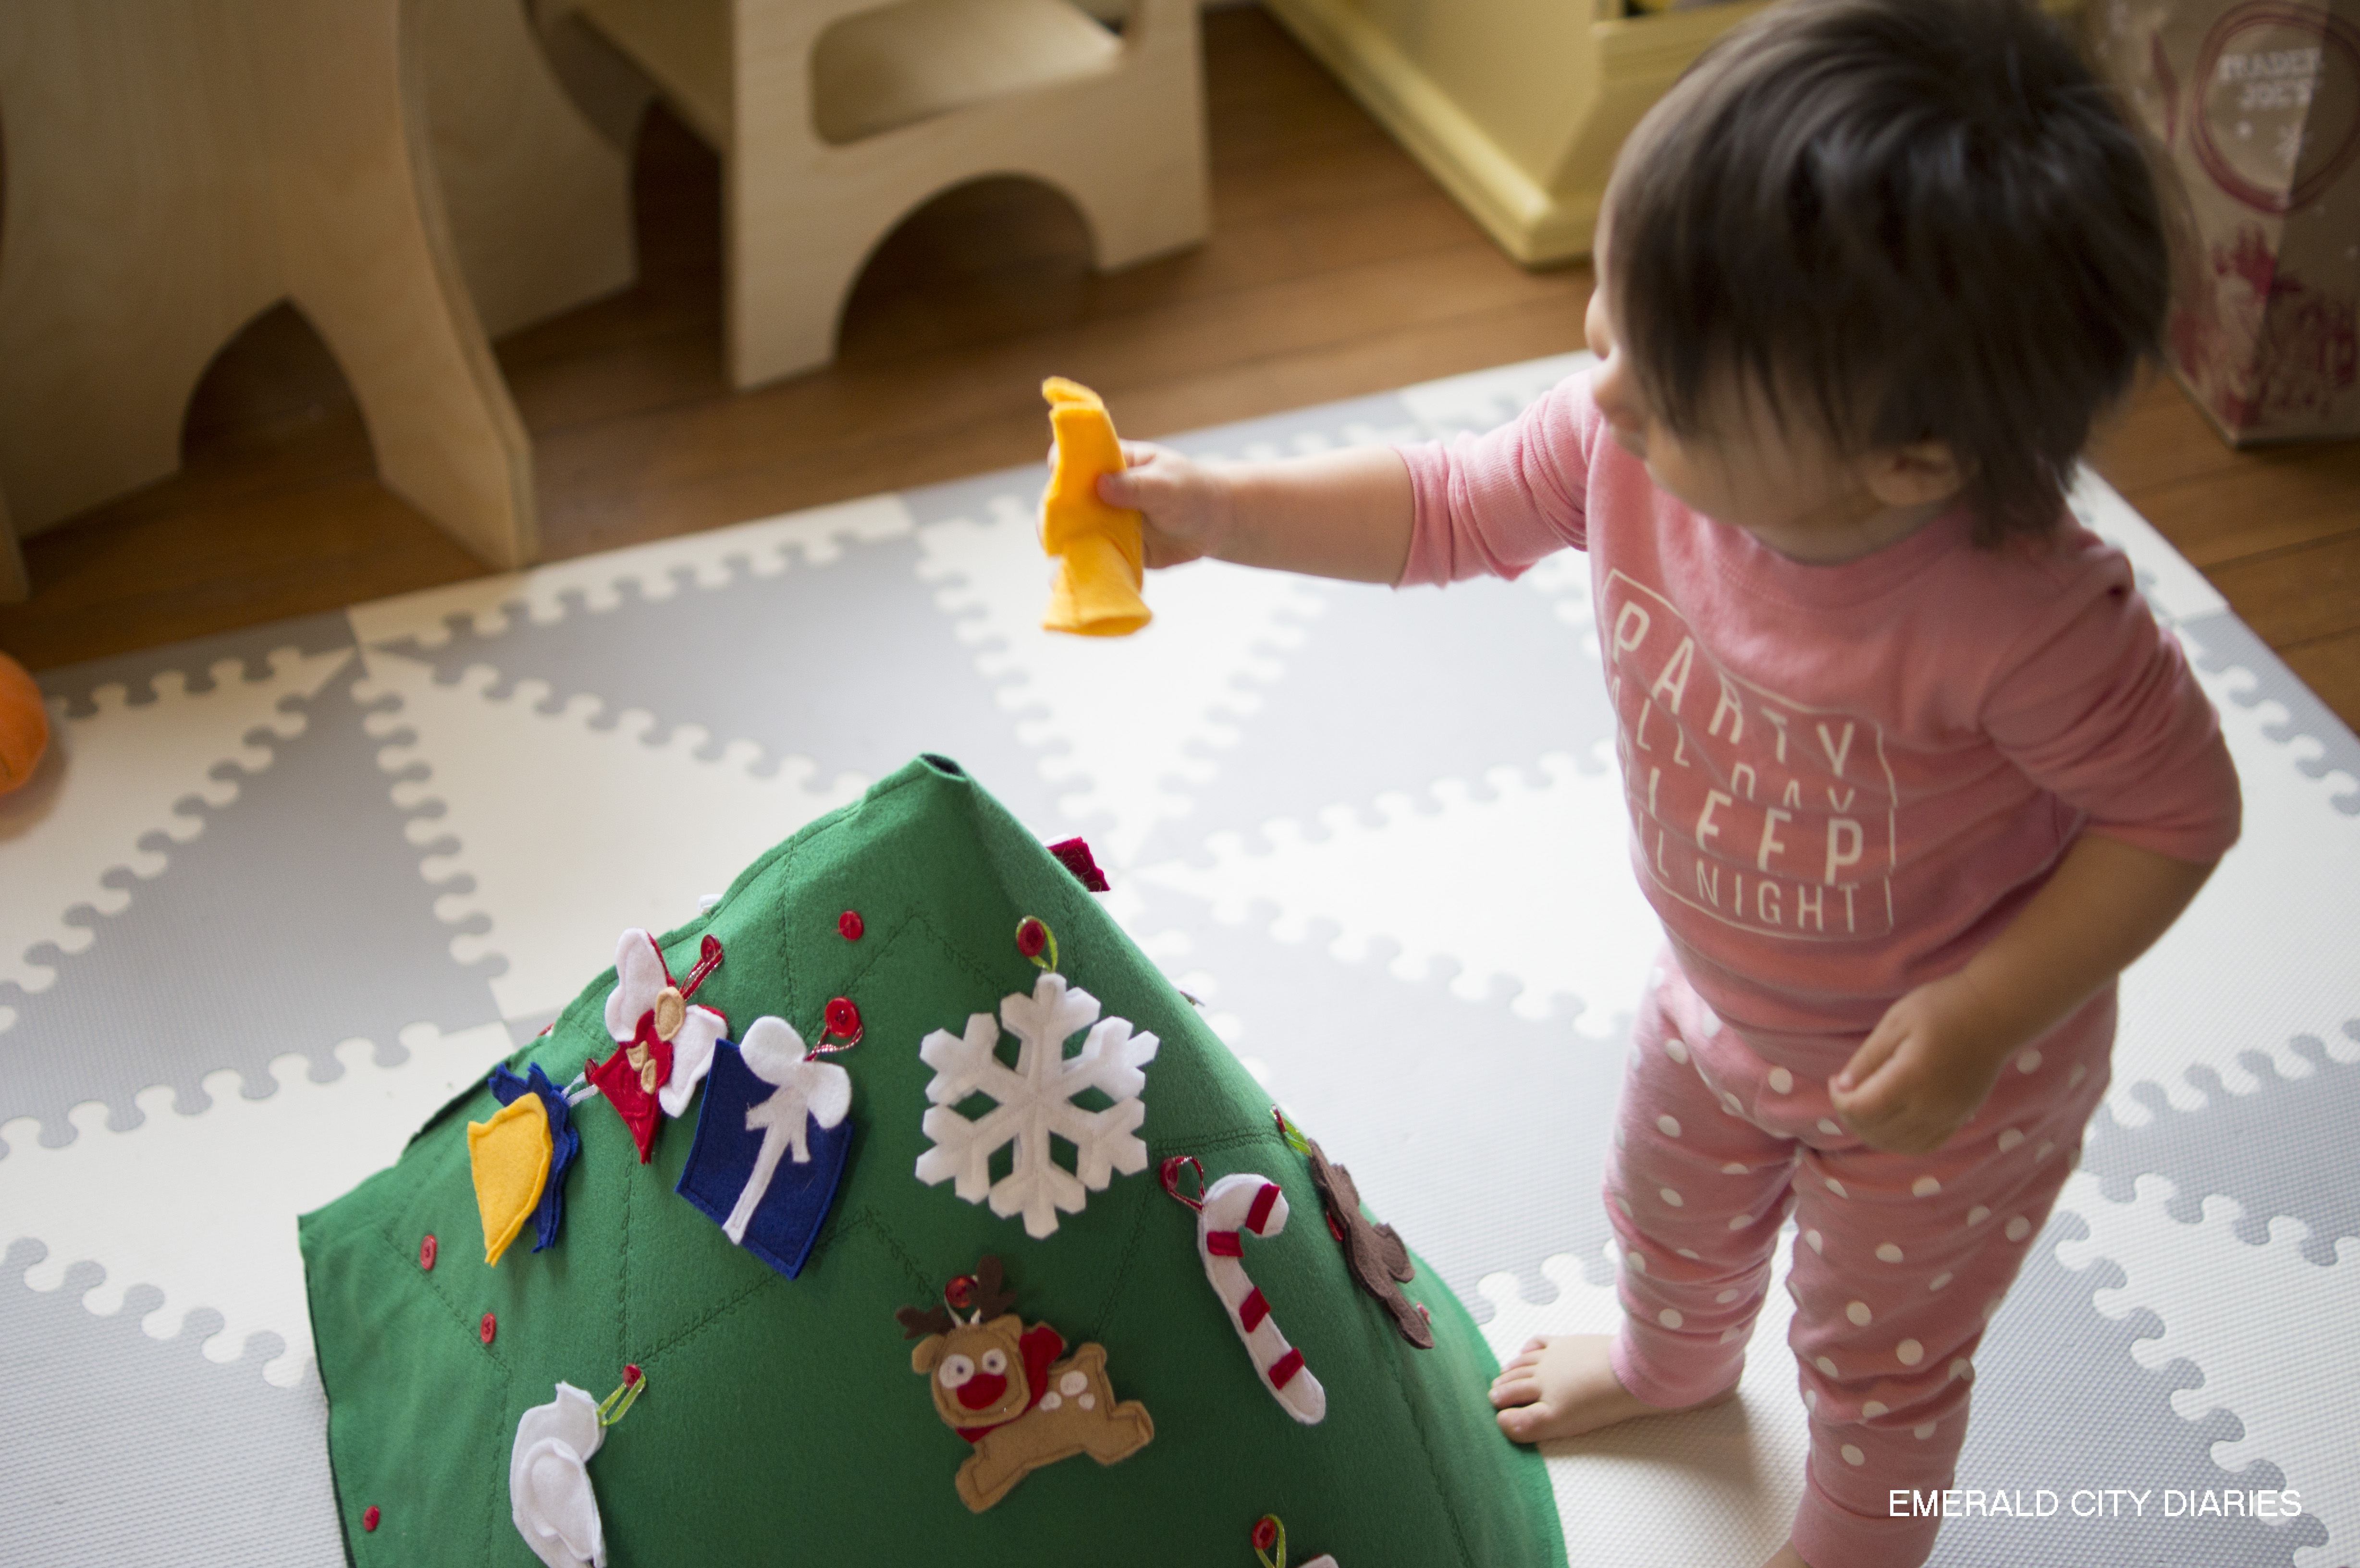
Eloise seems to like this tree, but isn’t super interested in it. She is, however, leaving our real tree alone, so I call that a win (& SUCH a surprise!). She is mostly just pointing & staring at the tree. When she does play with this little felt tree though it is awesome that the ornaments stick to the tree without having to be hung by the loops, because it will be a few years before she has the fine motor skills to hang those ornaments from the loops on the buttons! Her favorite thing is to take the star off & put it back on, so definitely include that if you make this for your toddler!

*Sidenote: As I had mentioned above, I didn’t get stiff felt (the Joann’s I went to didn’t have it, at least in an obvious place), so I added the stabilizer to the back. The tree originally stood up on its own without the poster board, but it was dented & not very sturdy. In hindsight, I should have realized I needed to make an adjustment with the felt before I sewed on ALL of the buttons… it wasn’t awful to iron the stabilizer at the end, but be really careful because if the iron is hot enough to adhere the stabilizer, it is also hot enough to start melting buttons. Uh oh. Also, be sure to have water in your iron so it can steam – that makes the biggest difference when trying to adhere the stabilizer!
Thinking about making this project? Feel free to leave questions in the comments or link your own in the Linky Party below! Also be sure to check out Kendra’s Pinterest Christmas projects over at The Gilbertson Family.
Are you DIY-ing anything for your kiddos this year?
M

Here are the instructions if you are a new to linky-party:
•click on the blue button at the bottom of this post – the one with the frog
•add a link to your Pinterest Christmas blog post in the URL field (please do not link to your home page but the specific post page)
•for “name” write a short descriptive name for your post
•if you would like to put the Pinterest Christmas button on the bottom of your post, we would love to see it there!


