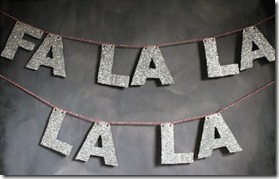
welcome to week three {& the final project} of a pinterest christmas! {see the first two weeks of projects here, here, here, & here} i have been eyeing the glitter letter garlands that have been floating around Pinterest & the inter-webs for some time now, waiting for the perfect occasion to make one {if christmas isn’t the perfect occasion for glitter, i don’t know what is!}. i also wanted to make use of our chalkboard entry again & found a fun way to marry these two projects.
{original pinterest link – glitter letters}
supplies:
-
letter stencils – i made my own in Word
-
glitter cardstock – i got mine from Michael’s
-
scissors
-
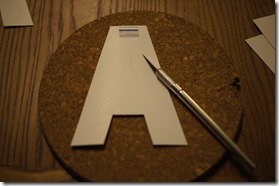
exacto knife – i highly recommend this for cutting out the inside of the “a”
-
plastic straw – {optional} i used to string the letters onto ribbon
-
ribbon/twine/string
-
glue – {optional to use with straw} i used tacky craft glue
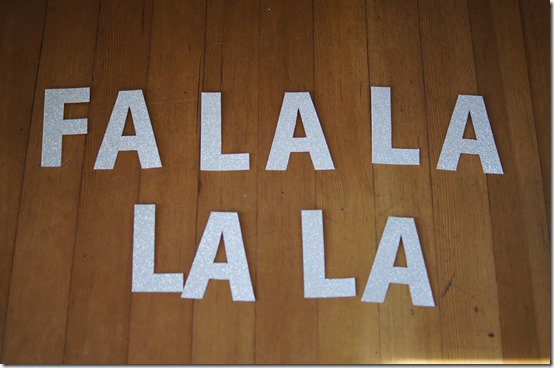
first i chose the phrase i wanted to use. “fa la la la” seemed like a fun choice! then i made my stencils using Word. i just typed in the letters i needed – F, L, A – & played with the fonts & sizes until i found something i liked.
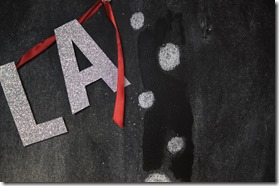
then i cut out my stencils, traced them backwards onto the back {non-glitter} side of the cardstock, & cut out the letters.
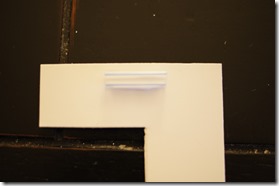
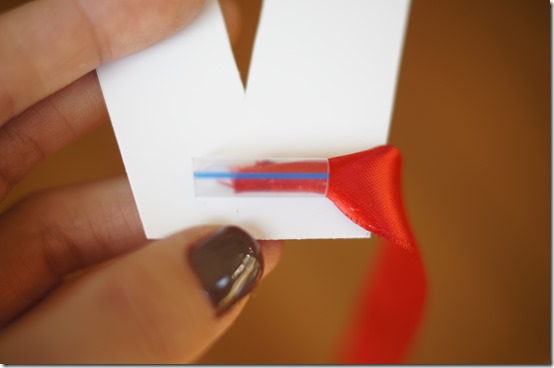
in order to string the letters onto the ribbon i chose, i decided to give a straw a try. i cut a plastic straw into small pieces, about an inch or so {less than the width of the top of the letter to disguise it} & glued the side of the straw to the back of the top of each letter.
i then strung each letter onto the ribbon.
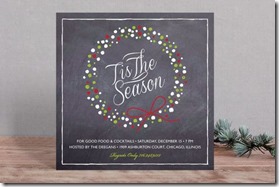
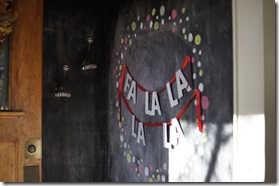
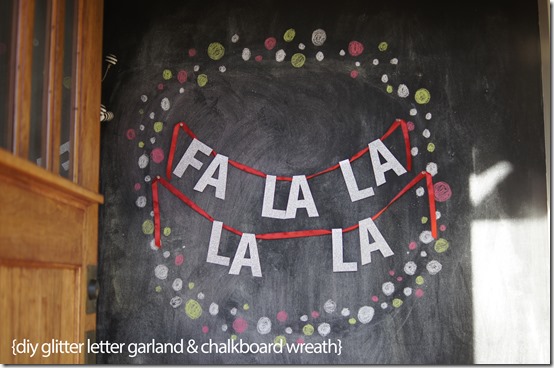
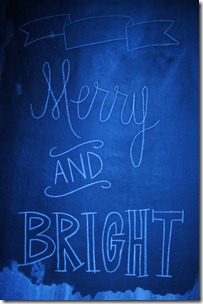
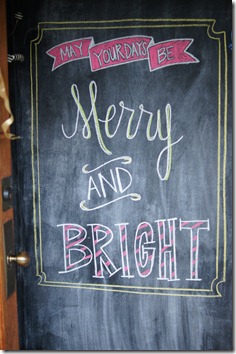
for the chalkboard wreath, i decided on the empty wall where i drew last year’s festive chalkboard art {see here} as it is the first thing you see when you walk thru our front door. my main goal for this wreath was to create a simple backdrop for the glittery garland.
{original pinterest link – no original link}
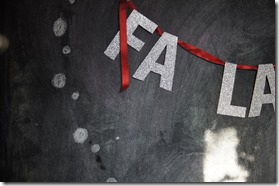
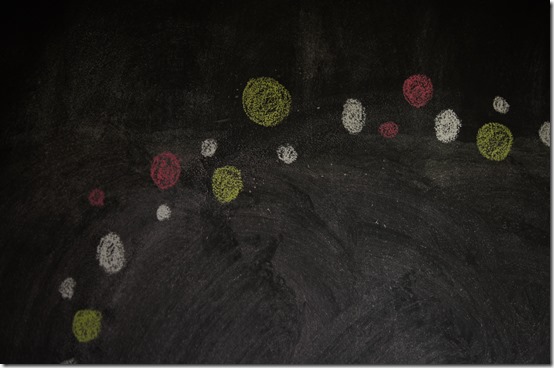
i started by softly outlining the shape of the wreath in chalk so that it was big enough for the garland to stretch across. then I erased the lines I drew with a wet washcloth in the circle shape that I wanted. i started to add white dots within the wet area, followed by red & green ones. I added dots somewhat randomly & then stepped back to see where I needed to fill in. it wasn’t a very scientific process & I liked that it didn’t need to be perfect {which is a lot if you know me!}.
i hung the garland across using push pins after I had the basic shape in place so I could use it for reference.
ready for some more {p}inspiration? check out these ladies:
amanda @ Without A Doubt
maggi @ Greg, Maggi, & Rodney
abbi @ The Pena Family
kendra @ The Gilbertson Family
{also, catch up on the last two years on my diy tutorials page here.}
have you been {p}inspired by any christmas projects this year?
M

