when it came down to the gift that i wanted to give amanda at her baby shower, i knew i wanted to make something. amanda is one who loves things handmade – you should see the beautiful cards she makes! – plus, i liked the idea of hand making something for the new baby (seems more personal).
this could be considered another pinspiration project because i found the idea from pinterest!
from the very little that i know about infants, i do know that swaddling is a way to help them feel like they are back in the womb. however, amanda & her husband are first-time parents & the process of swaddling a baby seems, well, difficult. a wailing infant with flailing arms & legs? no thank you.
so, why not a swaddler. an infant-sized sleeping bag that allows those arms & legs to be gently velcro-ed in. genius! {sidenote: i really hope this was a thoughtful present after all, meaning that i hope it really works!}
*update: the little babe i made this swaddler for was only about 7 pounds when she was born, so the size of this swaddler is too big. if you know how big the baby is, you can adjust the size accordingly.*
{original tutorial: snuggler}
{sidenote: the gal’s blog who posted the original tutorial makes an amazing amount of things by hand. if you want some inspiration, definitely check out her blog!}
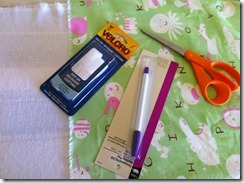
supplies:
- pattern printed {updated link!}
- instructions (attached to the pattern pdf)
- 1 yard fabric – fun fabric for outside of swaddle (i used fabric from pacific fabrics)
- 1 yard fabric – flannel or soft cotton fabric for inside swaddle (i got organic cotton flannel from this etsy seller)
- pins
- fabric scissors
- fadeout marker (the type of marker that either has disappearing ink or disappears with water)
- velcro
- thread (i used white)
- iron
- sewing machine
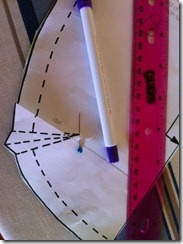
- ruler (i used it to help me transfer the dart pattern)
{sidenote: please excuse the bad lighting in the last set of photos. i was taking them in the evening without sunlight, so the color is funky. the real color of the green fabric is mint green & is best seen in the first part of the tutorial.}
this was the first time i made something from a pattern, so i was a bit nervous. plus, it was intended to be a gift to a crafty girlfriend who was expecting her first baby – no pressure! after my first read-thru (& second & third!) i found some of the instructions a little confusing. my remedy was to just go ahead & start, & i would work out the finer details as i came to them; turns out, this was a pretty good method!
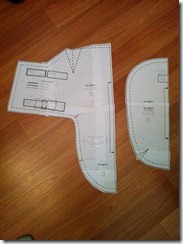
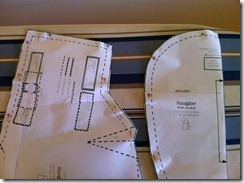
first, print out, cut out & tape together the pattern (there are two main pieces). then iron your fabrics (after pre-washing them in hot or warm water to prevent later shrinking!).
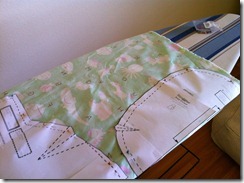
fold the printed fabric in half & pin the patterns to the wrong side of the fabric, lining up the folded edge to the inside of the pattern (there is a note on the pattern where it should line up with the folded edge). cut out the fabric along the pattern.
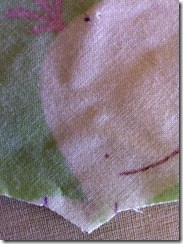
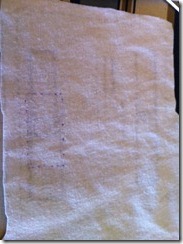
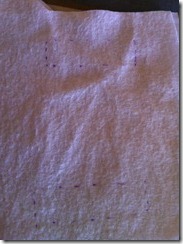
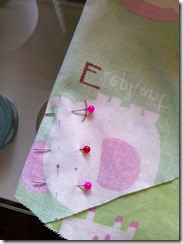
before removing the pins, trace the dart pattern onto the wrong side of the fabric. i placed a pin at the top point of the dart triangle (so that i could lift the paper to expose the fabric) & then used a ruler to draw very faint dotted lines onto the fabric with my fadeout marker.
the instructions also tell you to transfer dotted lines where the velcro strips will be placed. {sidenote: i did this, but in hindsight i think it is unnecessary. the velcro “placeholders” that i made were much bigger than the velcro i ended up using & so there was a lot of blotting with water to remove the ink from the fadeout marker. i think that once you are at the point where you add the velcro – later in the tutorial – you can look back to the pattern to determine where the velcro strips should be sewn on.}
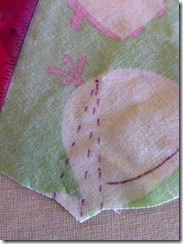
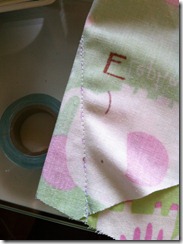
sew the darts into place. this was my first time sewing darts, but it is a fairly easy process. you basically fold the fabric in half (the middle dart line becomes the fold) & pin. then you run a seam towards the raw edge of the fabric. then you cut off the extra fabric.
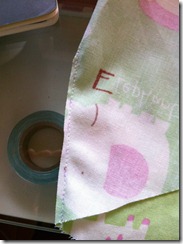
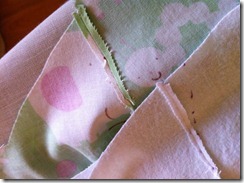
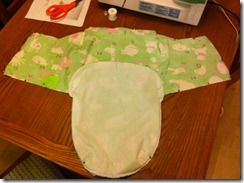
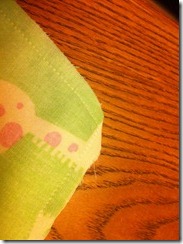
{darts completed on both fabrics. you can see the remaining ink lines here; i blotted the ink with a damp washcloth to make it disappear before i sewed the pieces together.}
repeat all above steps with the flannel fabric. then, you should have two identical pieces, one in printed fabric & the other in flannel fabric.
then you place the flannel piece (inside out) into the fabric piece (inside out) & pin the pieces together. then attach the pieces by sewing around the half moon piece, as well as along the arm pieces, leaving a couple inches at the bottom of the left arm open (to flip the fabric). trim the seams.
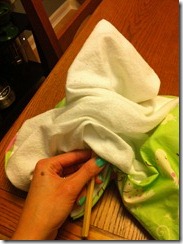
flip the swaddler right-side out. i used a chopstick (clean, of course!) to help turn the corners & edges.
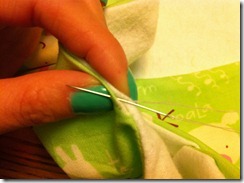
then hand sew the remainder of the edge shut.
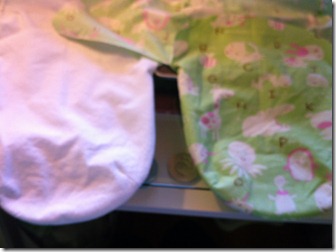
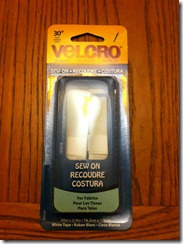
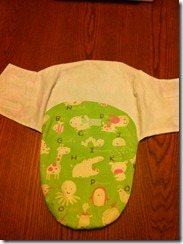
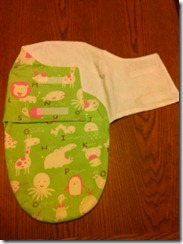
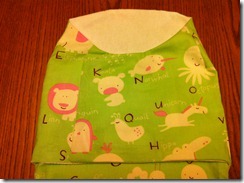
grab your velcro & lay out the pieces. cut three lengths of velcro (both pieces!) a couple of inches long. one piece goes on the front half-moon piece (middle picture) & two go on the outside left arm/inside right arm (far right picture). i sewed the rough piece of velcro to the front half-moon & also to the front side of the left arm; the soft velcro pieces are placed accordingly so that the velcro will properly close.
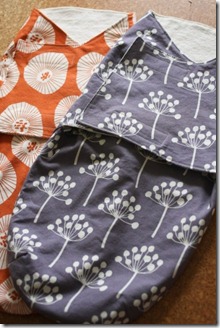
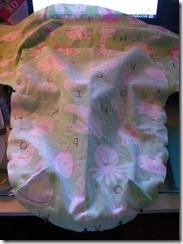
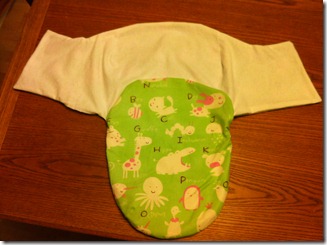
{the final swaddler!}
what do you think of handmade baby shower presents? also, to my readers who have infants or kids, did you swaddle?
M

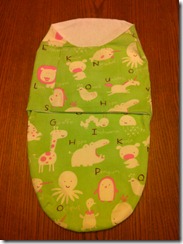
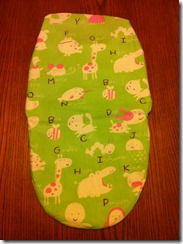
Cute fabric!! I’m so impressed, I’m sure she will find this very useful! I didn’t think we’d ever stop swaddling Kenley, she slept so well when she was all snuggled up in that thing! — Anxiously waiting to see pics of the house! 🙂
good to hear about swaddling. it was such a fun (and pretty easy) project to make, and if it works out for amanda, it will probably be my go-to baby shower gift.
pictures of the house may or may not be up on the blog tomorrow… 🙂
I sooooo love the swaddle and appreciate every moment you spent on it! Can’t wait to wrap Baby Girl in alphabet animal love!
I was wondering if you would be willing to send me the PDF pattern. When I go to the link you provided it says the file is damaged and can not be repaired. I would love to make this for my daughter who is having her 3rd baby. I tried leaving a reply earlier and I don’t think it worked. :>( My e-mail is oneachord@roadrunner.com. I also tried leaving a comment/message thru Pinterest on this pin.
Nice I want to make one for my grand daughter!
can you plese send me a copy too crazyjeep_honey@yahoo.com
Can you please send me a copy too suarez_78@hotmail.com tanks a lot
Would love to make one for my new grandson to be coming soon. Please could u send me the pattern. Thanks. My email is strider89@aol.com. Love it
hello debbie. here is the link to the PDF pattern – just open & print! http://makezineblog.files.wordpress.com/2009/05/lotta_snuggler_pattern.pdf
thanks for stopping by. M
That’s great. Thanks for sending me patterns.Going to start on it tomorrow, Thanks Debbie
I had so much trouble piecing this pattern together after I printed. What was your strategy?
Christine – I always find piecing together patterns to be a challenge. As I recall it took me a few times to get this one right. My advice would be to use lots of pins! Thanks for reading! M
Can you tell me the measurements for your pattern. I found the same pattern and printed it, then cut it but I really think there is something wrong with mine. the oval front for example is only about 10″ W X 11.75″ H. The piece with the velcro flaps is about 9″ W X 16.25″ H (not including flaps). Your help would be greatly appreciated.
Grace – I am so sorry but this swaddler was a gift and I do not have it anymore to take measurements!
Hey Misha! I love that you have photos to follow. I printed this pattern out from Lotta Jansdotter’s book that she posted on Pinterest. I was able to match the pattern together by overlapping the letters or words on the individual pieces of paper. I held it all together with Blue Painter’s tape. Everything went according to directions until the end. I could not get the foot pocket to look right once I turned the whole thing right side out. I worked on those two seams for a couple of hours. They were trimmed, but it puckered too much, even after steaming. Is there a trick to sewing this seam? (I’ve been sewing for 50 years off and on) My swaddler came out cute and I know my daughter will love it. Thanks for the help.
Alda, I am so glad this swaddler worked out! I remember those seams puckering and it took a lot of pinning and pulling to get it to look right in the end. I think I need to re-make this swaddler again so I can update the post with more details! Thanks for reading. M
helo Can you please send me a copy too teresa.ziolo@gmail.com tanks a lot 🙂
Hey there could you send me pdf file of this too I would love to make if for my daughter thanks can you send it to suzannagalayini87@hotmail.com
Hello Suzanna, I just actually updated the link above which should take you right to the PDF. Let me know if it doesn’t work for you and I can send it via email. Thanks for reading! M
I was wonderinfg if the pouch is abit larger, when i pin it together it has abit of a hill dont know what else to call it
Thelma, I am not sure what you mean by “a hill”?
Love how this is made. I also cannot download the pattern. Can you send it to me too. Thank you
Hello Julie, I will send you the pattern via email!
Hi Misha, I was able to access the pattern using your update to the link. However, before printing it, are there any options I should use, like letter size or A4, fit to page, etc. Thank you in advance for your assistance. I want to get it right the first time as there are many pages to print.
Hello! I honestly don’t remember if I did. But I will say that after having babies of my own, the pattern I used made a swaddle that was much too big for a newborn! I’m not a good enough seamstress to know how to update the pattern.
You are so smart & really sweet to share this baby item. I, too, am having trouble printing out the pattern & instructions. Would really appreciate your emailing them to me. Thank you tons! This is a great idea. Want to make one for my friend who works at Publix. My email is pattym7@comcast.net
I love this pattern! Once I printed and taped the pattern together, it was pretty easy to follow the instructions. This will definitely be my go-to pattern for a baby shower gift :). Thank you for sharing!
Could I get the pattern?
Thank you!