i have been seeing a few painted antlers on pinterest & i thought they were cool looking. it just so happens that my brother has a massive collection of antlers & acted as my source while we were home at christmastime. armed with two antlers {spoiler alert: i have only painted one so far} i have spent the past few months figuring out how to paint an antler. this project didn’t take me that long in total, but i spread it out over the course of almost three months due to life, i guess. also, it turns out it isn’t too hard to paint an antler.
{original pinterest link – source unknown}
supplies:
-
antler – i am sure you could find some on etsy or perhaps a craft fair
-
primer – i used bonding primer
-
small paintbrush
-
frog tape or painter’s tape
-
acrylic craft paint – if you want to do gold or silver, make sure the label says “metallic” so it’s super shiny
-
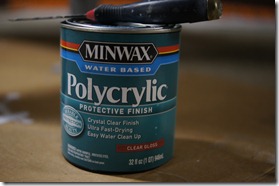
glossy protective finish – i used Minwax {pictured below} which i also used here
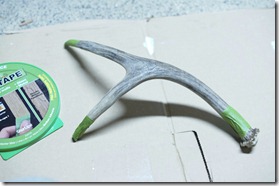
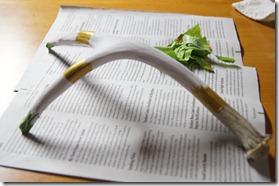
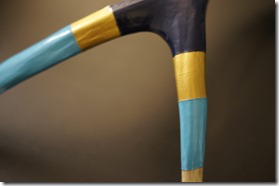
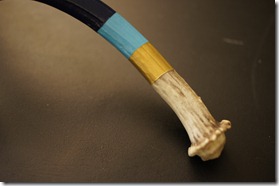
i started out by taping off the end of the antler and each tine as i knew i wanted these pieces to remain unpainted. in order to get a straight line, you will have to create the line with tape {if you just put a single piece of tape around any part of the antler, there will be a small v where the ends meet}. also, you will need to firmly press the tape edges to the antler to ensure you get a clean line.
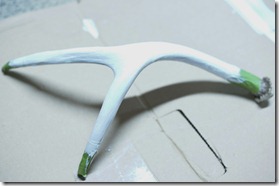
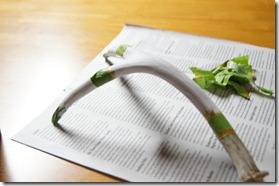
you wouldn’t need to tape at first if you want the entire antler painted, or you could add more tape {like stripes}. then i primed the antler with one coat of bonding primer. {side note: as this was my first painted antler attempt, i am not sure whether regular primer would work. i typically use bonding primer on all of my projects that aren’t drywall because it generally sticks to everything.}
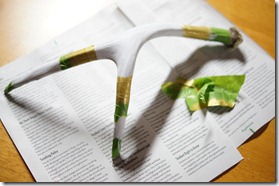
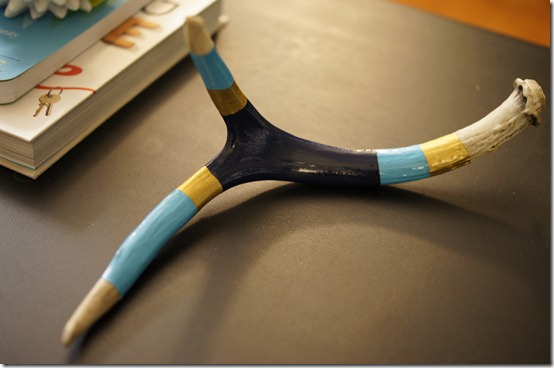
after the primer was dry, i started painting. you won’t need to tape off again with the first color. also, i painted from the outside of ends of the antler in {if this doesn’t make sense, you can see it from the rest of the pictures}. i started with gold & painted four coats to ensure it was a nice solid color. four coats sounds like a lot, but the areas are small so you don’t use much paint and the in-between dry time is about an hour.
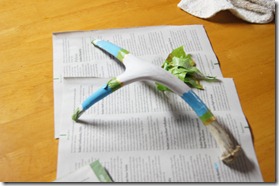
i let the fourth coat of gold dry for 24 hours before i started with the next color as it required me to tape over the gold to make a clean edge. then i painted four coats of my next color – light blue.
i left the fourth coat of light blue dry before taping over it to add the last color –navy blue {not pictured}.
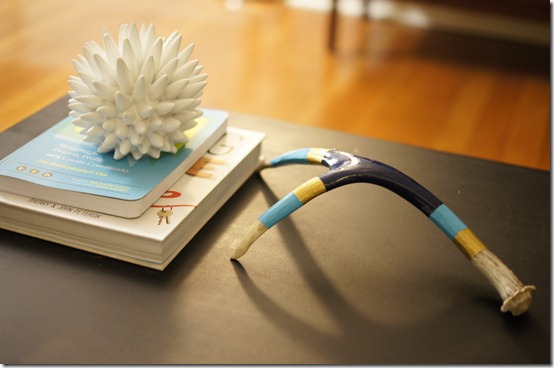
after my final color was on & the antler was fully painted the way i wanted it, i painted on three thin coats of minwax polycrylic which gave the antler a high gloss finish.
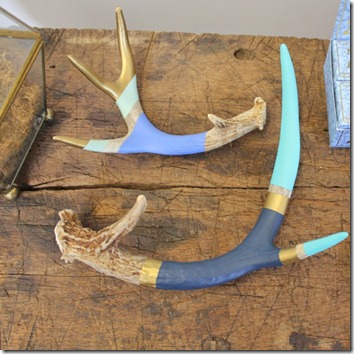
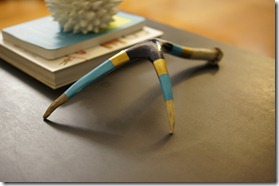
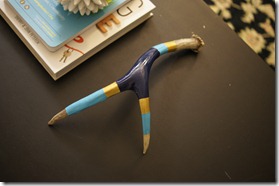
i am thrilled with the finished result! this is a really fun piece that is really unique – definitely a conversation piece. {though i am a bit sad that i can’t showcase my new painted antler on the coffee table as it is still an antler & sadie thinks the ends are a tasty treat.}
what do you think of painted antlers? have you been taping & painting anything interesting lately?
M


Misha – I was wondering how easily antlers would take paint – this looks awesome. This would be a great gift for my friend who is married to an avid hunter!
Very cool! I especially love the navy and gold.