the most recent update to the kitchen was to change the face of the mini-blinds. we have mini-blinds all over our house, including on our kitchen window {obviously}, but the truth is i really hate mini-blinds. we had them on our living room windows until we put up the curtains & i had aaron take them down about six seconds after the curtains were up! we also have mini-blinds in both our bedroom & the office, but until i find curtains or another window covering, those will be staying put. unfortunately.
but, more about the mini-blinds in the kitchen. we really don’t need a window covering at all since privacy isn’t an issue & we get lots of morning sun into the kitchen via the window. i would hate to put something on the window that would prevent the sunshine from filling the room, but since the mini-blinds were already there, i decided i would try to spruce them up a bit {& if that didn’t work, i would just take them down & leave the window bare}.
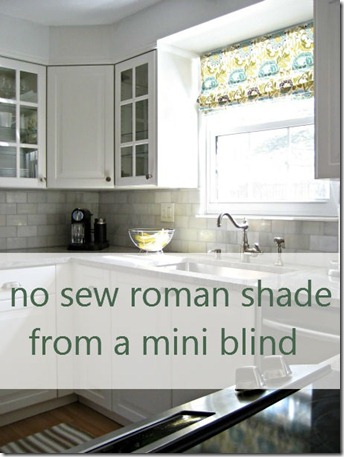
i had heard about being able to make a roman shade from mini-blinds months ago, & i found this tutorial floating around pinterest.
{the original tutorial: no sew roman shade from a mini blind.}
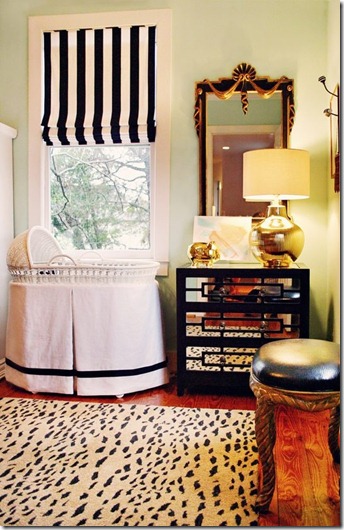
i also found this image on pinterest around the same time i found the tutorial & knew that black & white stripes would look great in our now-grey & white kitchen. i also liked that the stripes are vertical.
{image via}
supplies:
-
mini-blinds
-
scissors
-
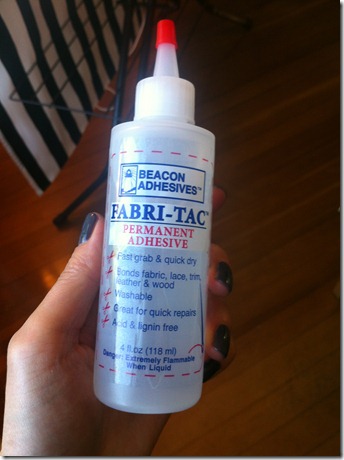
glue (i used fabri-tac)
-
fabric (amount depends – you will need about 2 inches longer on all sides than your blinds)
-
iron (optional, but it would be difficult to iron your fabric after it is attached to the blind)
-
ruler or measuring tape
-
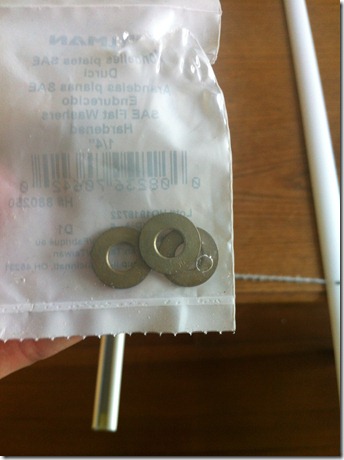
washers (optional. i used one on each string to help me not have to tie such huge knots)
-
needle-nose pliers (optional, but i found them helpful to undo the original knots)
-
masking tape (optional, but i used it to hold down the string while measuring)
this project was pretty simple & only took a few hours. just be sure you have a big table or do this on the floor (i opted for the table plus the ironing board since i didn’t want dog hair all over the fabric!). i followed the tutorial & only had to improvise when re-tying the knots at the bottom of the blinds.
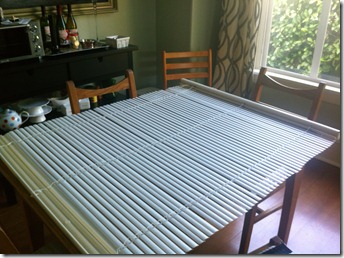
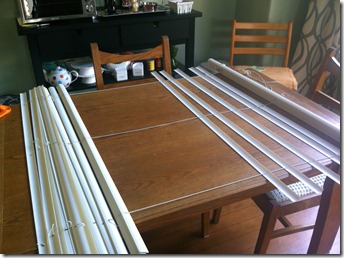
first i had aaron help me take down the mini-blind from the window & i laid it on the table. i took off the long, skinny wand that makes the blinds turn up & down (you won’t need that anymore). i also should have dusted or cleaned the blinds, but i didn’t.
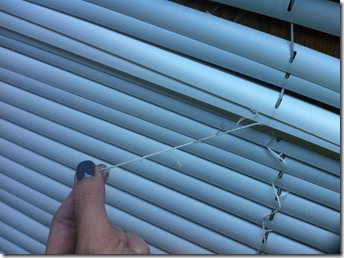
then i untied the knots below on the ladder string & clipped the string from above too. {the ladder string – this is what i am calling it since it looks like a ladder – is the one that holds the blinds & turns them, not the one that pulls them up & down.}
once the top & bottom were free, i just pulled on the ladder string & cut each little “ladder” section.
i decided to keep five blind slats for the roman shade.
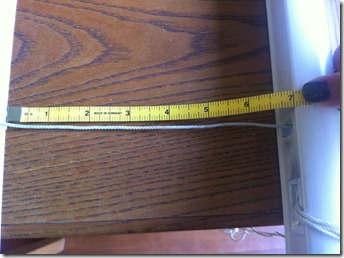
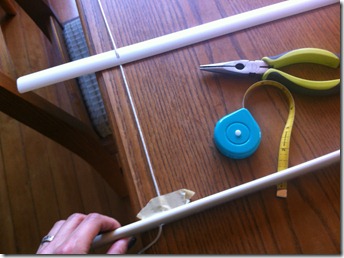
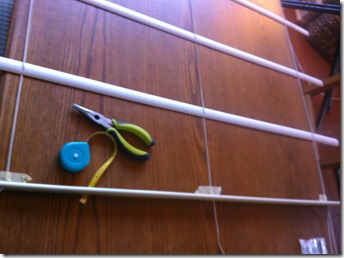
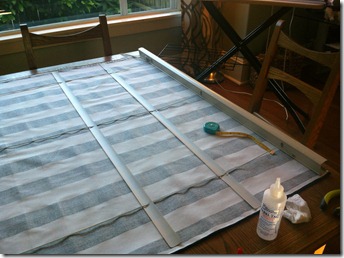
i spaced each blind slat seven inches apart, starting from the top.
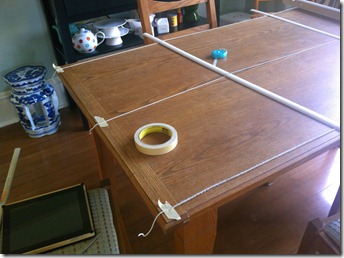
i taped down the ends of the string so they would stay still as i measured where each slat would go. be sure that you have enough string at the end to tie knots to re-secure the slats. i put the tape right at seven inches so i would be ready for the next step.
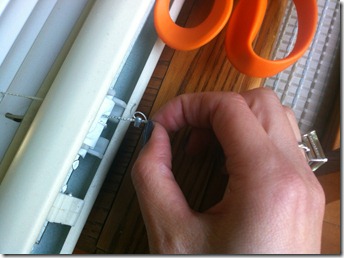
when i got to the bottom, it was time to re-secure the end of the blind (that i had taken off in the beginning). i put it up on its side right against the tape (so it would be at seven inches) & began my knot tying.
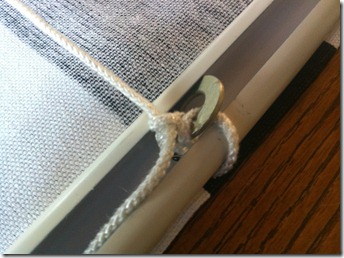
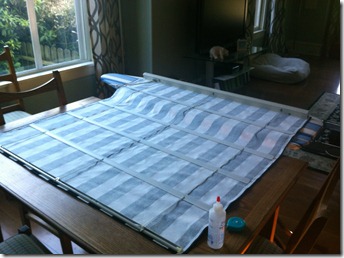
i ended up finishing the knot later in the project (you can see the fabric is already on) but i essentially used the washer in order to not have to tie an enormous knot. then i kind of stuck the washer into the bottom of the blind.
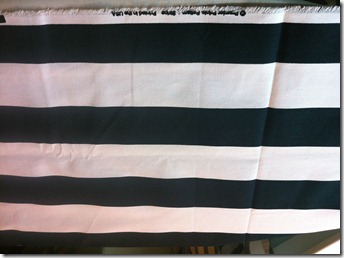
{black & white stripey fabric from this etsy store.}
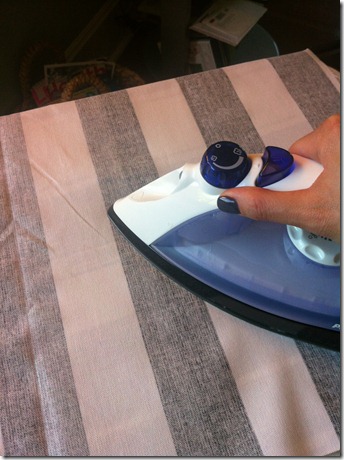
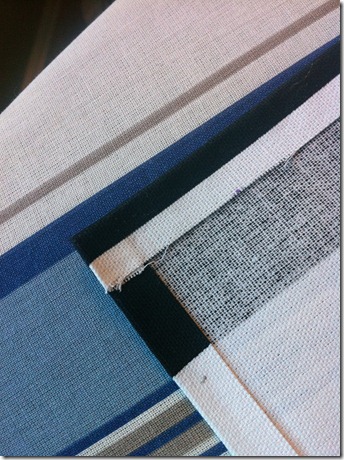
i measured the fabric so that each side was two inches longer than the blinds, cut the fabric, & ironed it. then i ironed half-inch seams on all four sides. {sidenote: i originally planned to sew the seams because i thought it would look nicer, but because of the two-color fabric, you would have been able to see the seam.}
{fabri-tac. this glue is great because it is very quick drying & clear.}
finally, i laid the blinds over the fabric, re-measured the seven inches between each blind slat, & glued each slat down to the fabric (put glue on the rounded side of the blind). let the glue dry before hanging; i waited a couple of hours just to be sure.
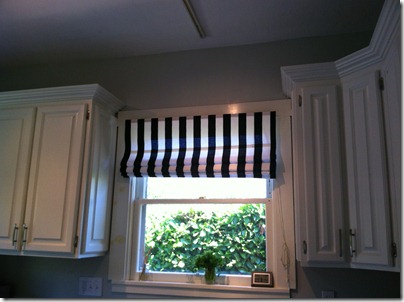
then re-hang your blind & admire. i sort of like the look of some folds in the fabric, so i didn’t pull the blinds all the way to the top.
even though these roman shades didn’t add much color to the kitchen, i love the simpleness & whimsy they bring to the space.
this is the last post before i reveal the entire kitchen, so definitely stay tuned.
do you have mini-blinds you don’t like? would you consider converting them to roman shades?
M

Love the fabric! I’m anxiously waiting the kitchen reveal!
sew cute!!!
so lovely!
I have been looking at cellular shades that go up or down, but after seeing this I think I will give it a whirl. Looks easy and I just need one for a large kitchen window.
Where do I get the instruction o make these no sew roman blinds??? Thank you!!!
Janice – this post is my tutorial about making roman shades out of mini-blinds. If you have any specific questions, please let me know. Thanks for reading!
Have you tried using grosgrain ribbon and having more slats?