there are three million ways to hack an ikea lack table; this is a post about just one of these three million hacks.
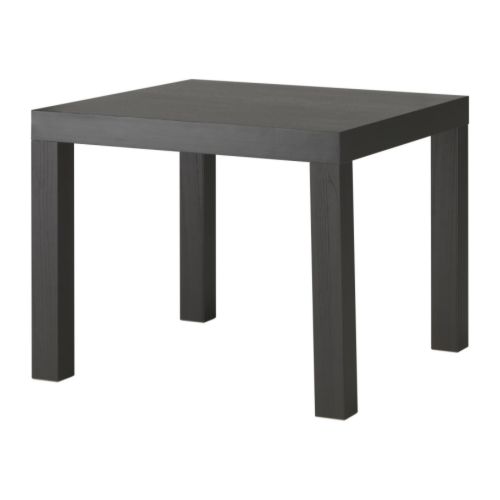
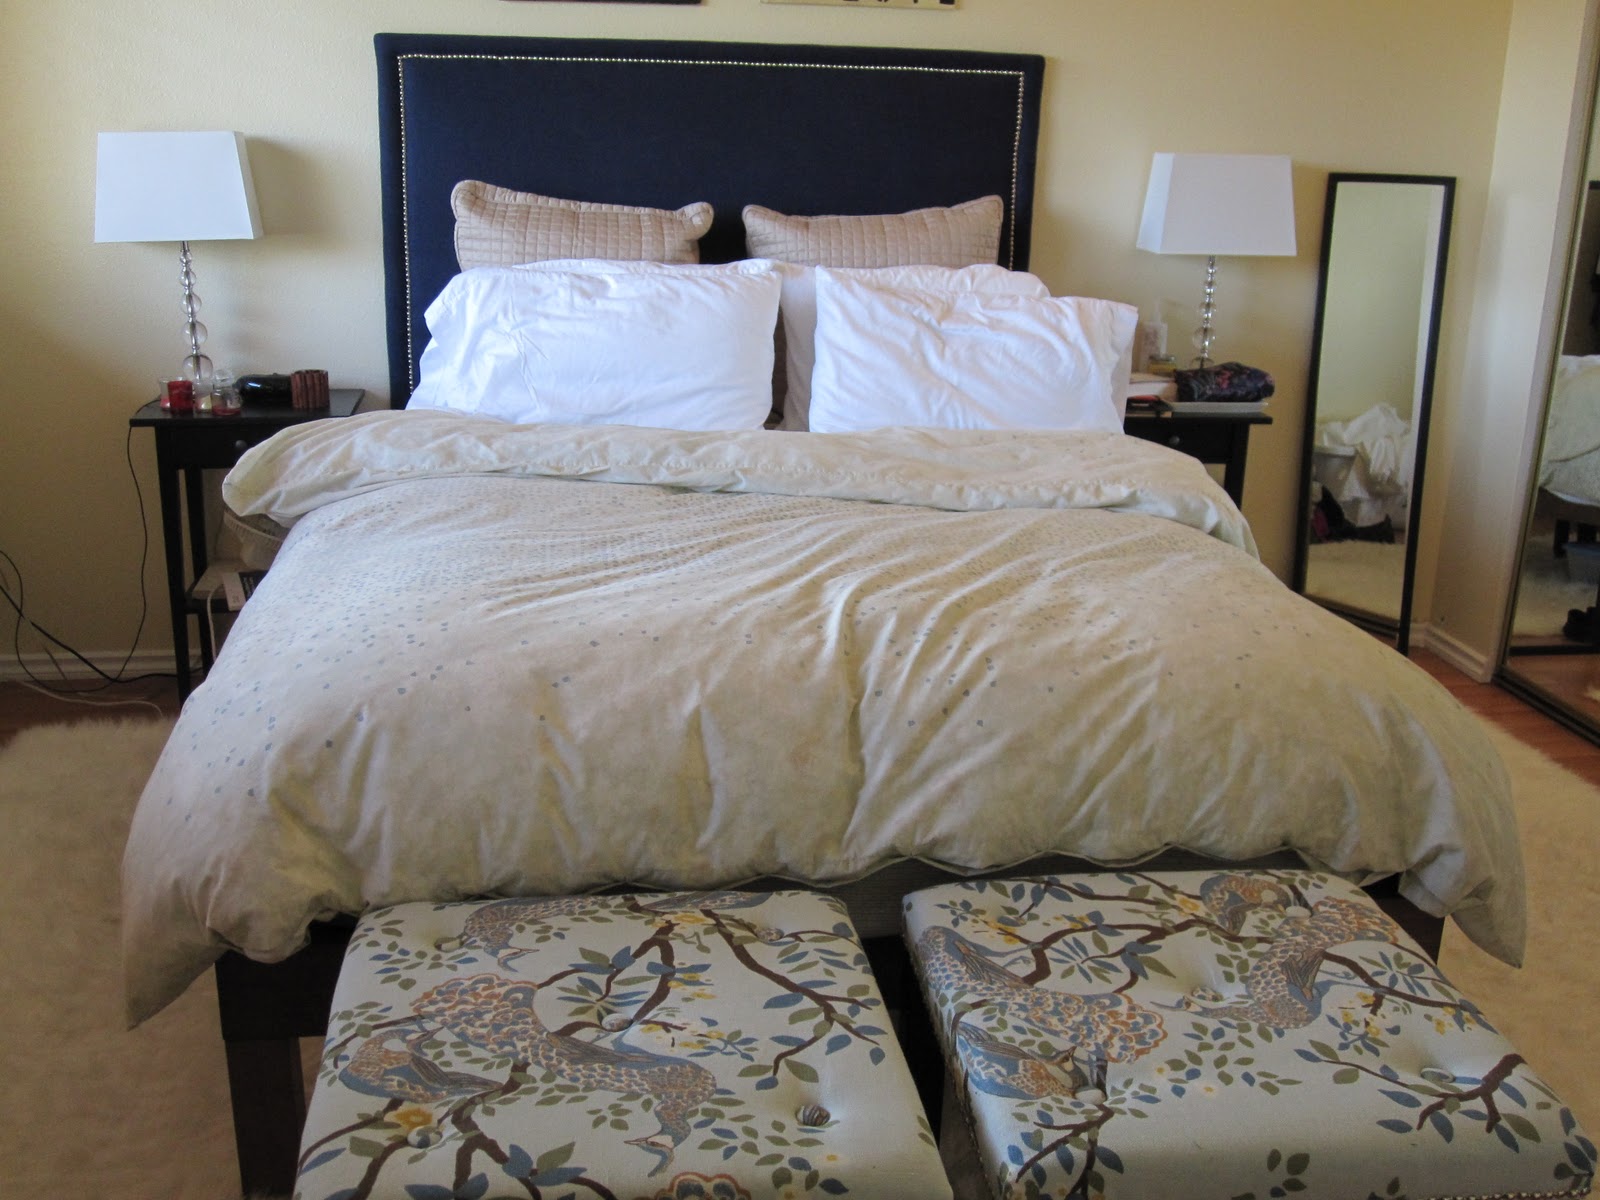
we have been using two lack tables as a coffee table for a year or so and they have worked really well because (1) they are cheap – $20 for a coffee table, yes please! and (2) we have a rolling ottoman that we wanted to use in the living room and the lack tables flanked each side perfectly. while (2) still exists, i got tired of the configuration and constant adjustment of the tables and ottoman; plus, the ottoman and the couch look horrible together and i haven’t worked up the gumption to make a slip cover for the ottoman (it is on my to-do list, but i need some more practice sewing as a slip cover requires very straight lines and perfect corners). so, i decided that we should get an actual coffee table (which is a search that is still in the works) and move the tables elsewhere. the elsewhere ended up being in our bedroom because it just so happens that we needed something at the end of our bed to act as a place to put socks & shoes on/a place to hold the comforter in the summer/a place where i could add color to the room without adding more pillows to the bed (my husband said “enough” at six pillows).
in order to add color to the room with the two tables i decided to upholster the table tops. just a few months ago we made an upholstered headboard, and i decided i could use the same process.
supplies:
foam (joann sells foam by the yard)
batting (joann sells quilt batting in packages)
staple gun and staples
washers (12 cents a piece at a local hardware store)
nailhead trim (ebay, amazon and tons of other online stores have this trim; i got mine on
ebay)
hammer
the overall cost of this project is pretty low but the kicker for me was the cost of the fabric. (sidenote: any time i plan on using fabric, my go-to is dwell studio. the entire fabric line is gorgeous, high quality, and expensive but i know that i won’t be disappointed with the decision.)
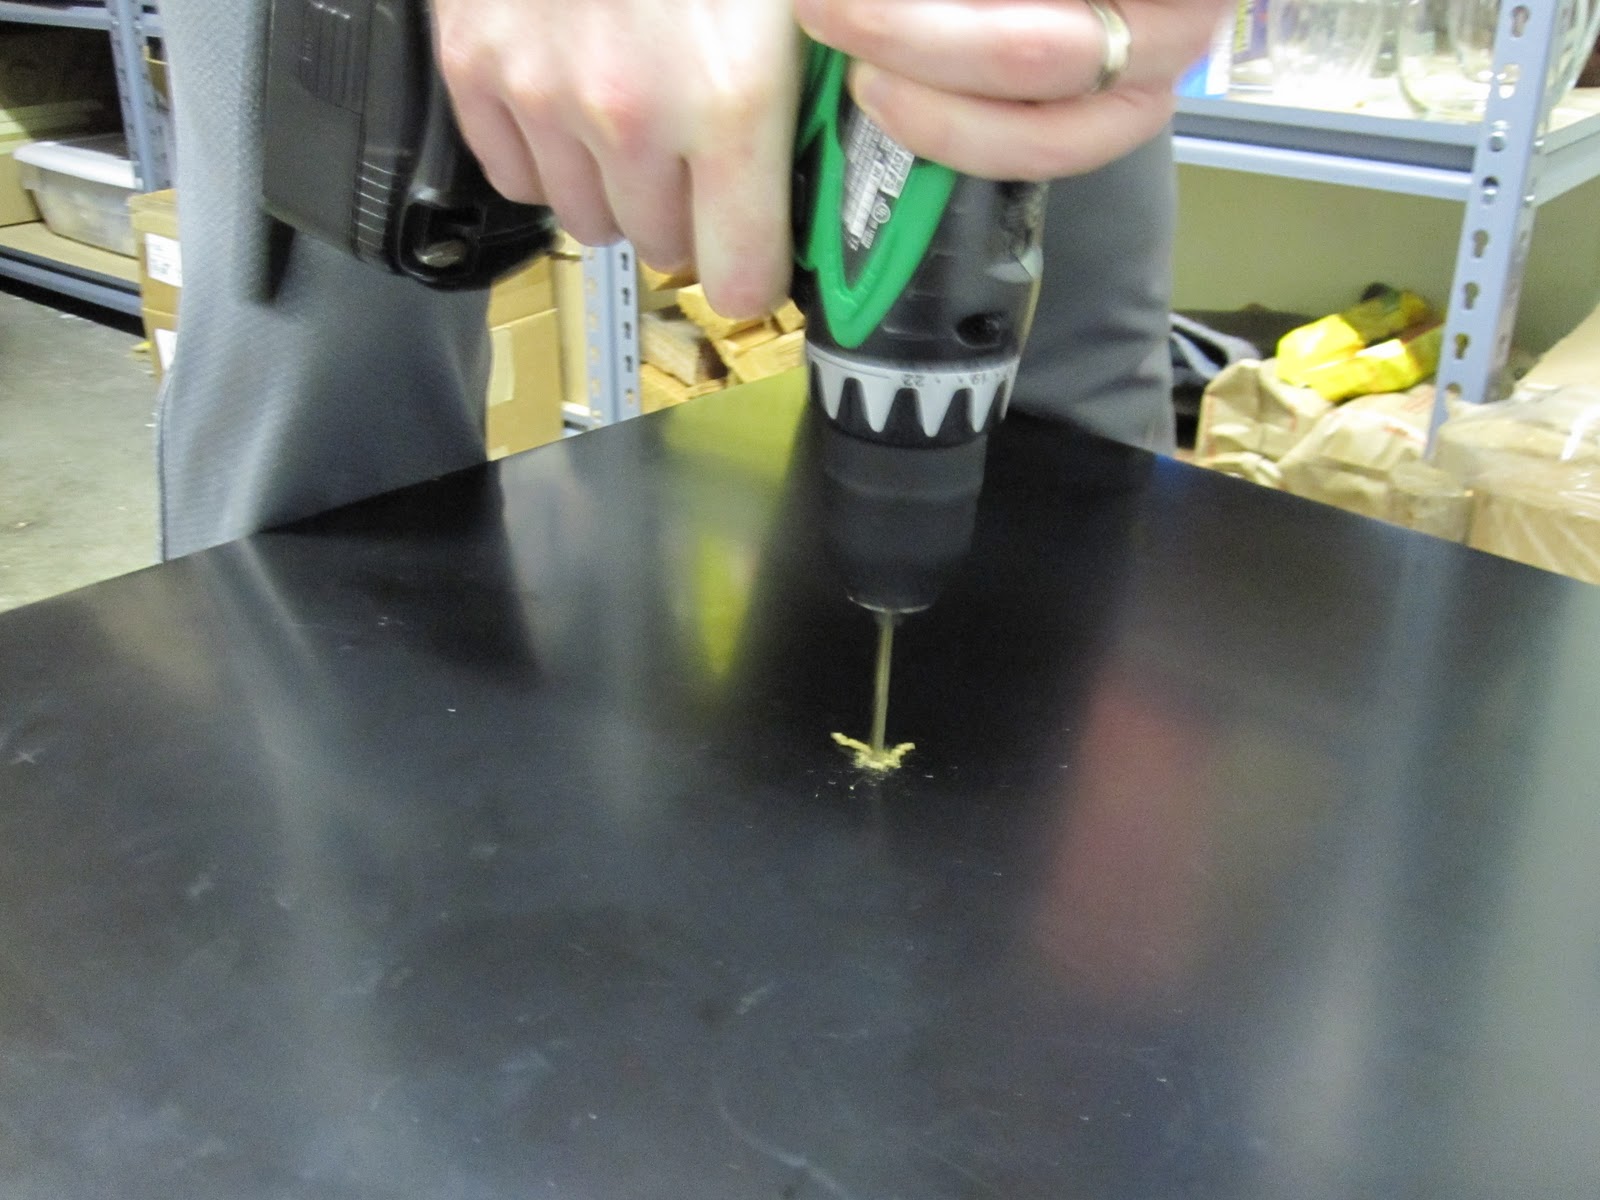
i wanted to add buttons, so our first step was marking and drilling the holes.
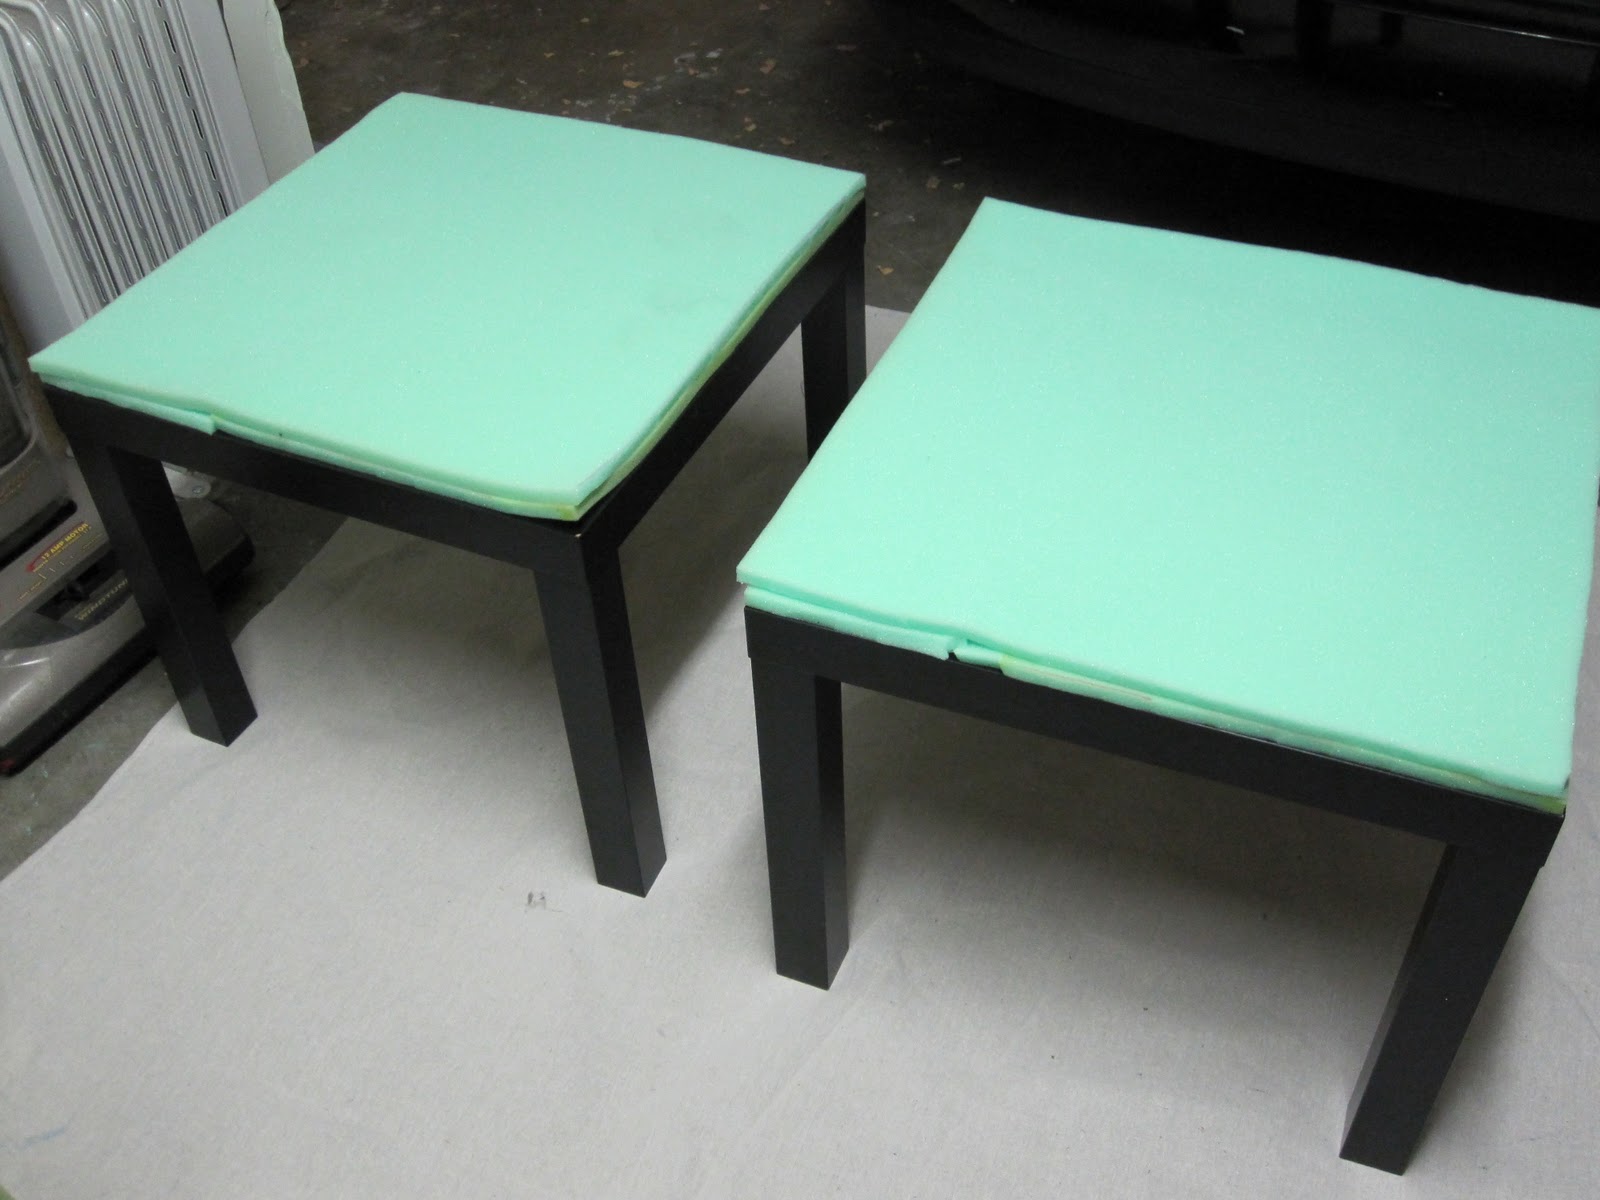
then we needed to add the foam to the table tops. we decided on one inch of foam; i had half inch foam from our headboard project so we just doubled it up.
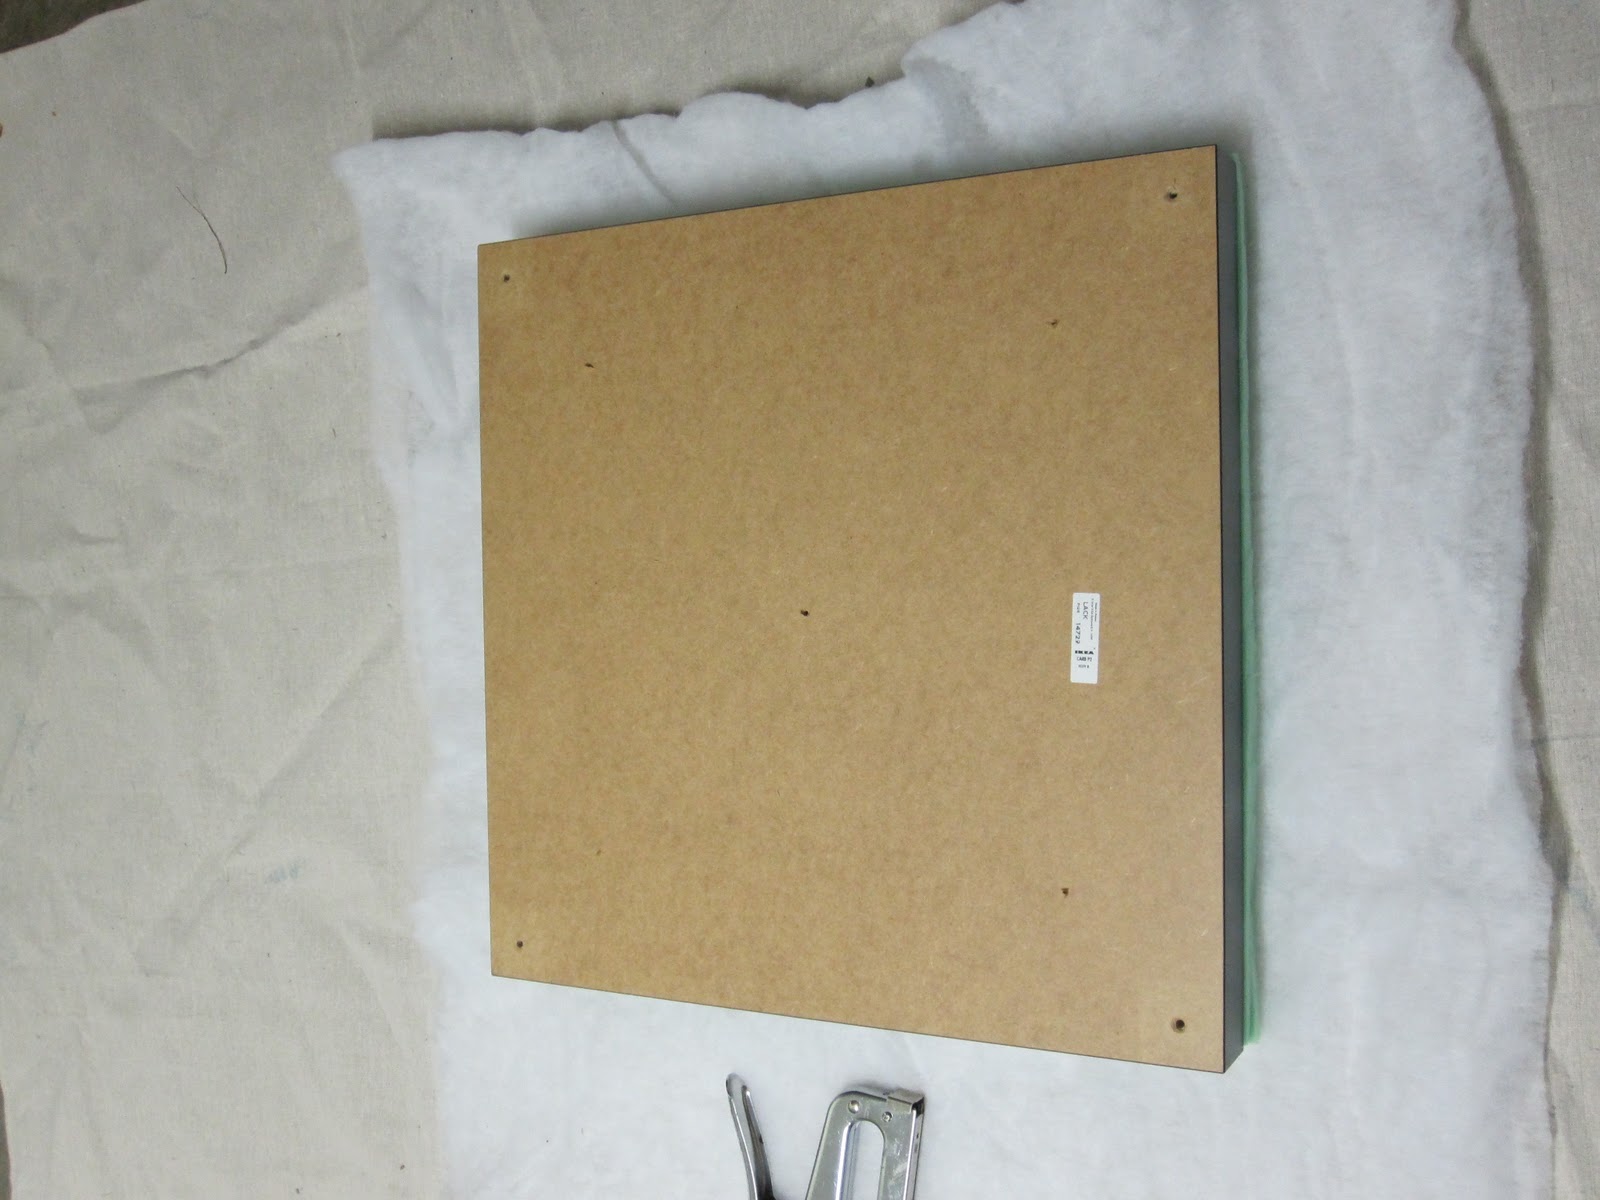
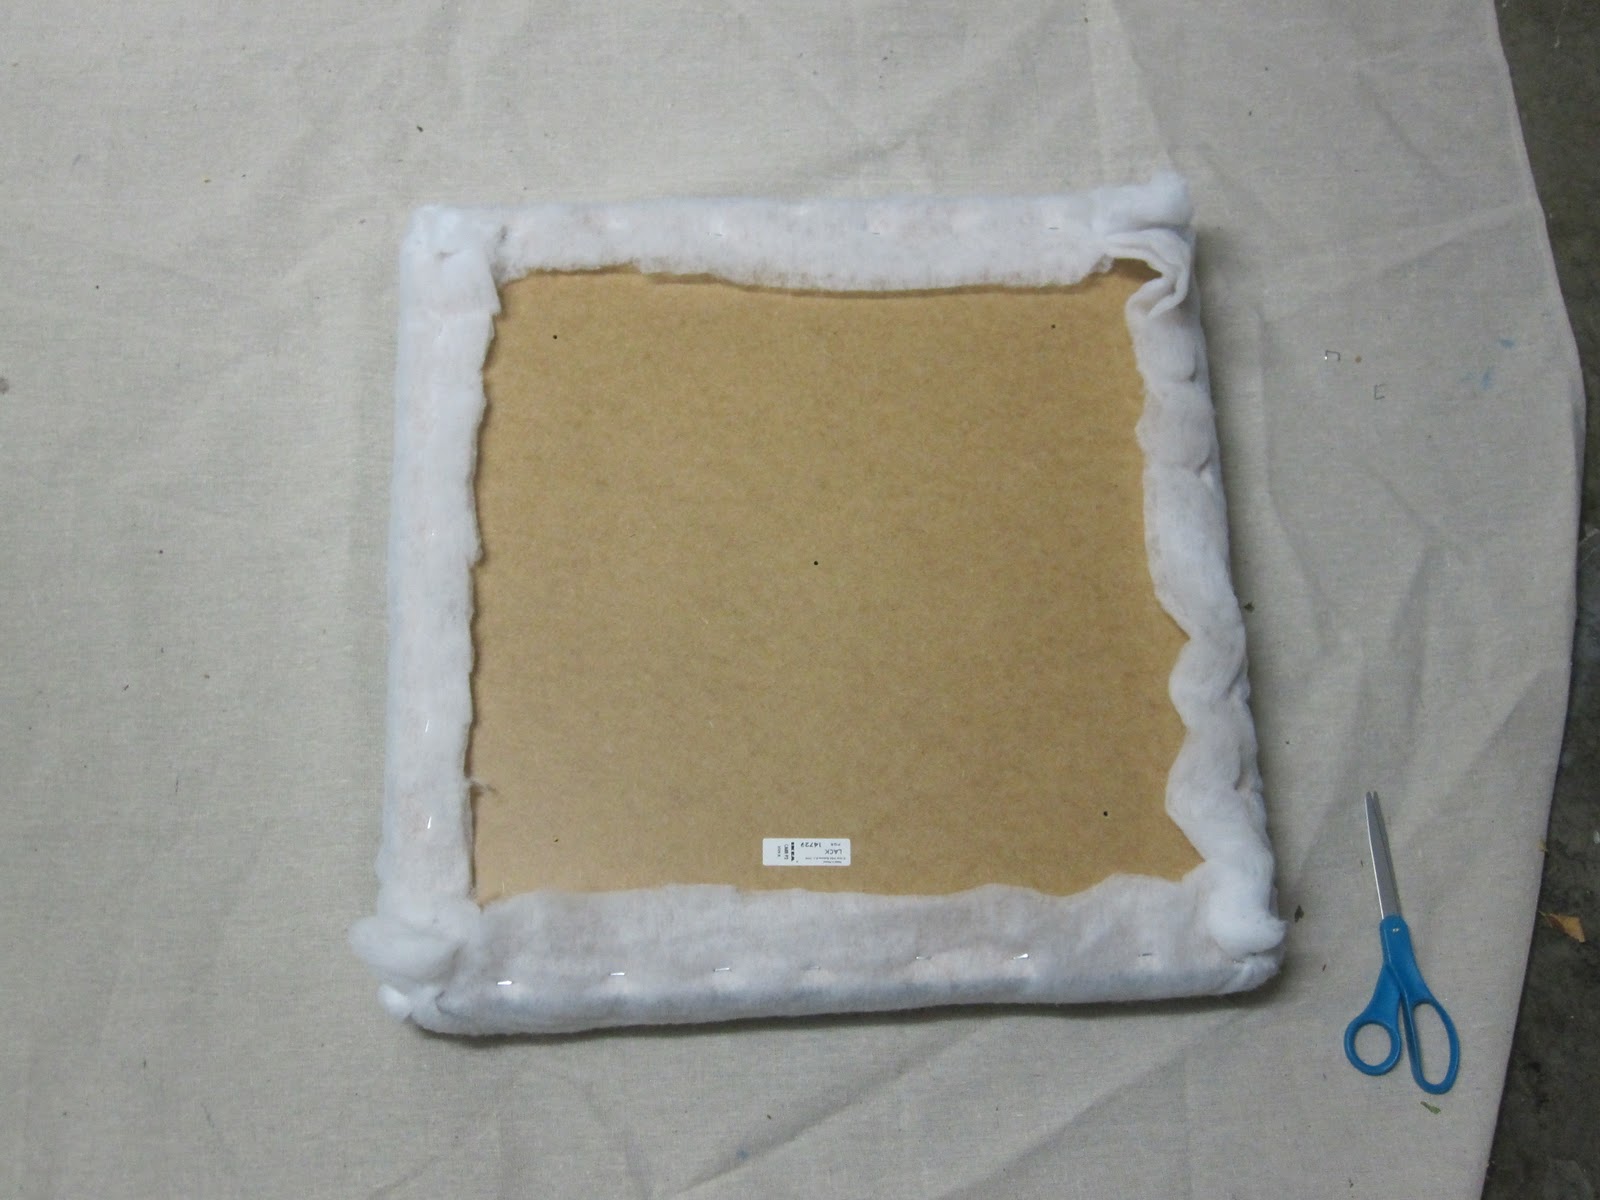
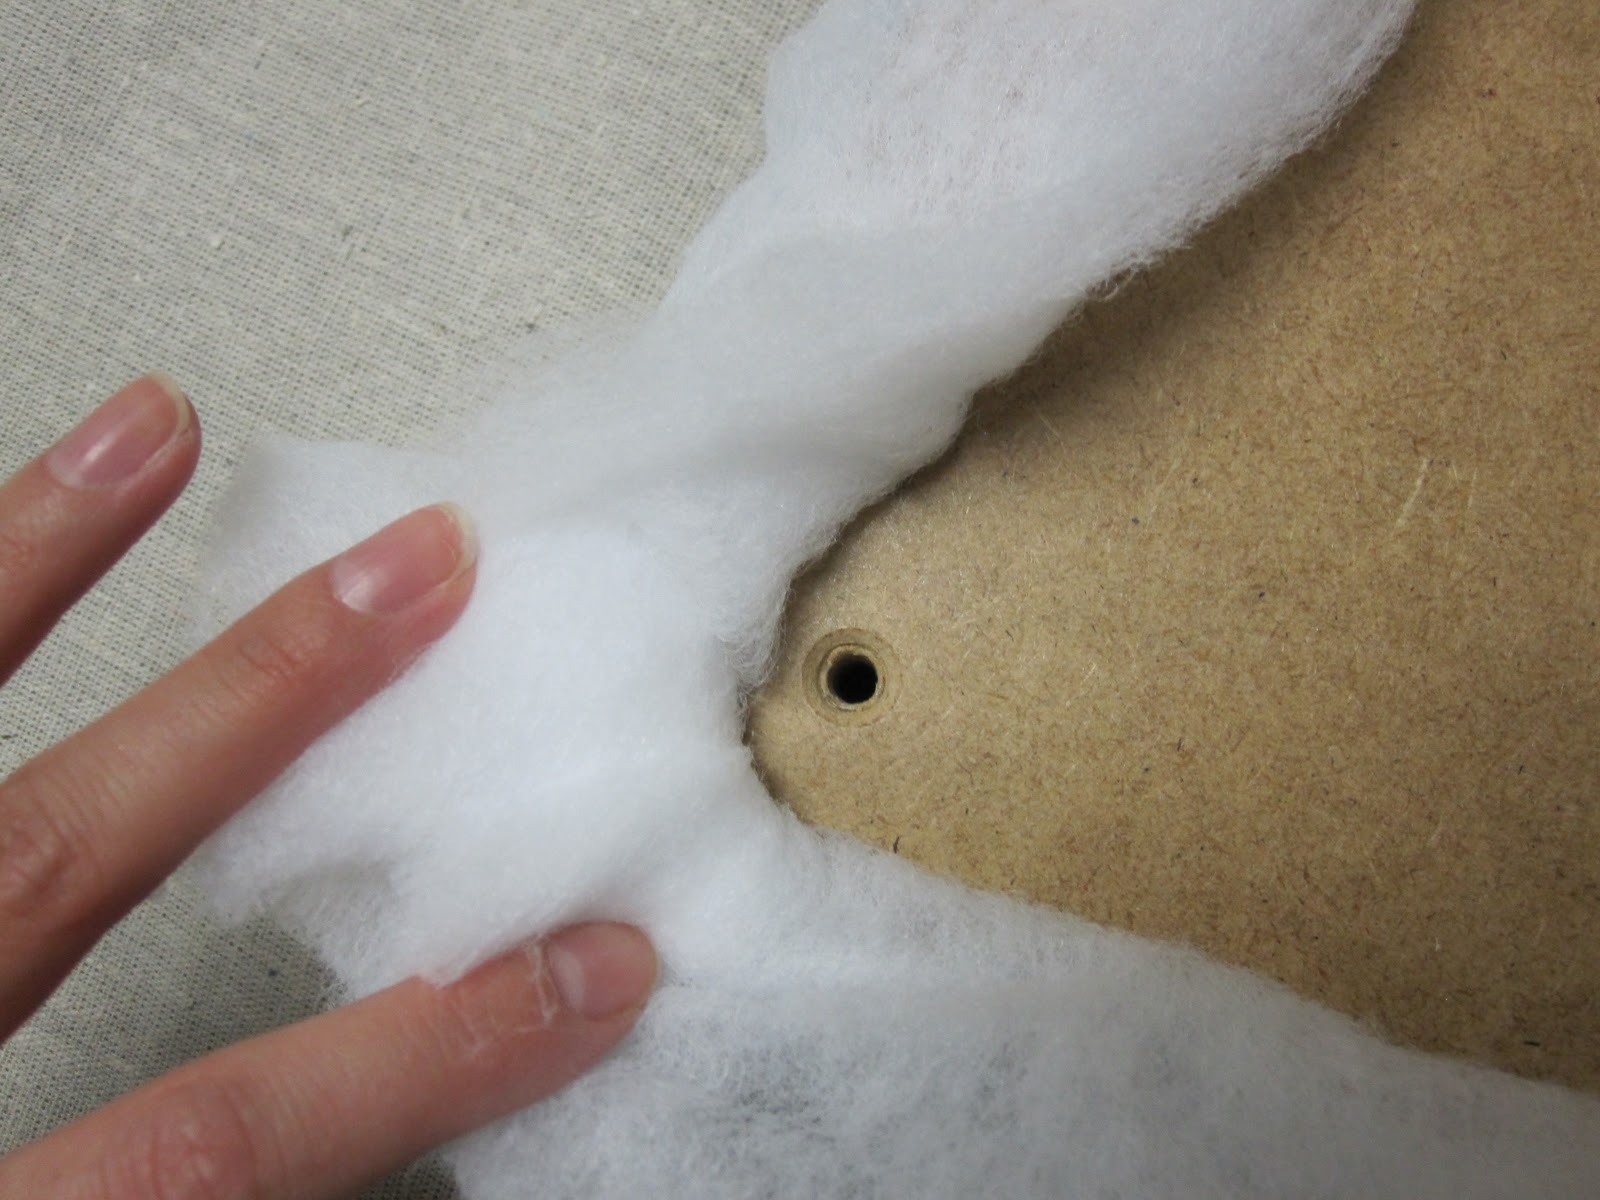
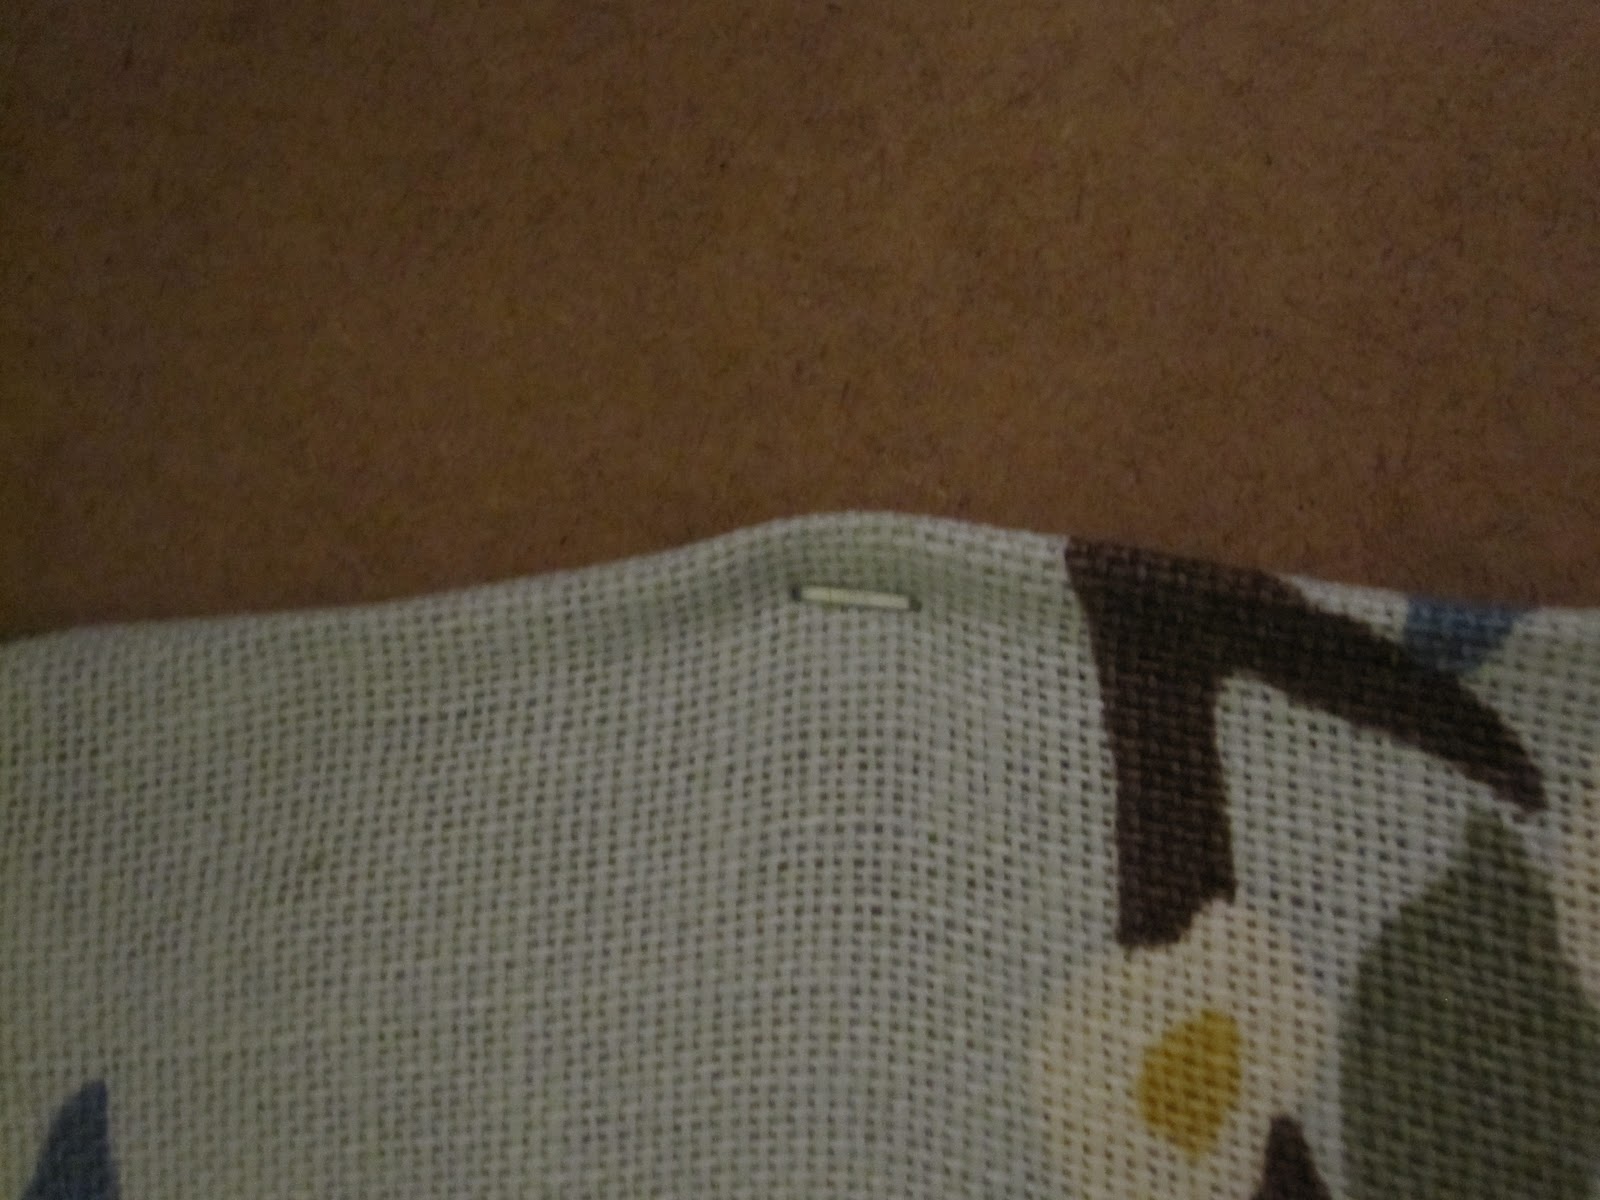
next we added a layer of batting. first we took the legs of the tops and then we secured the batting with staples. we made sure that the staples were really near the edge of the table on the corners so that we wouldn’t have a problem screwing the legs back on at the end. we ended up cutting the extra batting that was around each leg hole so that the leg could be secured flat.
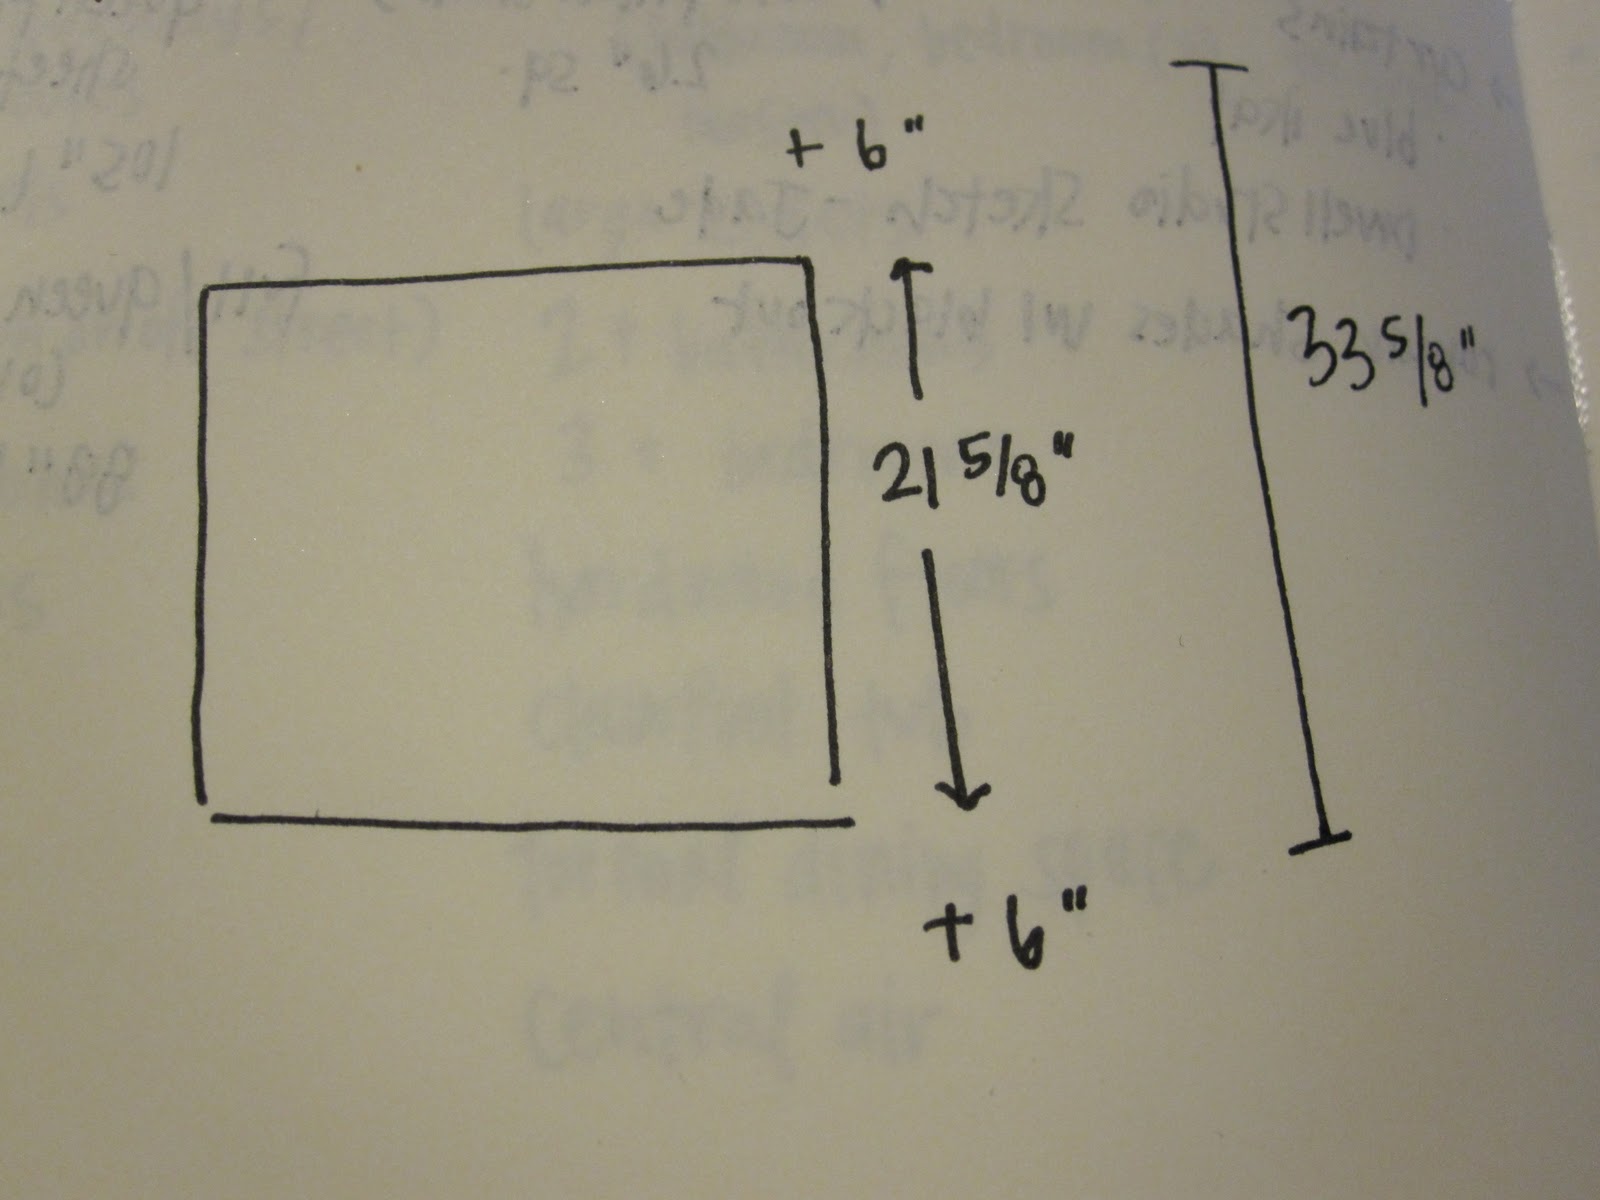
for the fabric, we used a 34 inch square of fabric for each table top. the lack tables are 21 and 5/8 inches square. i figured we needed 6 extra inches of fabric: 3 inches of fabric for the height of the table top plus the foam, and 3 inches of fabric under the table top to secure with staples.
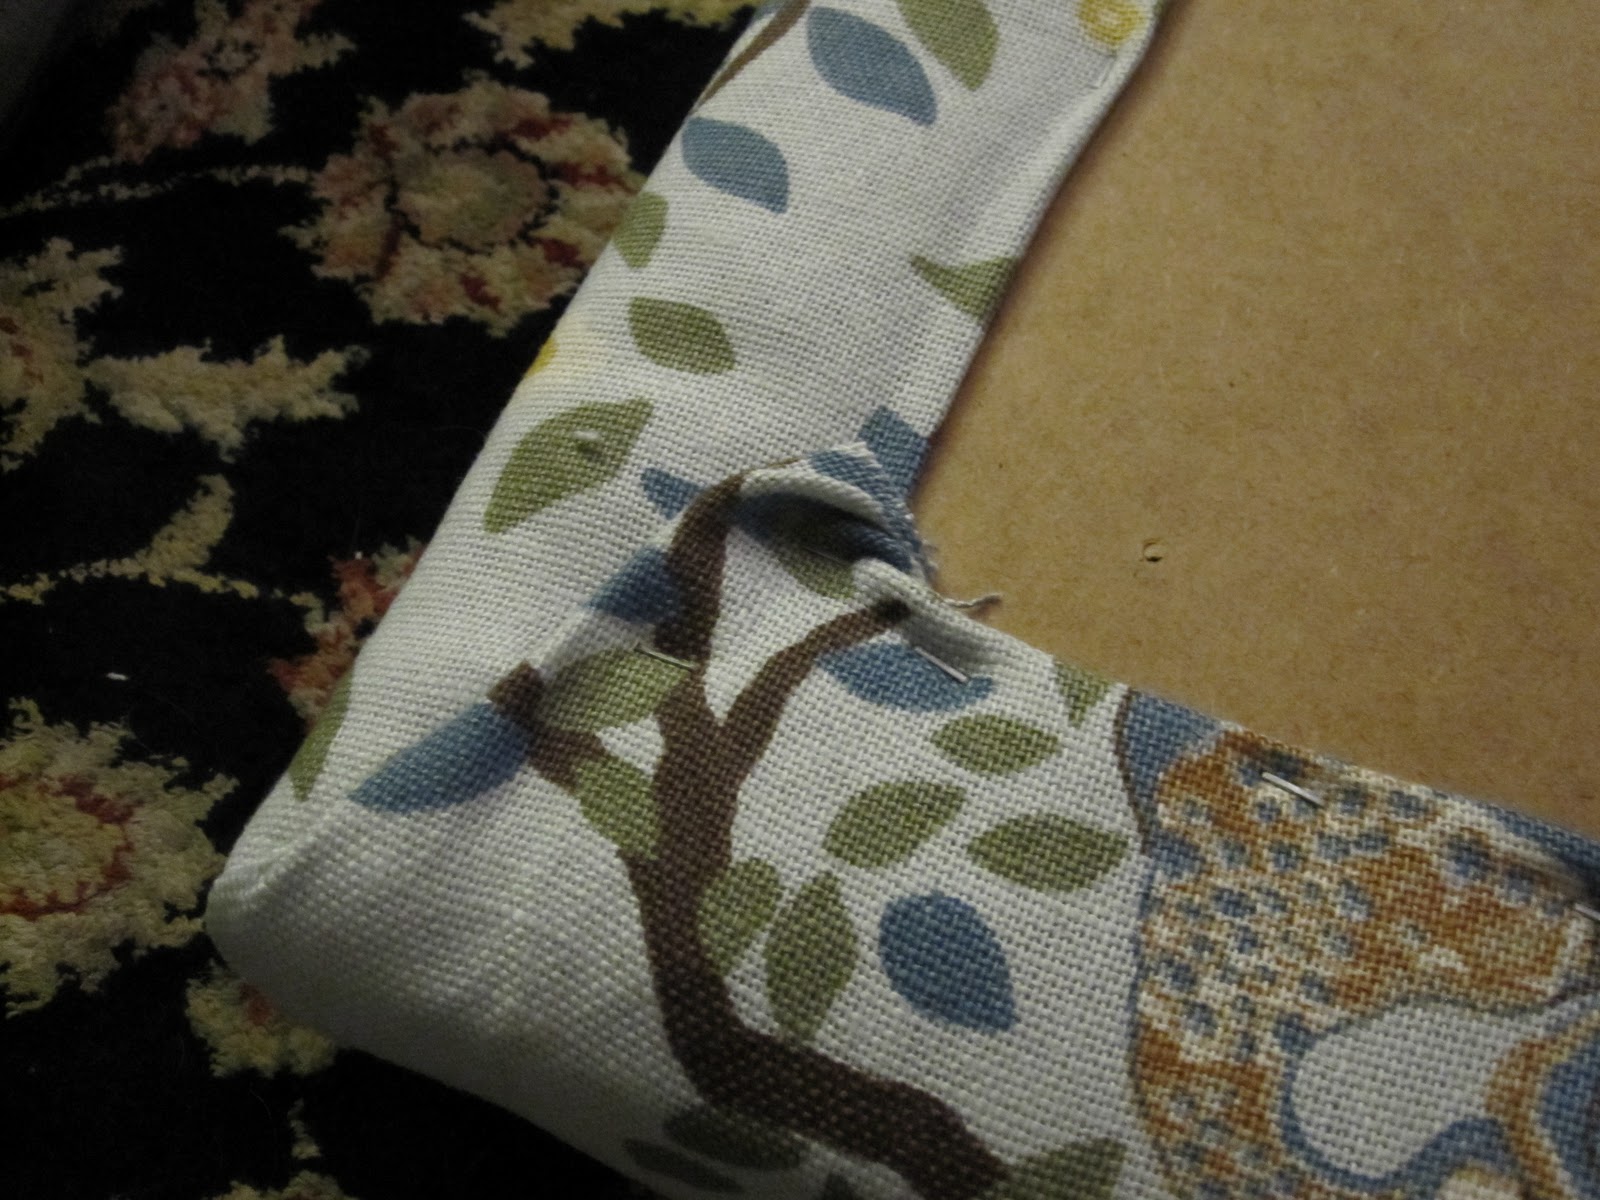
we stapled the fabric over the batting and had enough to tuck the edges. we finished the corners by wrapping the corner like a present.
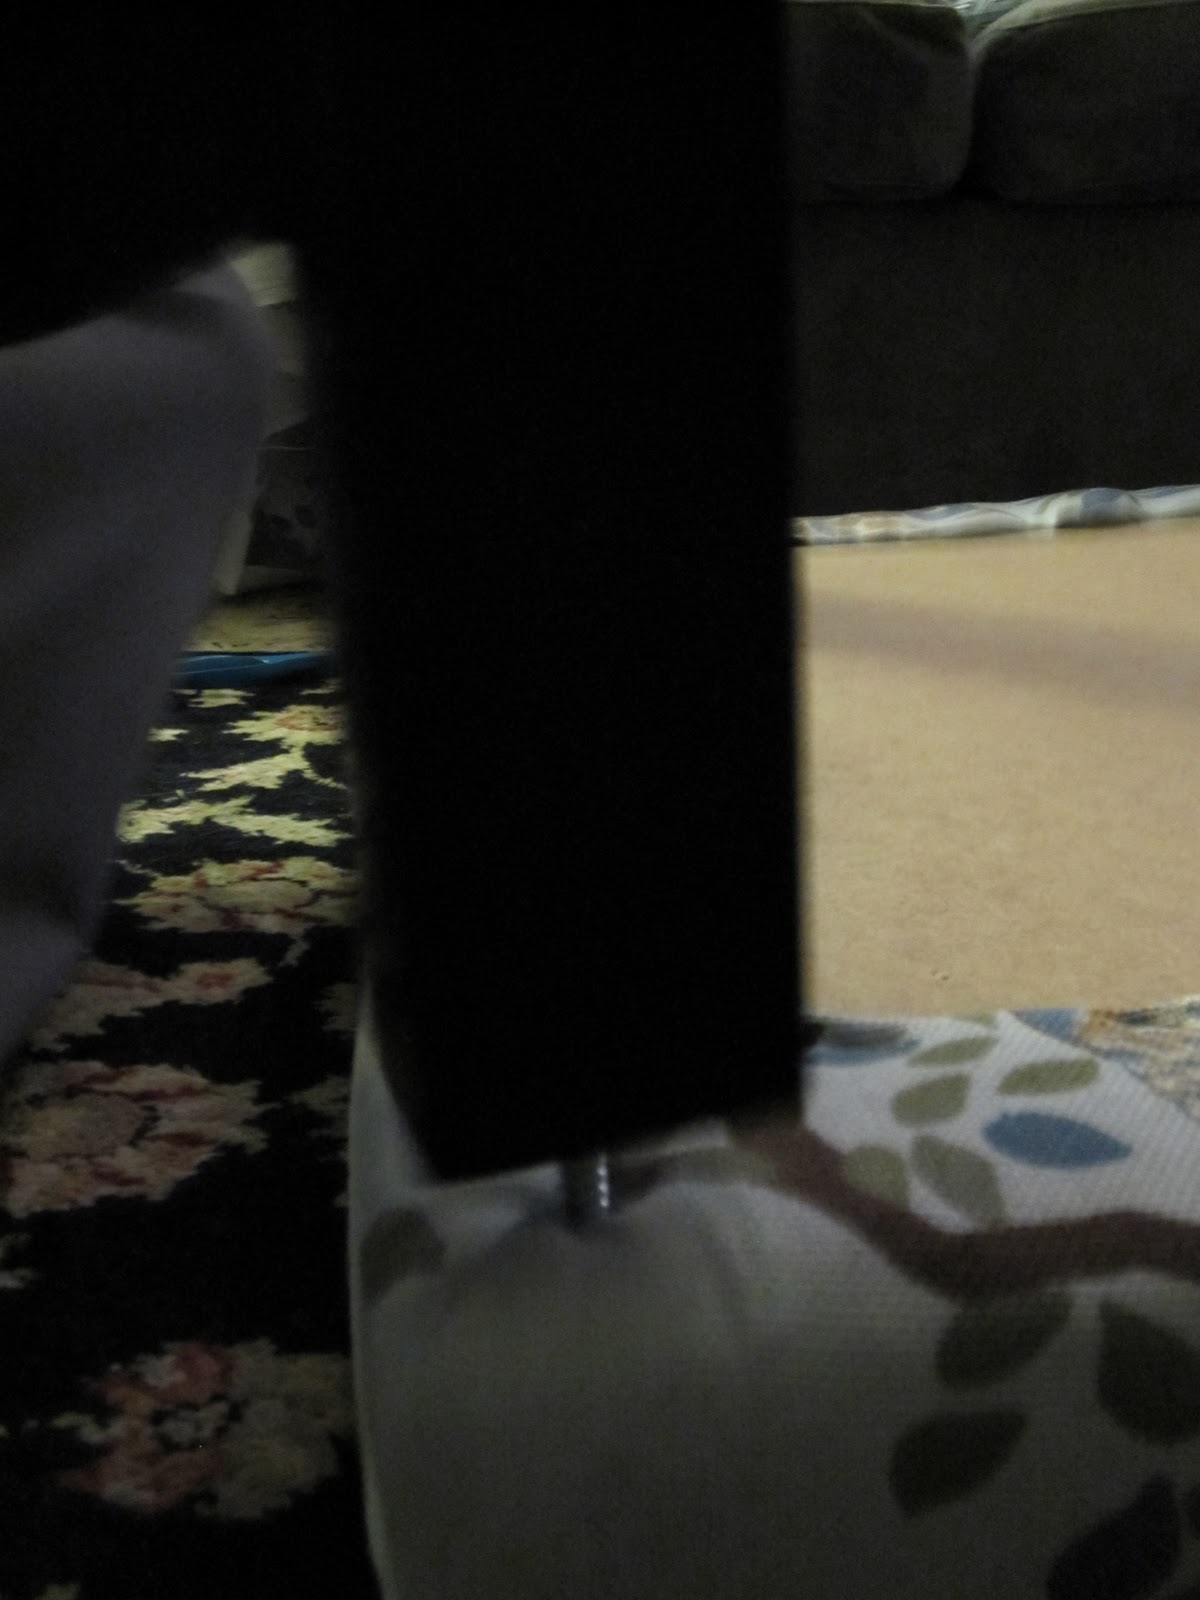
after we stapled all of the fabric onto the table top, we screwed the legs back on. it was an easy process as the legs only had to go thru two or so layers of fabric since we cut the extra batting away.
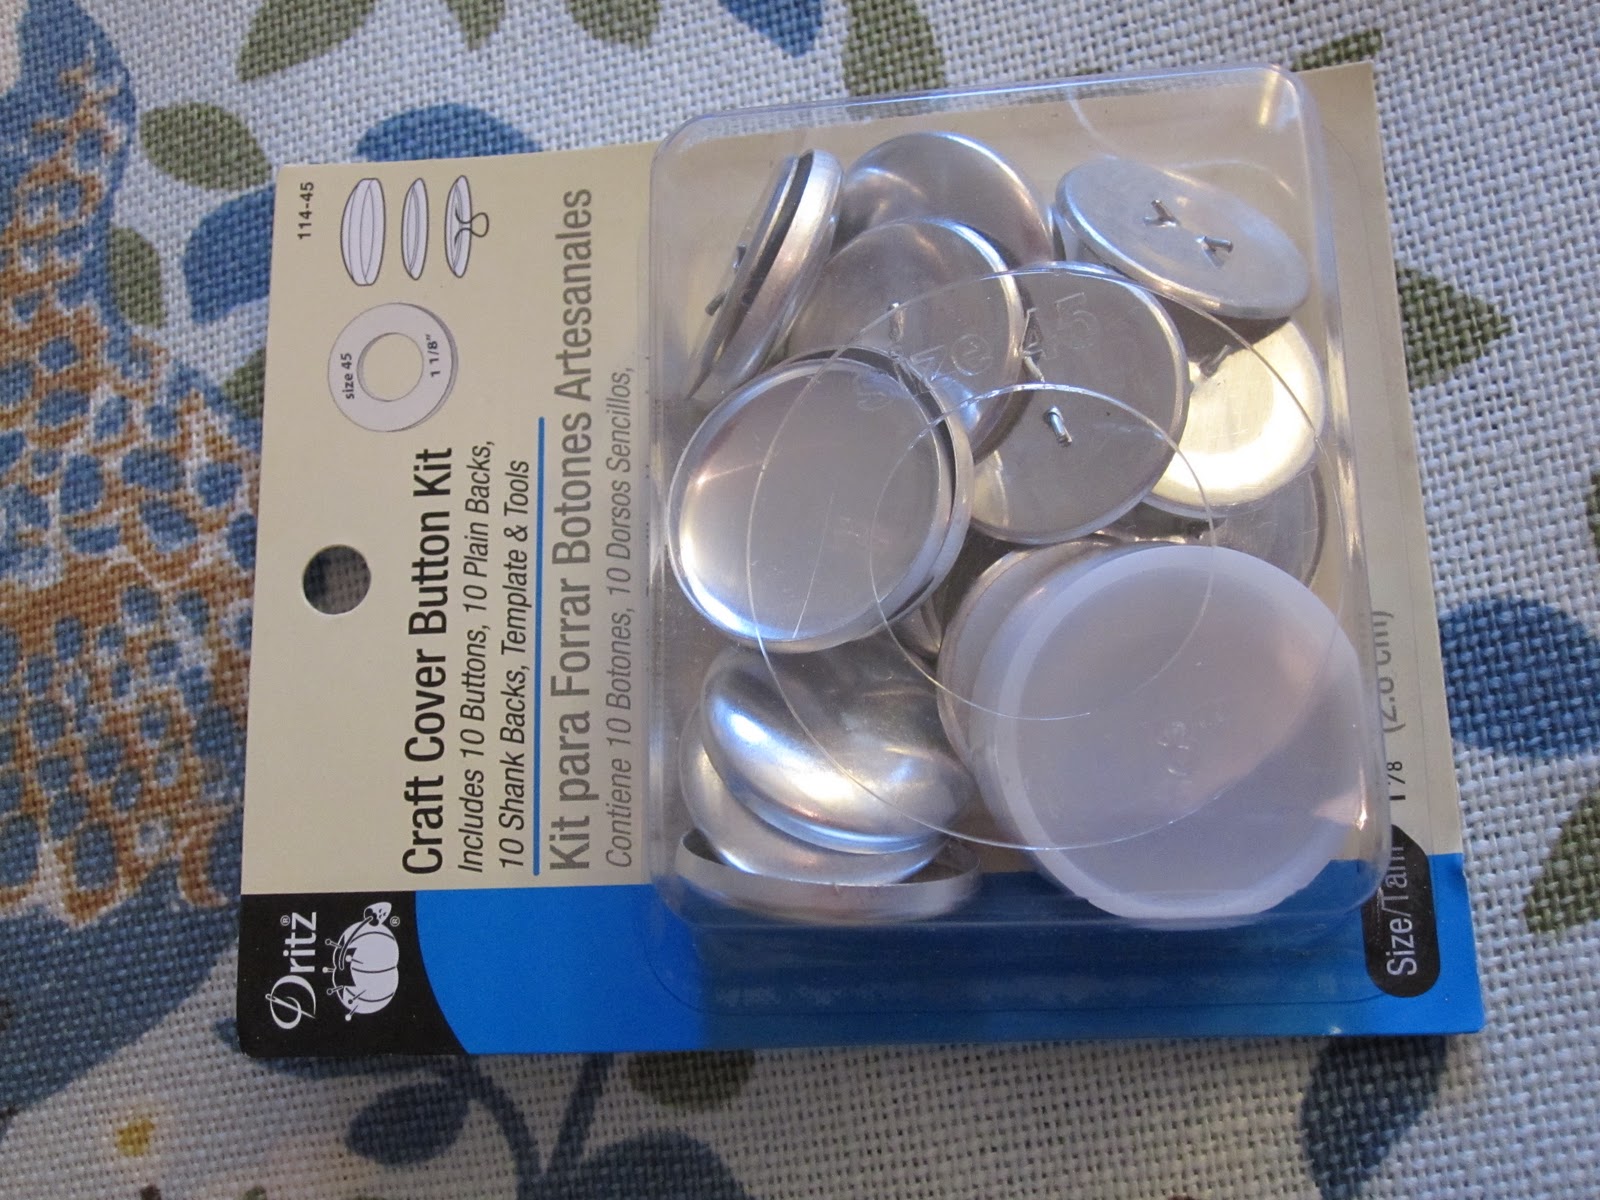
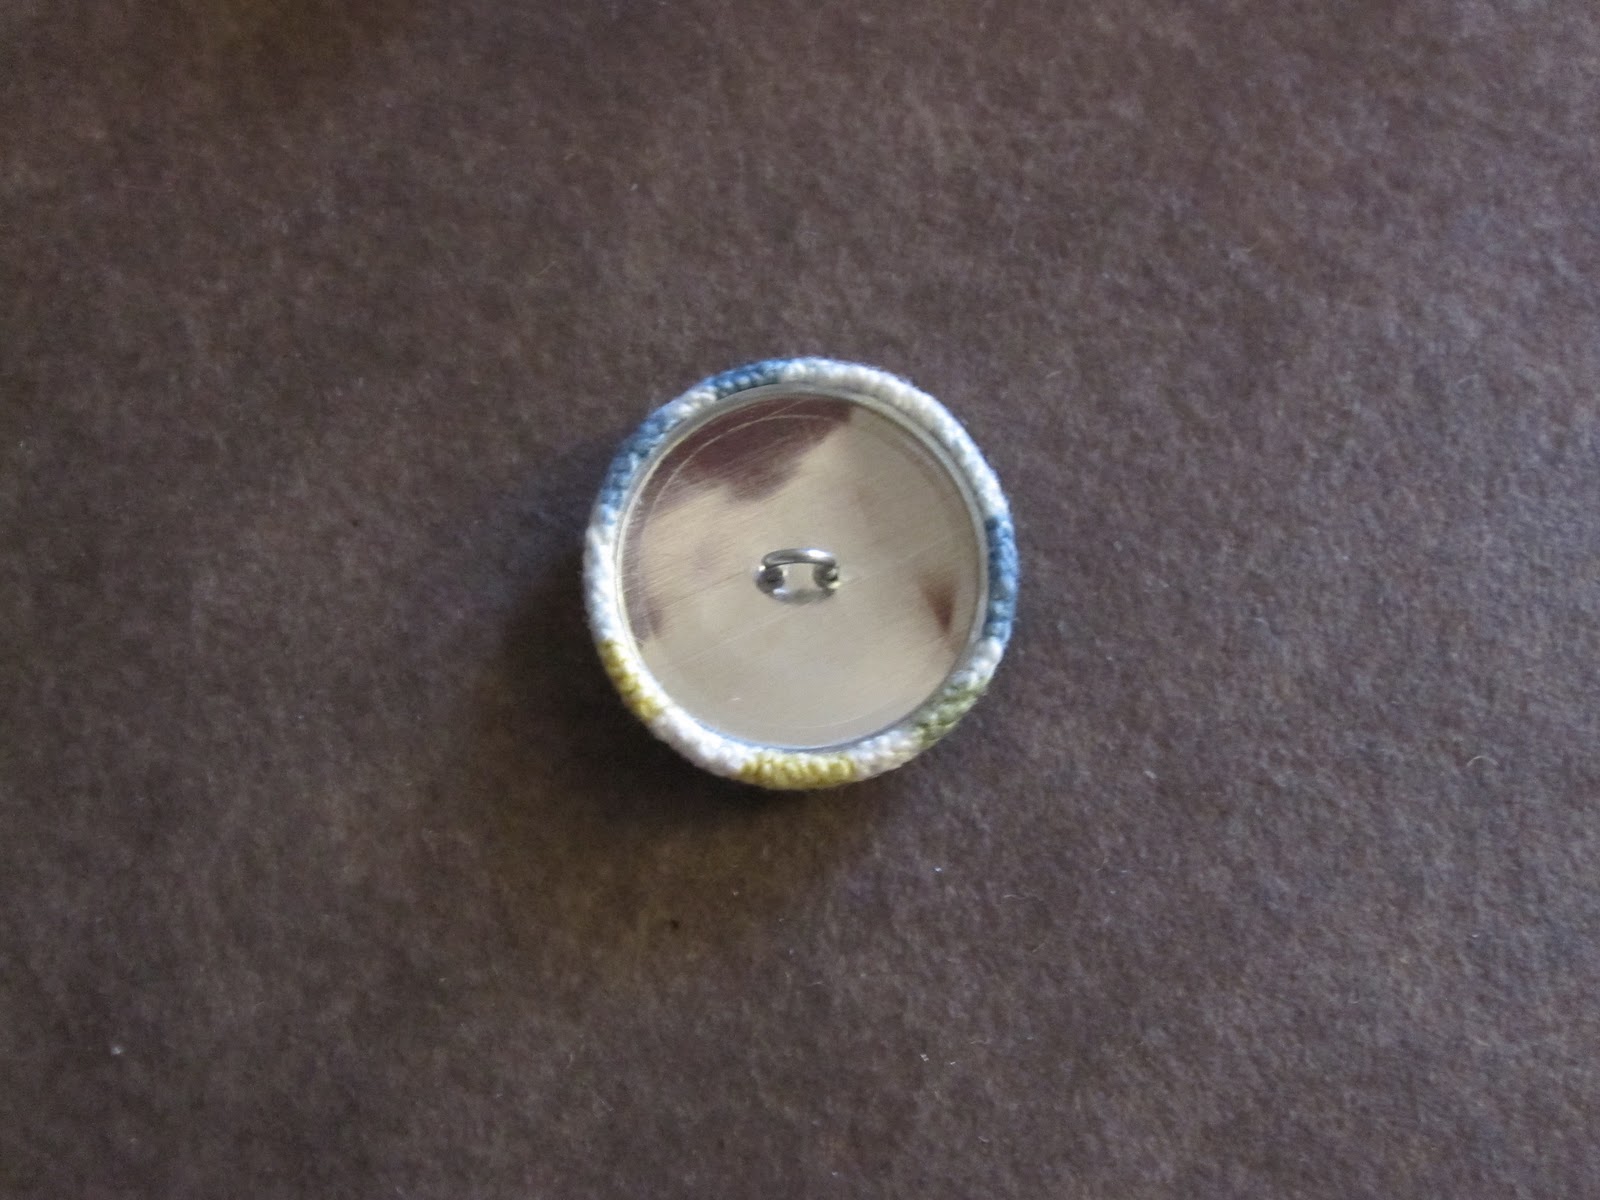
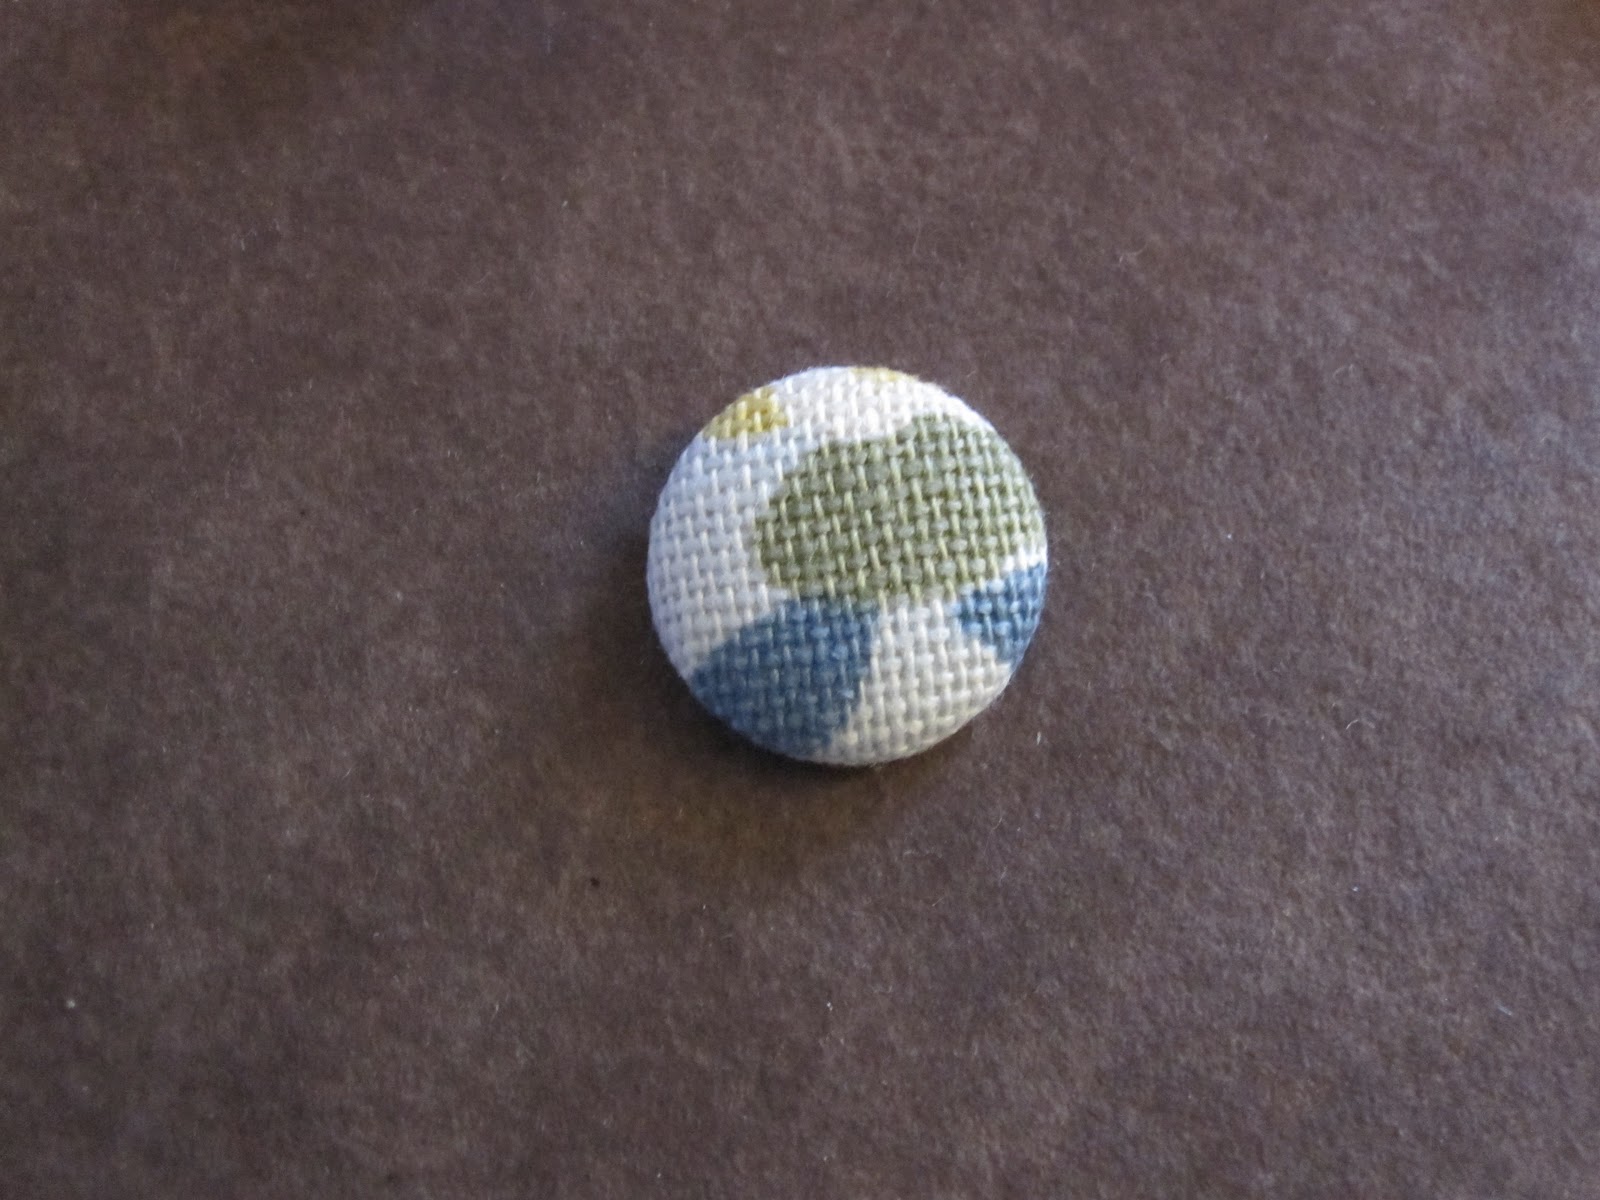
next came the buttons. i used a button kit that just so happened to make ten buttons. i just followed the instructions on the back of the kit.
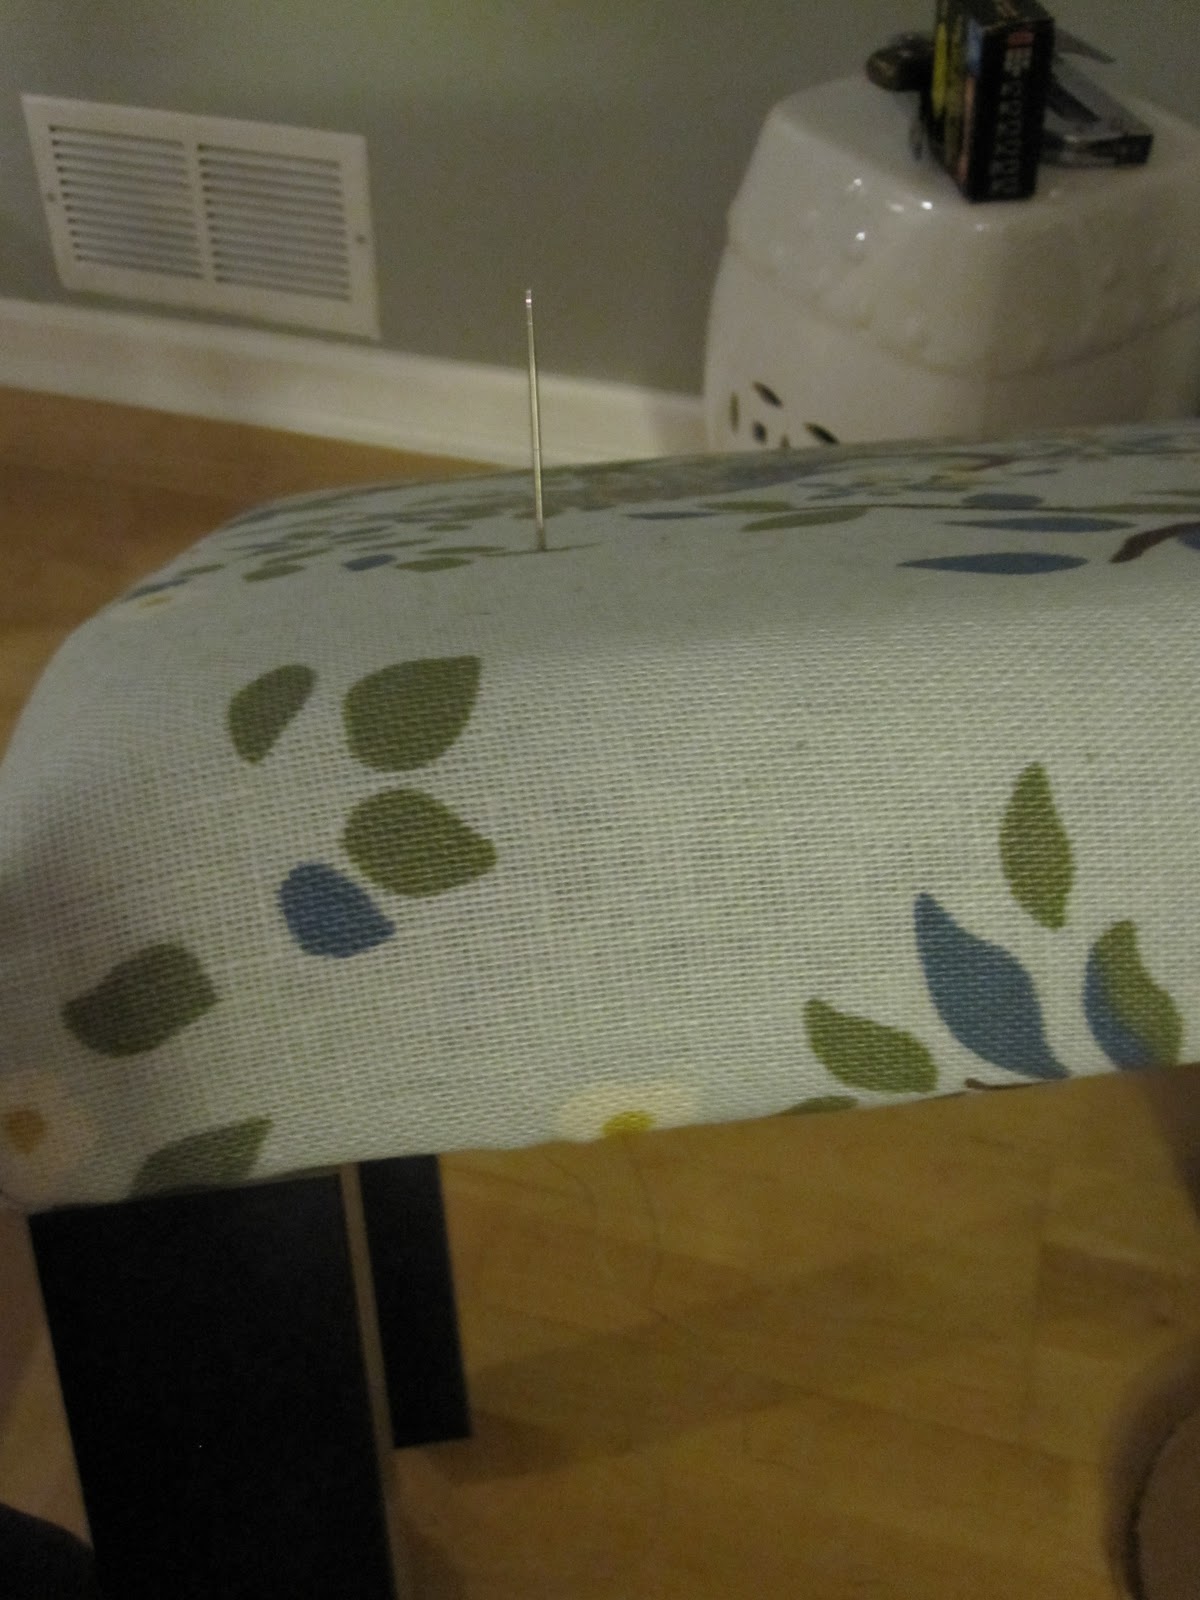
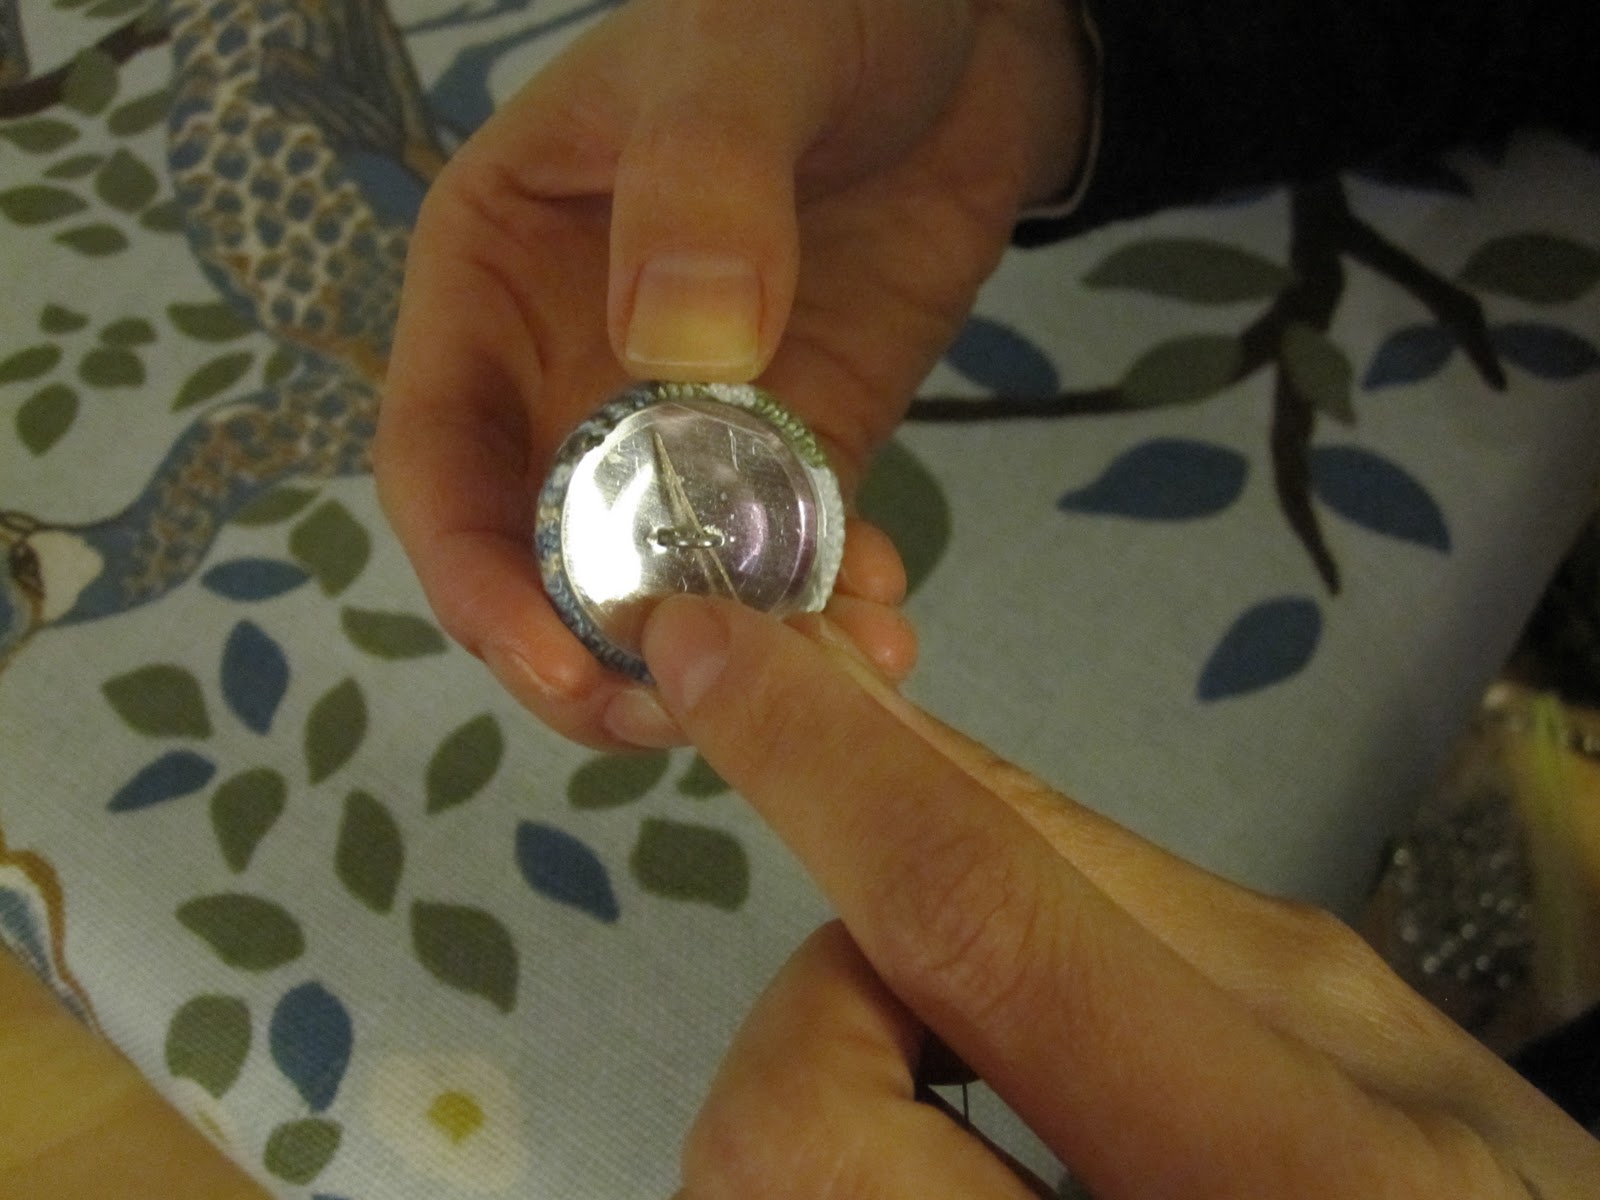
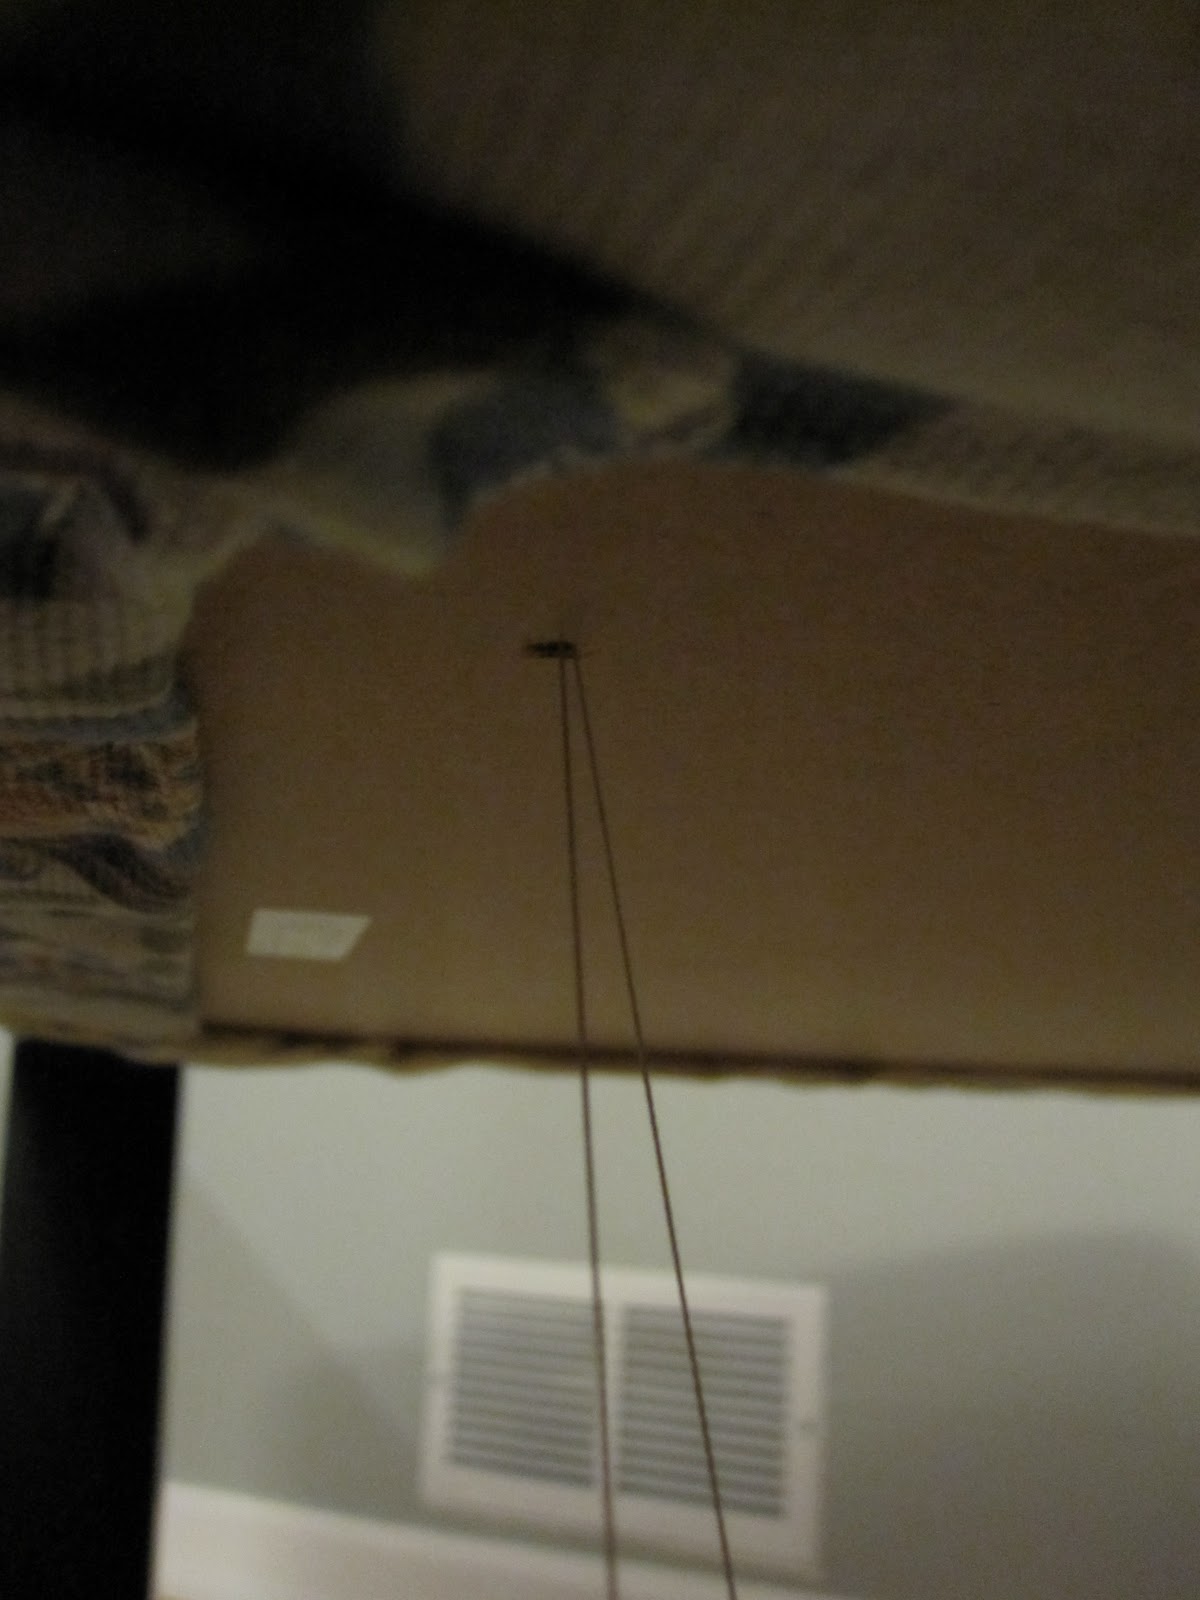
then we added the buttons. we used a long upholstery needle and upholstery thread. first we threaded the needle and went up thru the pre-drilled hole in the table top. then we had to un-thread the needle and thread the thread thru the button as the needle wouldn’t go thru the button. next we re-threaded the needle and then went back down the pre-drilled hole in the table top.
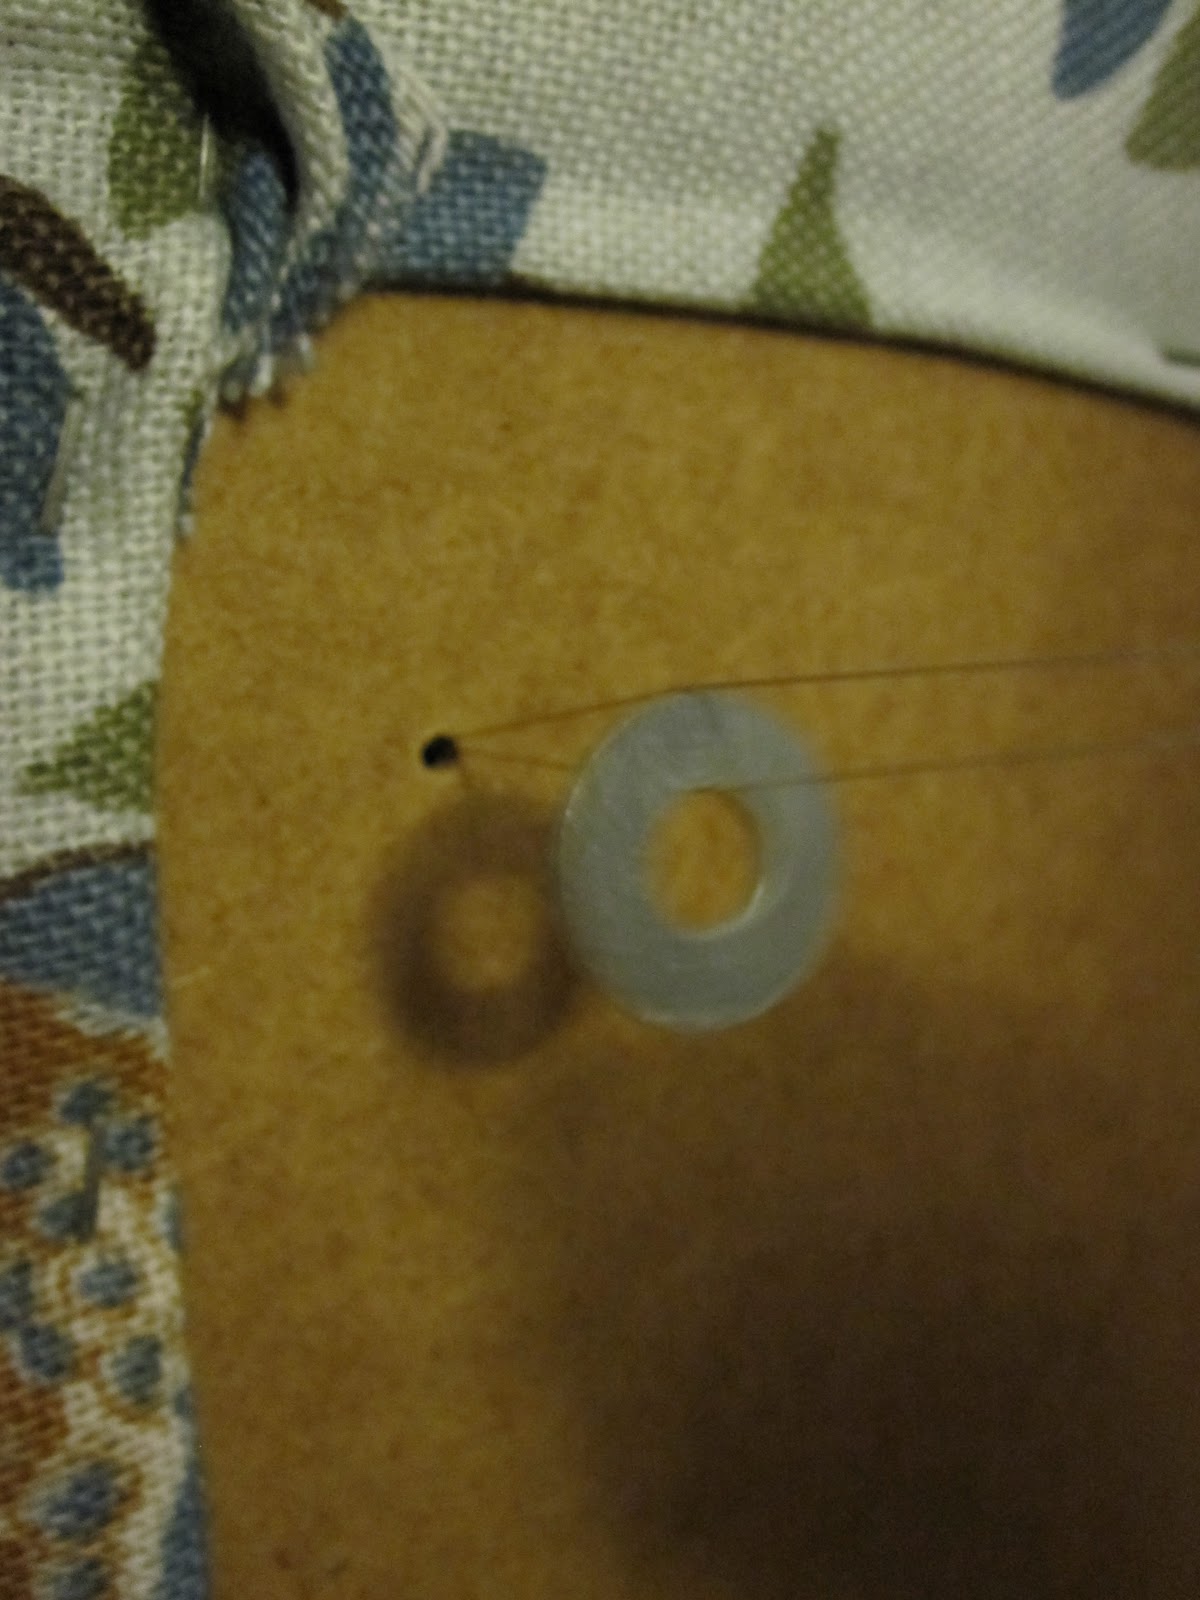
we used a washer under each button to secure it to the table top. we simply threaded one thread thru the washer hole and tied a number of knots.
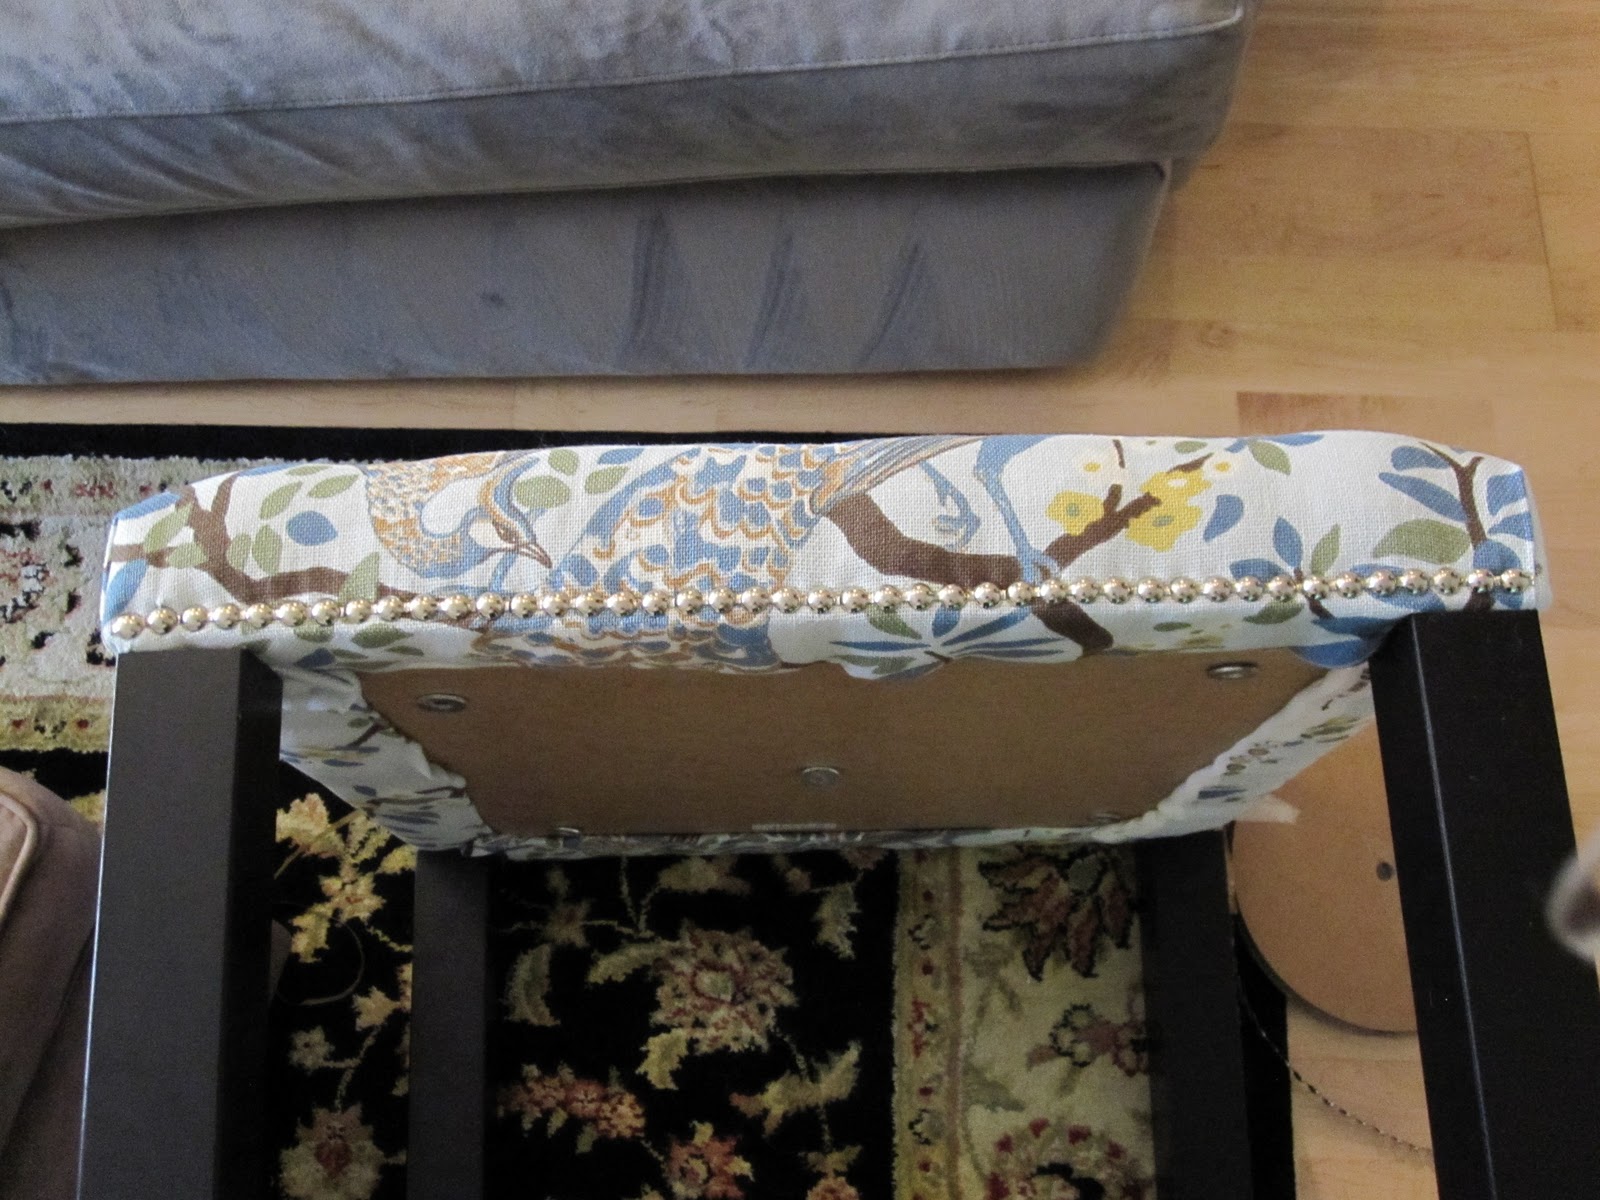
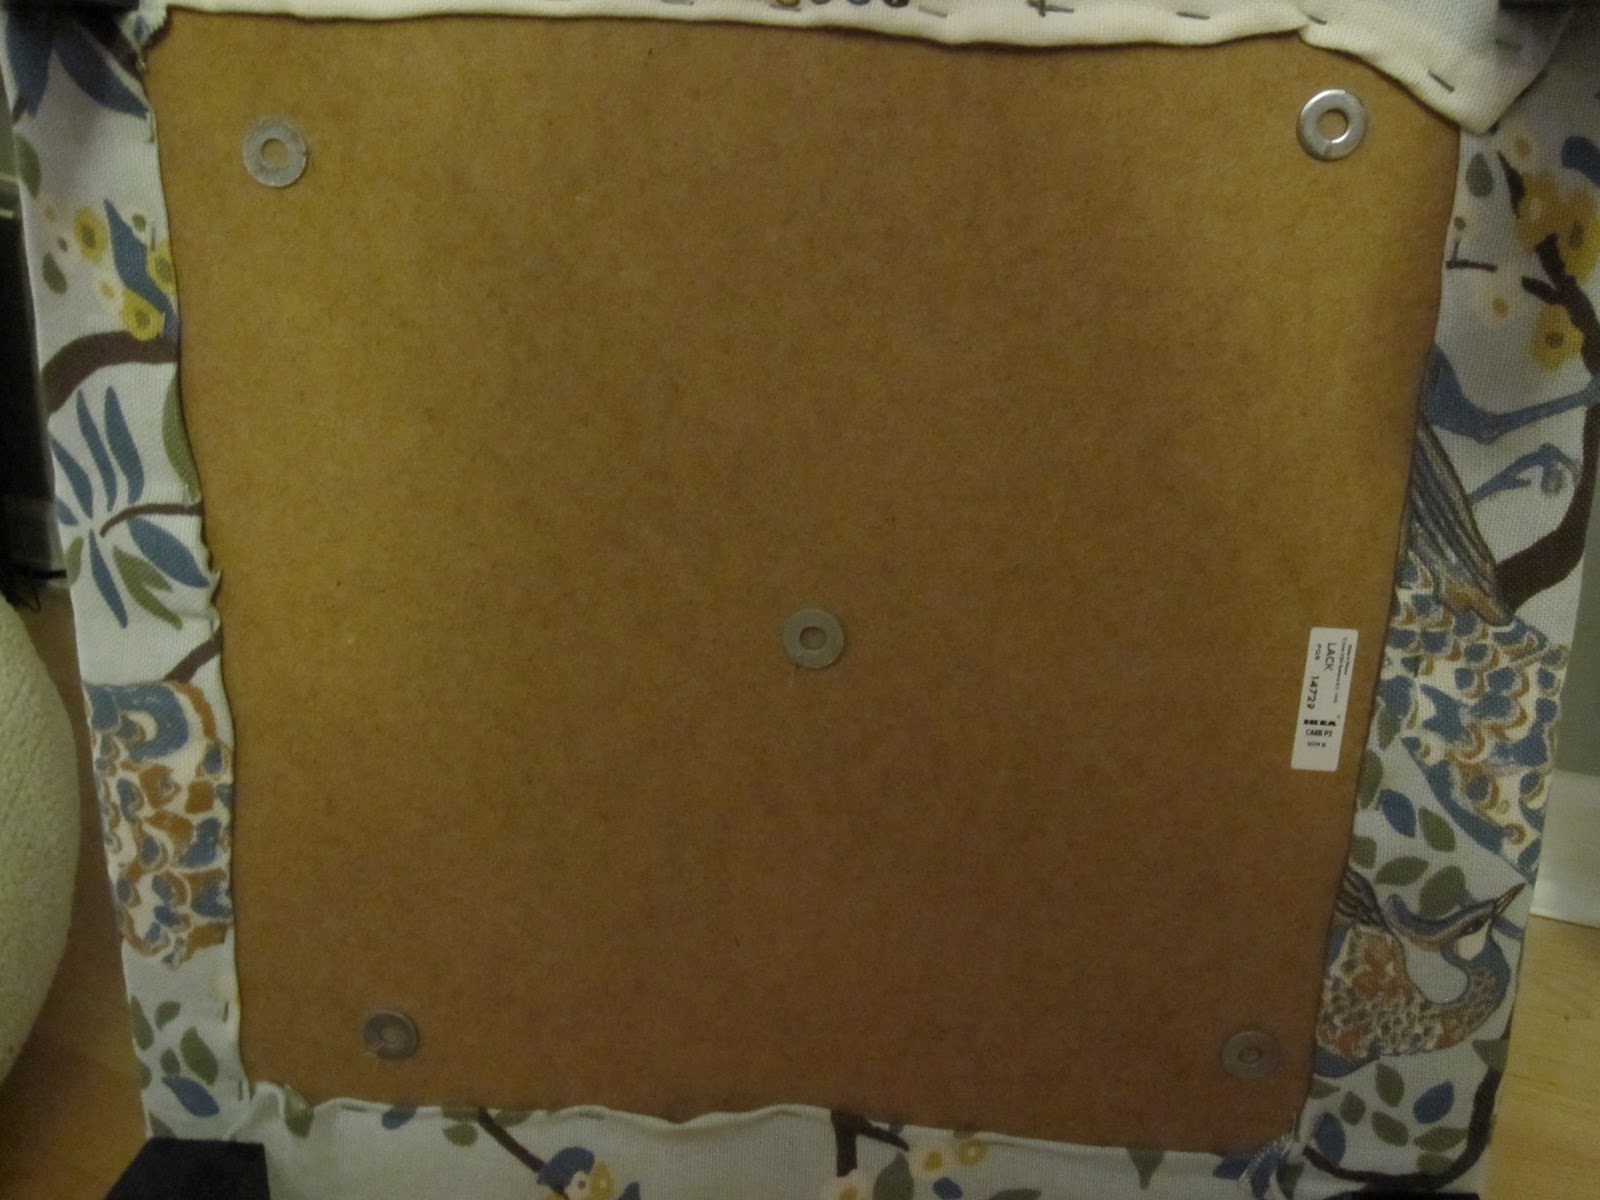
the bottom of the table top with all five washers (and buttons) in place.
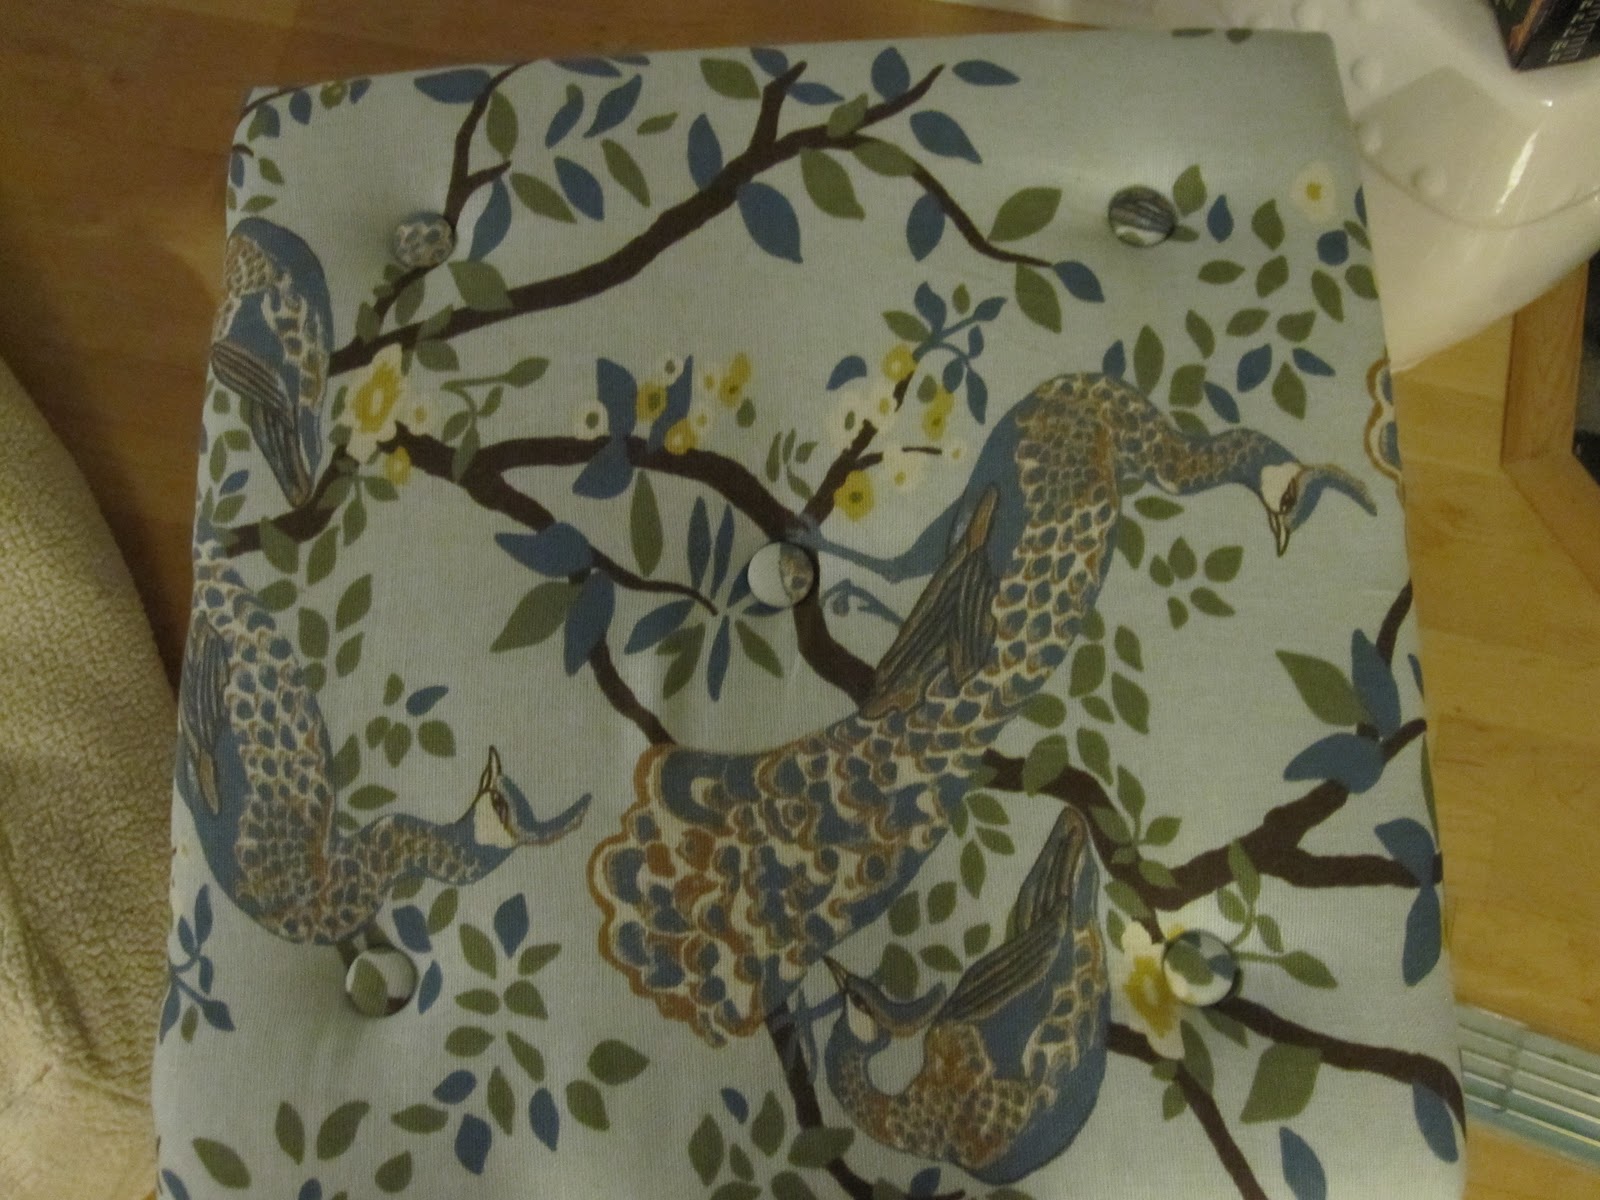
the top of the table, complete with buttons.
though the tables were upholstered and the project was complete, the tables didn’t look quite finished to me – no upholstery project is complete without nailhead trim! this process isn’t as daunting as it sounds if you use nailhead trim that is in strips; you just add the nailhead every fifth nail or so. for each side of the table i measured out a row of nailhead trim before i started hammering; coincidentally, the trim lined up perfectly so no nailheads hung over the edge.
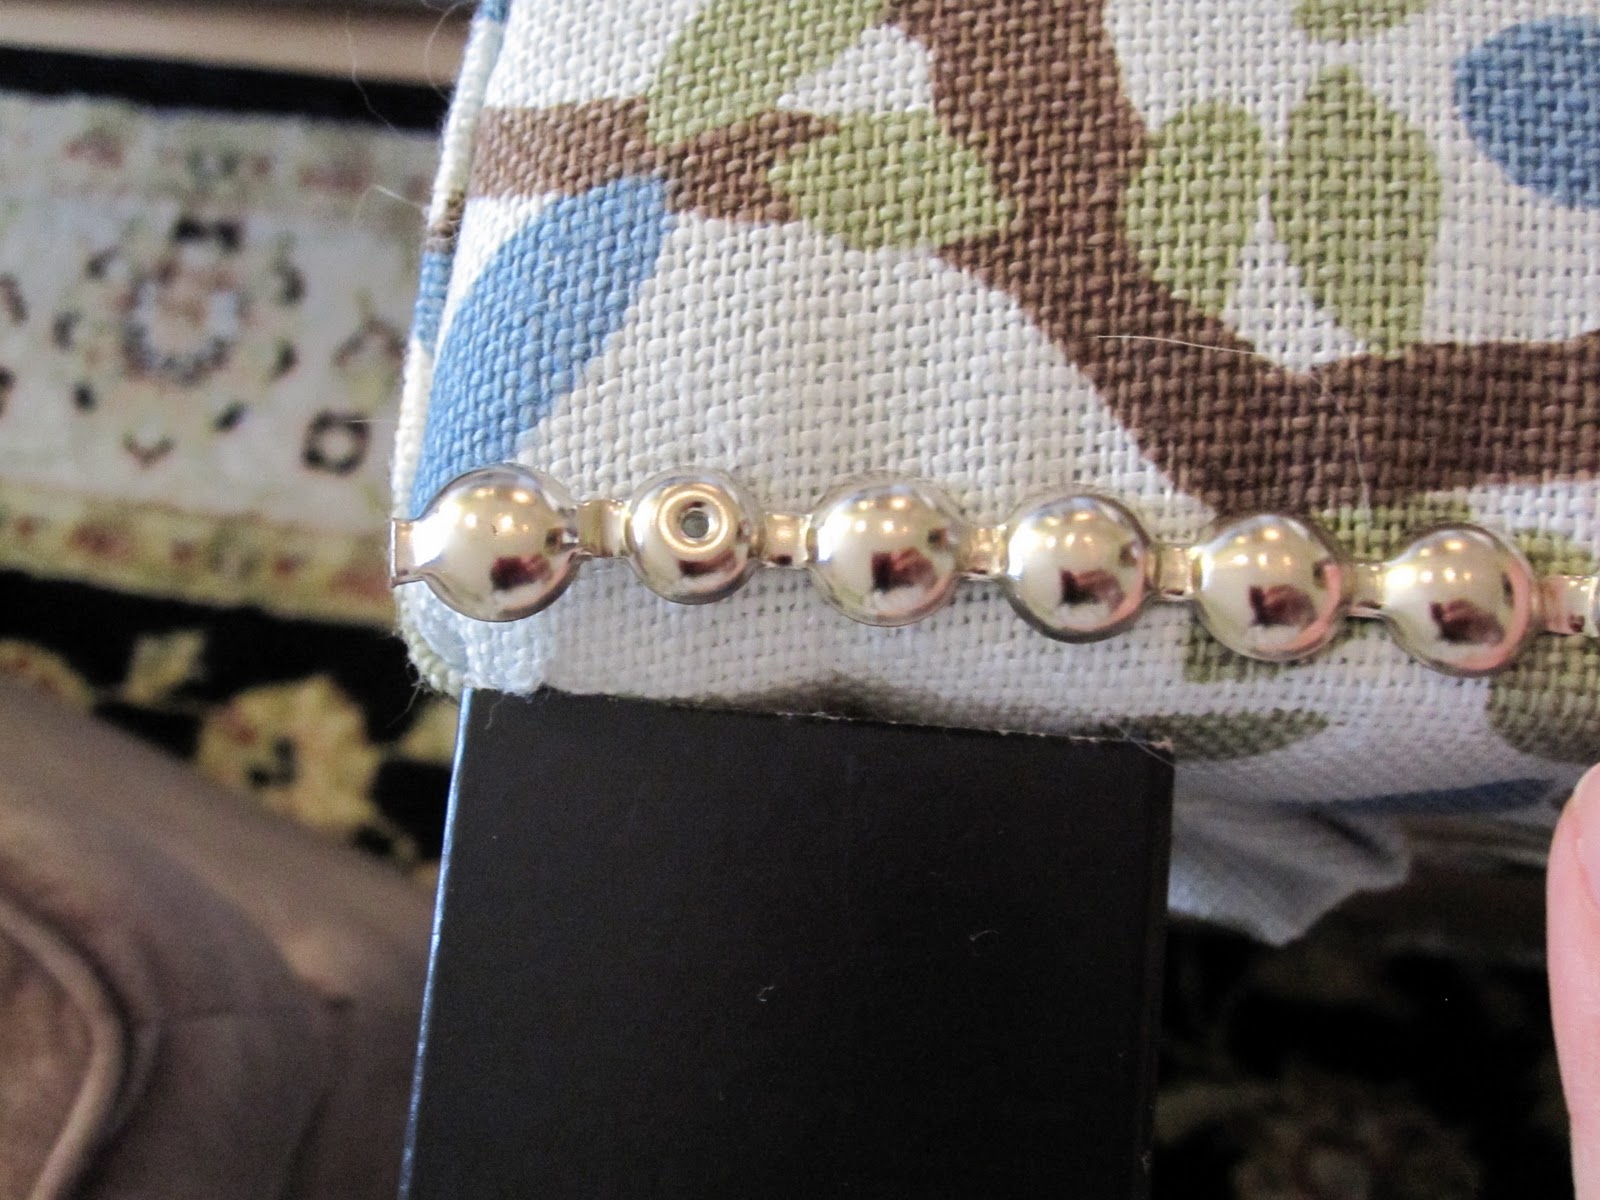
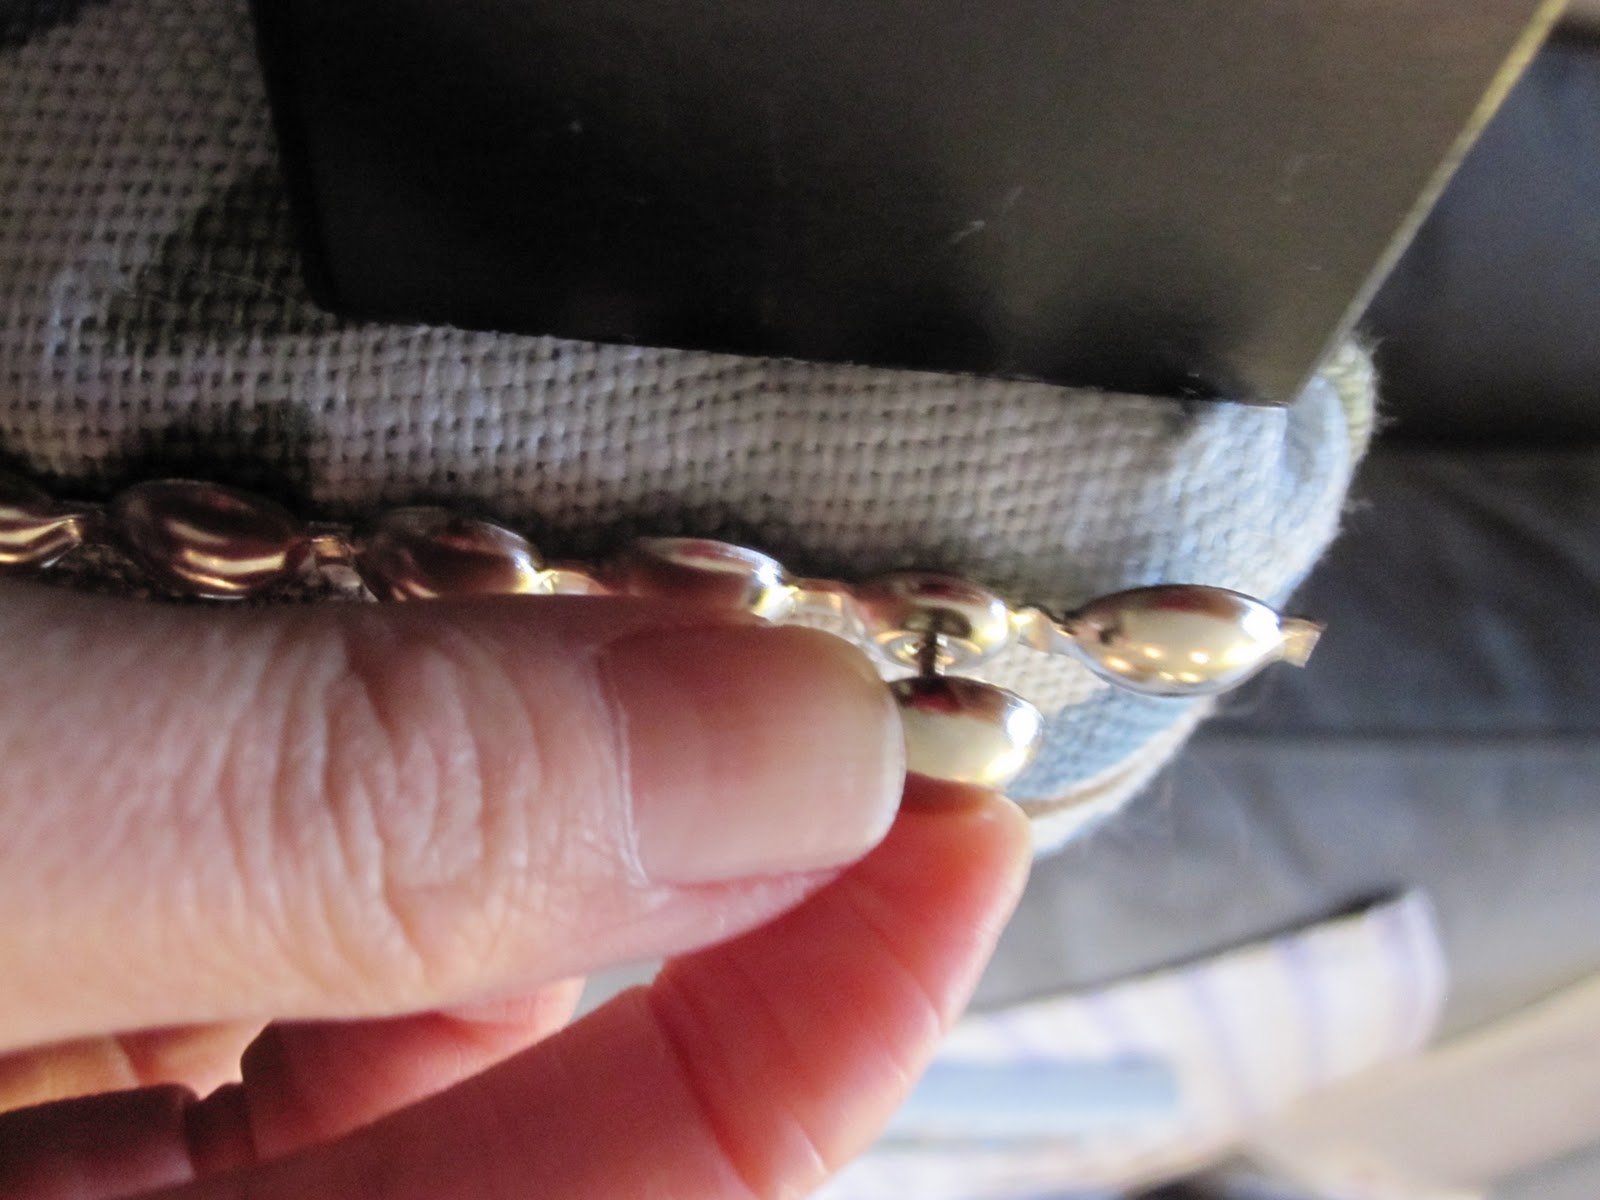
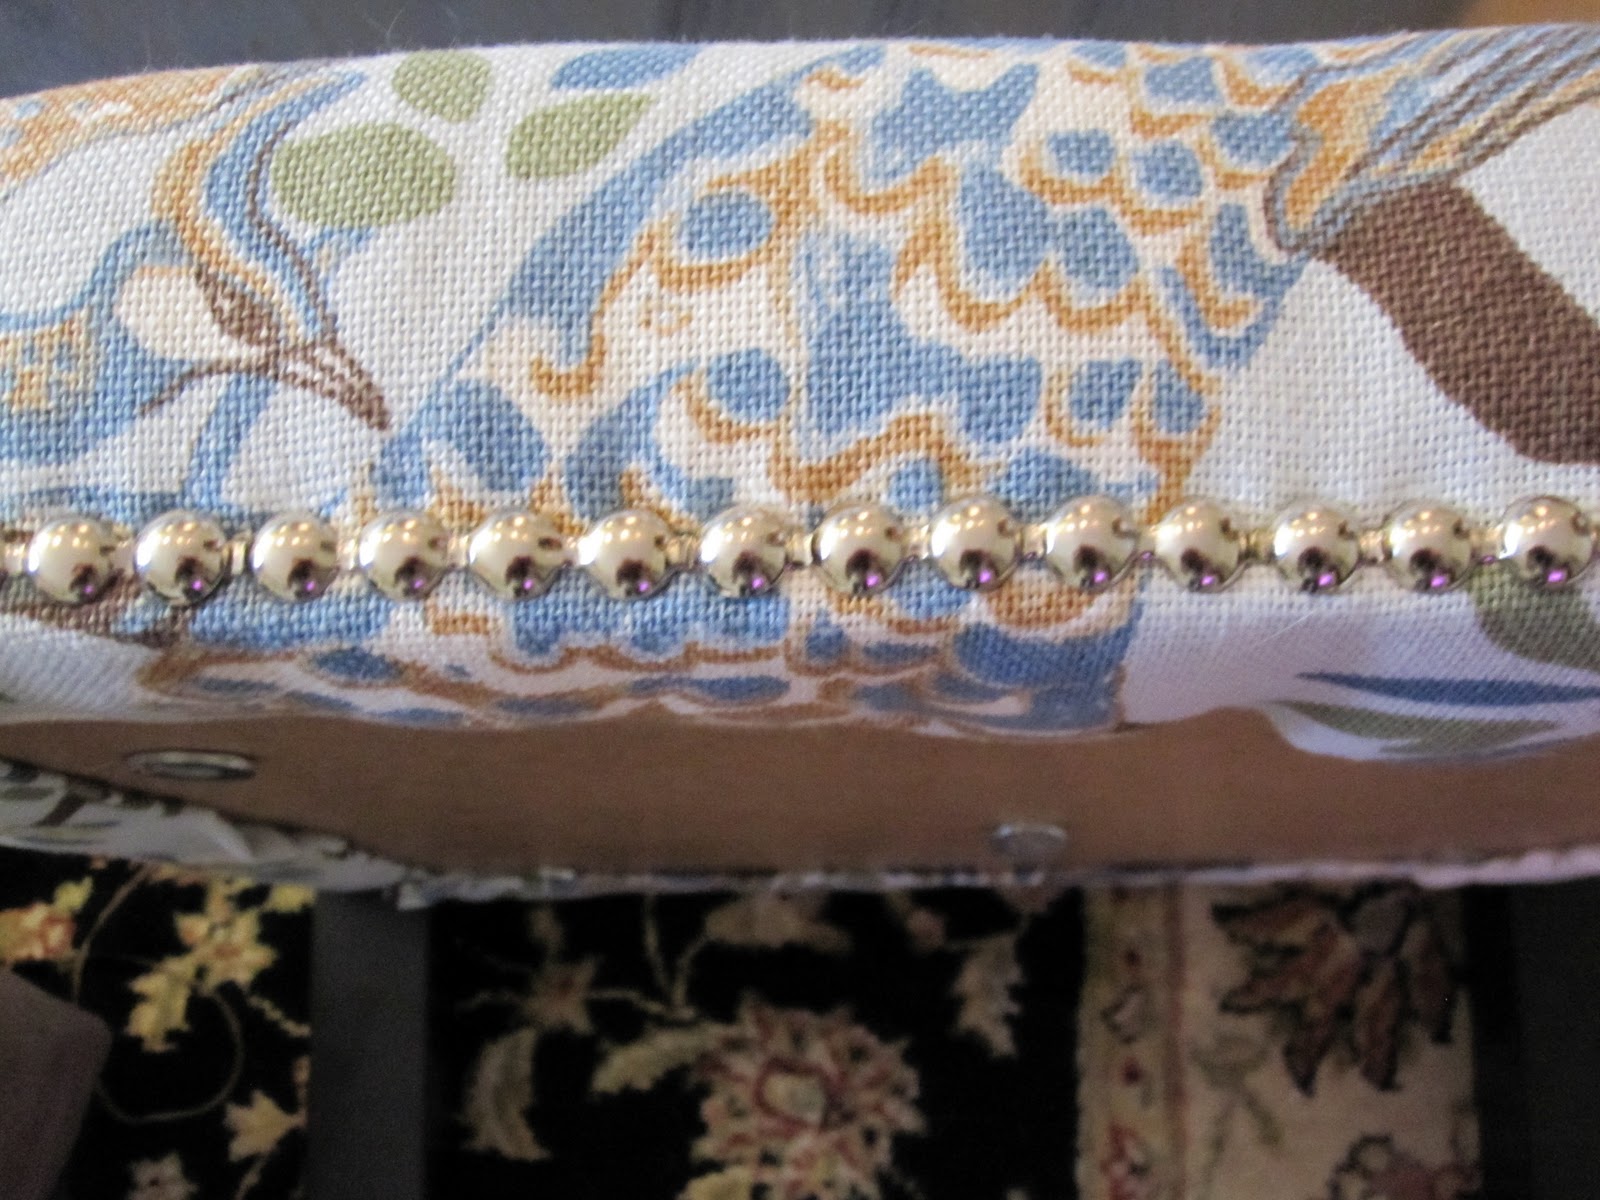
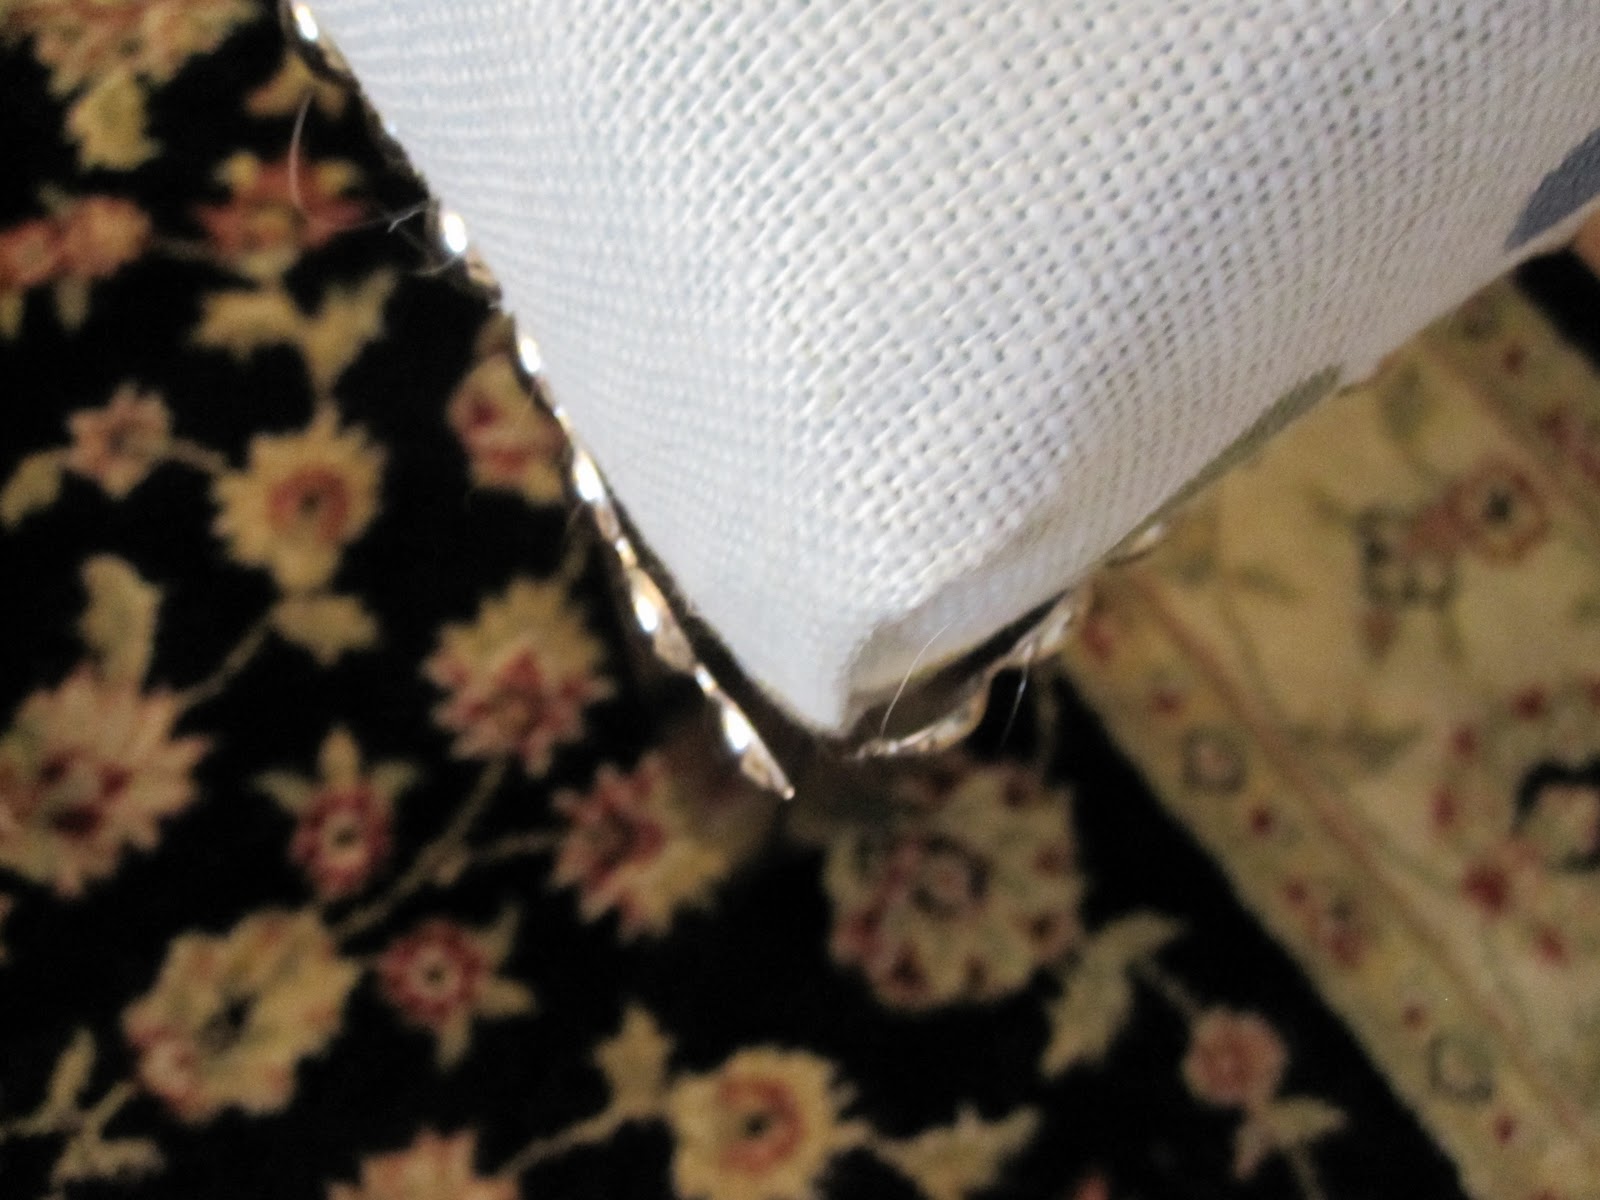
while the trim fit perfectly, most of the trim at the corners was loose because the fifth nailhead didn’t coincide with every corner, darn! i knew this would be an issue because if the corner got caught (i.e., anytime someone walked by it) the nailhead trim would bend, and if you bend it enough, it will break off. but my husband, being the genius that he is, easily fixed this problem: he added a hole to the nailhead at every corner with a nail and then nailed in a nailhead. basically, he just added a nailhead tack on top of each nailhead that was on a corner. this may sound really confusing, but if you look at nailhead trim, i think it makes a lot more sense.
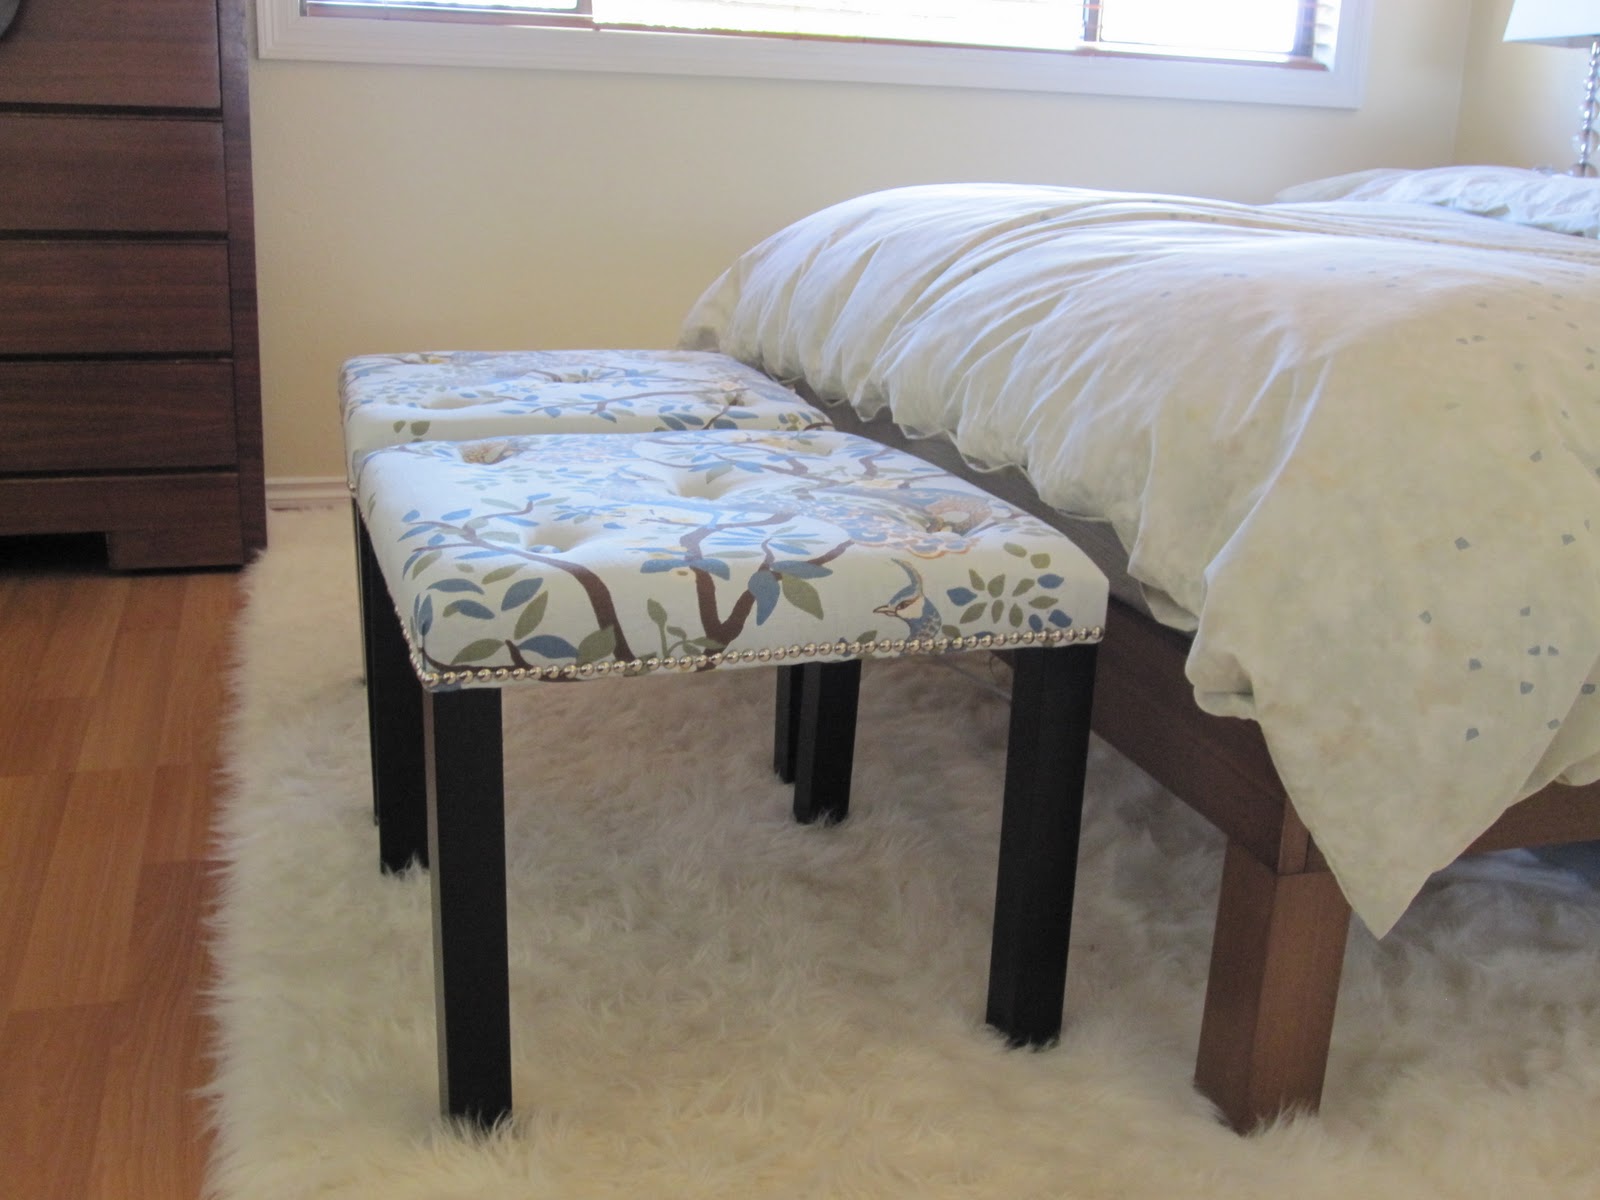
the final result! i may end up painting the legs at some point, but for now, i love these new end-of-the-bed tables.
i hope you enjoyed my lack hack!
M






way impressive, mish. i think i'll have to try something like this!