Welcome to week three of the Pinterest Christmas series for 2015! {See week one & two here!}
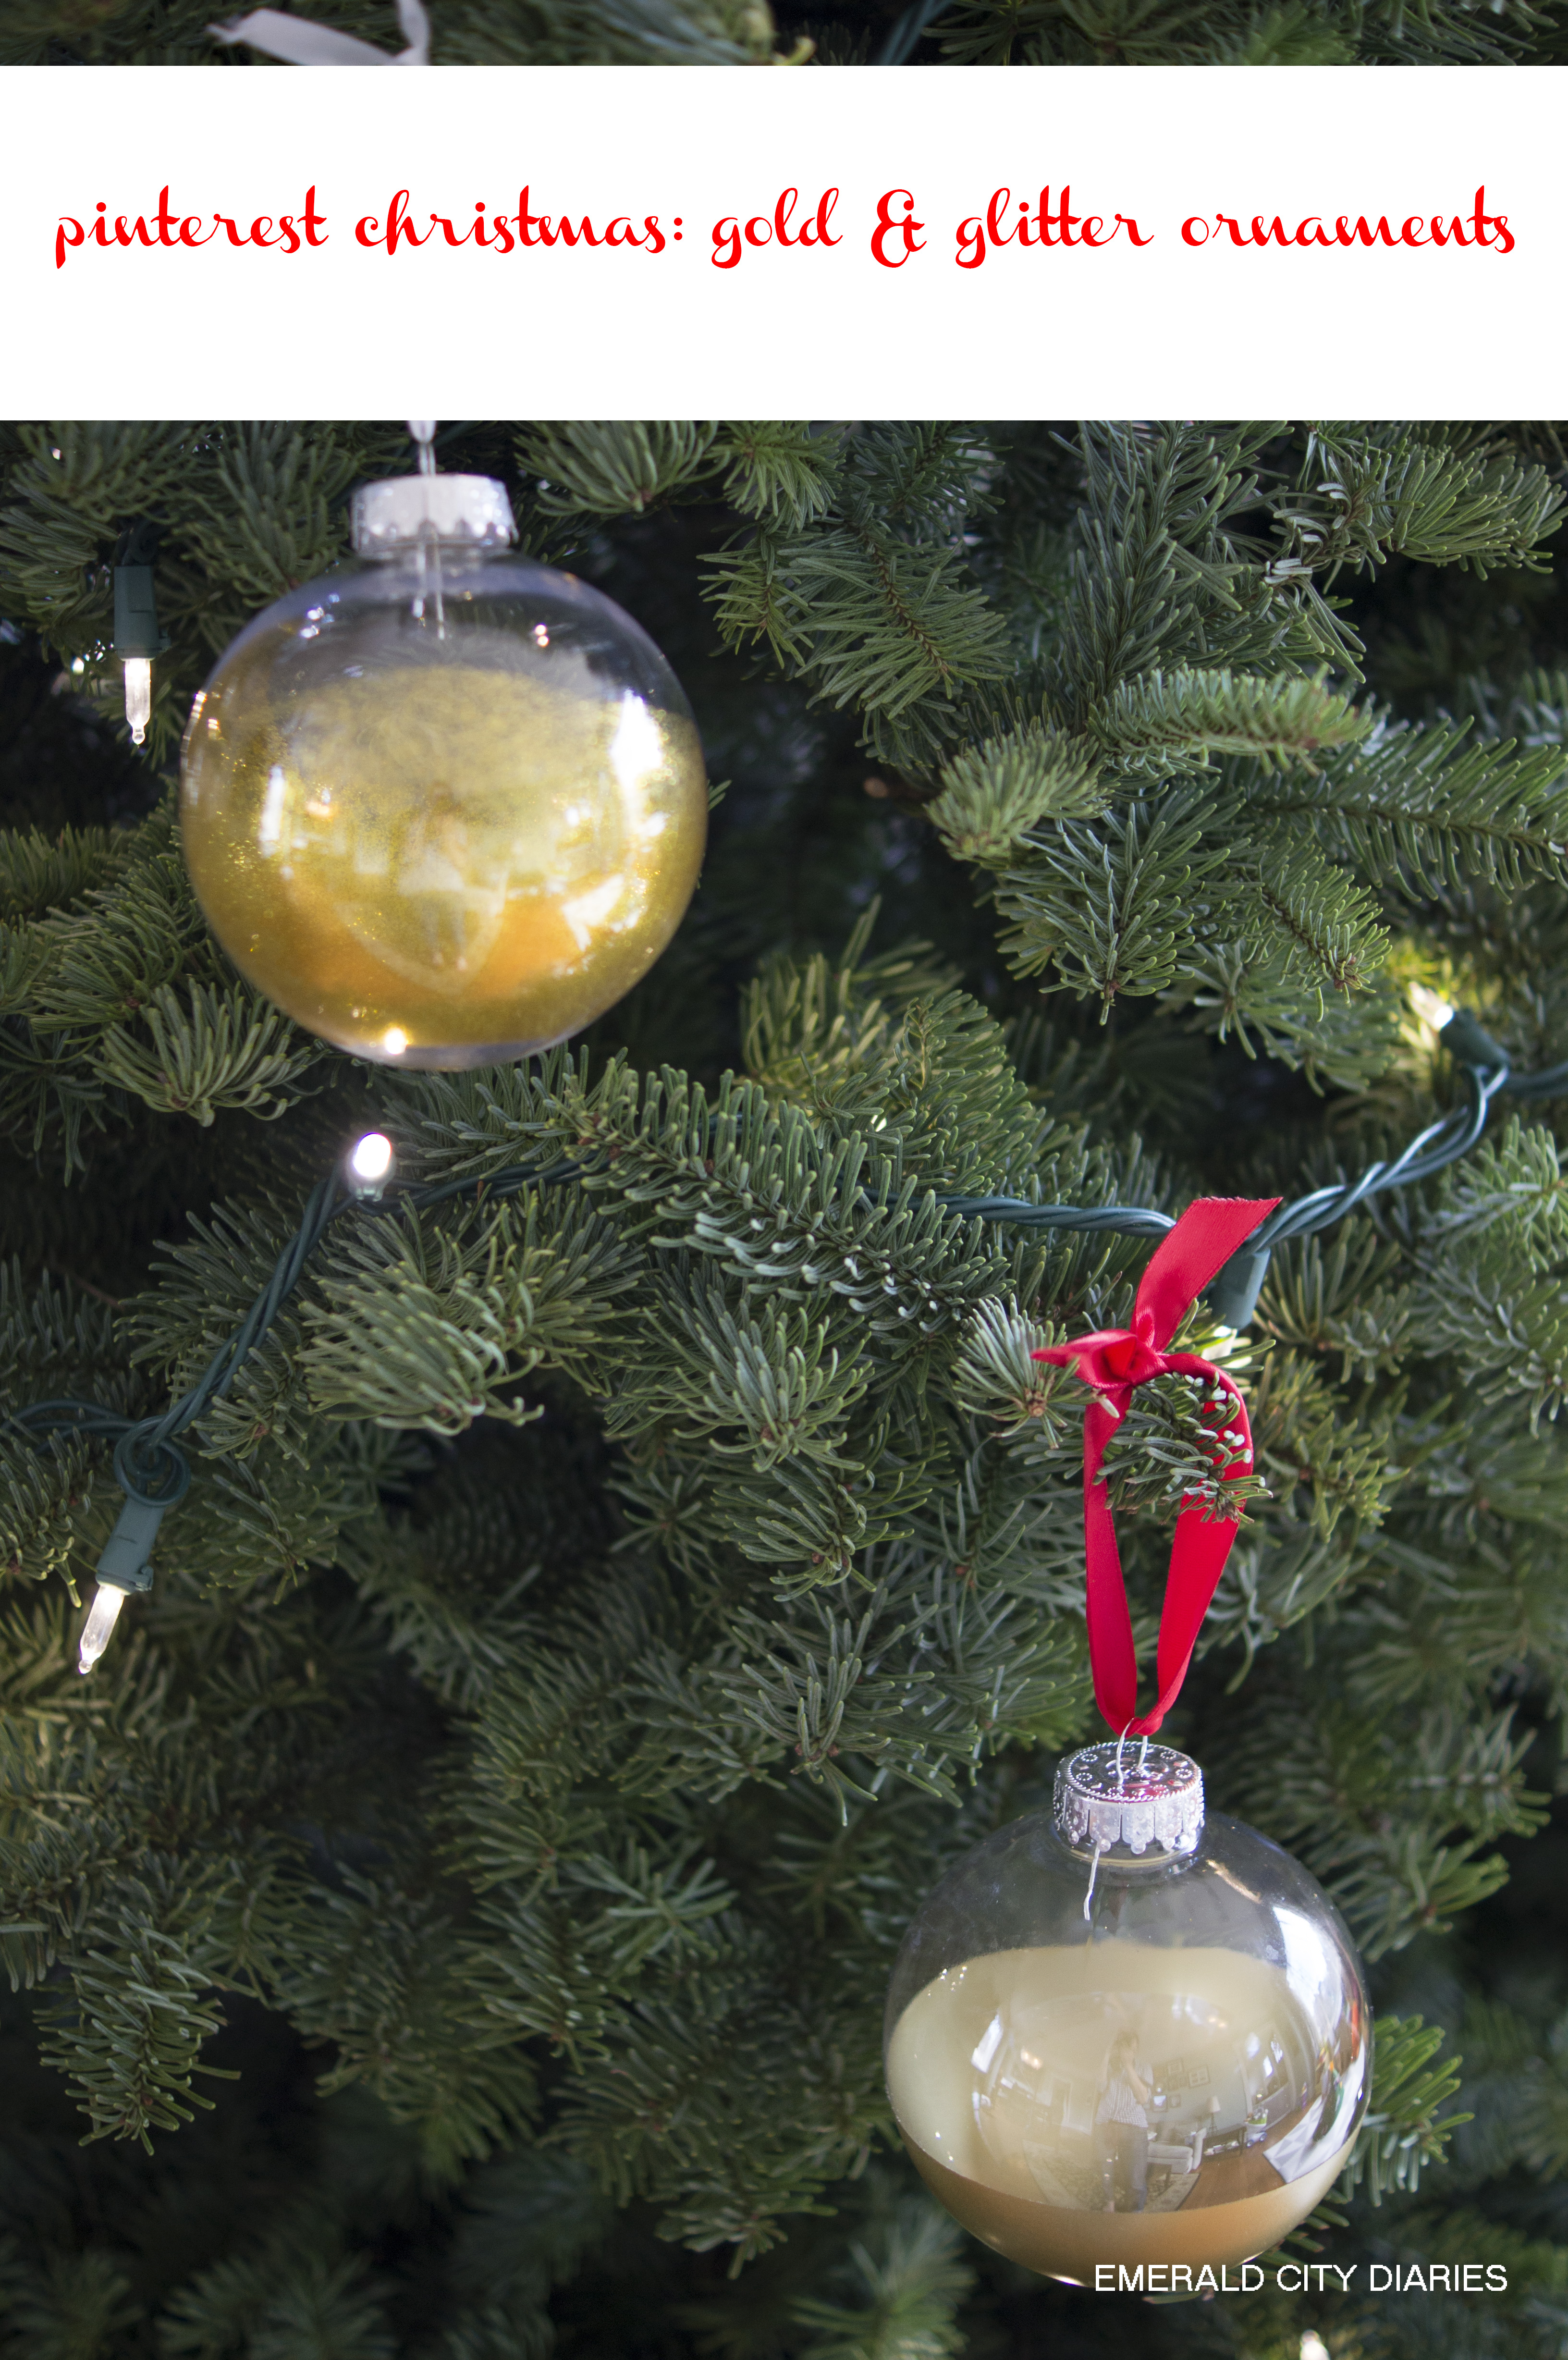
This week I wanted to share a few ornaments that I made for our Christmas tree. The tree is one of my favorite parts of our holiday décor, & I always manage to make a few new ornaments each year.

{original Pinterest link – Gold Dipped Ornaments}

{original Pinterest link – Glitter Ornaments}
Supplies:
- Clear, round ornaments – I used both plastic & glass
- Gold spray paint
- Painter’s tape
- Small Ziploc bag
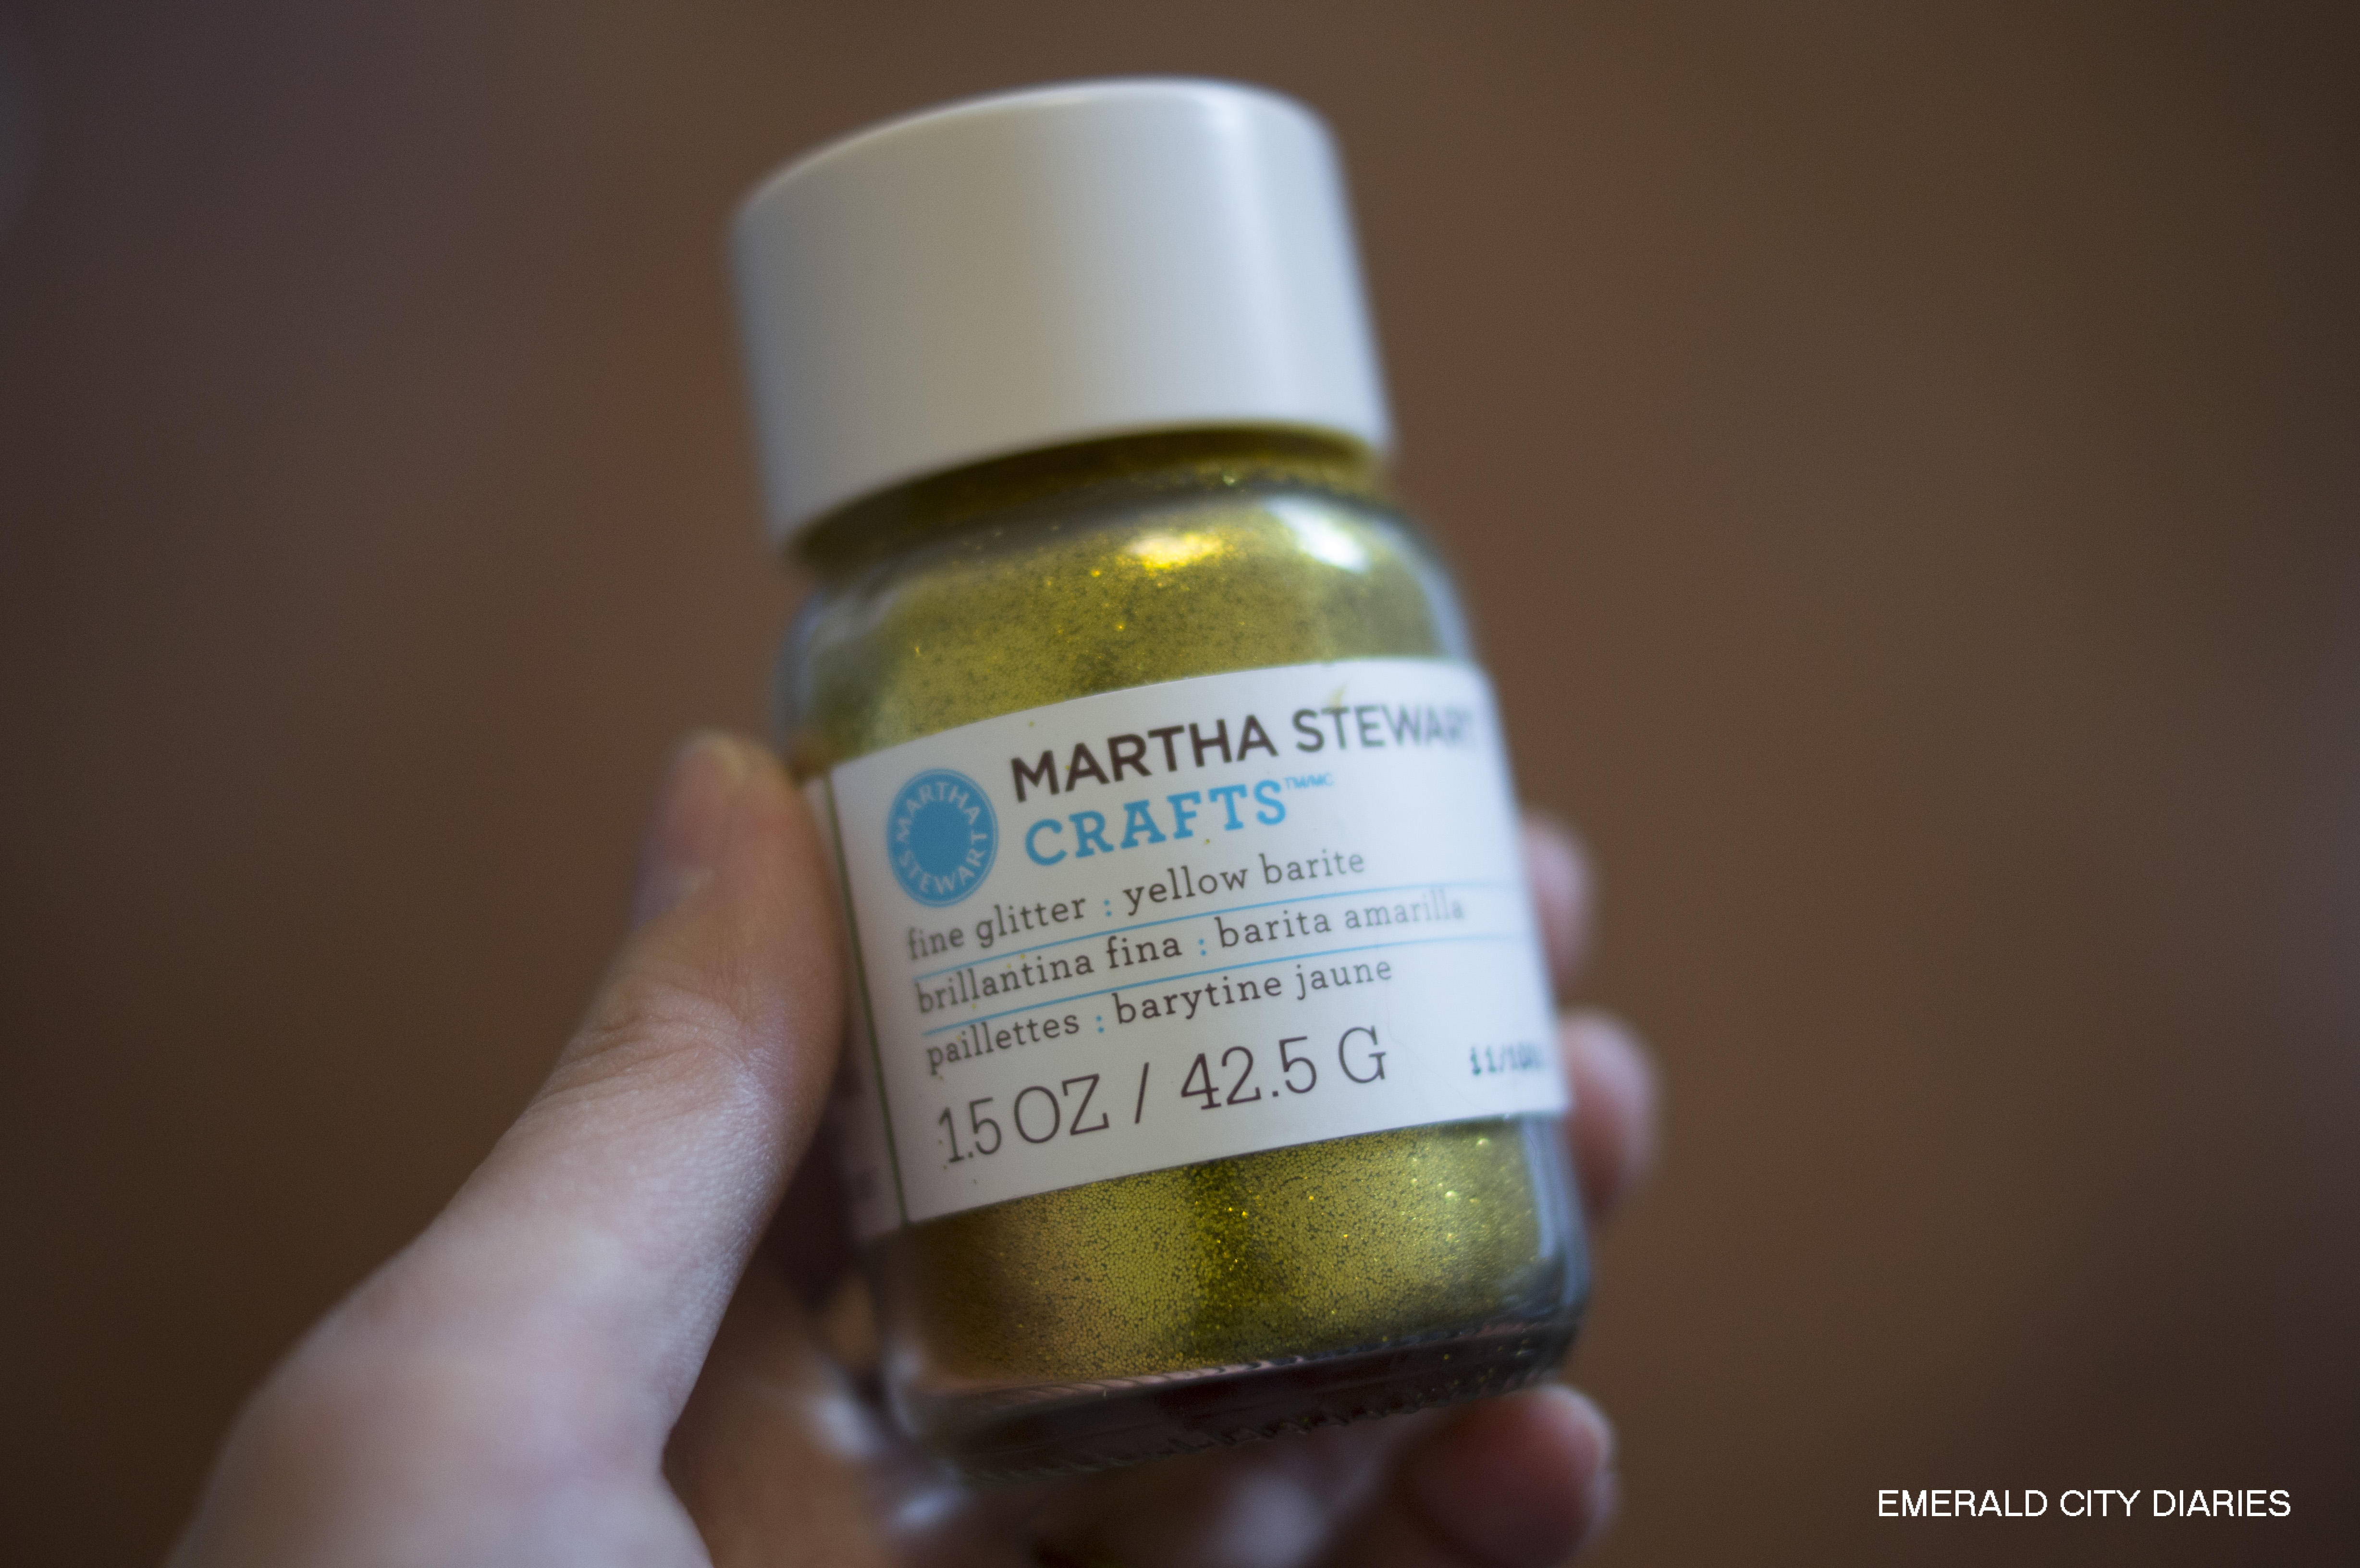
- Gold glitter
- Egg carton (optional) – this helps to hold the ornaments up while painting
- Drop cloth – I like the fabric ones with the plastic back because you can reuse them over & over for either craft projects or room painting
- Ribbon – for hanging ornaments
- Scissors
Even though I found tutorials to make (really similar) ornaments, I sort of just winged it since I wanted to keep things as simple as possible.
{Sidenote:the clear bulbs made it really hard to get in-focus pictures!}
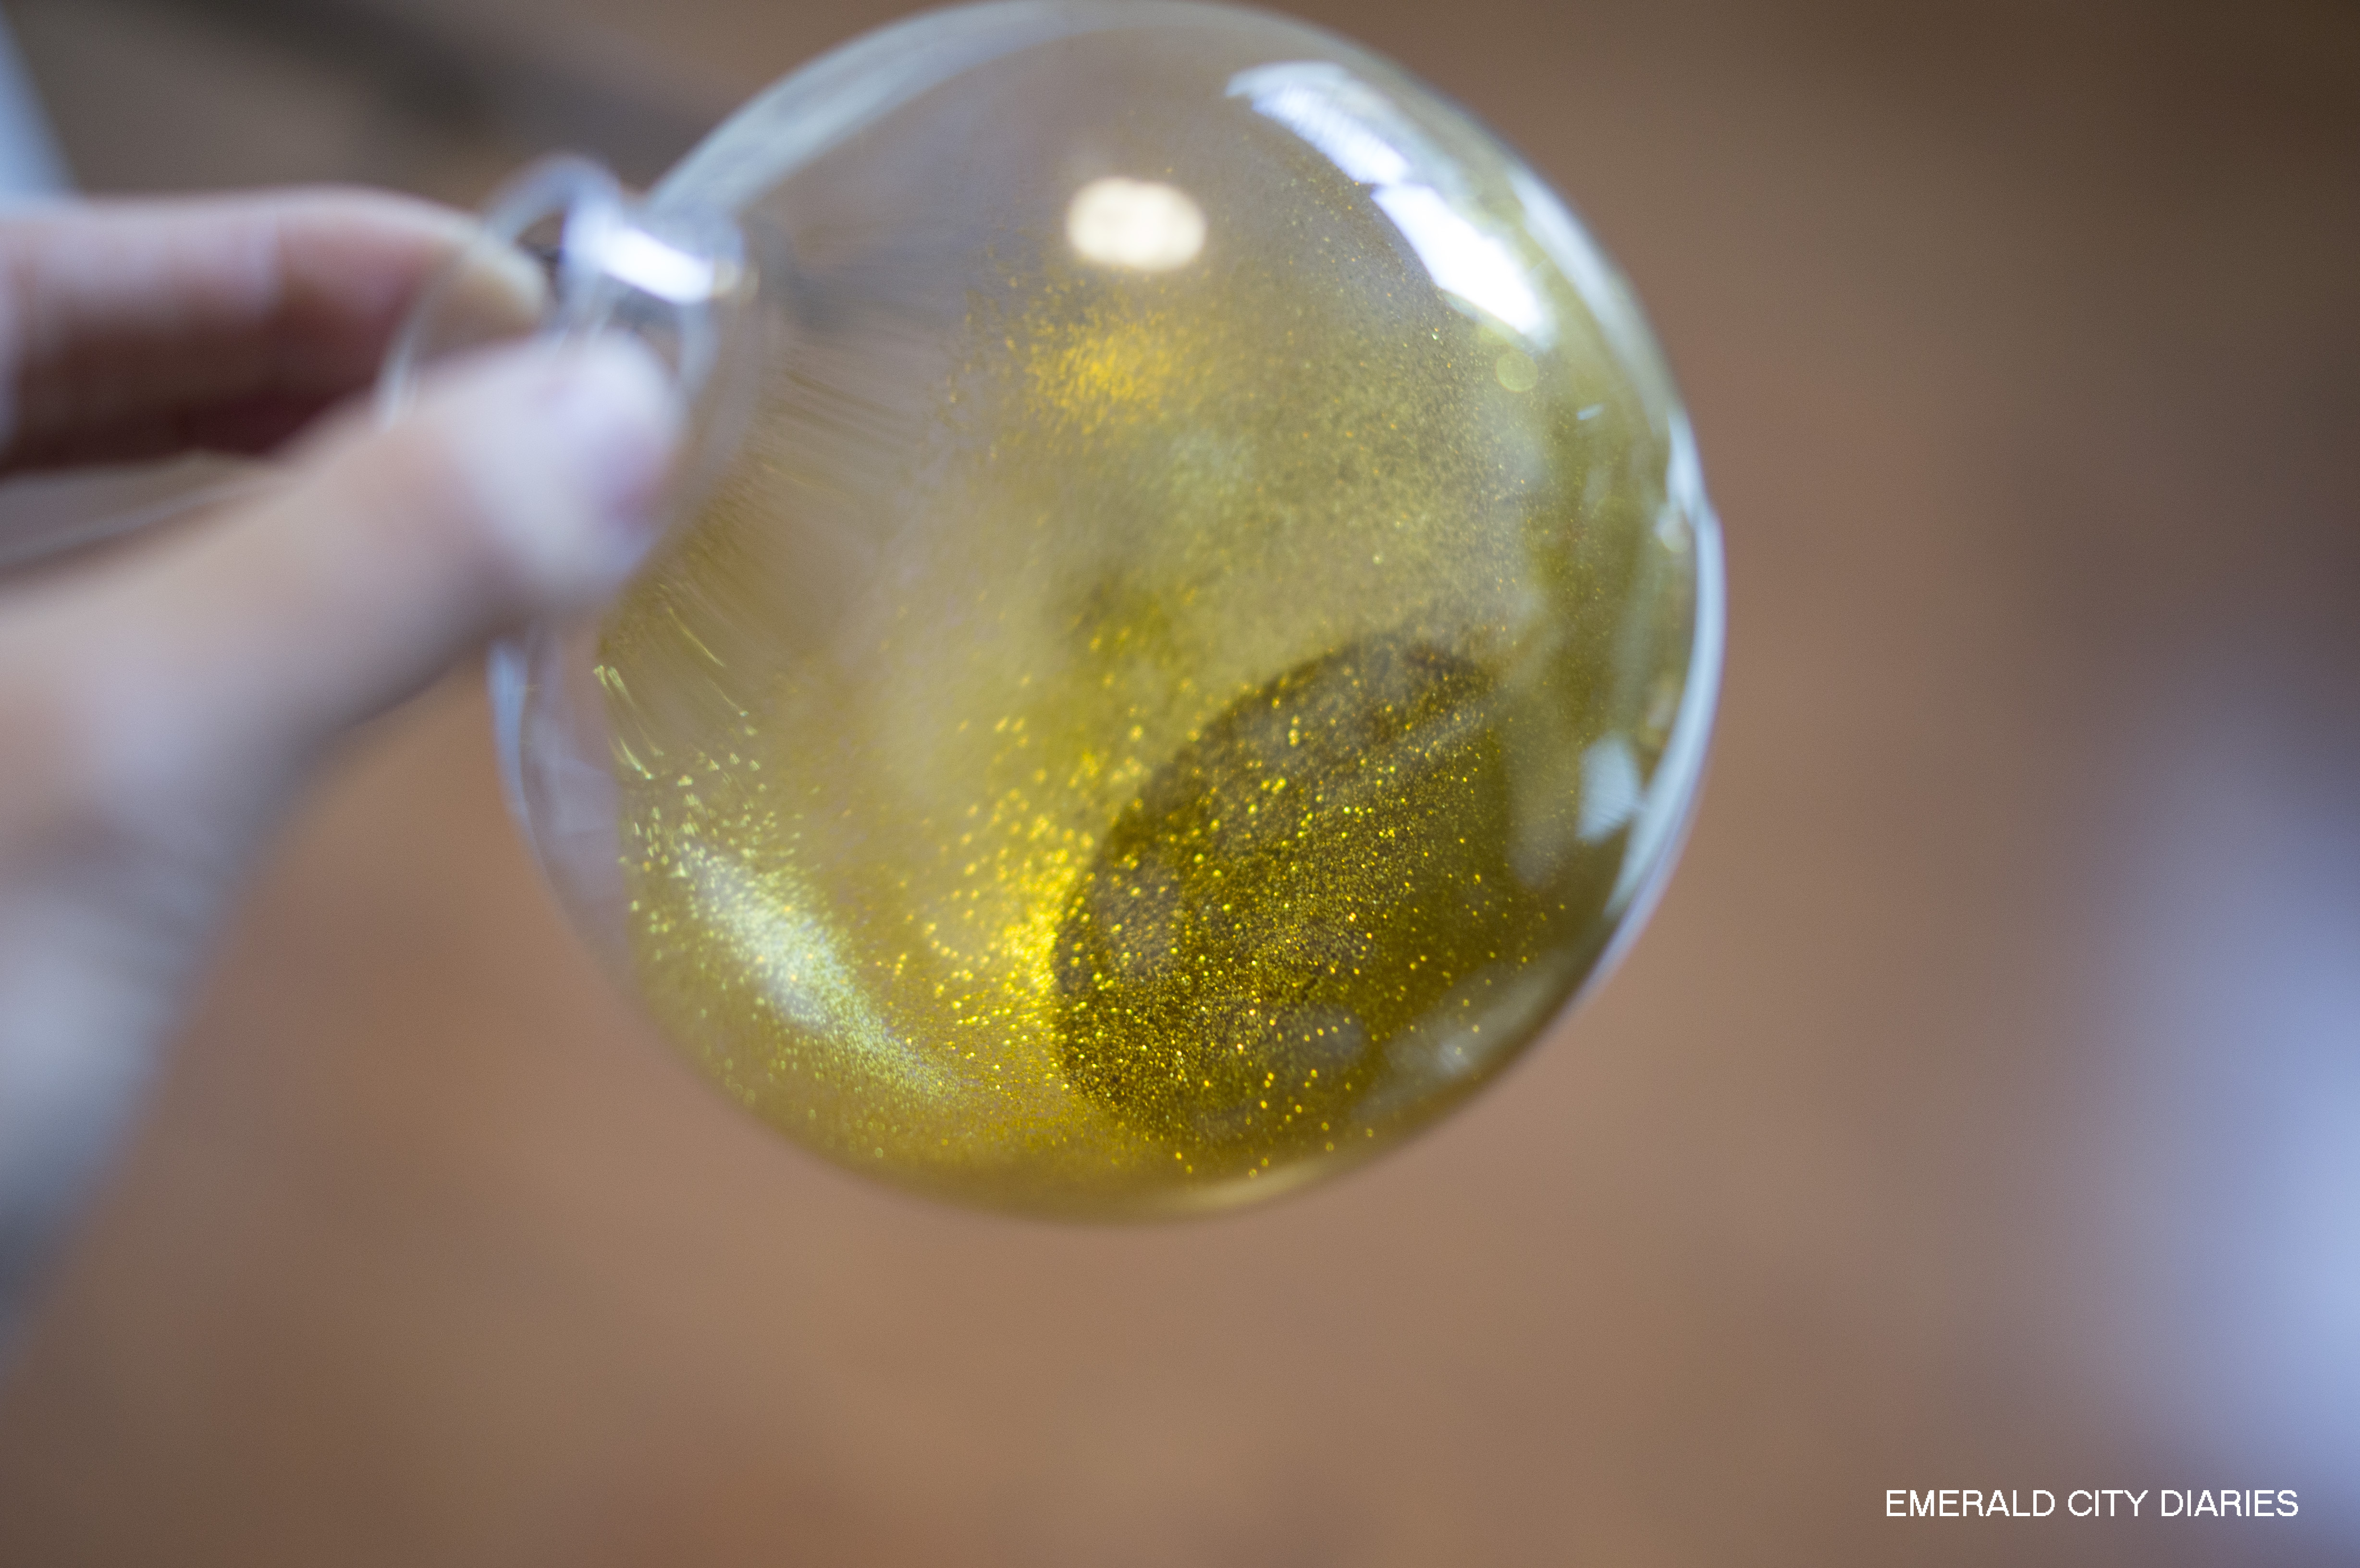
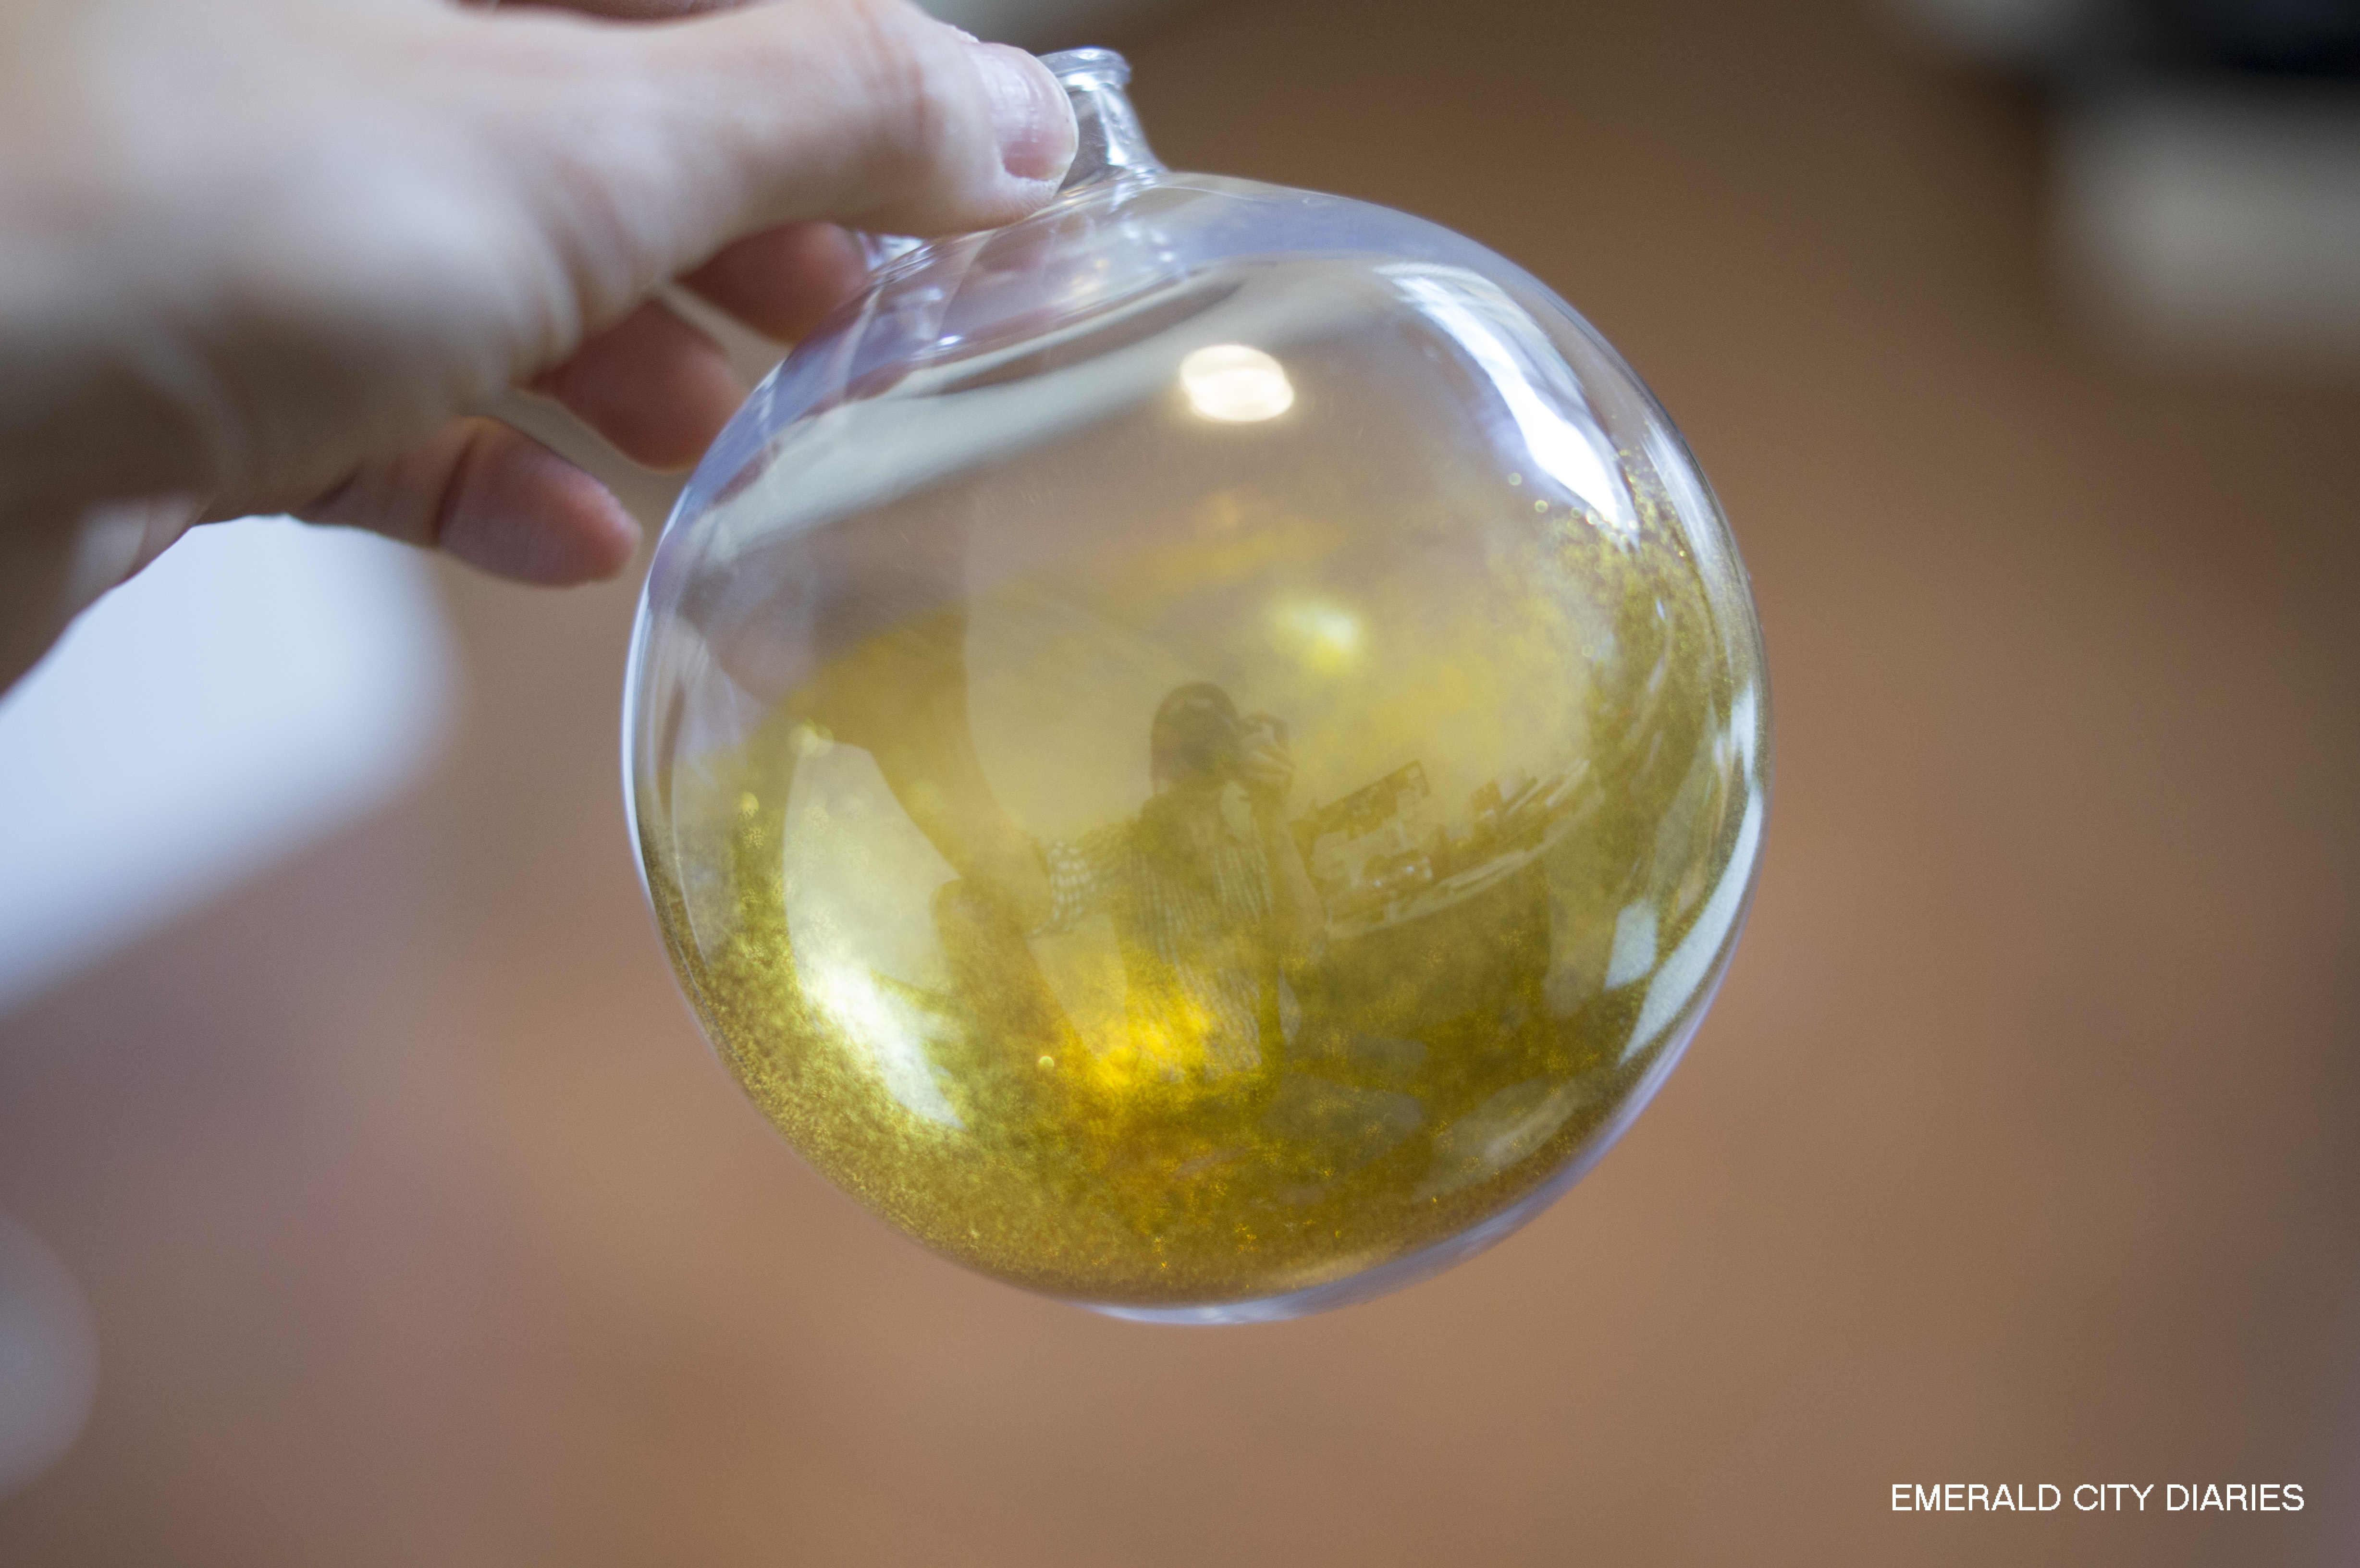

For the gold glitter ornament, I basically just took off the ornament top (be careful not to pull too hard because the metal is really soft!) & poured glitter inside, & swirled the glitter around the ornament. I found that the glitter stuck better to the sides of the plastic bulb; as soon as you started swirling the glass one, the glitter would slide off. Some similar tutorials on Pinterest use an adhesive to help the glitter stick to the sides. I think really chunky glitter would look cool too! To finish the ornaments, I cut a few inches of ribbon & tied a knot at the ends.
And for the gold painted ornament, I chose to just paint the bottoms of the bulbs & leave the top clear.

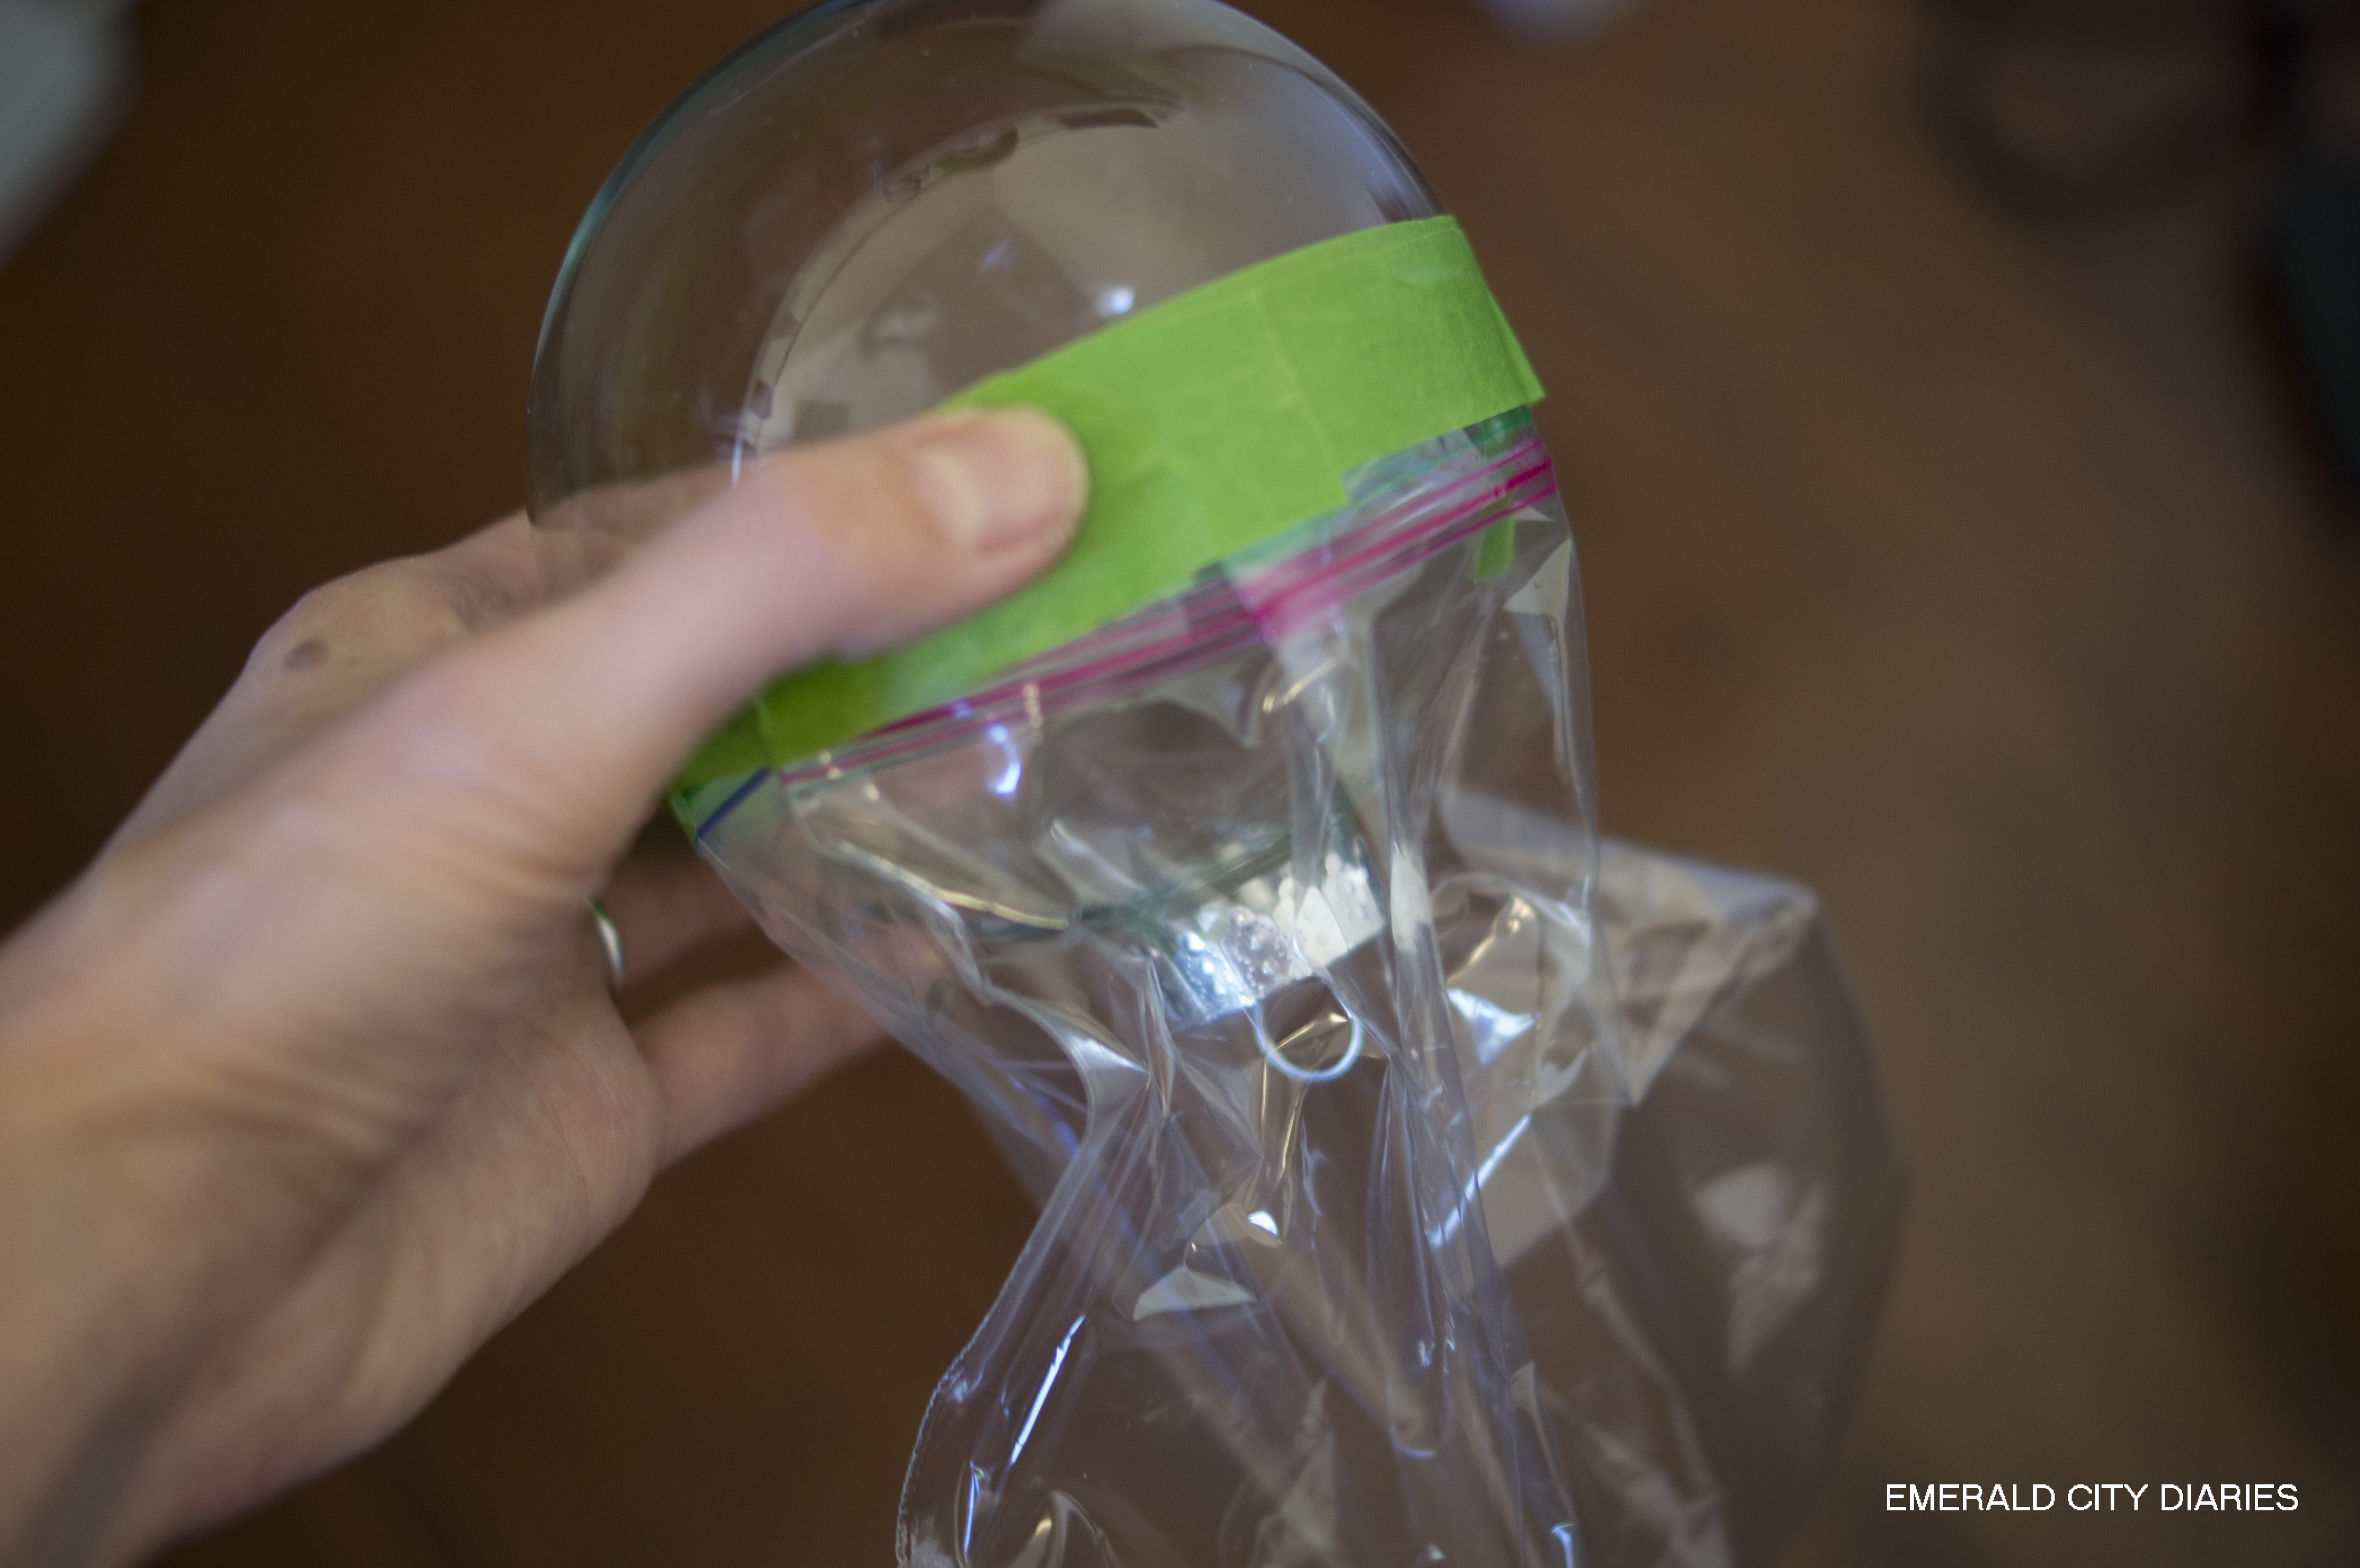
I started by taping off a line around the middle of the bulb, but didn’t worry too much about it being perfect. The most important part was to get a really good seal, so I made sure to really rub the edge of the tape down so I could get the cleanest paint line possible. After taping my line completely around the bulb, I taped a small (sandwich) Ziploc bag over the top of the bulb to keep it from getting painted.
To paint, I spread my drop cloth out in our backyard, set out the egg cartons, & set the ornaments with the top (bag side) down. Then I sprayed a the bulbs to get a full first coat on. I am not the best spray-painter since I cannot control myself & always paint too thick, but I did my best to keep the coats thin & even. The paint I used was pretty quick drying, so I was able to get another coat or two within a couple of minutes (probably not recommended though). And then I left the bulbs to dry for 2 hours (as stated on the paint can) & went back out to check for coverage. I had to add another thin coat, & then waited for drying again. (Normally when I am painting walls with Painter’s tape, I pull the tape when the paint is still wet, but because of the plastic bag, I waited until the paint was dry on the ornaments to pull the tape). And, finally, I added a ribbon hanger (like above)!


Thinking about making this project? Feel free to leave questions in the comments or link your own in the Linky Party below! Also be sure to check out Kendra’s Pinterest Christmas projects over at The Gilbertson Family.
Are you DIY-ing any ornaments for your tree this year?
M

Here are the instructions if you are a new to linky-party:
•click on the blue button at the bottom of this post – the one with the frog
•add a link to your Pinterest Christmas blog post in the URL field (please do not link to your home page but the specific post page)
•for “name” write a short descriptive name for your post
•if you would like to put the Pinterest Christmas button on the bottom of your post, we would love to see it there!


