{sidenote I: i am completely a novice seamstress & while i followed a tutorial, i pretty much made this up as i went along. i am a pretty logical person, so the ways in which i did things are pretty practical – at least they seemed so at the time – but there are likely much better & more efficient (& correct!) ways to do the things in this post. sidenote II: this is a really picture heavy post. i also decided that bigger pictures would be better so that you could see details.}
as i mentioned in my monogram pillows post, i am re-doing our bed linens. we needed a bit of a change up since the sheet & duvet set have been around for a few years. we both really liked our old set, it was a great calvin klein set, but after years of washing, it was starting to fall apart at the seams. literally.
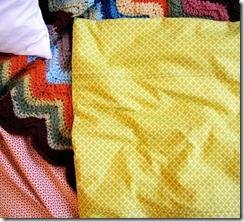
so in the interim, we acquired a couple of sets of bright white sheets. turns out, we both really liked the white sheets. really, what’s not to love: color goes with everything, nothing to match (um, any of our white pillowcases go with any of our white sheets), low to high price ranges (one calvin klein set, one set from kohl’s), etc. so we decided we should just find some kind of printed duvet & pillow shams.
i took to scouring online sites & pinterest looking for replacement bed linens but just couldn’t come up with something that i liked. {sidenote: my husband is wonderful when it comes to things like picking out bed linens or towels or fabric. he pretty much lets me pick out what i like and he is up for being a soundboard for any and all ideas.} then i saw this sheet set on the west elm site – stripey sheet set. grey & stripes? i couldn’t designed anything more perfect. well, except for the teeny fact that they were sheets & not a duvet.
but that certainly didn’t stop me. i had actually bookmarked a design sponge article about making a duvet cover months before (way before i was on pinterest, or i would have pinned it on my “to do” board). i hesitated a bit at the price of the sheets because i wanted to use two flat sheets for the duvet which meant that i would need two entire sets, making the cost of the sheets double. i waited & waited for west elm to put sheets on sale all through the holidays & when i was finally about to bite the bullet and just buy them, west elm started their bedding & bath sale (which is running until the end of january, i believe)!
at first i picked up two grey sheet sets, but after mulling it over with aaron, i returned one grey set for a navy set. that way our duvet will be reversible or we can have a little more color if we turn the top down when we make the bed (and by “we” i mean “me”).
{the original design sponge tutorial}
supplies:
-
two flat sheets or large amounts of fabric
-
thread
-
sewing machine, preferably with button-hole-making foot
-
10 to 12 buttons
-
iron
-
fabric scissors and/or rotary blade cutter
-
measuring tape
-
ruler or straight edge
-
needle
the very first thing that i did, well after washing, drying & ironing the sheets, was to practice sewing french seams (see above tutorial) & to practice making button holes. turns out both were pretty easy. french seams are relatively easy to sew; the trickiest part is make sure you can sew a straight 1/4 inch seam. button holes are even easier if you have a handy-dandy button hole foot for your sewing machine – like i told my friend while i was making button holes for this project: it is magical!
the next thing i did was measure & cut the sheets. one reason that using two flat sheets for a duvet cover is so nice is that you can keep the top hem & just trim the sides & the bottom. for reference, a queen-sized flat sheet is 105 inches long by 96 inches wide & a queen-sized duvet cover is 88 inches long by 92 inches wide. i did calculations (& double-checked & triple-checked) before i made any cuts: about 10 1/2 inches off the length (factoring in turning down of the top hem – which was nearly 2 inches – where the button holes would go as well as a 1/2 inch hem allowance for each side – i gave myself a 1/4 inch more than the french seams called for just in case) & about 3 inches off the width (factoring in the 1/2 inch hem).
{sidenote: on paper & in my head, the calculations seemed right; however, later in the process i discovered that the cuts i made were pretty different. my “hindsight is 20/20” suggestion would be that you either cut the two sheets at the same time, or measure them against each other before & after making the cuts.}
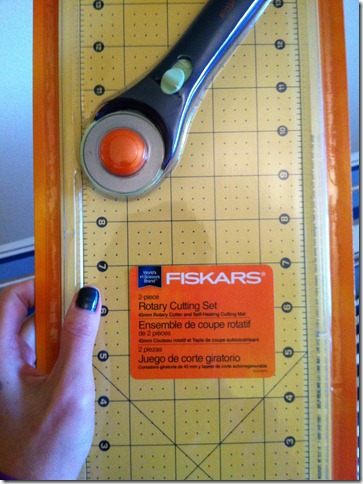
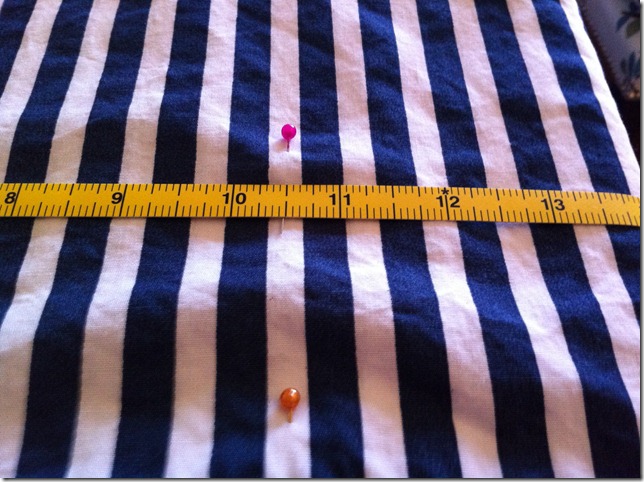
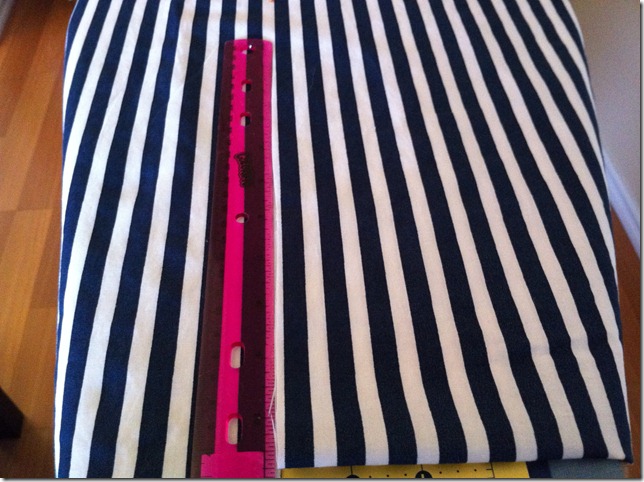
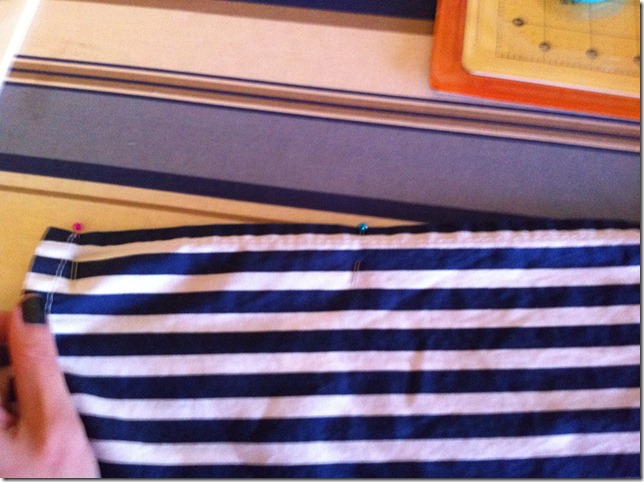
i decided that the easiest cuts to make would be the 10 1/2 inches off the bottom, so i did those first. this was the first time i had ever used a rotary blade cutter & it was fantastic! never using scissors to cut fabric again! the way that i measured (again, i am not a professional!) was to place a row of pins at 10 1/2 inches. then i took a ruler & lined it up with the pins, checking every other pin’s measurement as i went to make sure i wasn’t totally off-track. then i used took the rotary blade right along the straight edge of the ruler from one end of the fabric to the other.
when i cut the material off the sides of the sheets, i figured it would be easier if i did both sides with one cut. so, i pinned the sides of the sheet together & then measured 1 1/2 inches (half the width measurement from above), & then pinned & cut like i had done above with the ruler & rotary blade.
after all the cutting was complete, i started sewing. i started with the top part of one of the sheets that would be button-holed (yep, i made it a verb) & the other that would hold the buttons. there was already a 2 inch or so hem in the top of each sheet, so i just flipped that hem down (on both sheets) & sewed along the edge.
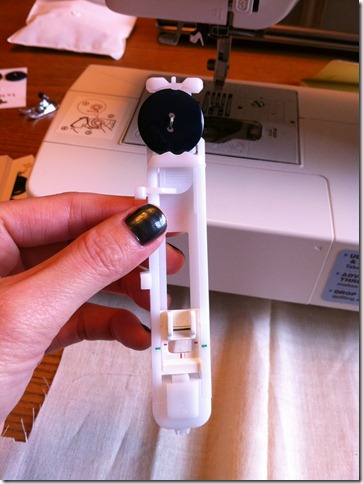
then came the magical part: making button holes! {sidenote: i have a pretty new sewing machine (i got mine christmas 2010) but i am pretty sure button hole-making feet have been around for some time. if you don’t have a button hole foot, you could use some other kind of enclosure for the duvet like a zipper, snaps or ribbons.} back to the magic. i placed one button into the top part of the foot to measure the size of button hole; i just left the button here while i sewed so i didn’t accidently change the measurements. then i attached the foot.
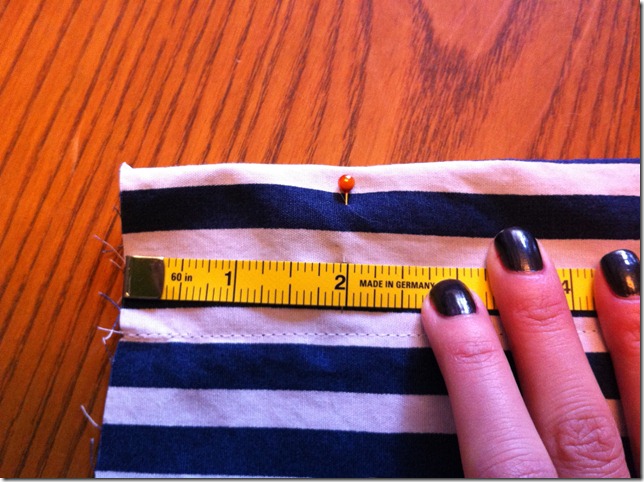
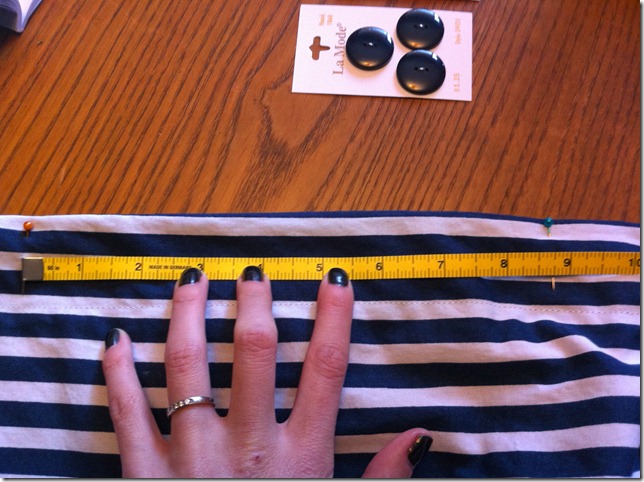
i measured out where i would place the button holes & put pins as markers: 2 inches in from each side & 8 3/4 inches between each button.
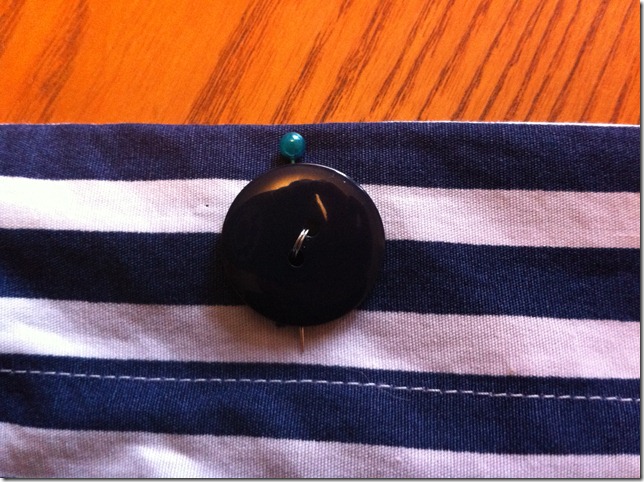
i made sure each pin marker was pretty straight up & down. then i placed a button over each pin & moved it around until it was in the perfect spot.
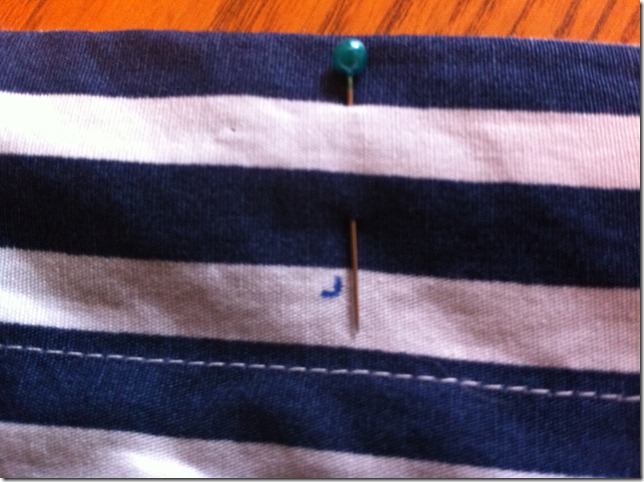
in order to know where to start the button hole, i needed to know where the bottom of the button would hit & the middle of the button. with the button still in place i made a small pen mark along the bottom of the button. then i moved the button & made a small pen mark where the middle of the button would be. this is the marker that i would line up with the button hole-making foot.
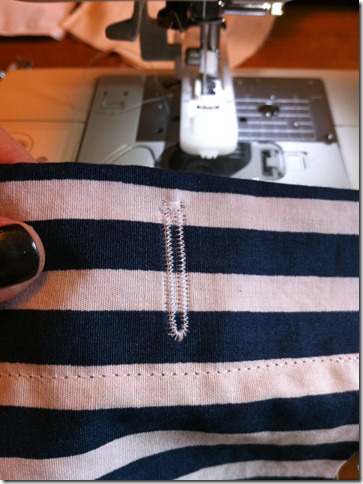
i lined up each marker with the foot & pressed down the foot pedal. my sewing machine did the rest. i told you, magic!
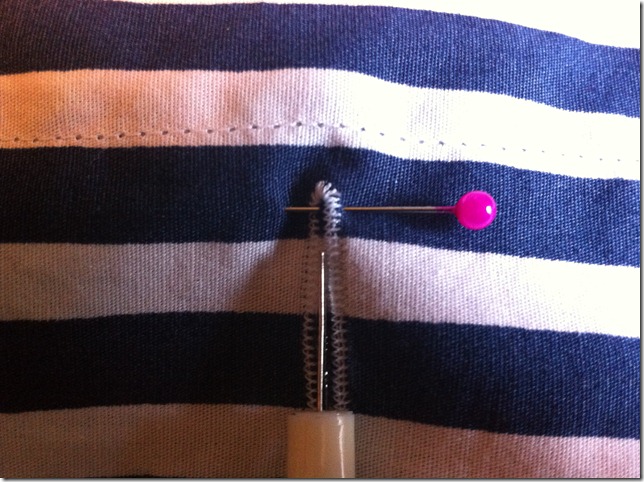
i didn’t really have a plan of attack when it came to cutting the fabric inside the button hole, i just figured i would figure it out once i got to that point. i had my sewing machine instruction book out to be sure i knew exactly how to use the button hole-making foot & lo and behold there was a tip about how to make that small cut inside the button hole without over-cutting (which would have likely been the case had i used scissors). first you place a pin thru the top of the button hole (to ensure you don’t cut too far). then you take your seam ripper and rib the fabric starting from the bottom & ending when you hit the pin. this is the best trick i learned during this project!
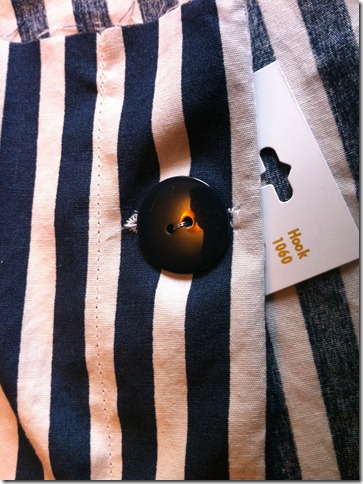
once my button holes were opened, i had to make sure the buttons would actually fit. i was a little skeptical at first, i mean, the process was SO simple, so i left the buttons in their packaging until i knew they would fit.
the next step was to start sewing the edges of the sheets together. i followed the design sponge tutorial (see above) & used french seams.
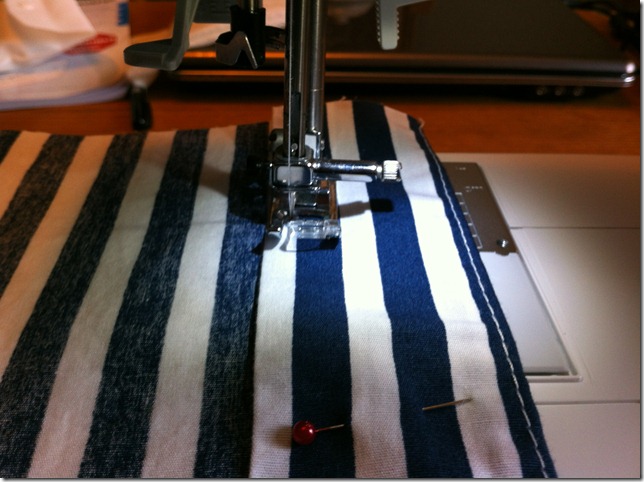
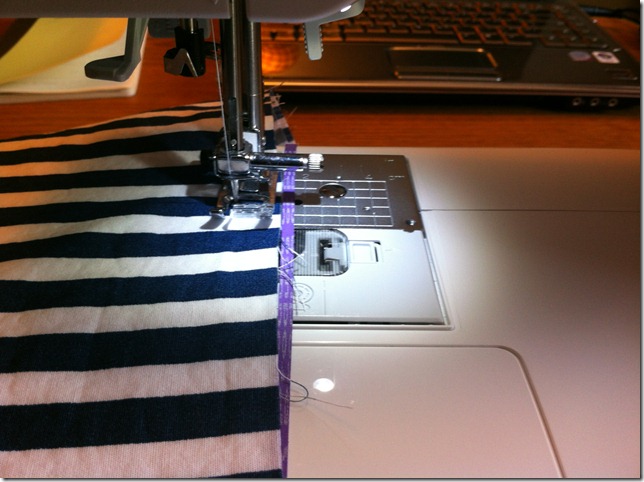
{sidenote: a tip that i picked up somewhere online that really helped me sew 1/2 inch & 1/4 inch seams: place a rubber band around the bottom arm of your sewing machine where you want your seam to be. this gives you a straight edge you can use to keep the edge of your fabric straight. i hope this makes sense; see the first picture in this section, the one with my sewing machine & the purple rubber band.}
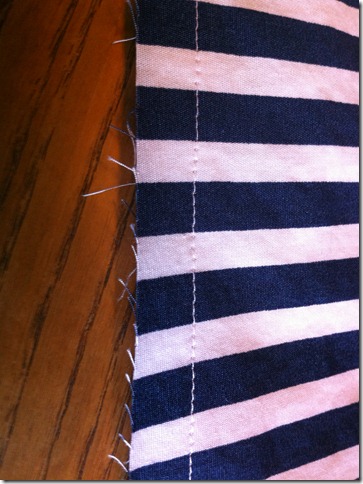
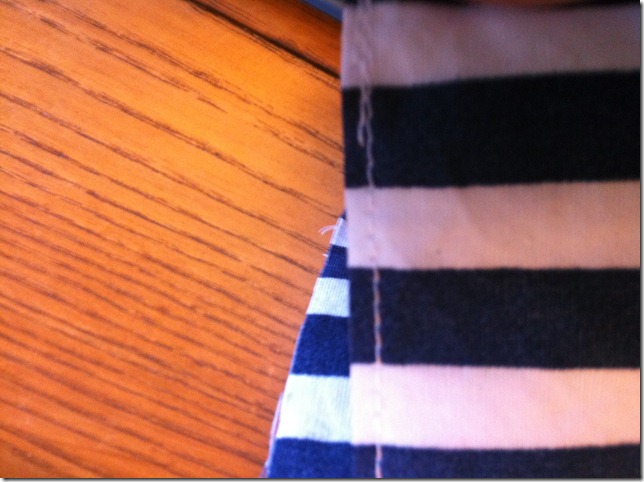
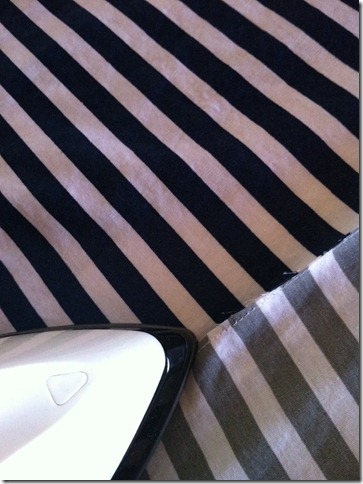
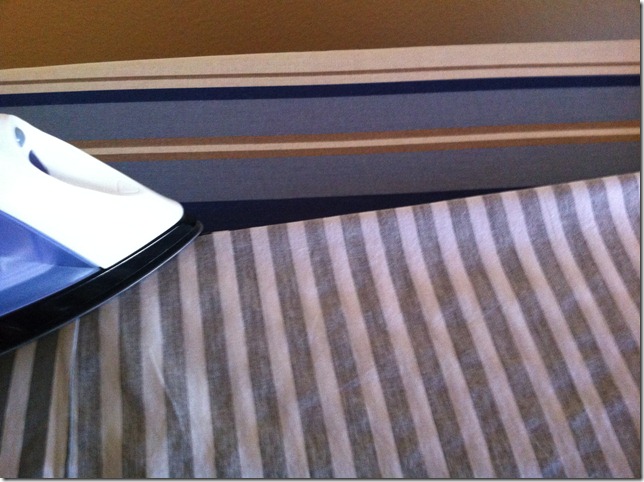
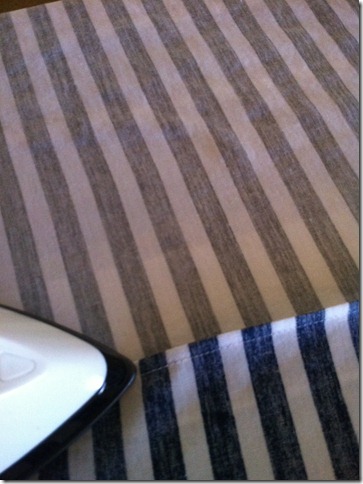
french seams in a nutshell: sew a 1/4 inch seam with the wrong sides of the fabric together (i sewed a 1/2 inch seam as i am still a newbie at sewing); cut the excess material as close to the thread as you can; iron the seam down to one side; flip the fabric over & iron along the seam; sew a 1/4 inch seam with the right sides of the fabric together; iron the seam down to one side.
i sewed the sides first & then the bottom – no real rhyme or reason for this, it just made sense to me.
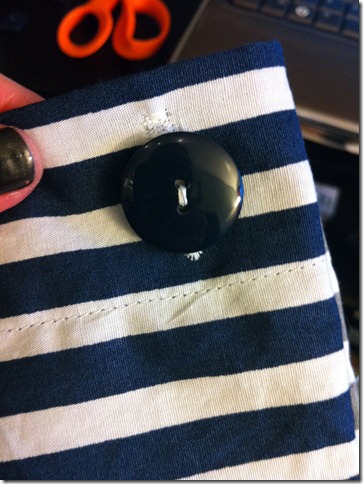
after the sides & bottom were sewed together, i was in the home stretch: only buttons remained. i have re-attached many a button in my life, but knew that i should probably learn how to properly attach a button to avoid having to re-attach buttons to this duvet cover. i googled “how to sew a button” & found this very helpful tutorial.
{sidenote: i used thread that was a bit thicker to sew on the buttons than the thread i would normally use in my machine.}
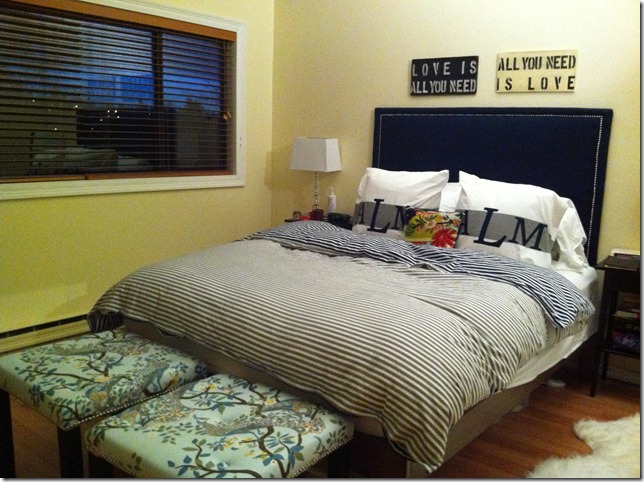
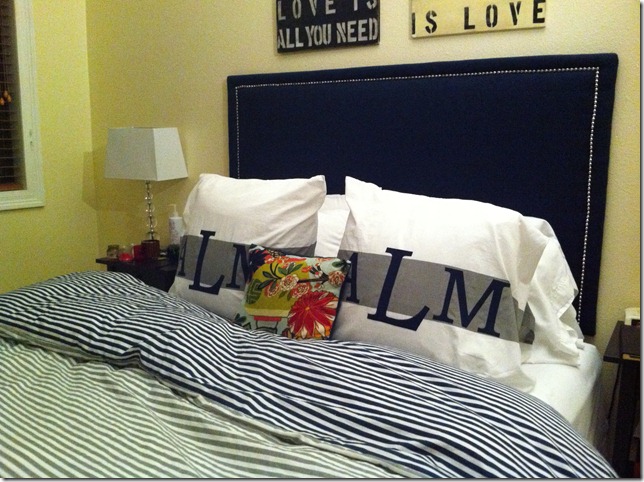
and, ta-da!, the final duvet cover in all her glory! it isn’t perfect by any means, but our down comforter actually fits inside of it, so that’s a win in my book. i am glad i did one side grey & the other side blue, this way we can either have both colors showing by flipping down the top (like it is above), or we can just have one color showing. i love the way the duvet works with the monogrammed shams. i added that little pillow that i made last year but had lying around, for now, so that everything wouldn’t be too matchy.
i hope you enjoyed this tutorial! for reference, this took me a weekend, & by “weekend” i mean the entire weekend; i stopped only to eat & walk sadie.
what is dressing your bed? would you ever make a duvet cover because you couldn’t find one that was perfect?
M

i am UBER impressed Mish! We definitely need new bedding; the color has faded terribly. Maybe I will get the courage to try this out…maybe. Keep up the awesome sewing projects!
thanks jen! i have only had my sewing machine for a year, so i know you could sew a duvet cover too if you wanted to. at least you know its an option when you are shopping for new sheets!
Very nice! Your button holes are perfect – I’m both impressed and jealous.
thanks amanda. i really have to give the credit for the button holes to my machine – i just had to start the needle in the right place!
Holy moly! Awesome! So glad you have this to stay warm in all that snow!! Crazy
Very useful post. It was very useful. I was searching exaxtly for this. Thank you for your effort. I hope you will write more such interesting posts.
It’s actually a cool and useful piece of information. I’m satisfied that you shared this helpful info with us. Please keep us up to date like this. Thank you for sharing.