i had a few requests for the projects that were part of amanda’s baby shower. as i mentioned in the original post, i looked to pinterest for inspiration and ideas, so these are all definitely pinspiration projects (this will be a series of project posts).
…
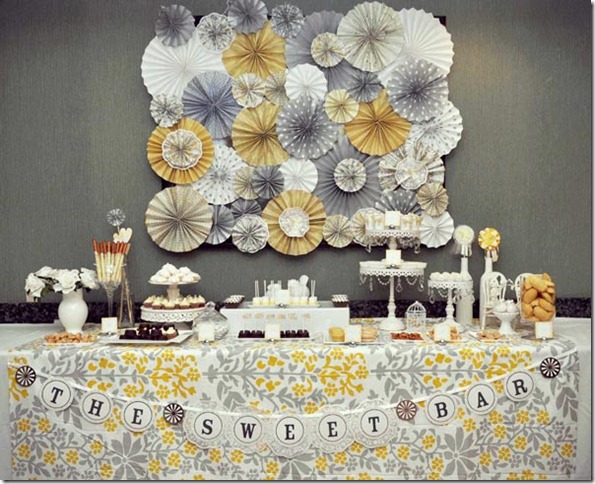
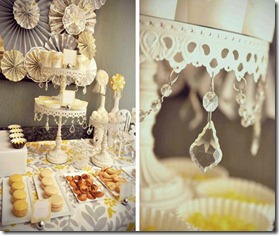
i was fortunate because very early on in the shower planning process i found the ultimate inspiration on pinterest & pretty much ran with that idea. i loved the look of white serving dishes & stands & i knew that i wanted to create a paper pinwheel board that would be the focal point for the dessert table.
{original post here: vintage themed dessert table.}
gorgeous, huh? i hadn’t made pinwheels before, but just a few days later i was catching up on blogs and found this tutorial on making paper pinwheels. it was definitely a sign that i had to at least attempt this project. {sidenote: this was a bit of a time-intensive project that spanned over about five evenings spent in front of the TV.}
supplies:
-
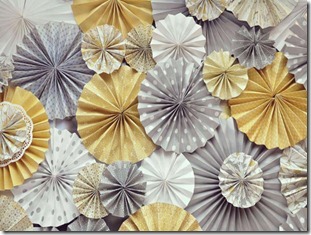
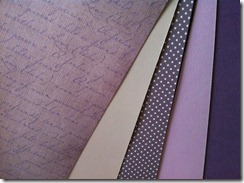
paper or colored cardstock (i used three different scrapbook papers, plain white computer paper & two different cardstocks; the paper is definitely easier to fold!)
-
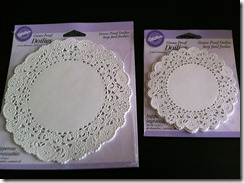
doilies (optional)
-
hot glue gun & lots of glue sticks
-
thick cardboard (i cut apart two boxes i had from amazon.com)
-
thick poster board with a foam core
-
scissors
-
medium-sized circle punch (optional)
-
ruler
-
pencil
i don’t have any pictures of the process & i apologize. i really didn’t think i would be doing a tutorial of this project, plus my fingers were covered in hot glue which is not conducive to taking photos.
i followed the tutorial from the lovely cupboard: cut strips of paper, fold & glue. the paper strips i used were between two and five inches. i also learned that the bigger the pinwheel, the more strips of paper that you need to glue together before making it into a circle.
perhaps it was because my folds were not always perfectly the same, but my pinwheels didn’t want to lay flat on their own. i remedied this by gluing a small (about one inch by one inch, or so) piece of cardboard to the back of the pinwheel in the center. this kept most of them together & lying flat on their own, & also gave me a good flat surface to attach it to the poster board.
i am not sure how the pinwheel board in the inspiration picture was constructed, but once i started laying out my pinwheels on the poster board, i figured out that i would need to elevate some of them in order to get the right effect (i.e., no white poster showing thru) & to get the pinwheels to overlap. i made about a quarter of the pinwheels before i glued any of them to the poster board, just so i could make changes in the positions of the pinwheels to get the right look. only a few of the pinwheels are actually glued directly to the poster board; most of them are raised up by cardboard. in order to get the pinwheels up off the board, but still attached, i cut lots of little cardboard squares (like the ones i talked about for the back of the pinwheels) & stacked & glued them together into little cardboard towers until i had the right height. {sidenote: if you are interested in seeing more pictures, let me know and i will update the post.}
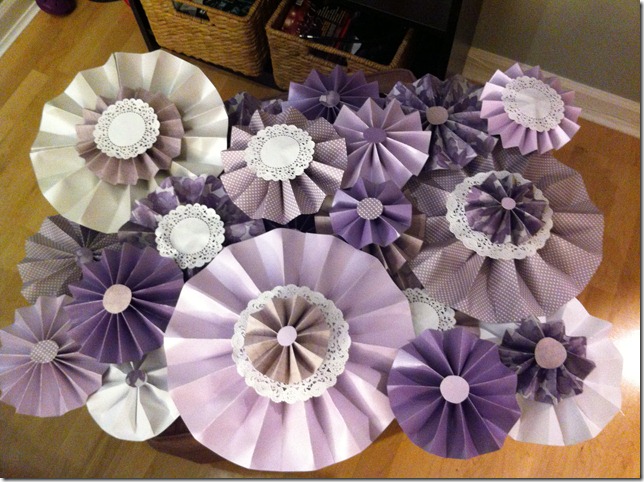
some of the larger pinwheels also have doilies & smaller pinwheels on top of them; i liked the look of this layering, but you could skip this part. also, i added a paper circle in the middle of each pinwheel in a contrasting paper to give it a more finished look (but also to hide the imperfect folding!). i just cut out circles by hand so they aren’t perfect, but if you had a circle punch that was big enough, you could use that too.
{the pinwheel board right after i finished it. the colors in this picture are really close to what they are in real life.}
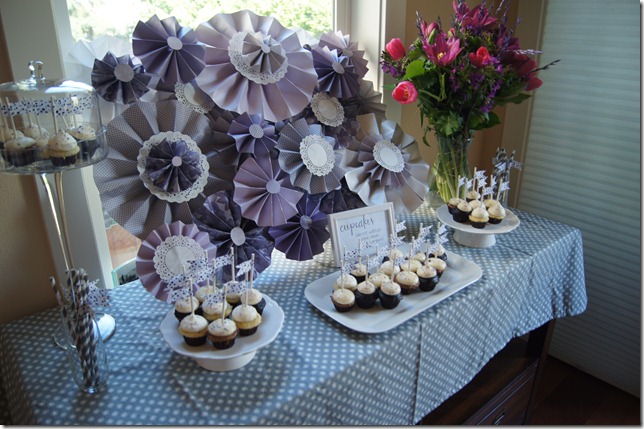
{the pinwheel board on the dessert table}
in order to make it stand (it was quite heavy considering it was made out of paper!) i had aaron add cardboard triangles to the back to prop it up; you could also hang it from a wall with poster hangers (like the ones made by 3M) which is probably how it will be displayed at the new house once i find a place for it {anyone have ideas as to where it should go?}.
if you end up making a paper pinwheel board, i would love to see it, so please share pictures!
would you make a pinwheel board for a shower, party or just a fun house decoration?
M

I am slammed for time w/ chores for party tomorrow…I wanted to say a quick thanks for your note the other day and now … today … this post! I checked your link out for your inspiration and OOOO MMMMYYYY GAWWWD. The Lovely Cupboard (TLC) has some insane ideas. I made a few pinwheels this week (ok, like 8 so far) and hole punched a few to hang. A few were a little lacking in the luster dept. and I just saw TLC put hole punches in a few for design…exactly the visual I needed!!! You were SO right about keeping the fold even so the back would lie flat … that’s what made me affix ribbon/tulle to a few to hang from the buffet. This is the longest comment I’ve ever left in my life! 🙂 Thanks again!!