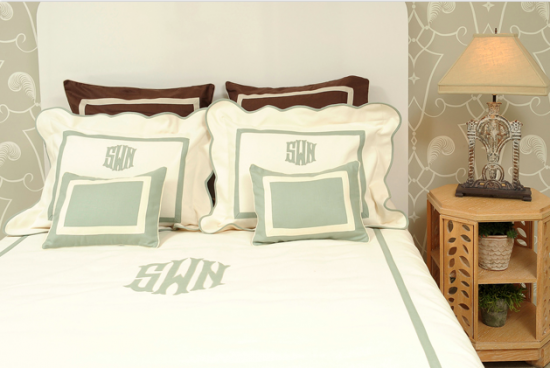
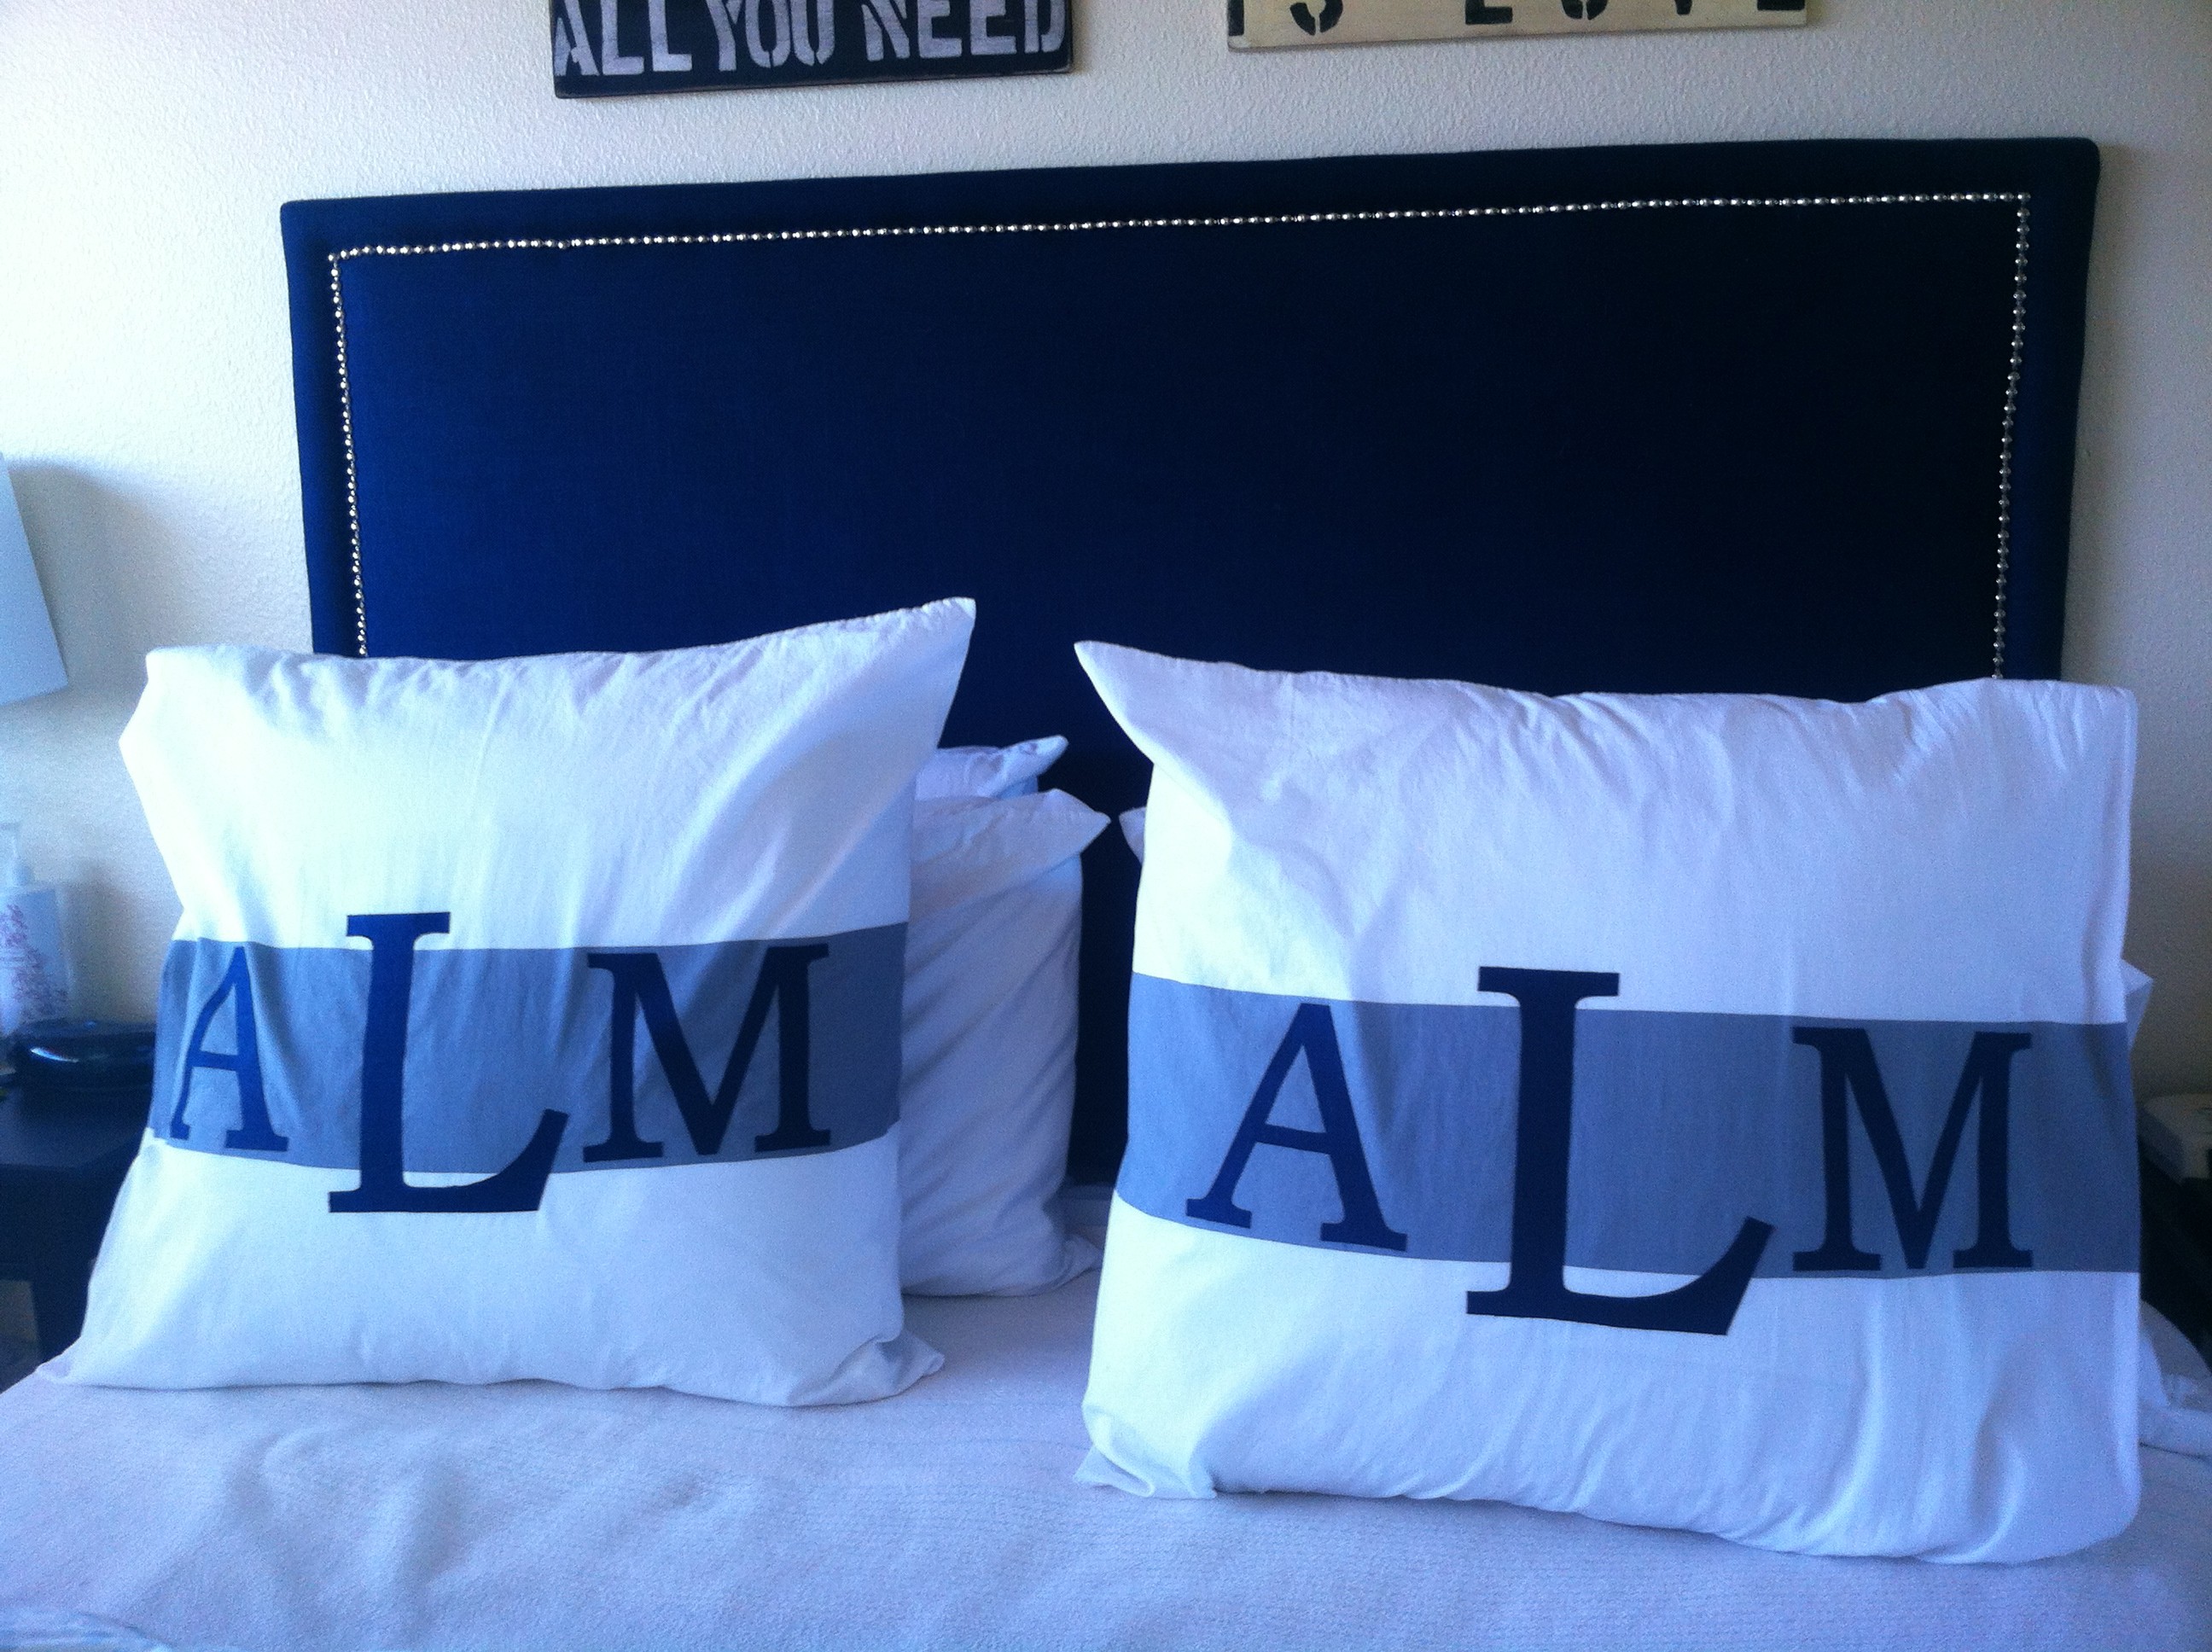
i have always adored all things monogram. since our wedding, i have been looking for ways to add our monogram to things around the house. my latest project has been re-doing our bed linens (more to come in later posts) which included new shams for our euro pillows.
when i saw this diy post by camila over on her effortless style blog, i knew it would be easy to add a monogram to whatever new linens we ended up with.
{see original inspiration link: DIY no sew fabric applique monogram}
i basically followed camila’s tutorial & in less than an hour i had beautiful monogrammed shams.
supplies:
- pillow shams or something to adhere monogram to (my euro shams are from west elm)
- fabric for monogram letters (my fabric was leftover from our upholstered headboard)
- Heat N’ Bond Ultra
- fabric scissors or exacto knife
- scotch tape
- cardstock or cardboard (for making stencils)
- font for letters
- sharpie (i used a fine sharpie pen)
- iron
- pencil
first i searched for letters that would make the perfect monogram. i didn’t really care if i had a rounded monogram – like camila’s where the letters sort of form a circle – so i just opened up a new word document and started looking at fonts.
i ended up choosing Bookman Old Style – classic lines with some heft (some fonts are too skinny for cutting out). usually i am an all lower case girl (as you can see from all of my blog posts) but i wanted a classic-looking monogram so i decided on all caps for this project. because euro shams are big, i knew i also wanted my letters to be big. the “A” and the “M” (which would flank the sides of the monogram) were 550 font size, and the “L” was 800. {sidenote: figuring out the font type & size was a bit of a trial & error – i would print out letters, cut them out and lay them on the euro sham to see what it looked like. lots of printing & cutting. perhaps you can error less by learning from mine.}
after i found my perfect letters, i printed & cut them out, traced them onto cardstock & cut out the final cardstock letters; you could totally short-cut this & print right onto the cardstock. unlike camila’s tutorial, i didn’t create a stencil but i ended up with cardstock letters to trace around (this totally will make sense if you look at her tutorial).
i laid out my fabric and set the letters out to ensure that i would bond enough fabric. if you are doing more than one monogram like i did, just be sure that you measure enough fabric for two sets of letters. i ironed my fabric (and the euro shams) before i applied the bonding. then i rolled out the bonding, cut it to size and ironed it onto my fabric (put the fabric right-side down, place the bonding paper with the paper side up & iron on the paper).
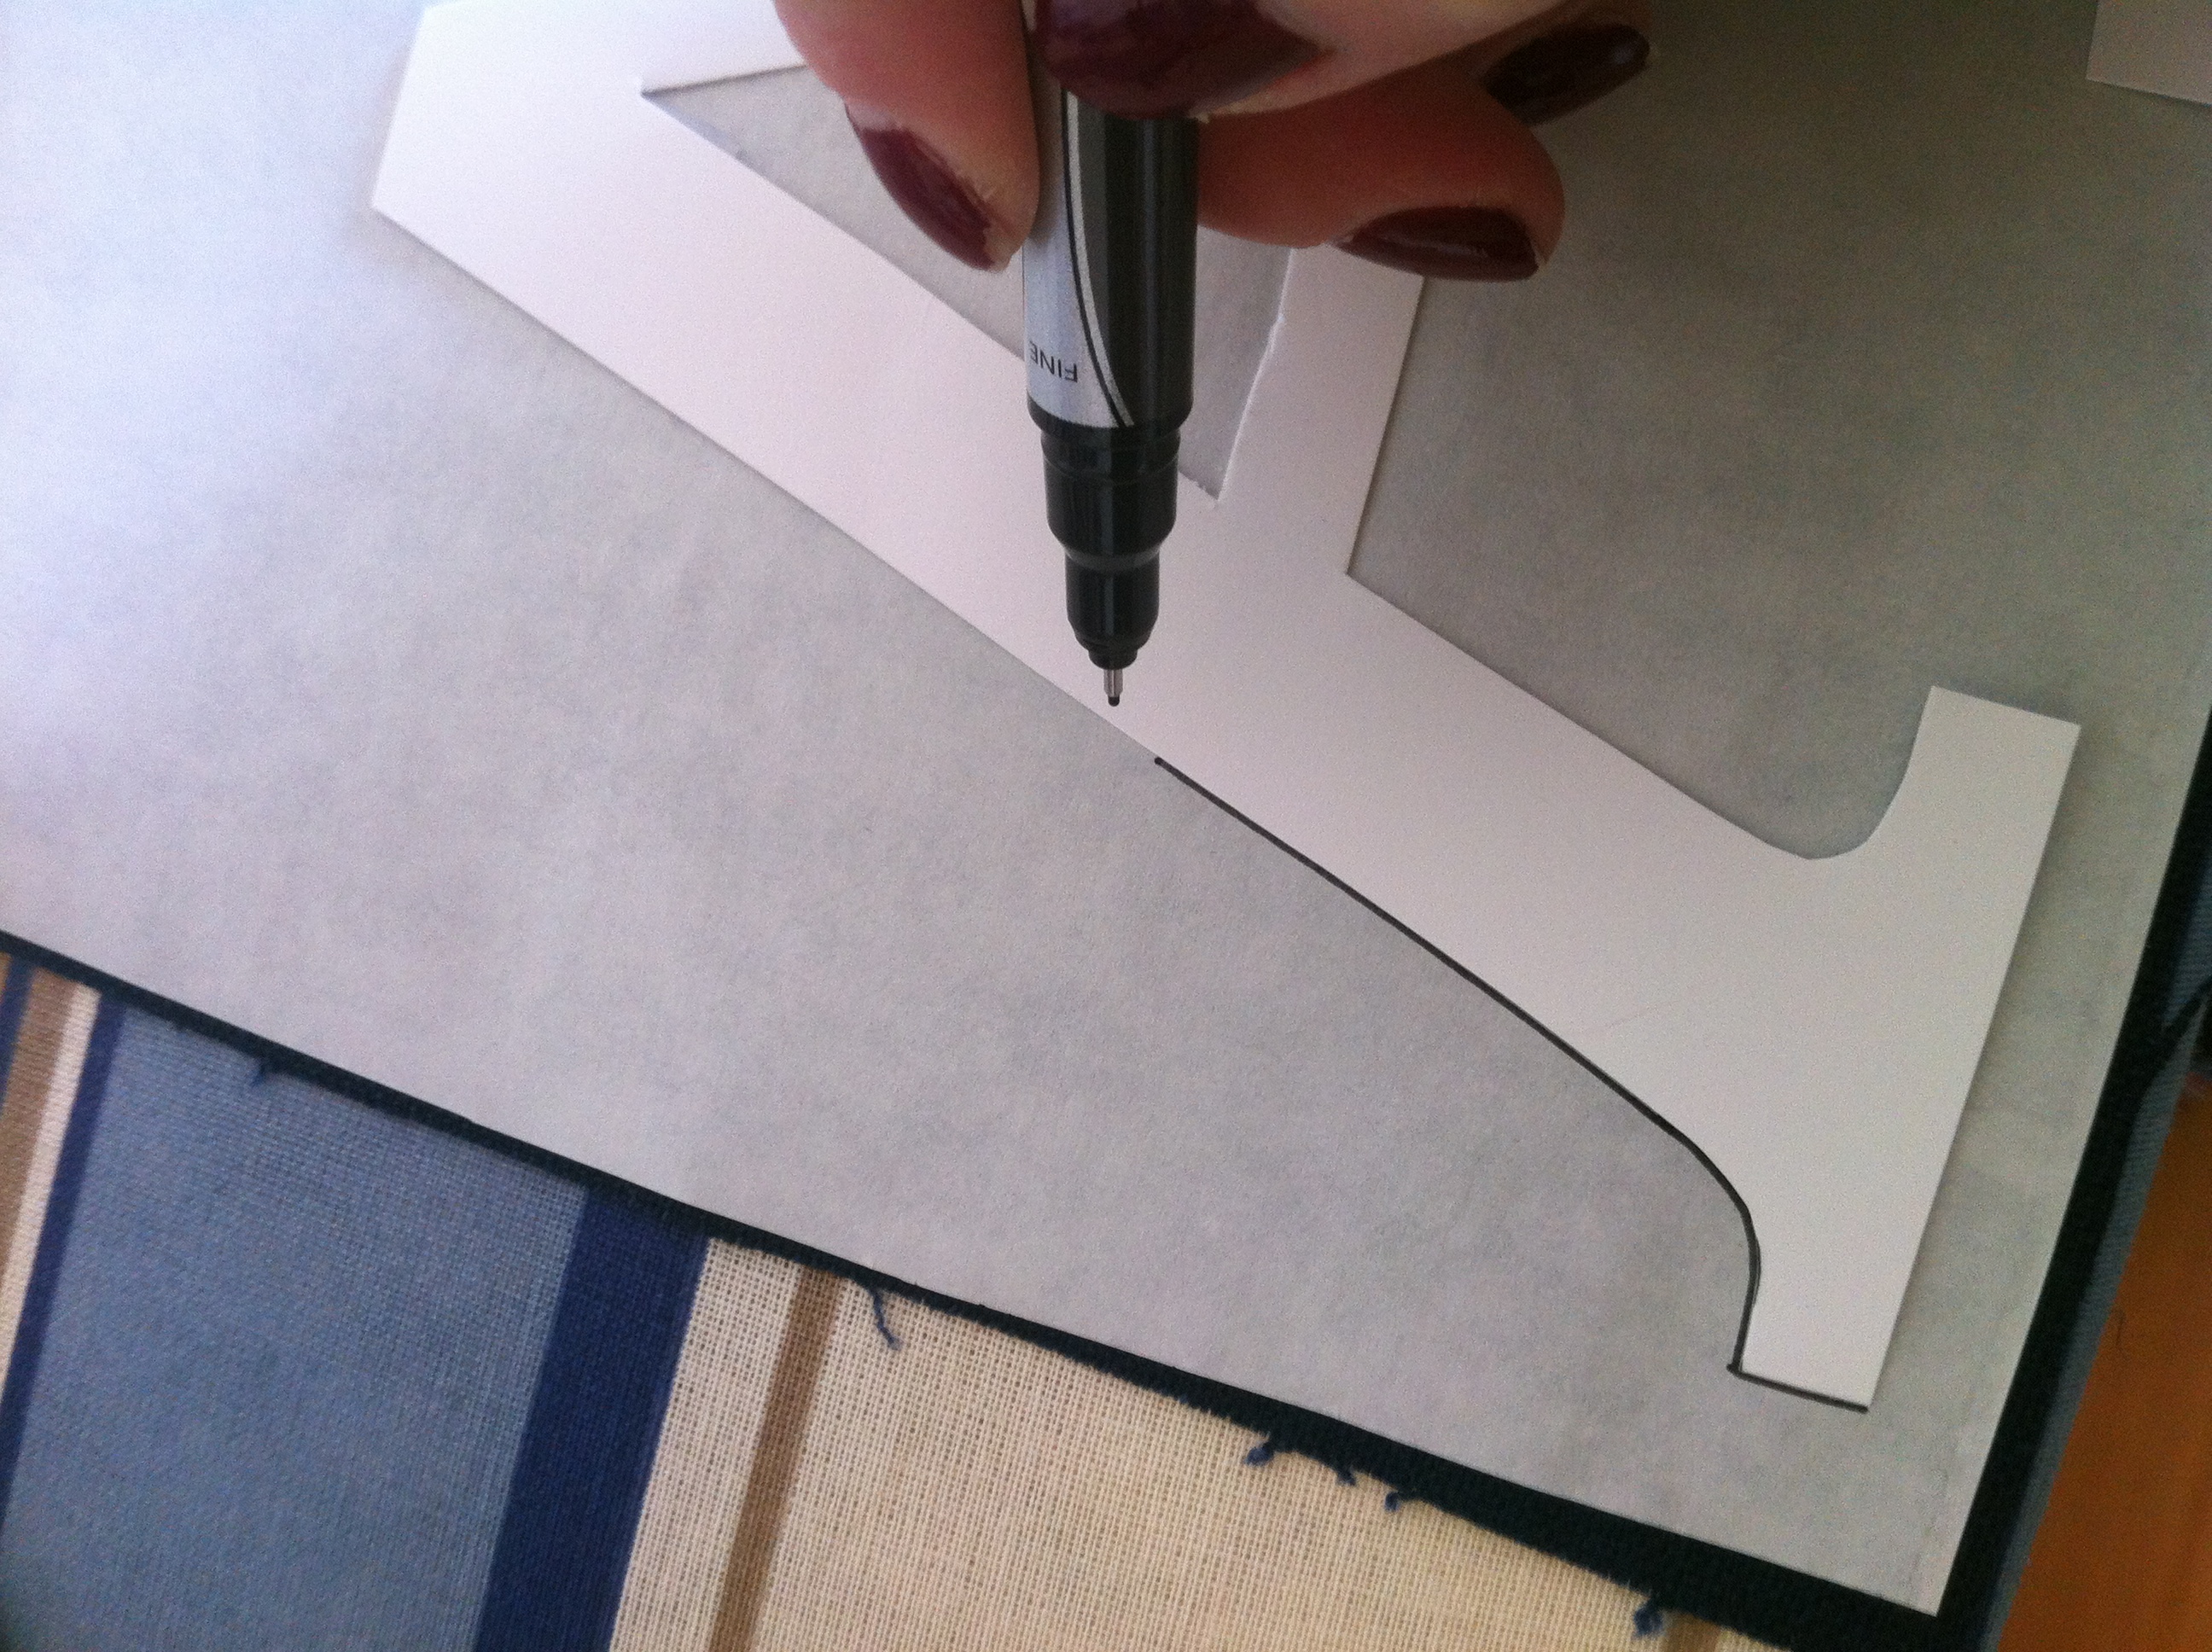
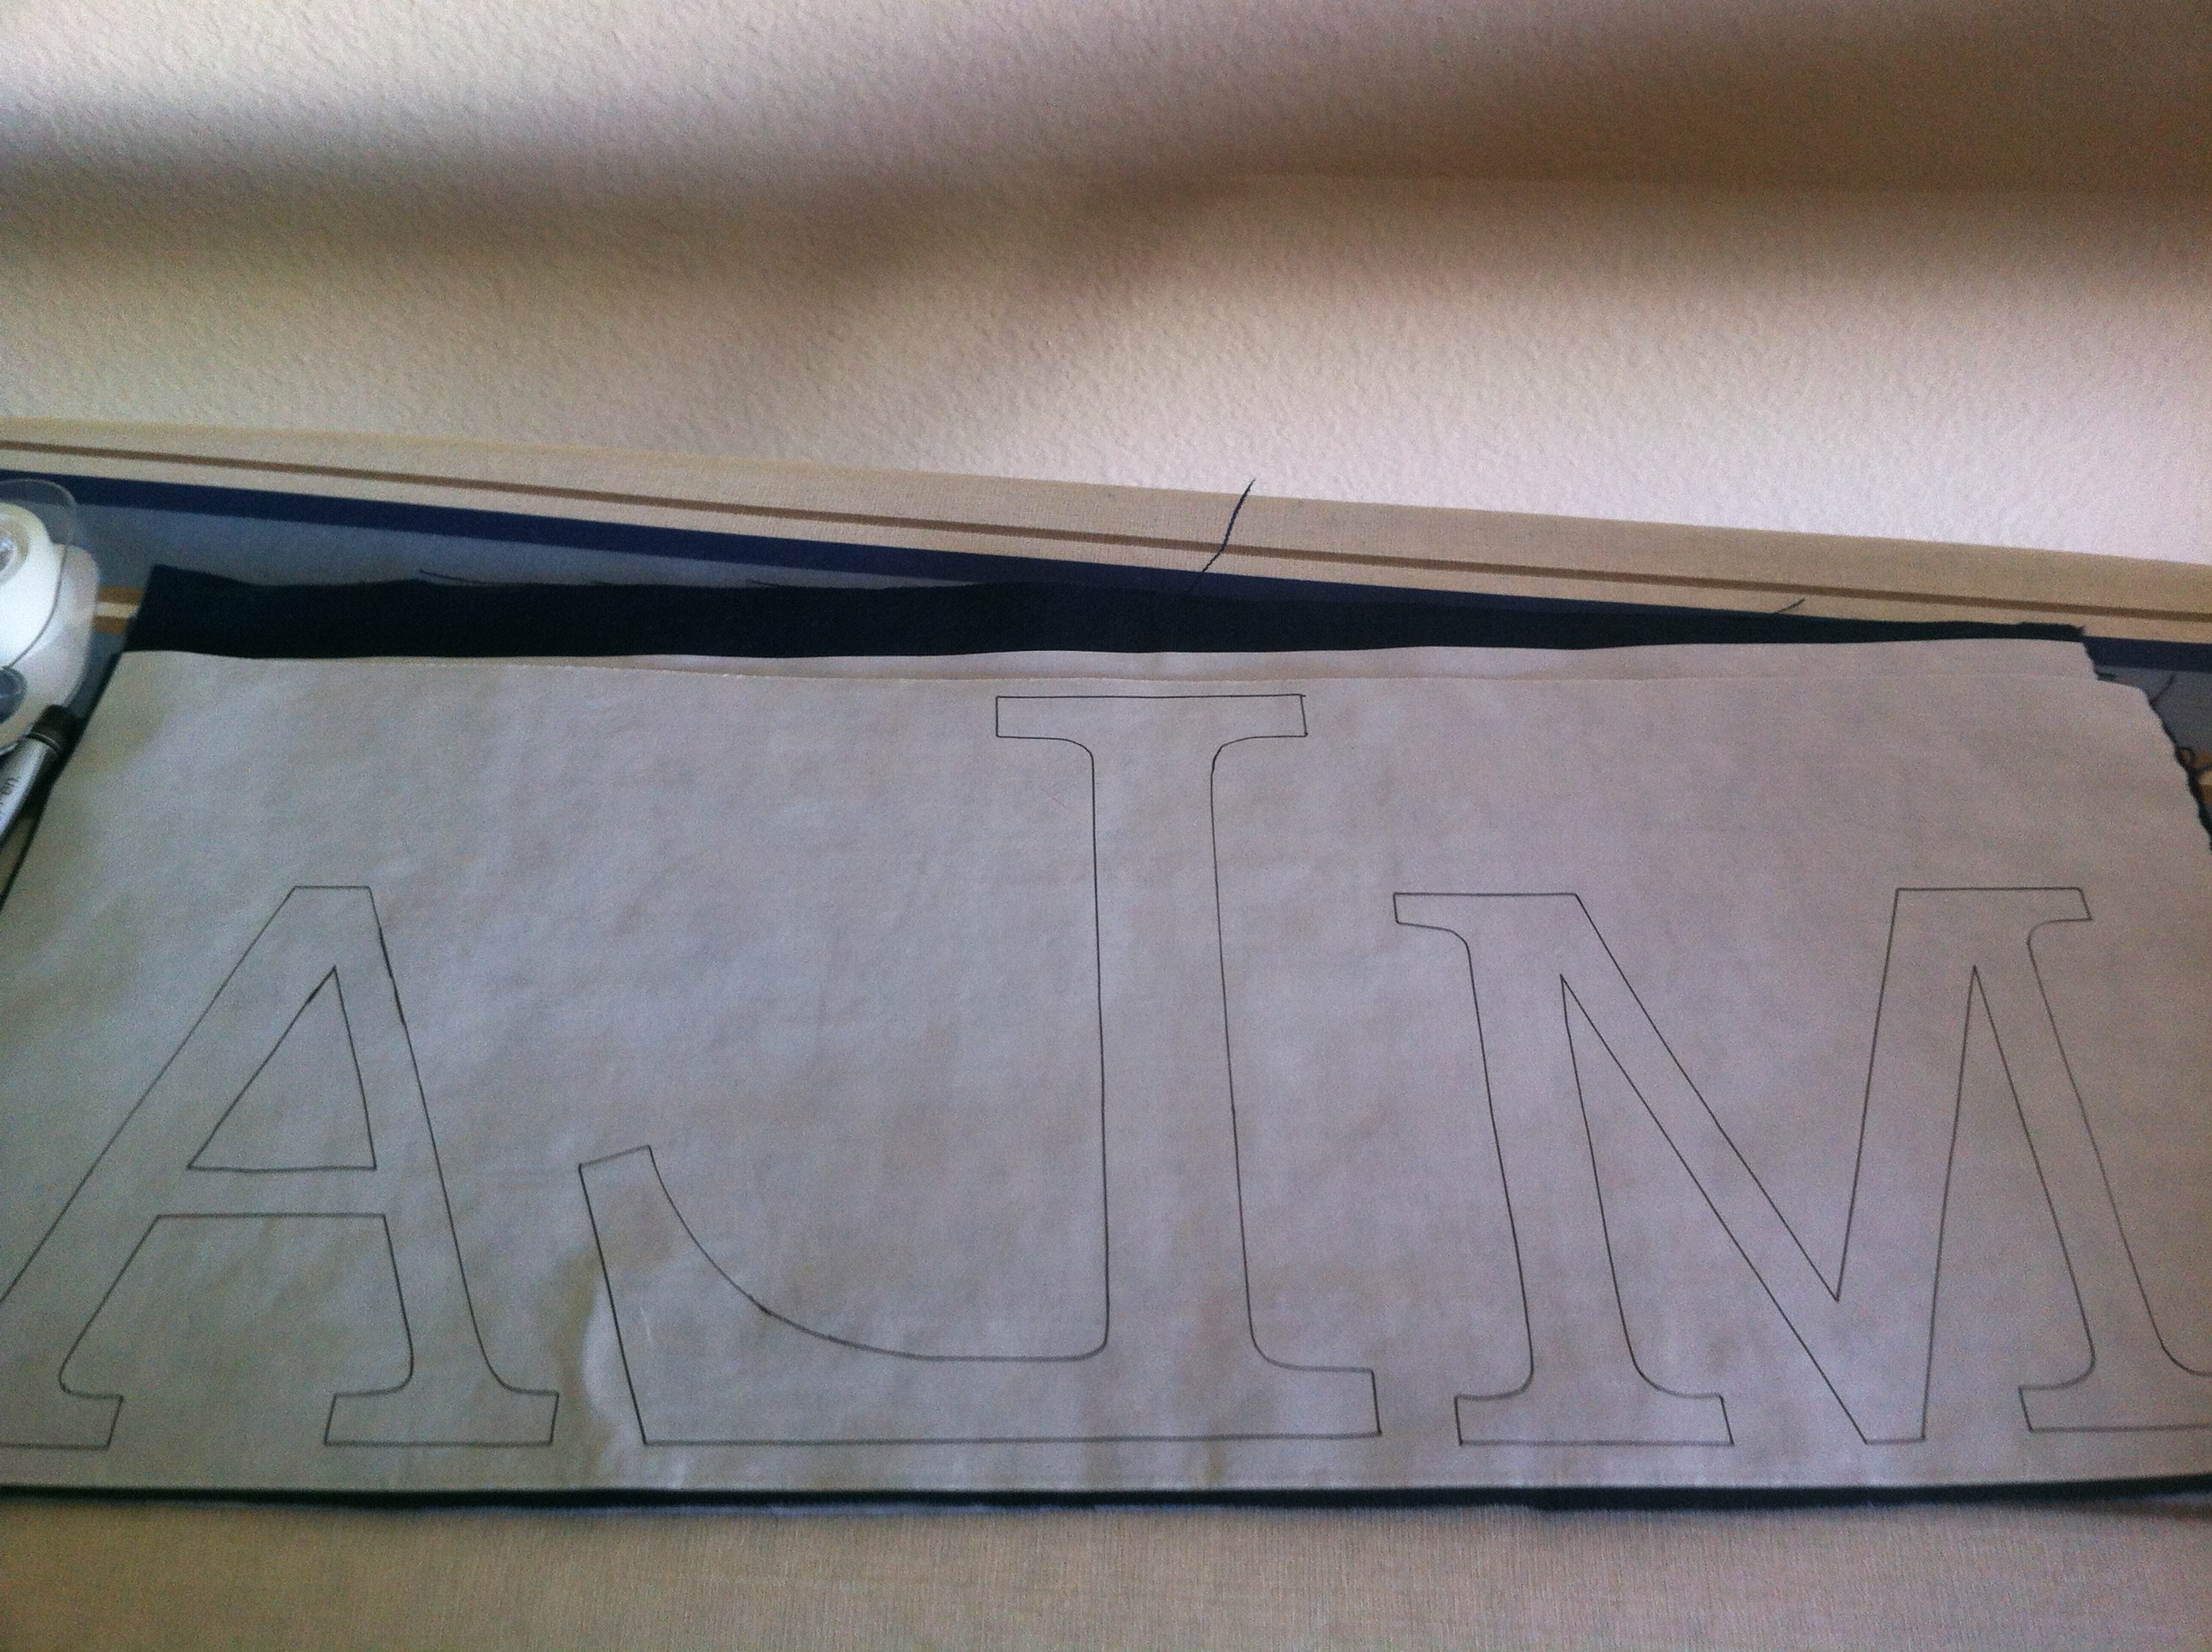
after the bonded fabric cooled down (like 2 seconds, seriously), i placed my cardstock letters onto the fabric on the paper side. in order to keep the letters from moving while i traced, i rolled up scotch tape and put it on the right-side of the letter, flipped it over & taped it to the paper. {sidenote: unless your letters are perfectly symmetrical, trace them backwards onto the bonding paper!}
then i traced around the letters with a thin sharpie pen.
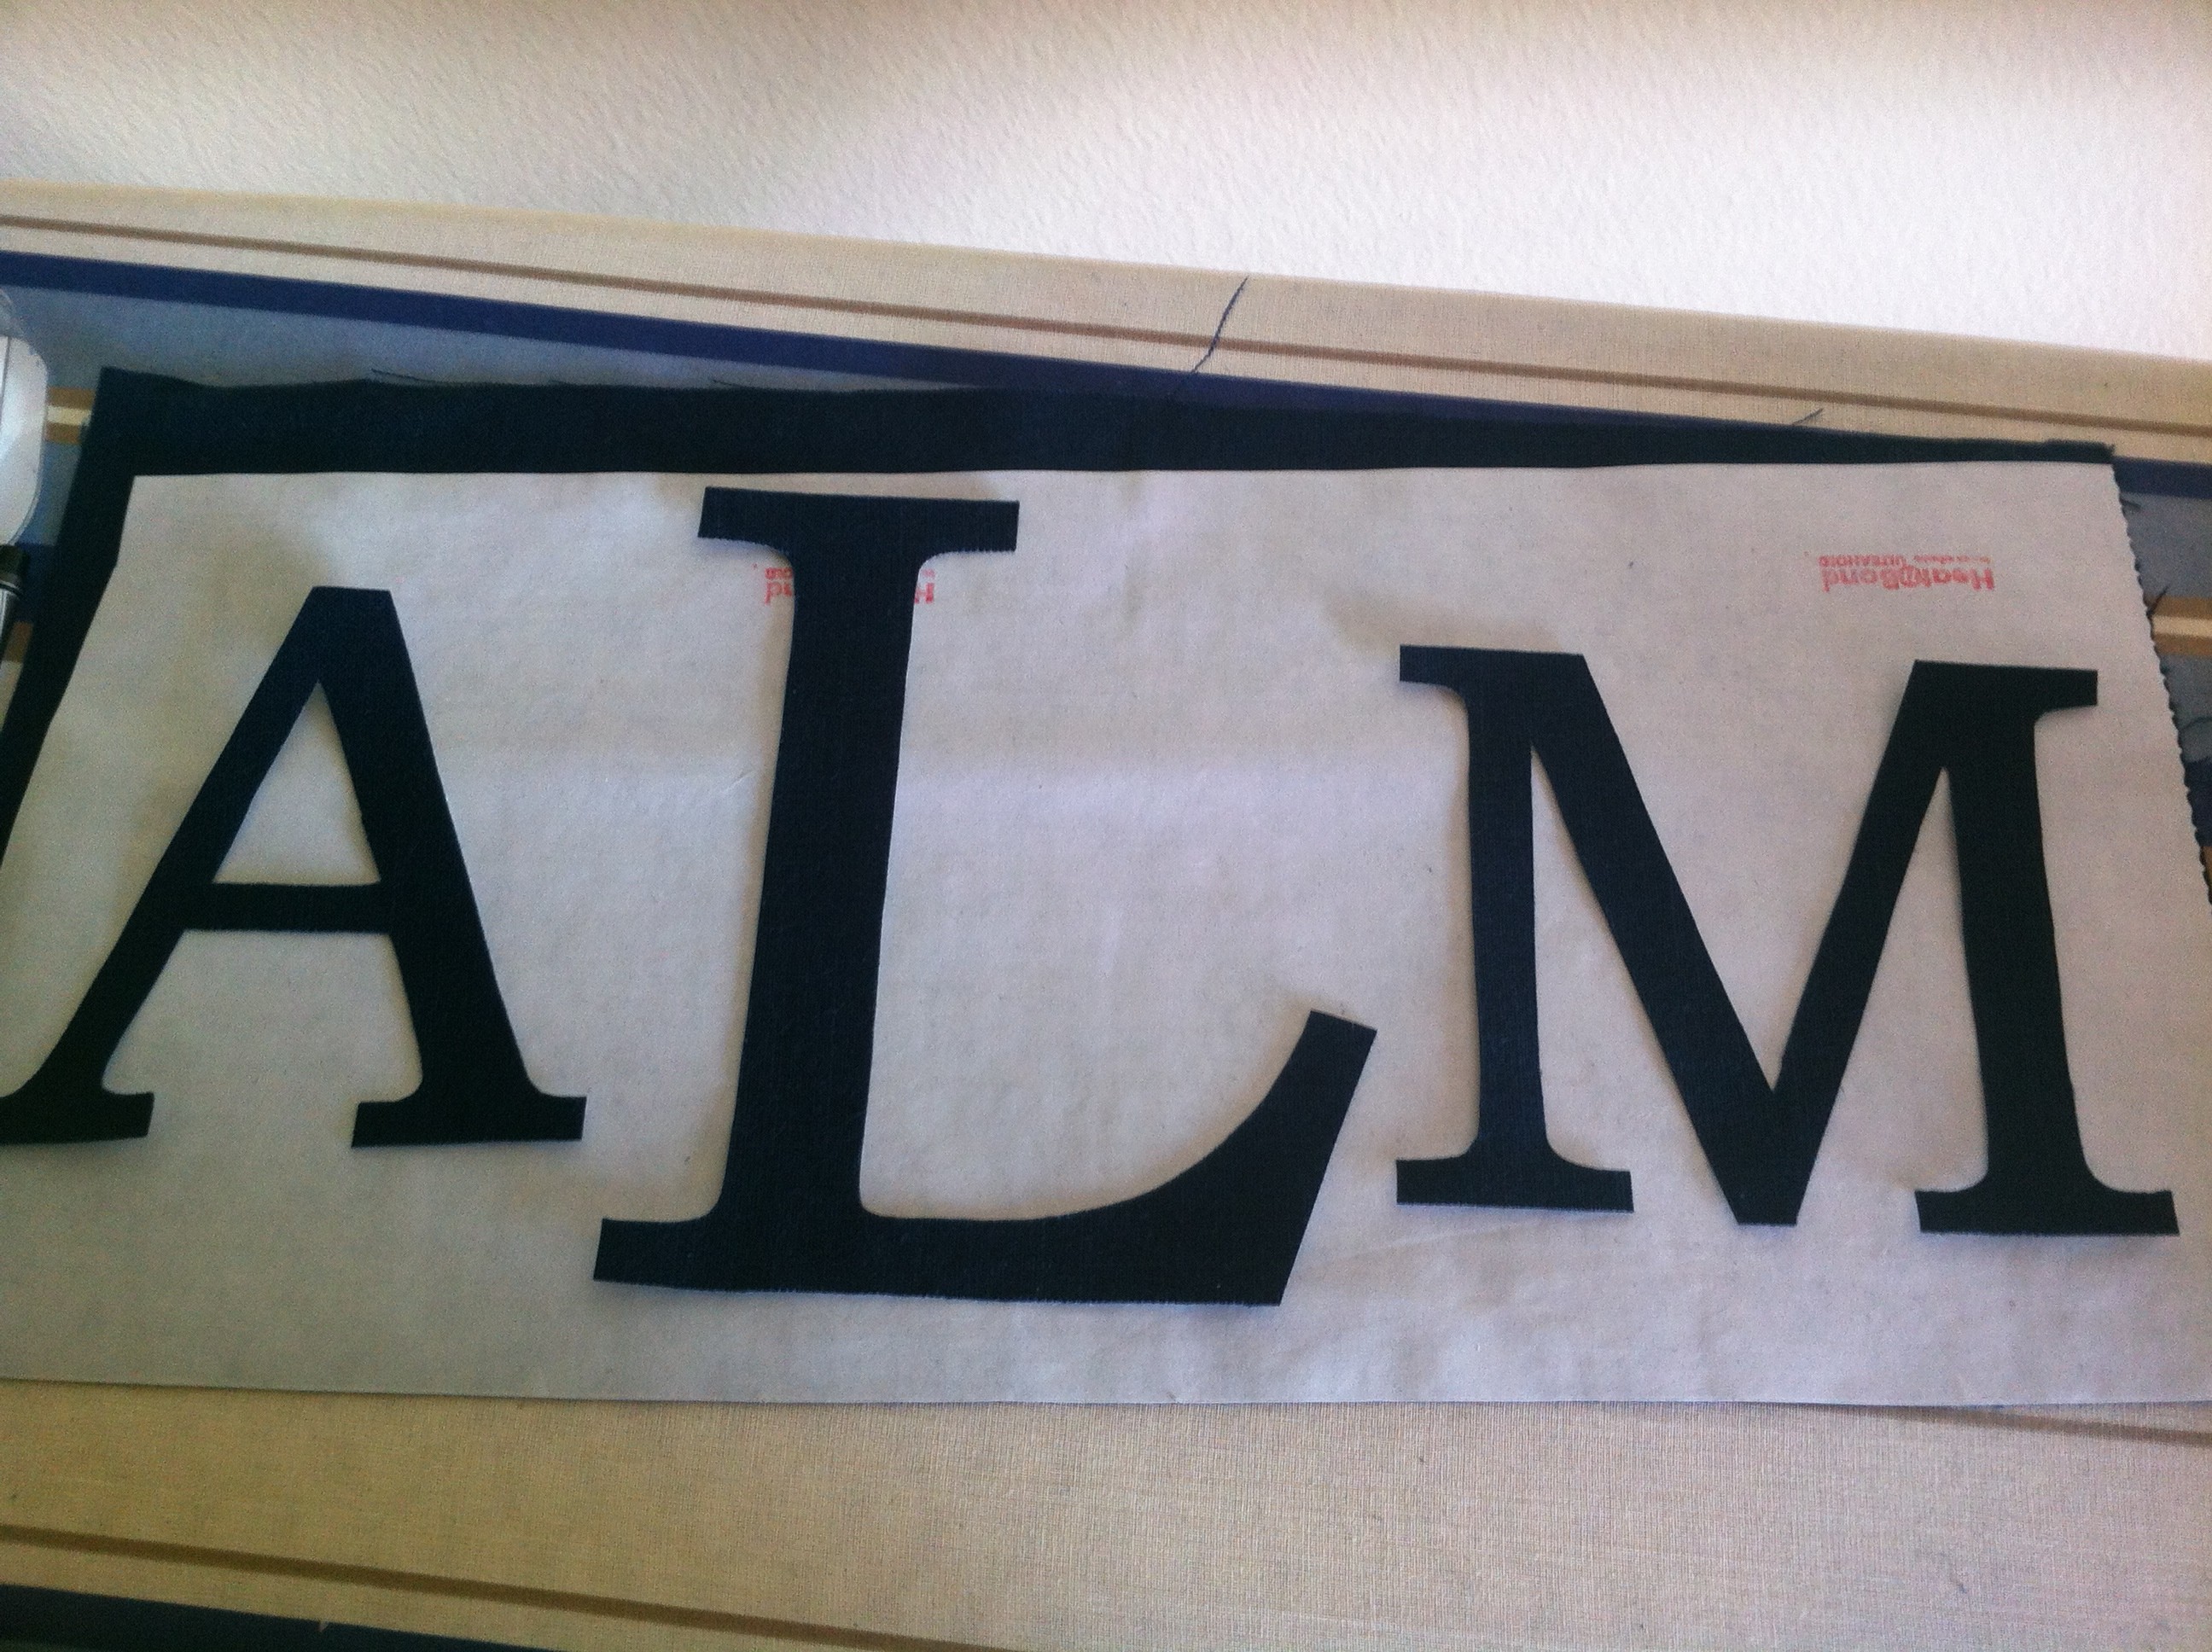
i cut out the first set of letters, and then repeated the process of tracing & cutting for the second set.
once my letters were all cut out, it was time to bond them to the euro shams. i did one sham at a time and then copied the measurements for the second sham. i just set out a tape measure along the sham and moved the letters until i liked them. this is not an exact science so just trust yourself. i was lucky to have picked a sham that had a grey stripe running thru the middle which gave me a great way to line up my letters.
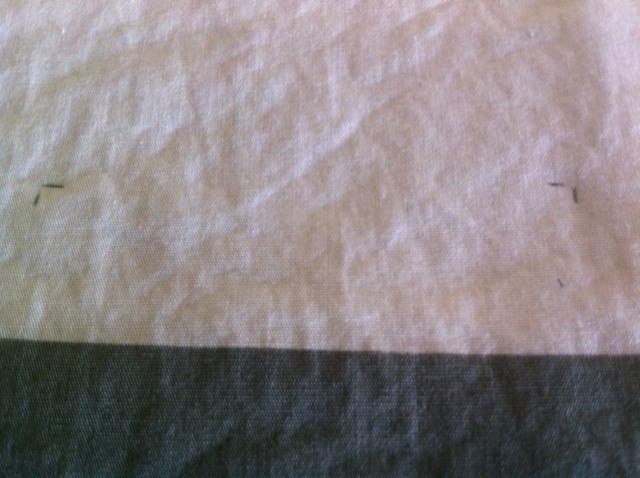
when i got my letters where i wanted them on the sham, i made small pencil marks at the top corners of the letters to ensure that i could find the right place again. then i peeled the paper backing off of each letter and placed it back onto the sham, lining up with the pencil marks. the nice thing about the bonding is that it isn’t sticky, so you can move your letter around even after you un-peel the paper.
after your letters are re-set (post peeling of paper), you just iron on the letters to the fabric. and just like that you have a fabric monogram!
i swear, anything with a monogram immediately looks chic & sophisticated!
have you monogrammed anything lately?
M



2 thoughts on “diy monogram pillows.”