merry christmas eve house tour.

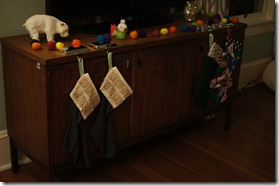
this holiday season has been so fun decorating the house for christmas. i was able to use all of our old decorations {see some of last year’s décor here & here} in our new space. we don’t have a fireplace like we did in our townhouse, so it has been a bit of a challenge to decorate without a mantle. {i guess the trade-off is that instead of a four foot christmas tree we could have a nine foot one!}

nearly all of my decorations have come from two series worth of a pinterest christmas. {see the first post from last year here & the first post from this year here} i enjoy making the decorations to fit the space that we are in. even after a month of a pinterest christmas projects i am already thinking about what i can make for the house next year!

i hope you enjoy a quick tour of our house all dressed up for christmas.

DSC02451DSC02450DSC02449DSC02467DSC02468DSC02470

is your house all dressed up for christmas? if you have a blog, please share a link in the comments!

merry christmas eve!

M

a fresh coat of paint: bedroom edition.

over thanksgiving break, our other big painting project {in addition to the bathroom} was our bedroom.

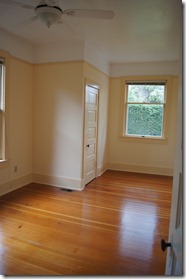
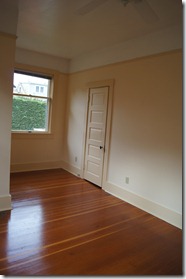
our bedroom’s original color was yellow with yellow trim. yep, lovely. {thankfully, our bedroom has the 11 foot ceilings & picture rail like our living room.}

DSC00824DSC00825

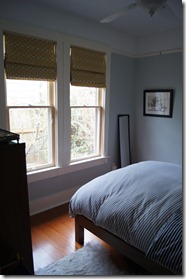
it took me a long time to figure out what color i wanted in this room. i tend towards grey {& deliberately chose not to paint our living room grey as it is the biggest space in our house} but i wanted to brainstorm a little more & not go for something so easy. at the same time, i wanted to keep the color pretty neutral as it is the place we sleep, as well as match the citrine color of the new roman shades.

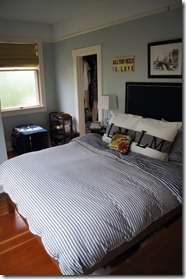
it took until we were at the paint counter at lowe’s actually buying the paint for us to finally figure out the color. the winner was woodlawn sterling blue from valspar which is a light blue-grey. this color is also part of its national trust historic color collection as is the carolina inn club aqua by valspar color of the living room. i used the allergy & asthma paint which is a little spendy, but highly, highly recommended. i have used this paint all over the house – it is no VOC & has great coverage.

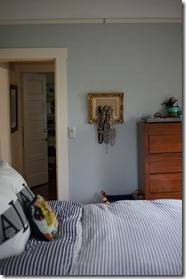
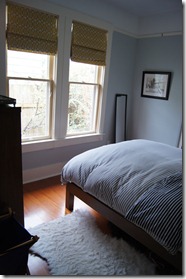
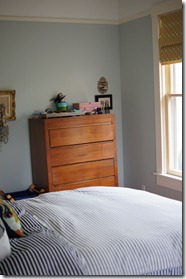
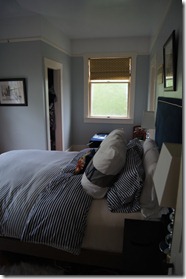
after priming the trim & walls, & painting on the wall color, we finally had beautiful not-yellow walls!

DSC02283DSC02288DSC02285DSC02286DSC02289DSC02284

the pictures really don’t do the room justice – it is so awesome in person {not that i am biased or anything}.

we still have to finish painting the insides of the windows {requires warmer weather} & also finish painting the closet doors, but just the paint on the walls is a vast, vast improvement!

have you updated the color in a room recently?

M

master bedroom mini-blind update (or pinspiration: no sew roman shade)

when i made my first no sew roman shade for the kitchen this spring, i mentioned that we also have miniblinds in both bedrooms. while i haven’t done a thing about the miniblinds in the office/extra bedroom {or anything for that matter!} i did finally do something about the miniblind situation in our bedroom.

i made these blinds the same way i made the other ones, so i won’t hash out all of the details. {see tutorial here}

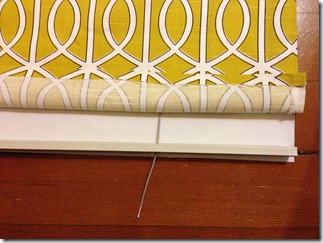
the one change that i did make was that i added blackout material {also acts as a thermal liner} to the backs of the three shades. i found this blackout material at joann & though i don’t remember exactly how much it was, but it wasn’t very expensive.

IMG_2897IMG_2898

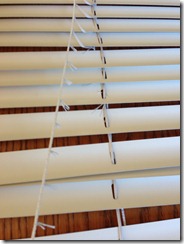
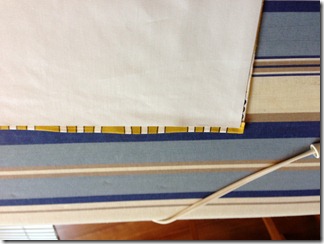
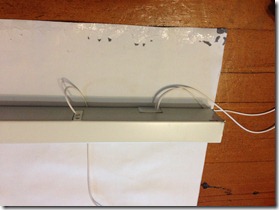
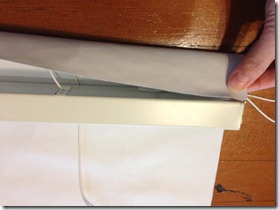
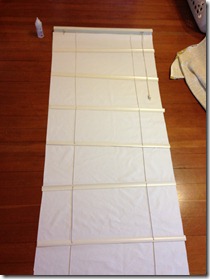
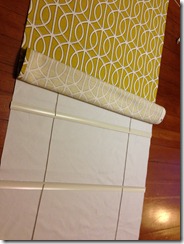
i cut the thermal liner to be the same size as the fabric. in hindsight, i may have made it 1/4 inch smaller on all four sides. once i had cut the ladder cord & removed the extra blind pieces, i added the thermal liner by gluing it to the bottom of the miniblind metal bracket {i that isn’t what it is called, but just go with it!}. i laid the thermal liner down on the floor {i don’t think it matters which side is up} & then laid the miniblinds on top. after lining the top & bottom up, i rolled the top metal bracket towards the bottom of the blinds twice. then i added a line of glue to the edge of the thermal liner & glued it to the edge of the metal bracket {see picture to the right below}.

IMG_2900IMG_2899

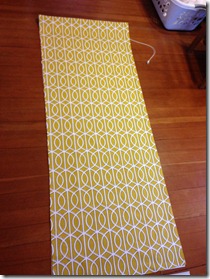
after the glue was dry on the thermal liner, i rolled the top metal bracket back & then began gluing every other slat to the thermal liner. then i glued on the front fabric like in the original tutorial, adhering the front fabric to every other slat.

IMG_2901IMG_2903

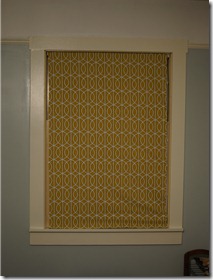
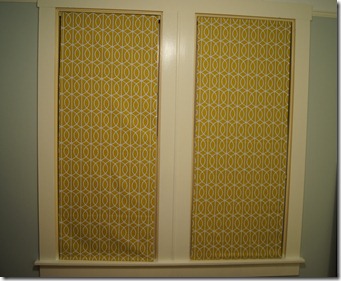
the fabric is dwell studio bella porte citrine from fabric.com. i am a big fan of dwell studio fabric despite the heavy price tag. i love all of the patterns & it is upholstery quality – you can’t go wrong!

IMG_2904IMG_2906

while the biggest reason i added a thermal liner to these bedroom curtains was to help keep heat from escaping thru the windows, the blackout feature has been nice. the curtains are all a teeny bit smaller than our window frames so we get little slivers of light in the morning, but for the most part i feel like we are in a hotel. the blackout curtains are completely messing with my circadian rhythm, but we are loving being able to sleep in on the weekends!

DSC02412DSC02413

{sidenote: the shades are hard to open and close because the pullcord is in-between the fabric & the liner. i decided to sandwich the blind slats between the fabrics so that you couldn’t see the slats from the back/outside. instead, you could attach the liner to the back of the fabric before gluing it to the blinds to avoid this problem. i may add a little slit at the top of the liner right next to the pullcord to allow the cord to be pulled thru & hang on the back of the blinds, between the shade & the window.}

how do you feel about window coverings? have you ever made your own shades or curtains?

M

my weekend in pictures.

IMG_2927

{addressing christmas cards.}

IMG_2928

{blog views from all around the world. isn’t technology amazing!}

IMG_2929

{shopped the target + neiman marcus collaboration late friday night (it was already december 1st on the east coast!) & got some goodies without worrying about the herds of people at the store. #ilovetheinternet #thewestcoastisthebestcoast}

IMG_2930

{enjoyed colored sugar sprinkles on my morning grapefruit.}

IMG_2931

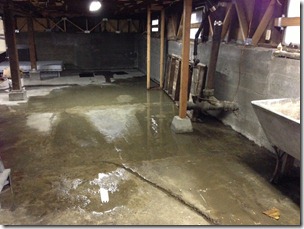
{the late fall seattle downpours have been slowly seeping into our basement. though it is not more than 1/2 inch of water in some places, we decided to get a sump pump and drainage ditches put in this week. #myhouseisamoneypit #pleasestopraining}

IMG_2932

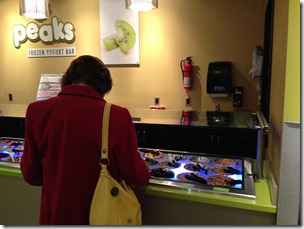
{my grandmother thoroughly enjoying the candy bar at peaks. she pointed to a topping & asked me what it was, i said “its rock candy. so basically sugar,” & she started scooping it into her bowl by the spoonful. love her!}

IMG_2933

{if you can’t tell that is a purple christmas tree on top of the crane that is renovating the uw football stadium. #merrychristmas #godawgs}

IMG_2936

{we watched groundhog’s day on saturday night. how have i never seen this movie before?}

IMG_2939

{the cutest husky waiting outside for his owner in queen anne.}

IMG_2940

{brunched at the 5 spot with our neighbors on sunday morning.}

we tried to keep the weekend relaxing without a lot of to-dos. it was nice to just hang out & enjoy the time off, but the rain is pretty miserable. i guess that is what we get for living in seattle. how was your weekend?

M

a fresh coat of paint.

picstitch

{the current before & after}

DSC02279DSC02280

DSC02281DSC02282


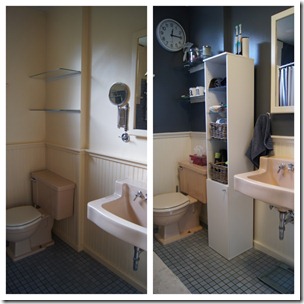
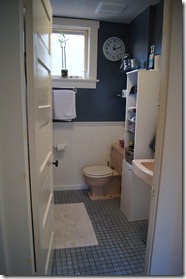
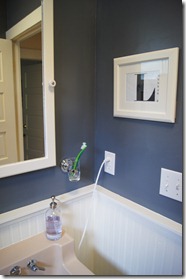
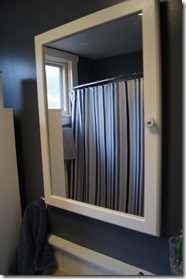
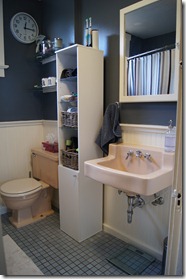
as i have been alluding to for weeks, we spent some of our long thanksgiving weekend overhauling the bathroom. we have big plans for this room, including adding a vanity, changing out the toilet, & painting the tub, but for now we thought just getting rid of the yellow walls & yellow trim would be a decent upgrade. boy were we right!

i painted the trim & beadboarding a few weeks ago in the same color as the trim in the rest of the house (a bit of an off-white) to prep for painting the walls last weekend. after priming the walls, we used cruicible by valspar in allergy & asthma which is fantastic to paint with (i used it in the kitchen & living room). i wanted something really different for this space (by different i mean not grey, which is my go-to) & i picked a color that was really close to the darkest stripe on our shower curtain. i would normally hesitate to put such a dark color up on a well (especially in such a small space), but because there is so much beadboarding, i knew the contrast would be perfect. the new wall color also goes well with the lighter blue tile which covers the floor as well as the shower walls.

despite the upgrade to the wall color (which makes me gasp every time i walk past the bathroom, it is that great!) we desperately need counter space in this room. we have been looking at traditional bathroom vanities, but haven’t really found anything we like for the space. i have considered converting an antique dresser by adding a sink & countertop, but hesitate to take on a project that involves plumbing as neither aaron nor i have much (if any) experience with that. has anyone ever converted a dresser or cabinet into a sink before?

have you upgraded any of your rooms with a coat of paint lately?

M

my long holiday weekend in pictures.

IMG_2868

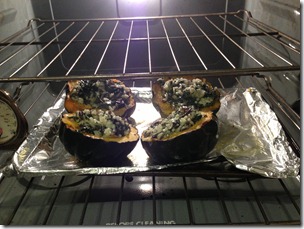
{rather than fix an entire turkey, we made acorn squash stuffed with wild rice & kale risotto for thanksgiving dinner. we ended up hosting a couple of friends for dinner which was fun. our first thanksgiving in the new house was a bit non-traditional, but a success!}

IMG_2869

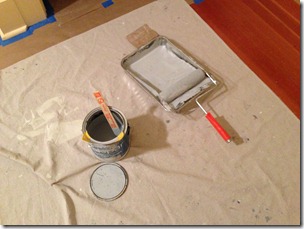
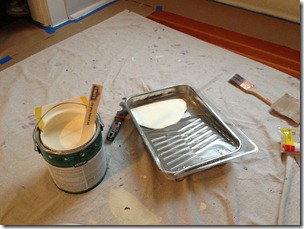
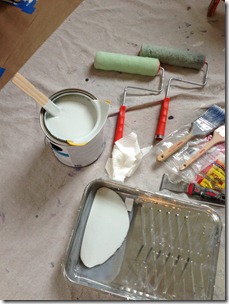
{priming.}

IMG_2870

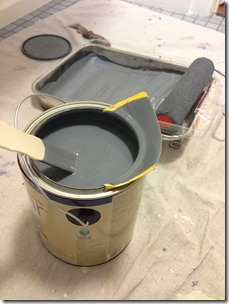
{painting. can you guess what room?}

IMG_2871

{more priming.}

IMG_2872

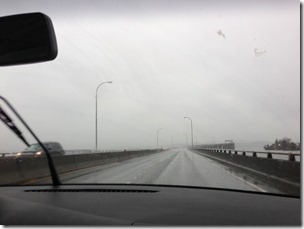
{we had so much rain this week & saturday was no exception as i headed over to woodinville for crafternoon with amanda.}

IMG_2873

{the best kind of thanksgiving leftovers: pumpkin cheesecake & pecan pie. also, i love all things white & ceramic, can you tell?}

IMG_2874

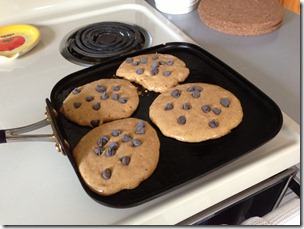
{woke up sunday to aaron making chocolate chip pumpkin pancakes!}

IMG_2878

{& more painting.}

IMG_2880

{i normally love upsets in college football, but i had to root for notre dame. go irish!}

IMG_2881

{you know christmas is right around the corner when you get the nordy’s holiday shopping party invite in the mail! anyone want to join me?}

IMG_2882

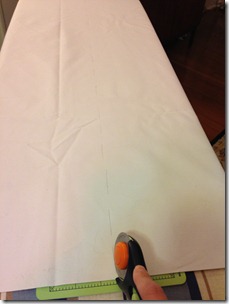
{cut lots of fabric this weekend. details will be up next week!}

IMG_2889

{my two favorite people (well, person & dog) sunbathing on sunday morning.}

IMG_2890

{the weekend is not complete without a trip to a hardware store, or two.}

IMG_2892

{christmas trees!}

IMG_2894

{#tistheseason}

IMG_2896

{the first time our christmas tree has been too big to fit in the trunk.}

IMG_2908

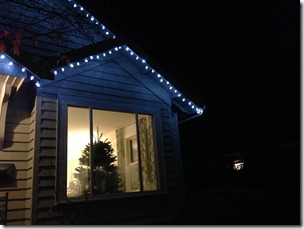
{aaron spend sunday evening – in the cold – putting up our first set of christmas lights. very exciting. we didn’t have time to trim the tree this weekend, but there she is in our front window!}

we spent the long weekend working on the house – think lots & lots of paint! as exhausting as it was, we are thrilled with the results & will be sharing the details in the coming weeks. we had a great thanksgiving & are looking forward to the holiday season! how was your weekend?

M

my weekend in pictures.

IMG_2842

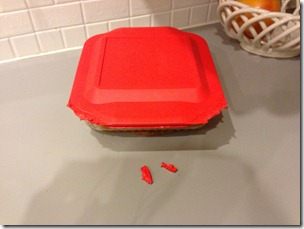
{turns out sadie likes to cruise the kitchen counters while we are gone & chew on the plastic lid to our pyrex dish. #mydogisaninja}

IMG_2844

{the perfect saturday night.}

IMG_2846

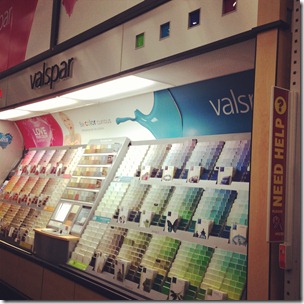
{spent saturday afternoon at lowe’s getting paint for our projects this week. we also got christmas lights. so stoked for this week!}

IMG_2847

{sadie is still enjoying the huge bone she got for her birthday.}

IMG_2848

{watching the stanford cardinal beat the oregon ducks was glorious! #gostanford}

IMG_2849

{enjoying the christmas décor at starbucks as i waited for my gingerbread latte. #isitchristmasyet}

IMG_2852

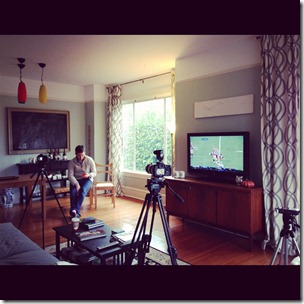
{we had a photoshoot at the house on sunday to film an interview for our realtor about the house. those cameras were pretty legit.}

IMG_2853

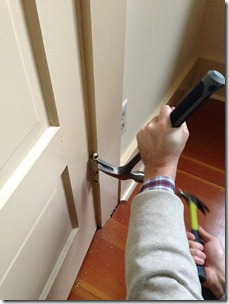
{aaron started prepping for the big paint job on our bedroom this week by taking off our closet doors. it proved to be a bit of a challenge, but success! #whydidtheypaintthedoorhinges}

our weekend was busy, busy with lots of errands to run. we prepped for our big painting weekend this coming week & are looking forward to some time together to work on the house. how was your weekend?

M

my weekend in pictures.

IMG_2828

{late friday afternoon pick-me-up. hello weekend!}

IMG_2830

{lazy dinner on friday after a long work week. a perk of living in the city – zeek’s pizza is right around the corner!}

IMG_2832

{sadie was already missing us as we left to run some saturday morning errands.}

IMG_2837

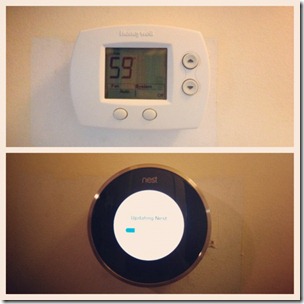
{we bought a nest this weekend – sorry, terrible lighting! – as our little old house is already very cold.}

IMG_2838

{sunday morning just isn’t sunday morning without french press coffee.}

IMG_2839

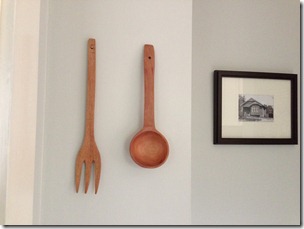
{finally hung the beautiful wooden utensils we picked up on our trip to peru.}

sorry for the lack of pictures this weekend. we had a lazy, but also productive weekend – does that even make sense? – as the work week was long with aaron working all week at a conference for work. we have lots of house projects lined up for the coming weeks & i am already envisioning our house in christmas lights! {i know, one holiday at a time. i waited until the day after the election to start listening to christmas music, & will wait until thanksgiving is over to deck the halls in christmas décor.}

how was your weekend?

M

let there be (better looking) light.

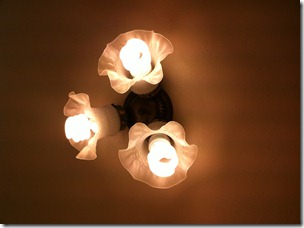
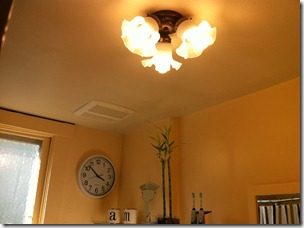
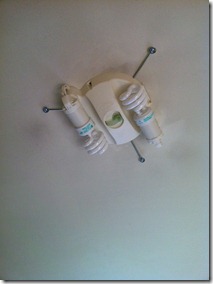
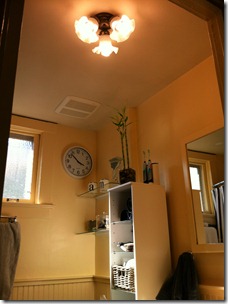
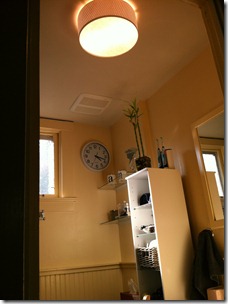
our bathroom light fixture was pretty outdated, but it didn’t look too bad until we added CFL bulbs. then it looked crazy.

IMG_2601IMG_2602

{before}

we have been looking for a replacement fixture since the day we moved in, but there hasn’t been a single light fixture that has inspired us. we have been to the usual suspects – lowe’s, home depot – and even specialty online light stores, but still nothin’. i have even been scouring pinterest searching for “bathroom light” & apparently people either have wall mounted lights (near the mirror) or chandeliers.

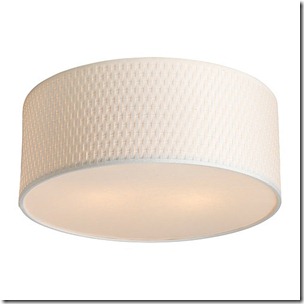
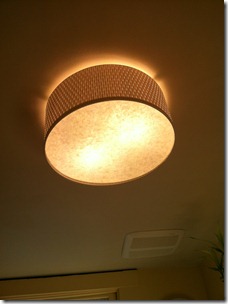
i found myself at ikea sunday morning shopping for a few things & since you basically have to walk thru the entire store anyways,  i was perusing this & that while i searched for what was on my list. as i walked thru the lighting section, a fixture caught my eye. it was the alang to be exact.

alang-ceiling-lamp__0120130_PE276557_S4

{ikea alang}

simple, inexpensive & light diffusion (one of the bad things about the current fixture is the harsh light since the bulbs are exposed). i tried calling aaron a few times to get his thoughts on the fixture, but he wasn’t answering. so, after i had collected all of the other ikea goods i needed, i back-tracked to the lighting section & picked up an alang. i figured i could always return it or use it in a different room if aaron didn’t approve.

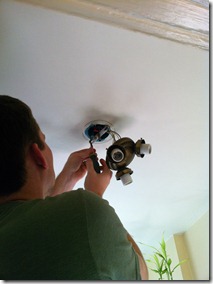
well, aaron liked it enough to at least try it, so down came the old one & up went the new.

IMG_2604IMG_2605IMG_2606

{installation}

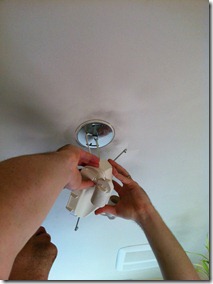
installation went fairly quickly & i am glad aaron was here to do it since it involved unattaching & reattaching the electrical wires.

IMG_2607IMG_2608

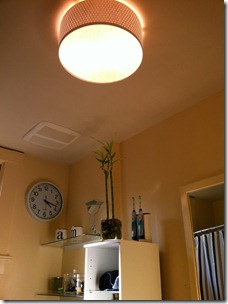
i think the alang is a vast improvement over the original fixture – don’t you? we haven’t done much work to the bathroom, but have big (painting) plans for it to be completed over the thanksgiving holiday! once we get the ceiling (it looks white in pictures but it is a smidge yellow), walls & beadboard painted, this bathroom is going to look so. much. better. further down the road we want to replace the beige sink with a vanity, the toilet & have the tub painted (we have beautiful blue tile on the floors & in the shower that we would hate to see go, so it seems like painting the tub white makes the most sense).

IMG_2603IMG_2610

{the before & after}

this is a pretty small upgrade, but it is still one more thing off the big ole’ checklist (i.e., the never-ending, constantly-being-added-to, how-are-we-going-to-pay-for-this checklist)!

thoughts? have you been updating fixtures in your house lately? where are your go-tos for light fixtures?

M

timber.

note: if you are a tree hugger or are emotionally attached to trees generally i would recommend that you skip reading this post!

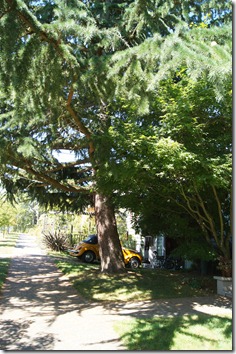
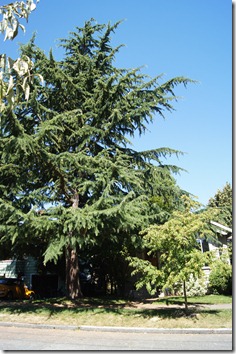
next to our house a previous owner planted a cedar tree that, this many years later, had grown to be quite big & tall. so big & tall, in fact, that the tree was nearly three times the height of our house, nearly obscured our house from view from the street, & prevented the front lawn from growing very well.

we knew upon the first time seeing the house that this big tree would need at least a good trim since its middle branches were growing in & around all of the utilities lines from the street to our house & our neighbors’ house.

once we started getting quotes on trimming the tree, we realized that it would cost us as much to trim the tree as it would to take the entire thing down. while we both hate to see such a big, beautiful tree in the city go down, we were told by tree experts that it would get bigger – much bigger – so we decided it would have to come down. we also decided that the four smaller trees that were in the side yard should come down as well. they were likely put in to act as a privacy screen for the bedroom that is on that side of the house (our bedroom), but the type of tree & the way they were trimmed didn’t allow for any privacy whatsoever – hello neighbors!

some of you may think we are completely nuts or that we hate trees & are evil people, but we didn’t take this decision lightly & have been mulling over it for months. every time we have been out in the yard since it was taken down on thursday, neighbors & others that have been walking by the house have given us their two-cents about the tree & its demise. there have been mixed reviews, but we have found that people don’t hesitate to let us know their opinion. just this morning an older woman walking by with her dog saw the logs in our lawn & began to shake her head. she asked aaron whether there was something wrong with the tree, to which he replied “it was encroaching onto our house.” she told us that she knew evelyn, the previous owner, likely implying that evelyn would be disappointed in our decision to take down the tree. in truth (& what aaron relayed to this woman) was that evelyn had looked into taking the tree down while she owned this house, but thought it was too cost prohibitive. evelyn’s daughter came by the house shortly after the tree came down & congratulated us on taking it down! so, my point is, you may not agree with the decision that aaron & i made concerning this tree, but we made a decision that worked best for us & for our situation.

enough about the backstory & onto the pictures.

these are the before pictures of the yard with the trees:
DSC01456

{the cedar & the maple that is right next to our house.}
DSC01458

{yep, our little house is in there somewhere!}
DSC01460

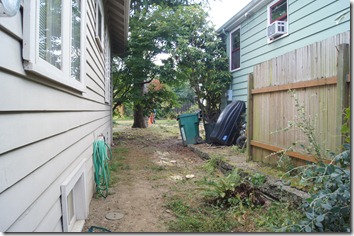
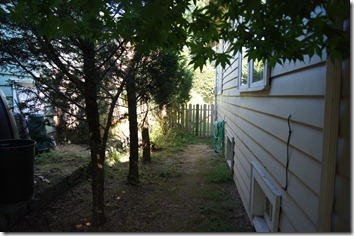
{the privacy screen in our side yard.}

these are the during pictures:
DSC01499

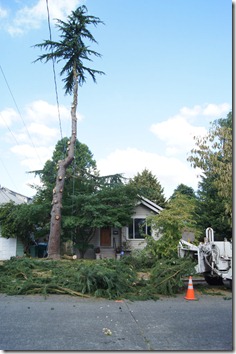
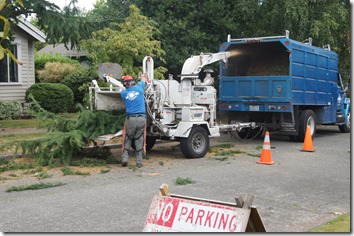
{the tree guys brought a wood chipper on-site so our half of the block was shut down.}
DSC01500

DSC01502

{the side yard seems so much bigger without those trees.}

DSC01505

DSC01515

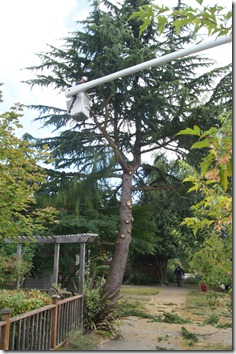
{apparently the cedar was growing a bit crooked – right around that utility line.}

DSC01517

DSC01528

{the guy up in the basket had a small chainsaw & apparently just chucked the cut limbs down to his crew on the ground. as much as i would have liked to see the process, it is better that i wasn’t there to witness the limb-chucking.}

DSC01539

{the stump grinder. i think this was everyone’s favorite part since it ground the stumps into sawdust.}
DSC01556

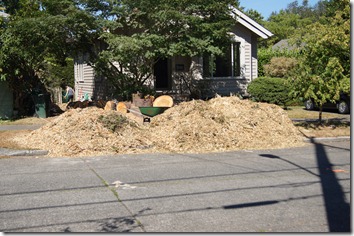
{the resulting mulch from our downed trees. now we are searching for places to put it! also, look how big that maple is & we didn’t even realize it!}

as all of this work was just completed on thursday, & we were left with a pile of huge logs & mulch in our front yard, we aren’t to the after stage yet. this will be a work in progress, but we are hoping to have some form of completion by the end of the month. we will be sure to get some good after shots of the house (now that you can see it from the street!) & the new front yard.

we put the logs on craigslist (in the free section) & nearly all of them have been picked up. aaron spent the weekend spreading the mulch into the side yard & some of our flowerbeds, but there remains a mound of mulch in our front yard. anyone want some cedar mulch? we have more than enough to share.

do you have any big landscaping projects on your to do list?

M