my weekend in pictures.

IMG_1008IMG_1009

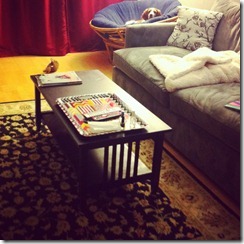
{a new coffee table; still getting used to the tolls on the 520 bridge}

IMG_1010

{sadie stalking squirrels}

IMG_1011IMG_1012

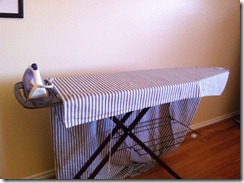
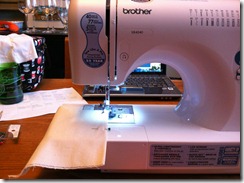
{weekend project – details to come next week; learning how to sew a french seam}

IMG_1017IMG_1018

{the u village is magical at night; cheers to no-booze january}

IMG_1020IMG_1050

{getting ready for valentine’s day; sadie sporting her night light}

IMG_1054IMG_1055

{my husband makes a mean fire; snuggling in with hot cocoa}

how was your weekend?

M

a pinterest christmas: stockings.

christmas stockings are one of my favorite holiday decorations. maybe its the joy tied to the gifts that fill christmas stockings or the fact that they are just really big socks, who knows. since we are still a new-ish family (this is only our second married christmas after all), my husband and i don’t have “lower family” christmas stockings. 
i think that stockings are a must, plus, our mantle looked so bare last year without stockings, so i was determined to make family stockings for this (and future) christmases. one for my husband, one for sadie (post coming up!), and one for me! 
i can pretty much credit pinterest for this diy because without it, i would have been completely lost! 
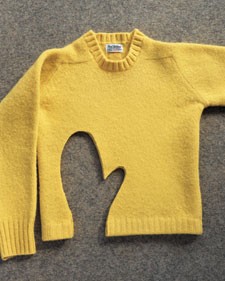
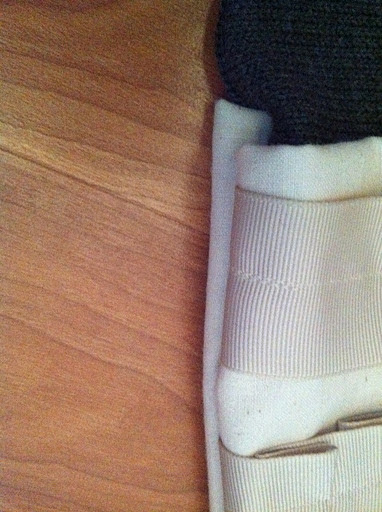
first, i saw this picture and tutorial, by none other than martha stewart, of mittens from an old sweater. 
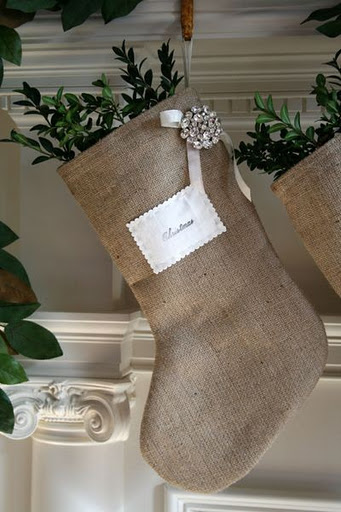
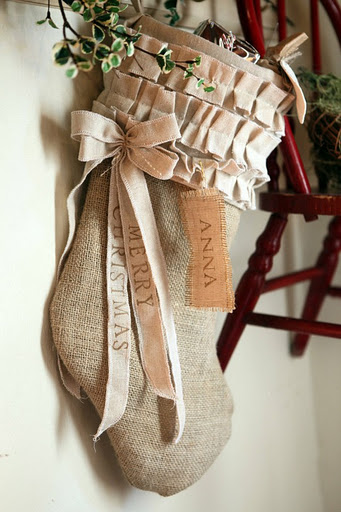
then i saw this picture of handmade burlap stockings.

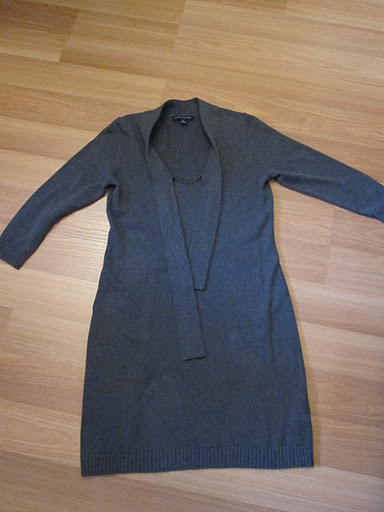
and i decided that i wanted to make handmade christmas stockings out of an old sweater! this was actually perfect because i had the perfect sweater dress that was in the “goodwill pile” after just having gone thru my closet.

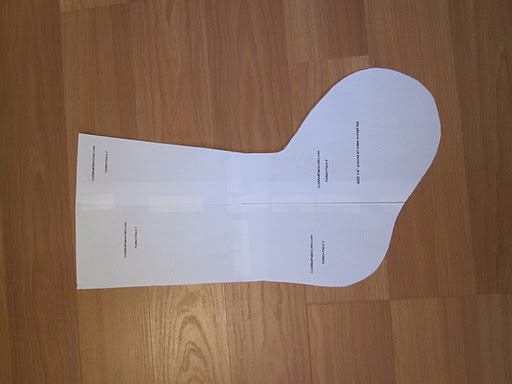
while the basic shape of stockings is pretty straight-forward, i figured if i freehanded the pattern, it would more than likely end up being a disaster. so, i did what i usually do when i need to find something, i googled it (if my husband is reading this, pretend that i said “binged” it instead). and that is where i found this lovely stocking pattern.

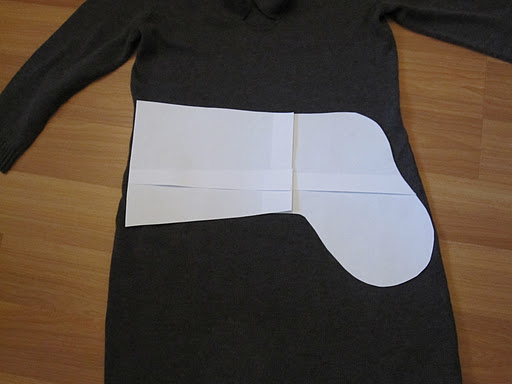
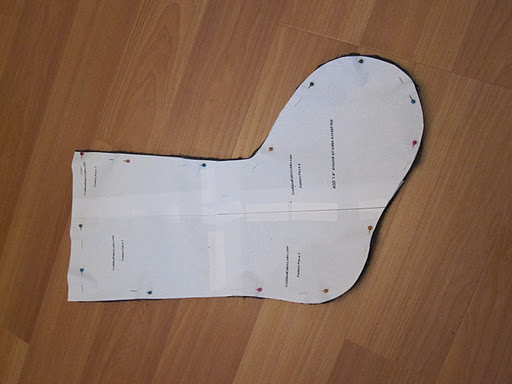
i originally cut it out with a 1/4 inch allowance (like the directions stated) and taped the four parts together. but, when i saw how ginormous of a stocking the pattern was for, i cut it down to the actual outline.

supplies:
two kinds of fabric – one for stocking & one for cuff
sewing machine & thread (i guess you could hand sew if you don’t have a machine)
ribbon (optional – i used it to make ruffles on the cuff & for the hanger)
fabric scissors
pins
iron (optional – i used it to press the ruffles into the ribbon)

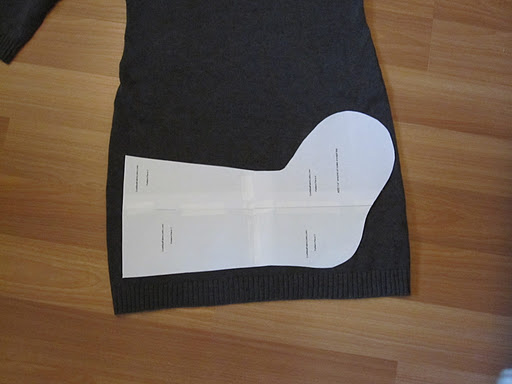
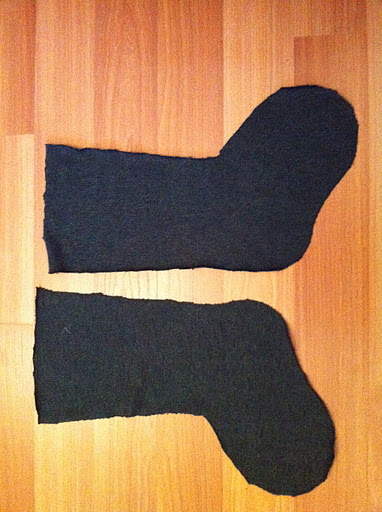
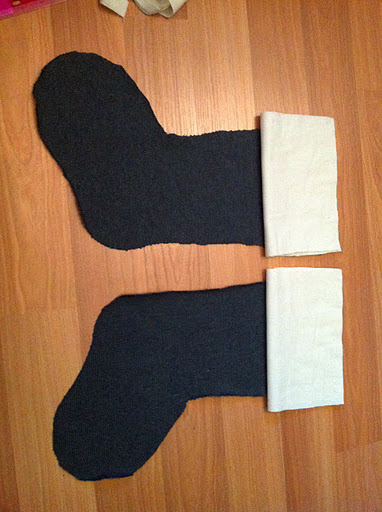
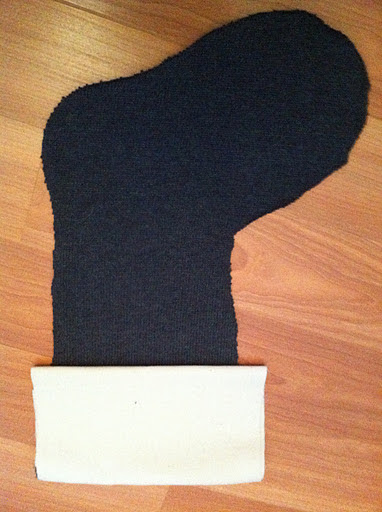
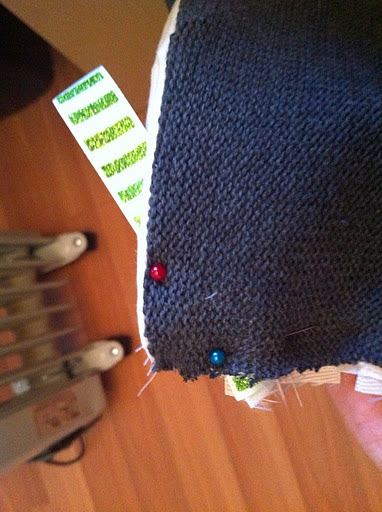
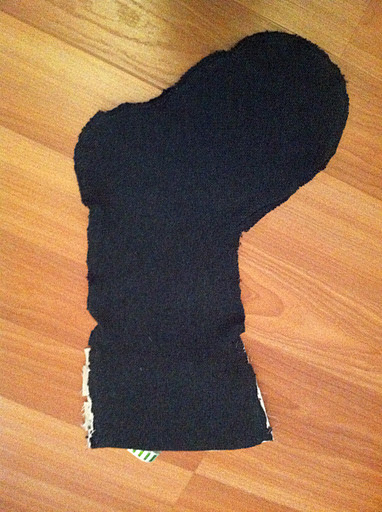
before i pinned the pattern onto the sweater dress, i cut up the side seams of the dress so that it would be easier to pin and cut the pattern four times (two per stocking). then, i pinned and cut out four stocking sides. (sidenote: i pinned and cut two stocking sides with the pattern right-side-up, and two sides with the pattern up-side-down. this way, both sides of the stockings were the “right” side of the sweater.)


after i had the stocking pieces cut, i started work on the cuff. i knew i wanted to put a cuff on these stockings, but it took so long for me to figure out what to do. and then i saw this picture pop up on pinterest!
{etsy via pinterest}
i wanted to copy those ruffles & luckily i had ribbon left over from my tree skirt project. i just had to figure out how to sew a ruffle into a ribbon. luckily it wasn’t too bad!

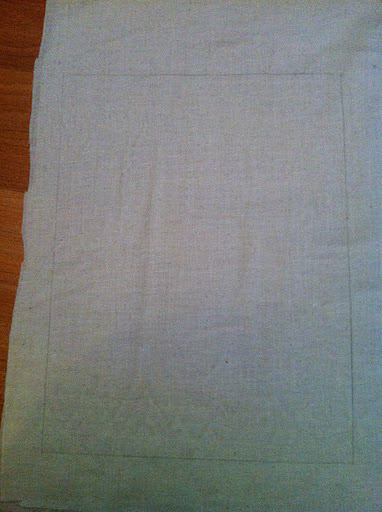
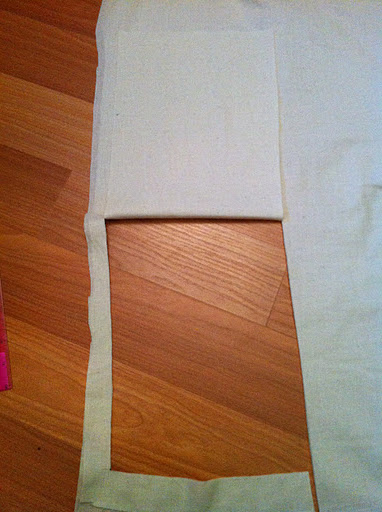
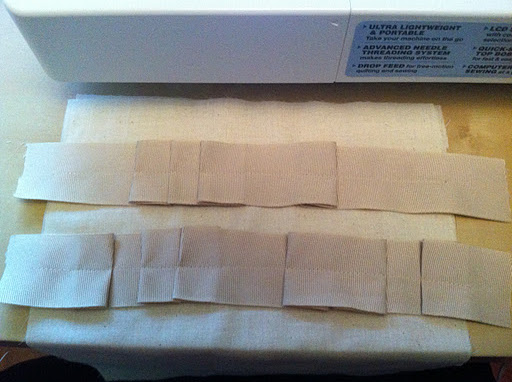
to make the cuff, i used some leftover fabric – also from my tree skirt project – and cut out rectangles that i would fold in half to make the cuff. the fabric i used was pretty thin, so i used two layers and then folded them in half. 

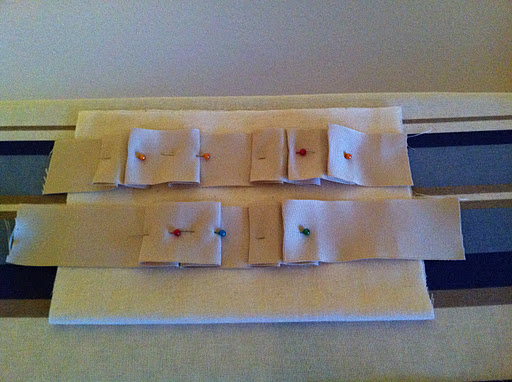
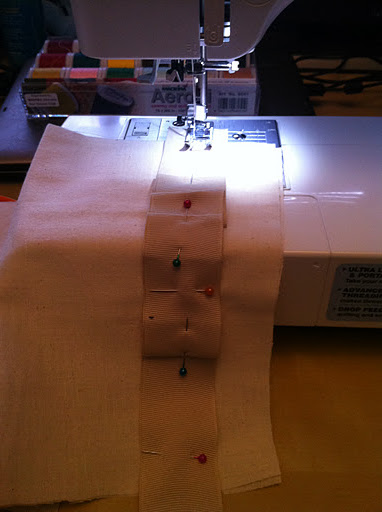
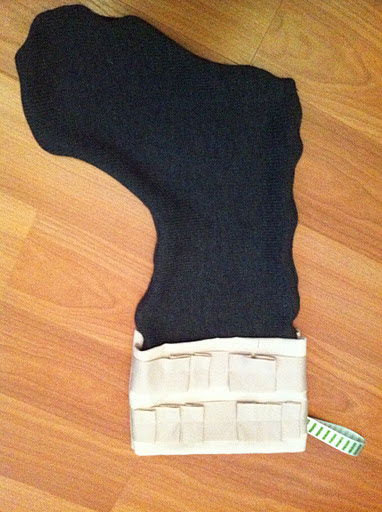
for the ribbon trim, i took the ribbon and just started to fold it into ruffles. then i ironed and pinned the folds. 

once it came time to sew the ruffled ribbon onto the front side of the cuff (i had two rectangle pieces cut for the cuff – one for the front and one for the back) i just opened up the rectangle and sewed a straight line thru the middle of the ribbon with white thread.

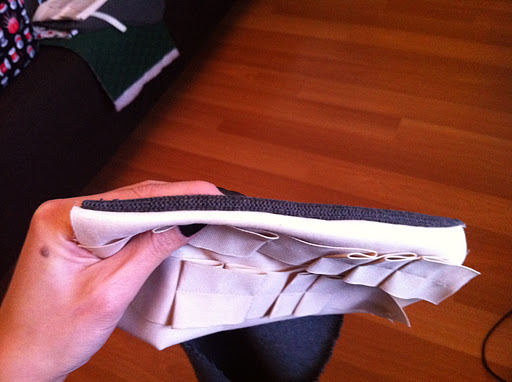
i attached the cuffs by sewing the two pieces together – one for the front and one for the back. the way i designed my stockings – this is really not as classy as it sounds, i totally punted for most of this project – i lined up the raw edges of my cuff fabric and sweater fabric together with the front of the cuff facing the front of the stocking. then once i sewed them together, i flipped the cuff over & the ruffles were facing me. (i did the same with the back of the cuff and stocking, but it wasn’t as big of a deal which way the cuff fabric was facing since it was plain on both sides.)

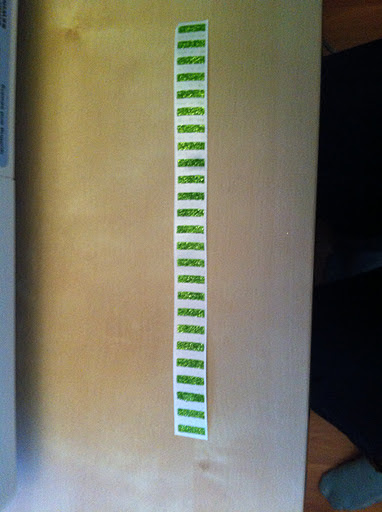
before i pinned the two sides of the stocking together, i decided to add a ribbon hanger. i didn’t have time to go to joann or michael’s (neither are close to my house, boo!) so i used some leftover ribbon from my christmas bunting project. it wasn’t my first pick, but the green stripe is growing on me. 
i cut the length of ribbon that i thought would be a good length to actually hang the stocking from the mantle, and placed it between the two sides of the stocking. it looked really crazy, but since i was going to eventually flip the stocking right-side out, the ribbon hanger was stuck in at a weird angle. i promise it works! then i pinned the two sides of the stocking together with the right-sides in. 
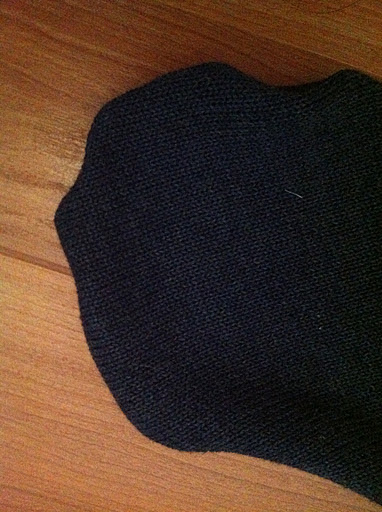
so before you see the final stockings, i have to warn you that i haven’t ever sewed anything but a straight line. the first circular seam that i ever sewed was on that first stocking, and i probably should have made a few practice stitches first. also, i am blaming the lumpy-ness on the fact that my chosen fabric – the sweater dress – was a bit slippery!

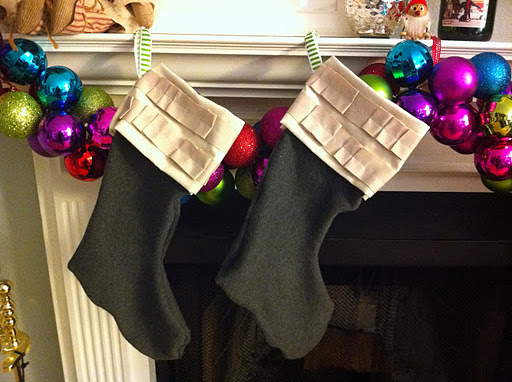
these stockings are far from perfect – the toes & heels are lumpy (i sort of fixed this by stuffing the stockings with tissue) and the cuffs are not perfectly matched. but, they are handmade & i LOVE them!

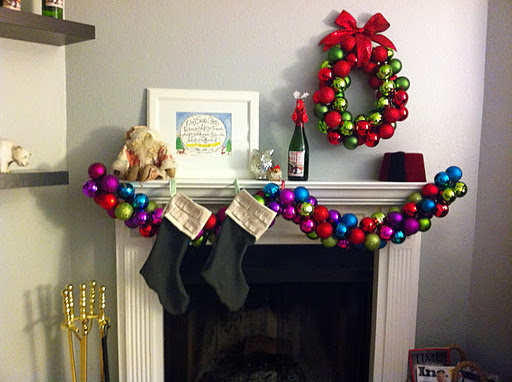
so festive, don’t you think? the garland made it a little hard to hang them from the mantle, but i wasn’t willing to lose one of them. also, we don’t have stocking hangers yet (i say yet because i am hoping to score some on sale after christmas!) so i used some trusty 3M hangers that work for now. 
what stockings do you have hung on your mantle (or stair handrail or foot of bed) – bought or handmade? old or new?
M
*sorry the pictures in this post are facing all different directions!

a pinterest christmas: keepsake ornament.

this is the first post of my pinterest christmas series and i am so excited to share. 
{sidenote: i have a few more projects up my sleeve & the list of projects keeps growing – i blame pinterest!} 
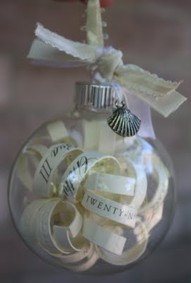
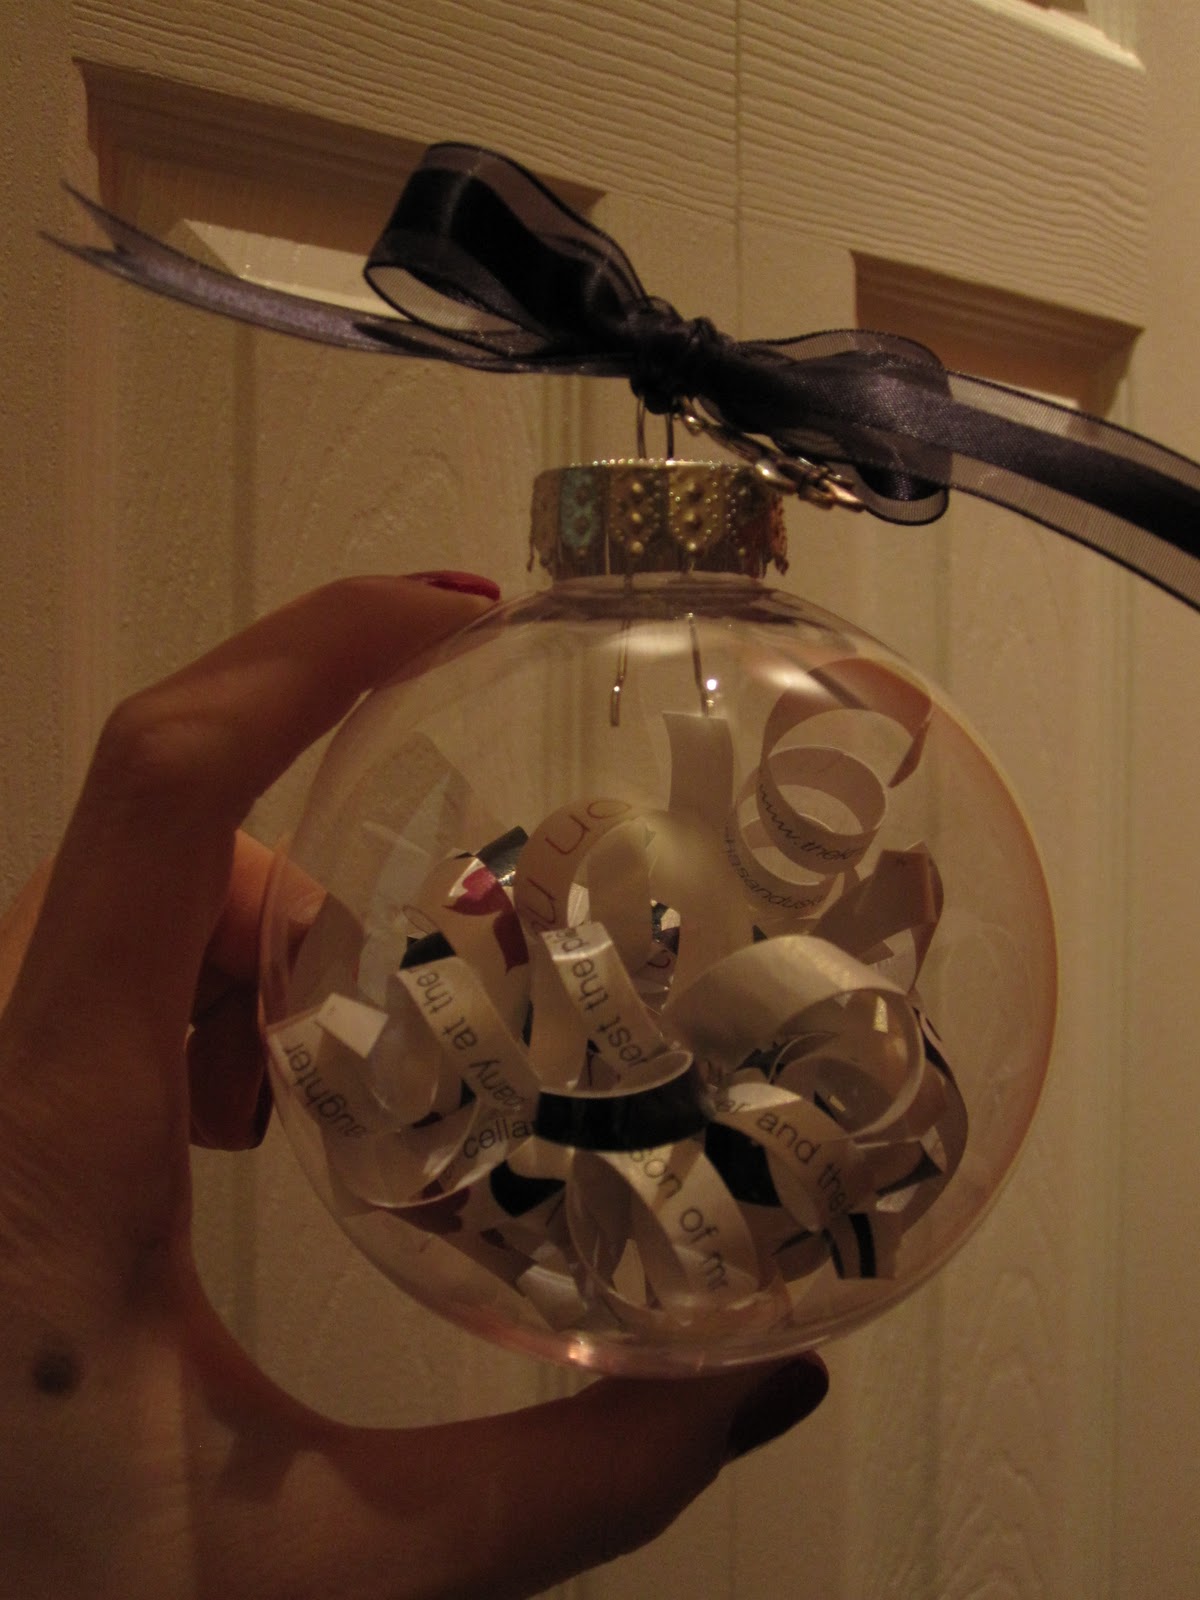
as soon as i saw this picture on pinterest, i knew i had to do this (honestly, what else am i going to do with the rest of our wedding invitations? any ideas?).
{this is the original pinterest link: wedding invitation ornament.}

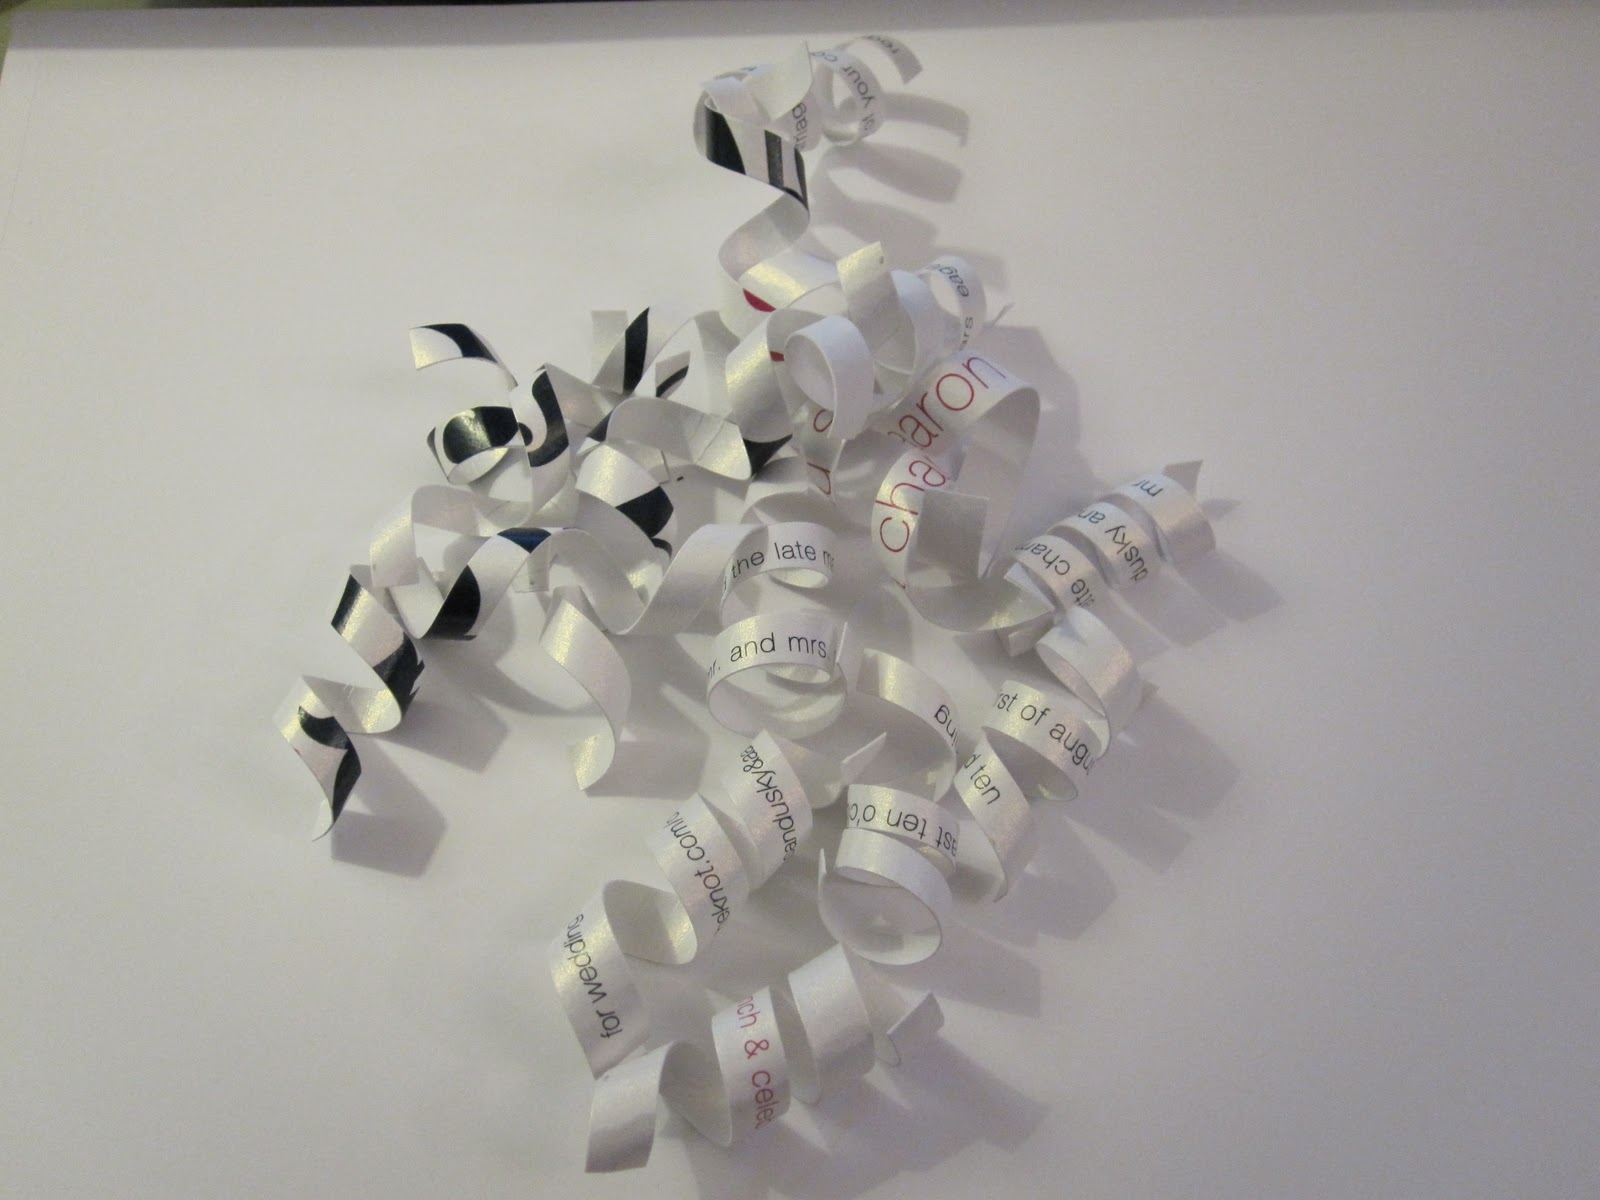
this project was pretty simple. the hardest part for me was cutting the paper strips since i had a new paper trimmer and was still learning how it worked. 
supplies:
wedding invitation, baby announcement, etc.
paper trimmer (you could measure and cut with scissors, but it would take forever.)
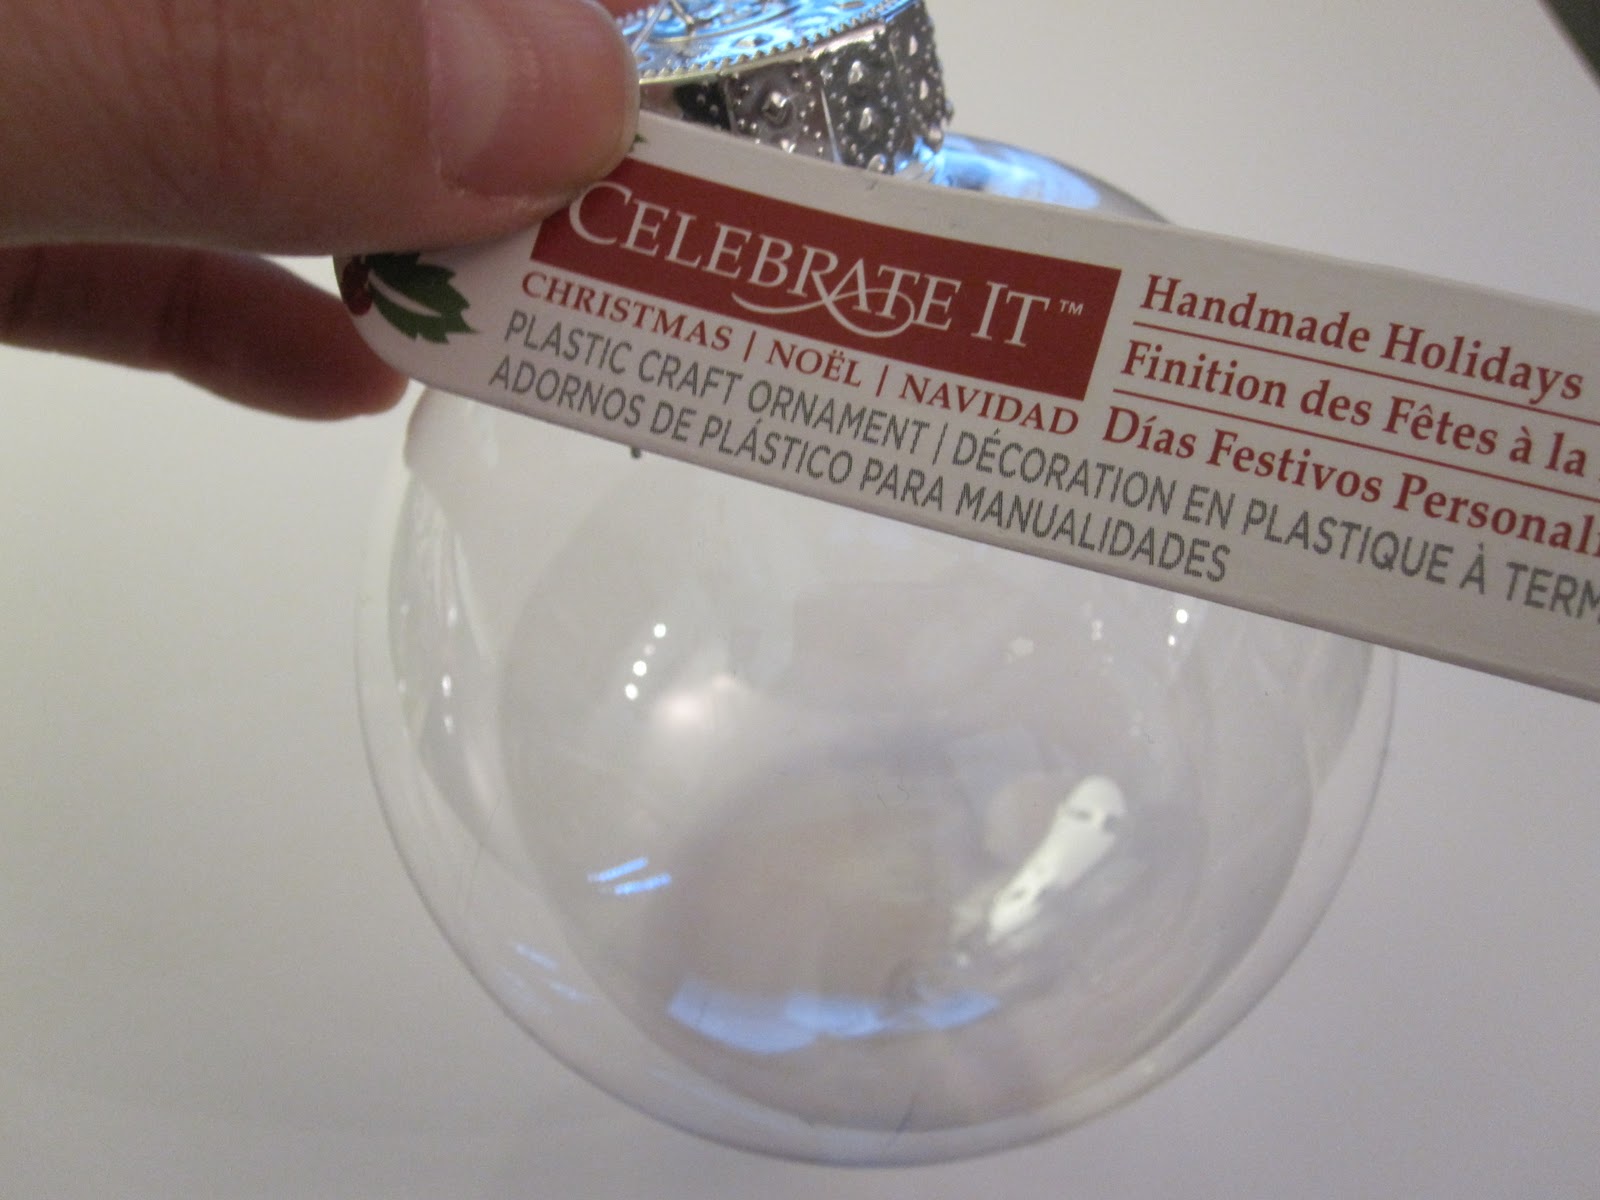
clear ornament (i used plastic ones from michael’s)
pencil (or something to curl the paper around)
ribbon
charm (optional)

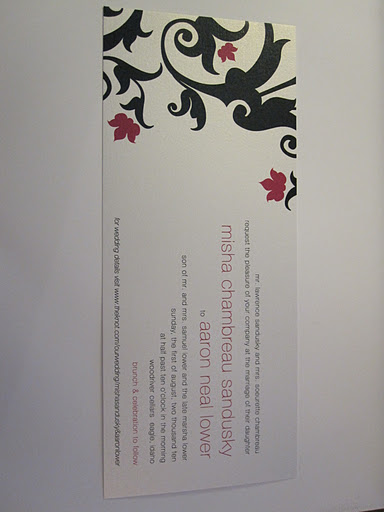
{our wedding invitation. i fall in love with it every time i see it.}

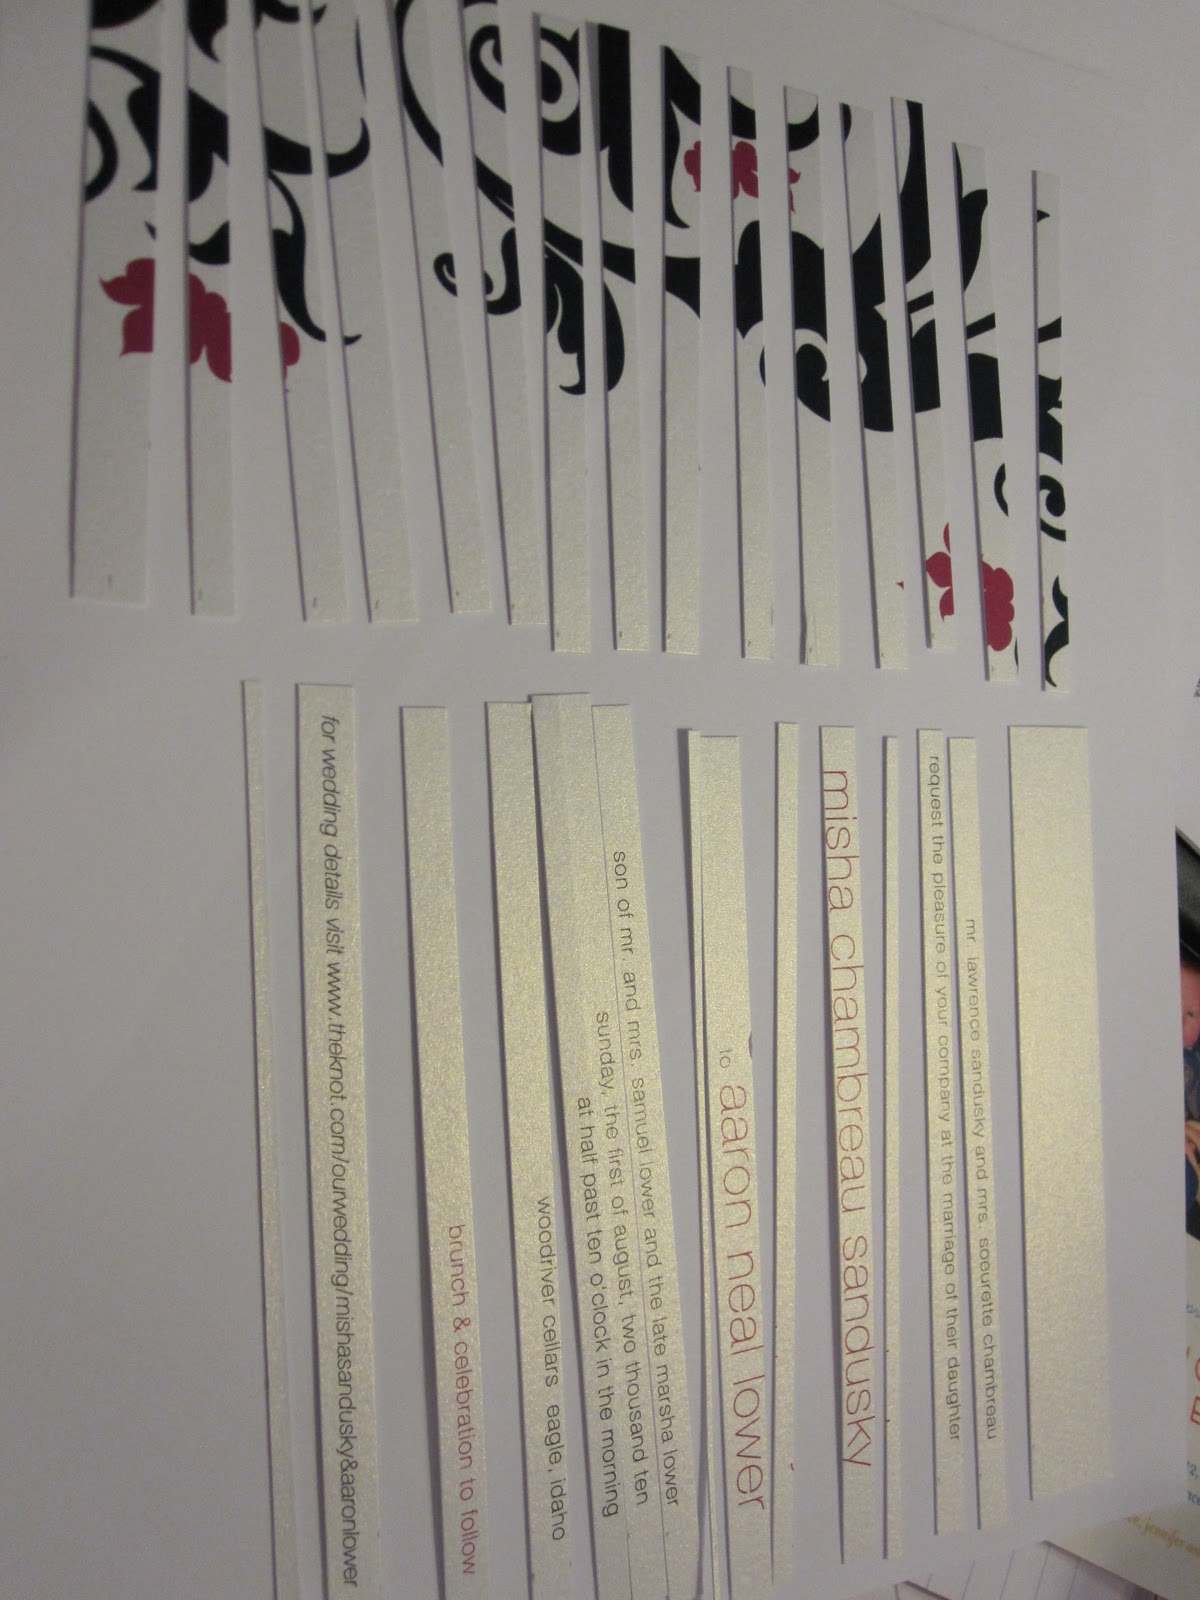
{i decided on 1/4 inch strips so i made marks before i cut so i wouldn’t be cutting thru the letters.}

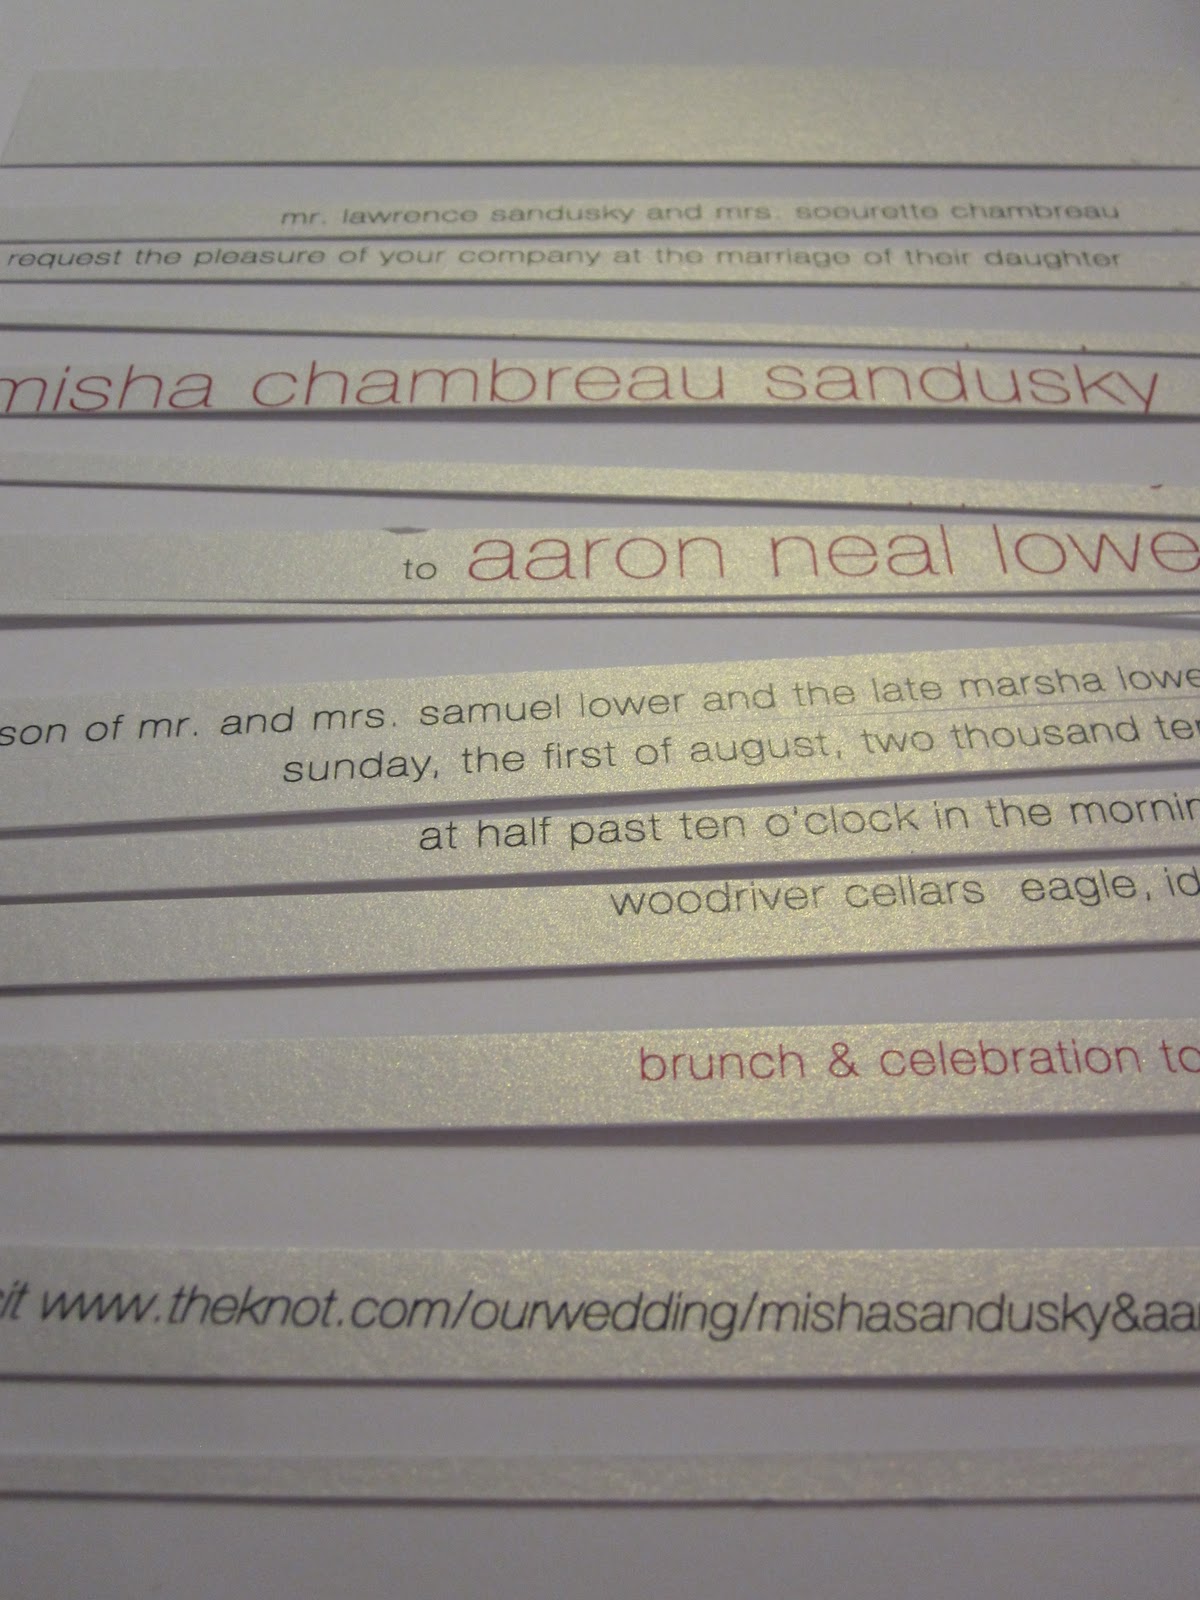
{most of the strips had the important stuff like date, time, place, etc.}

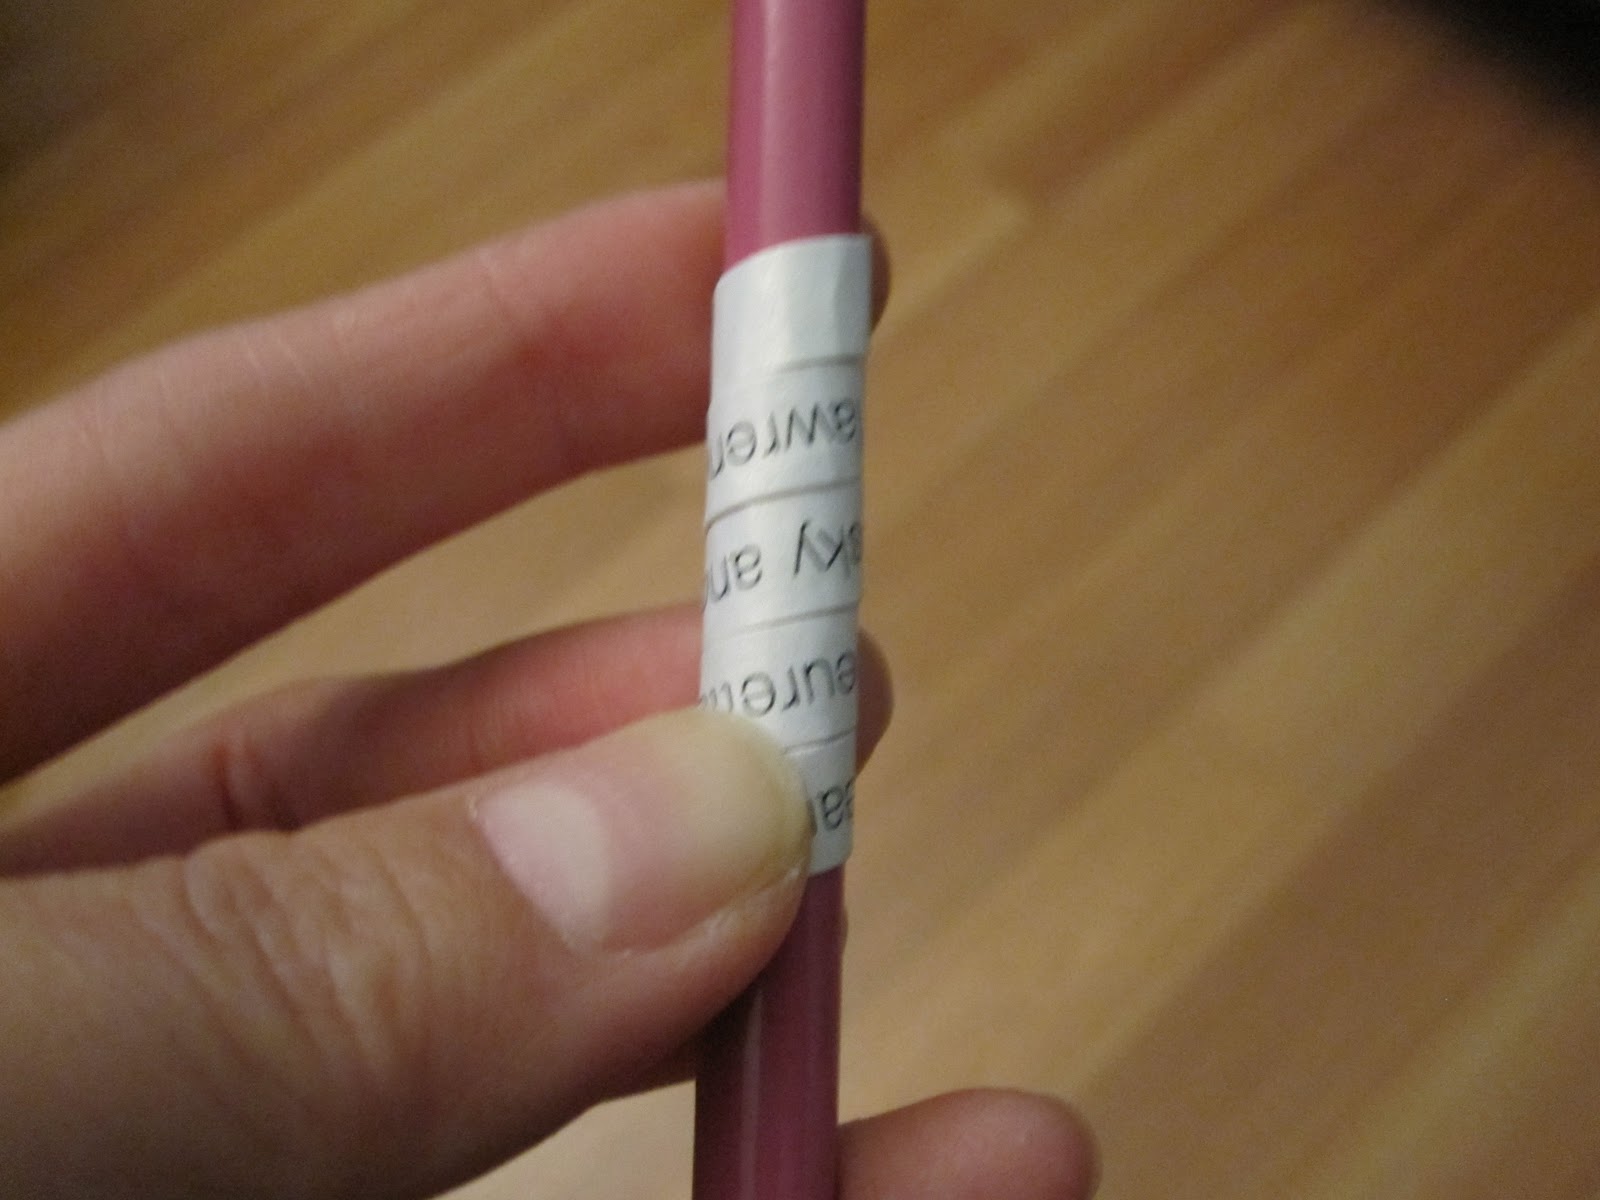
{every strip got curled around a pencil.}

{clear plastic ornament with removable top.}

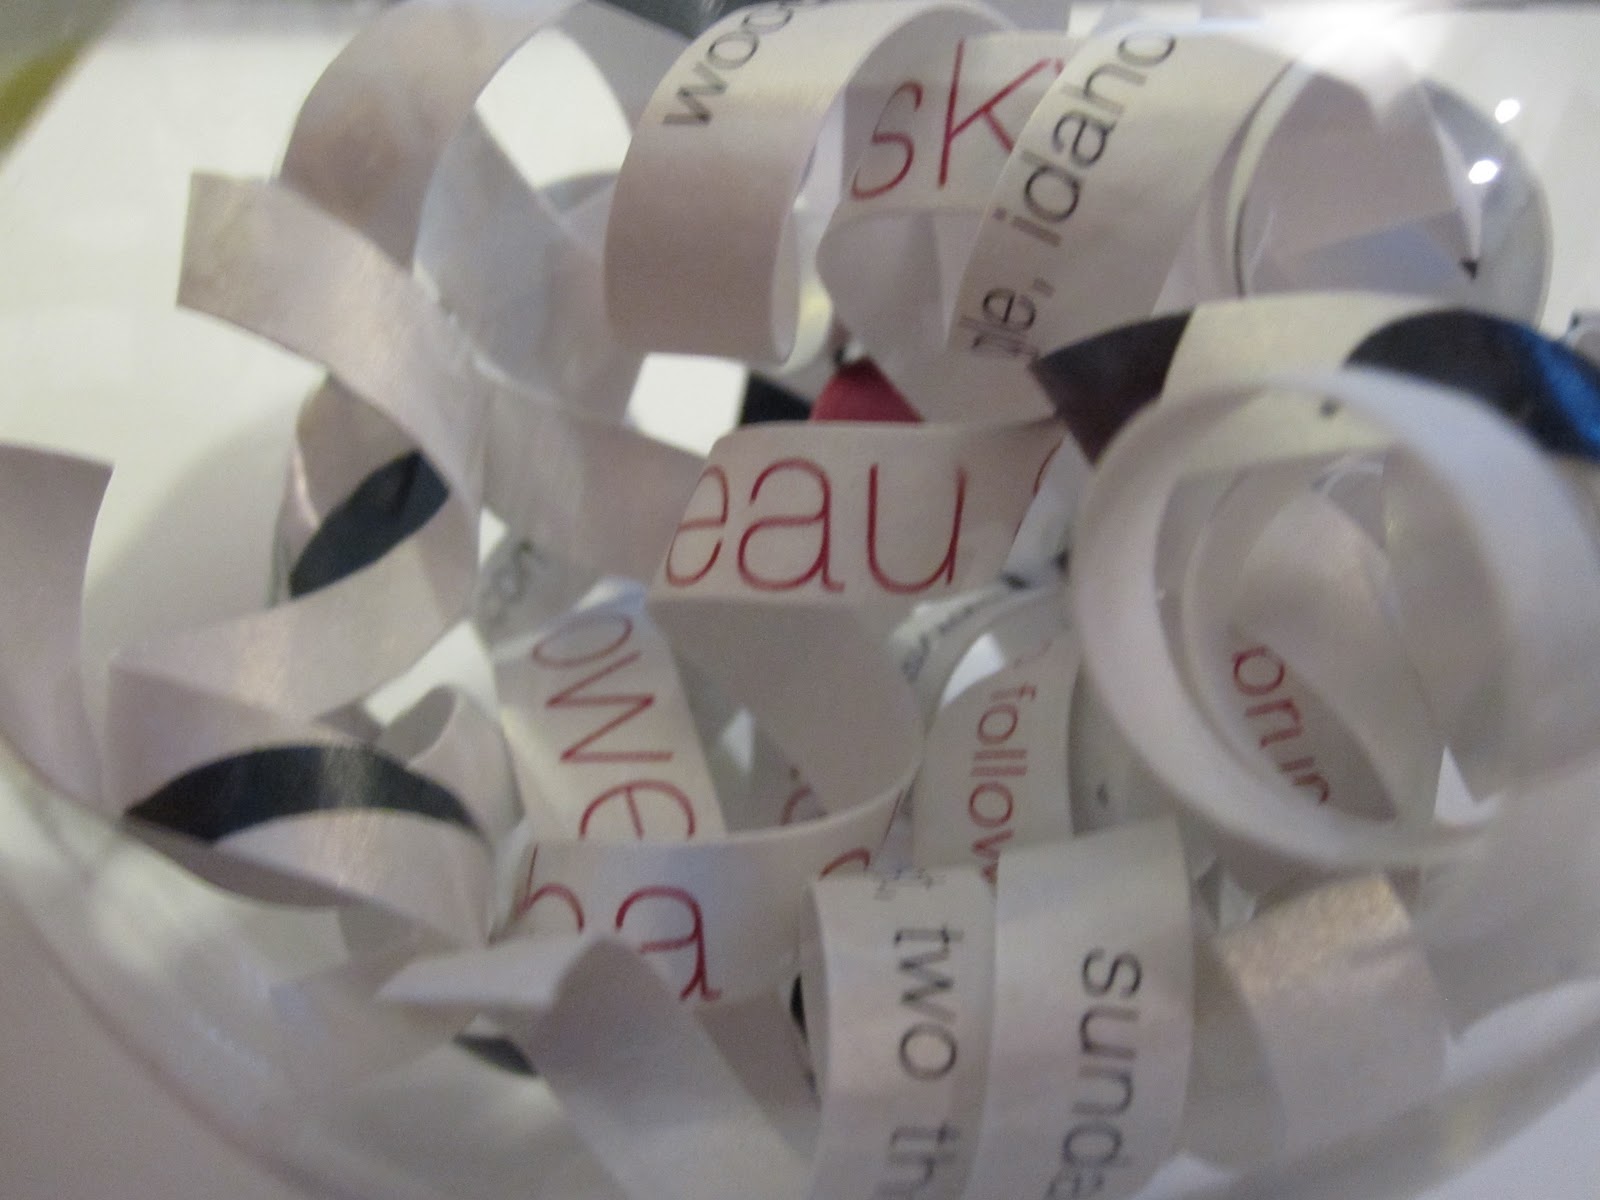
{curly-cue.}

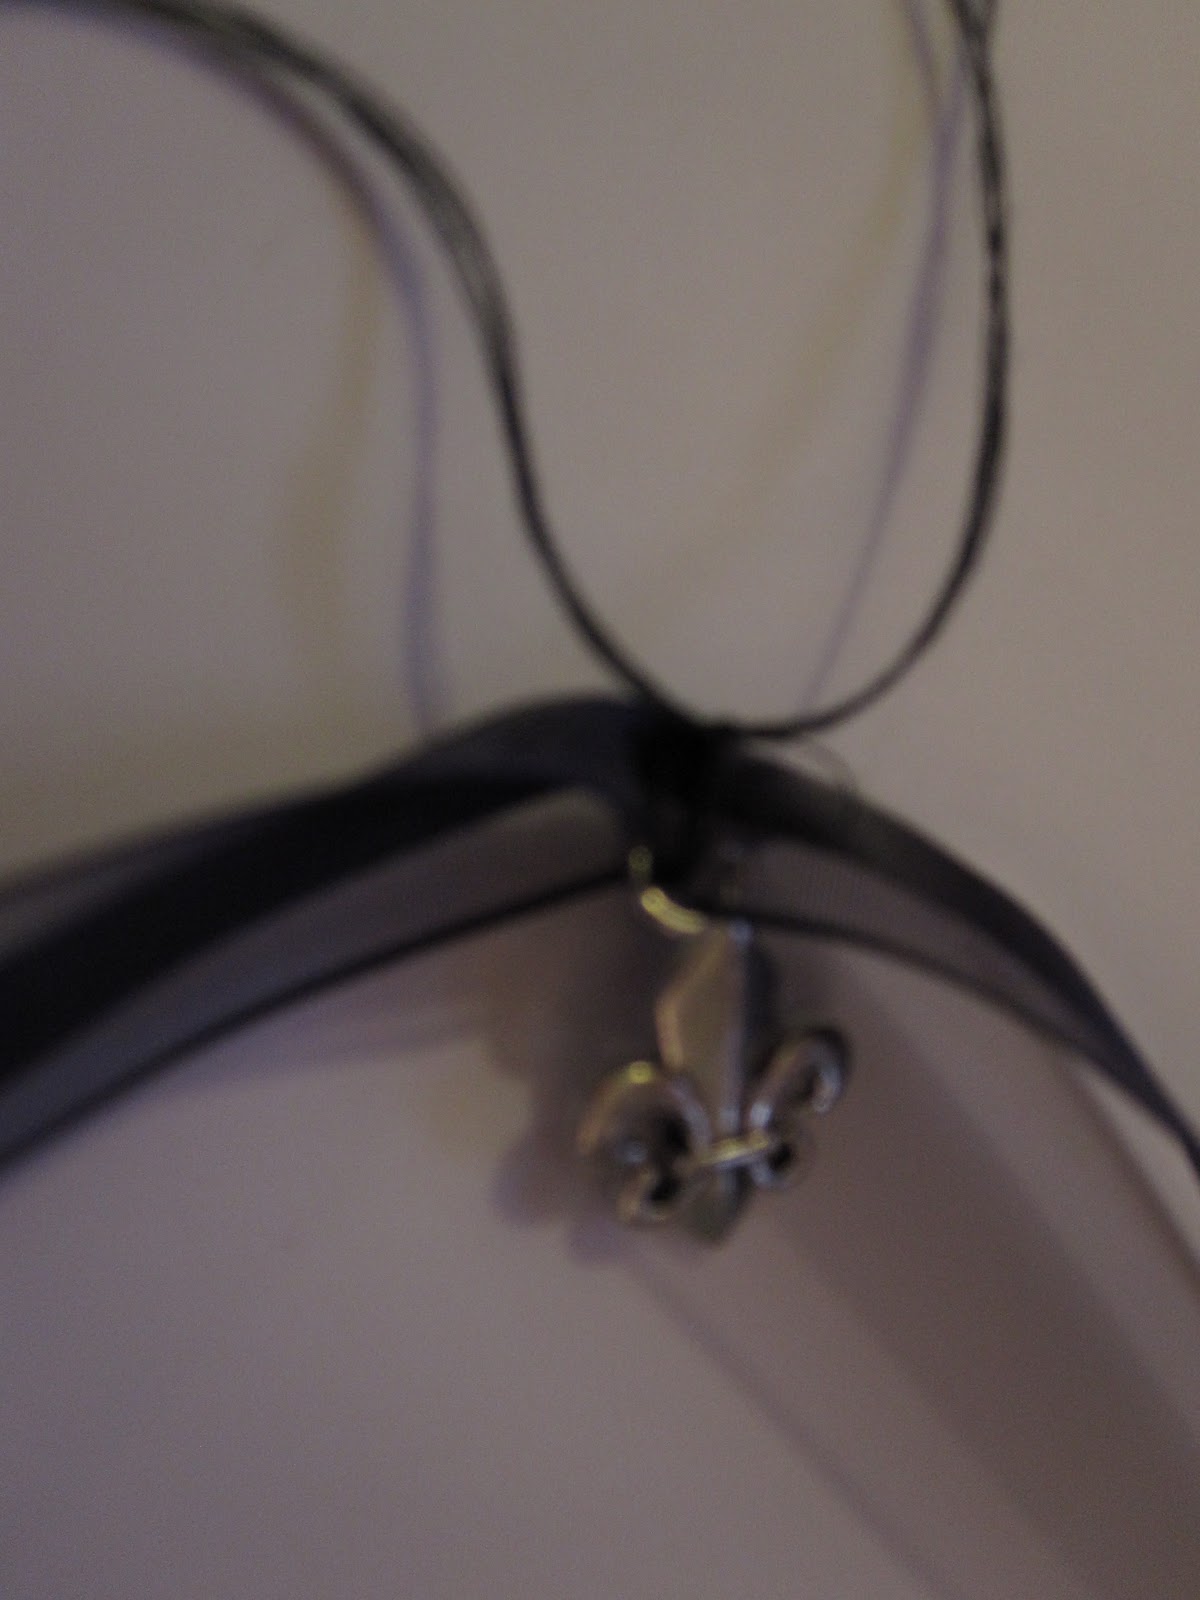
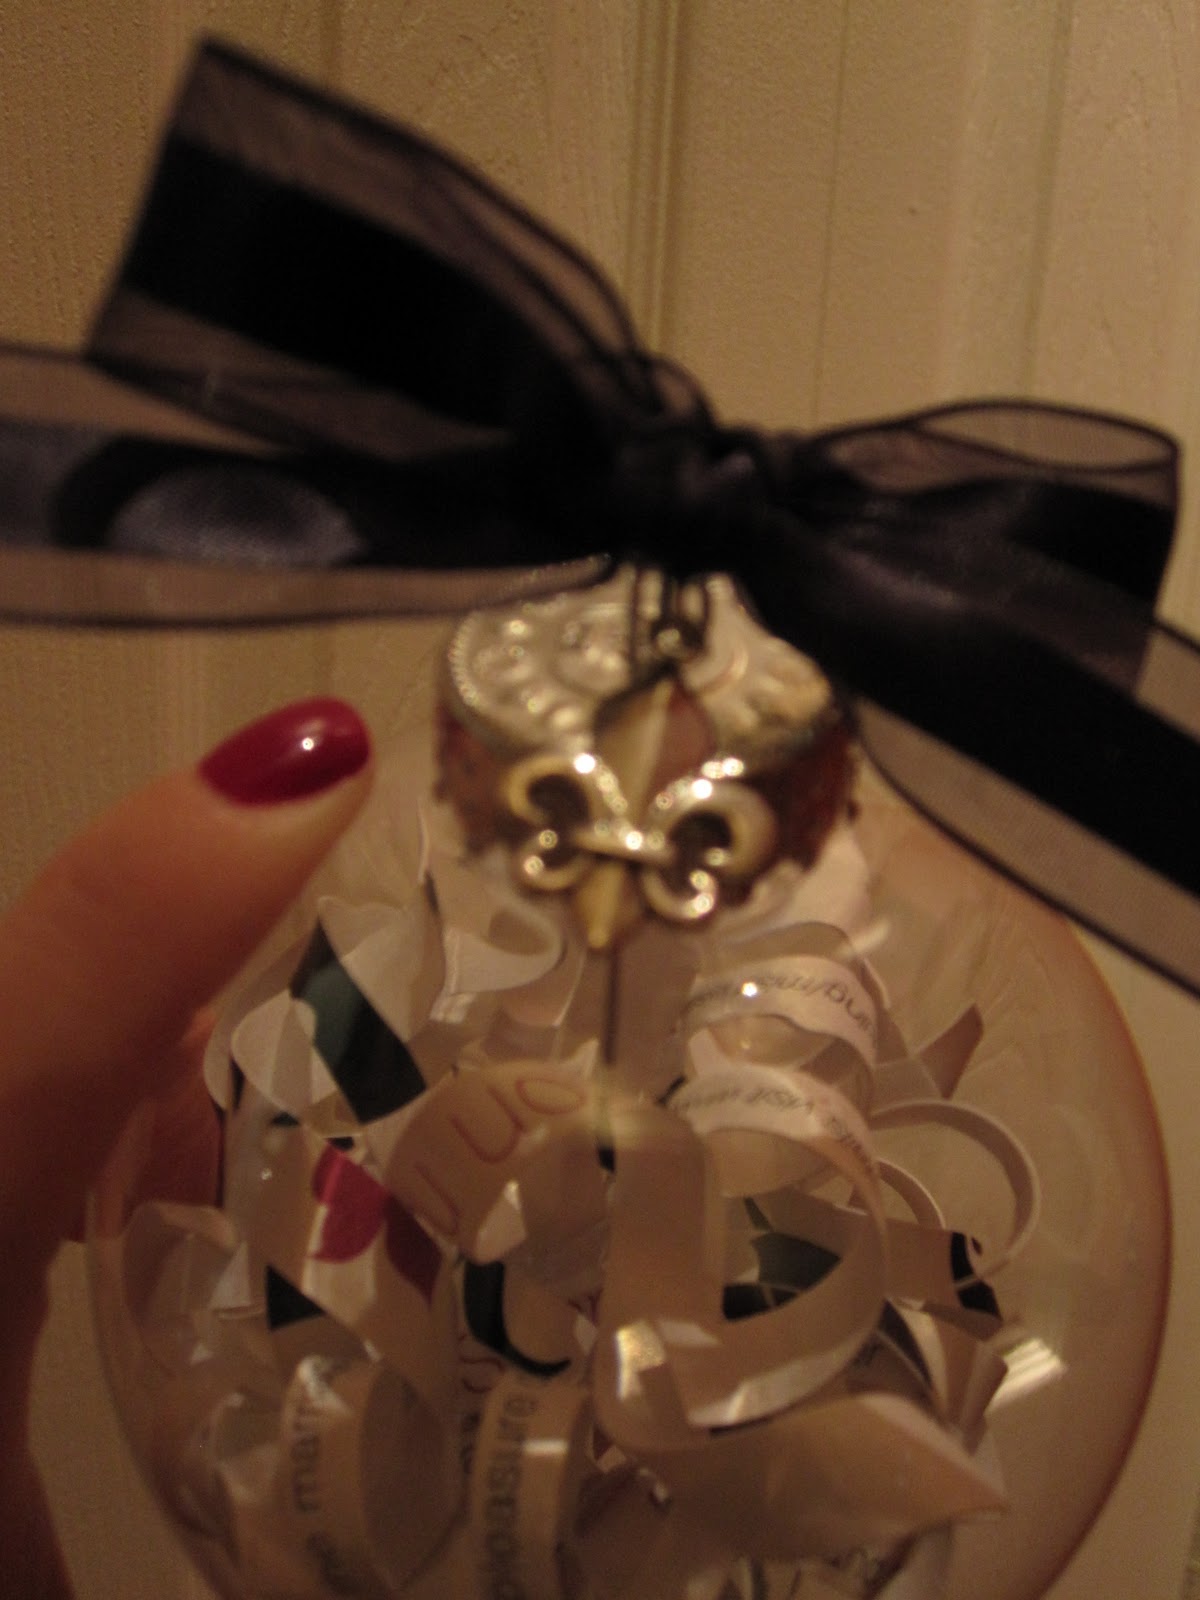
{i decided to use a small charm for the top of the ornament. this is a fleur de lis.}

{i thought that i would need to string the charm onto thread before it went on the ribbon, but you really don’t need the thread (unless you want the charm to hang way down). for the other ornaments i made, i just thread the ribbon thru the charm.}

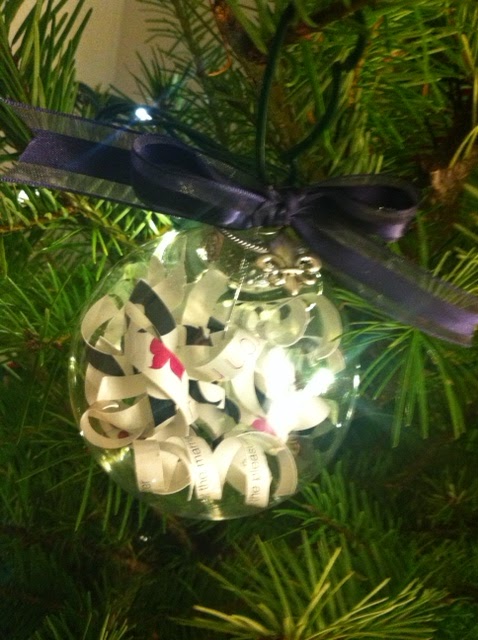
{on the tree!}
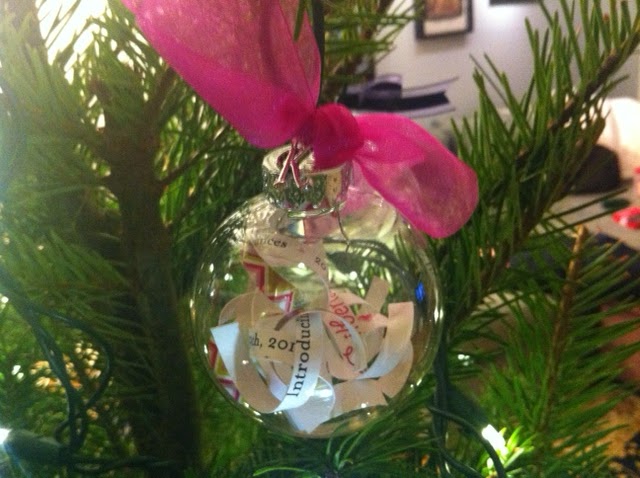
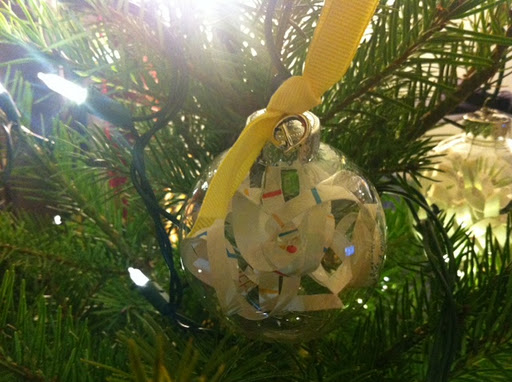
i had two birth announcements on my bulletin board and decided to make these babes an ornament to celebrate their first christmas. {jen and kendra: i mailed the ornaments on monday so be on the lookout!}

{for kenley dee. check out her mom’s blog here.}

{for deacon clifford. check our his mom’s blog here.}
this was such an easy and quick project, so start saving those keepsakes and make ornaments!
have you tackled any pinterest projects for christmas yet?
M

a pinterest christmas.

{via pinterest}

pinterest has become a wonderful platform for users (pinners? pinteresters?) to memorialize images and ideas of everything from home decor to first birthday ideas to how to clean your dishwasher. if you are a pinterester (i like this one best), i am sure that you have numerous boards full of numerous pins of things that you want to do. or that you think that you want to do. or that you like but have no intention of ever completing. (mine fall into all of the above categories.)

i spend far more time on pinterest these days than i care to share, but lately, i have been more motivated to actually complete pinned projects than to just continue pinning to my heart’s content. and since (1) i have mucho time on my hands right now, (2) its nearly christmas time, (3) christmas is my favorite holiday, and (4) a new family = hardly any christmas decorations (this will only be our second married christmas), i have decided to tackle a few DIY projects to celebrate the holiday season!
so, over the remaining weeks until the BIG DAY (um, that’s christmas for those of you who aren’t following), i will post a few of my own versions of my favorite  pinned pinterest projects. i hope you enjoy this little blog segment i have affectionately named “a pinterest christmas” (it sorta has a nice ring to it, huh?).

{sidenote: i realize that some of you are appalled that i am actually talking about christmas decorations. i know its not even thanksgiving yet. so, if you fall into this category, just flag these posts and read them closer to christmas or december, whichever you prefer.}

have you ever made anything you have pinned on pinterest? are you planning any DIY christmas or holiday projects?
M

diy upholstered lack hack.

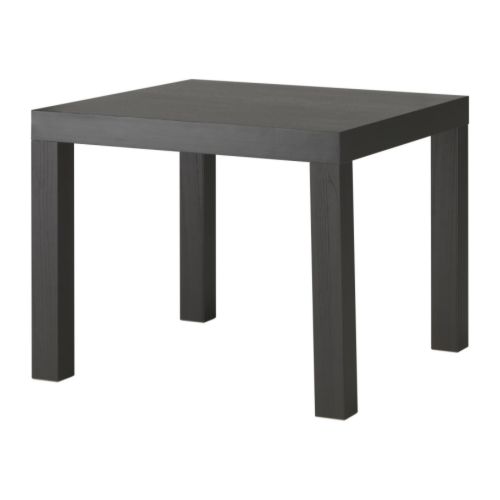
there are three million ways to hack an ikea lack table; this is a post about just one of these three million hacks.

we have been using two lack tables as a coffee table for a year or so and they have worked really well because (1) they are cheap – $20 for a coffee table, yes please! and (2) we have a rolling ottoman that we wanted to use in the living room and the lack tables flanked each side perfectly. while (2) still exists, i got tired of the configuration and constant adjustment of the tables and ottoman; plus, the ottoman and the couch look horrible together and i haven’t worked up the gumption to make a slip cover for the ottoman (it is on my to-do list, but i need some more practice sewing as a slip cover requires very straight lines and perfect corners). so, i decided that we should get an actual coffee table (which is a search that is still in the works) and move the tables elsewhere. the elsewhere ended up being in our bedroom because it just so happens that we needed something at the end of our bed to act as a place to put socks & shoes on/a place to hold the comforter in the summer/a place where i could add color to the room without adding more pillows to the bed (my husband said “enough” at six pillows).

in order to add color to the room with the two tables i decided to upholster the table tops. just a few months ago we made an upholstered headboard, and i decided i could use the same process.

supplies:
foam (joann sells foam by the yard)
batting (joann sells quilt batting in packages)

staple gun and staples
washers (12 cents a piece at a local hardware store)
nailhead trim (ebay, amazon and tons of other online stores have this trim; i got mine on ebay)
hammer 
the overall cost of this project is pretty low but the kicker for me was the cost of the fabric. (sidenote: any time i plan on using fabric, my go-to is dwell studio. the entire fabric line is gorgeous, high quality, and expensive but i know that i won’t be disappointed with the decision.)
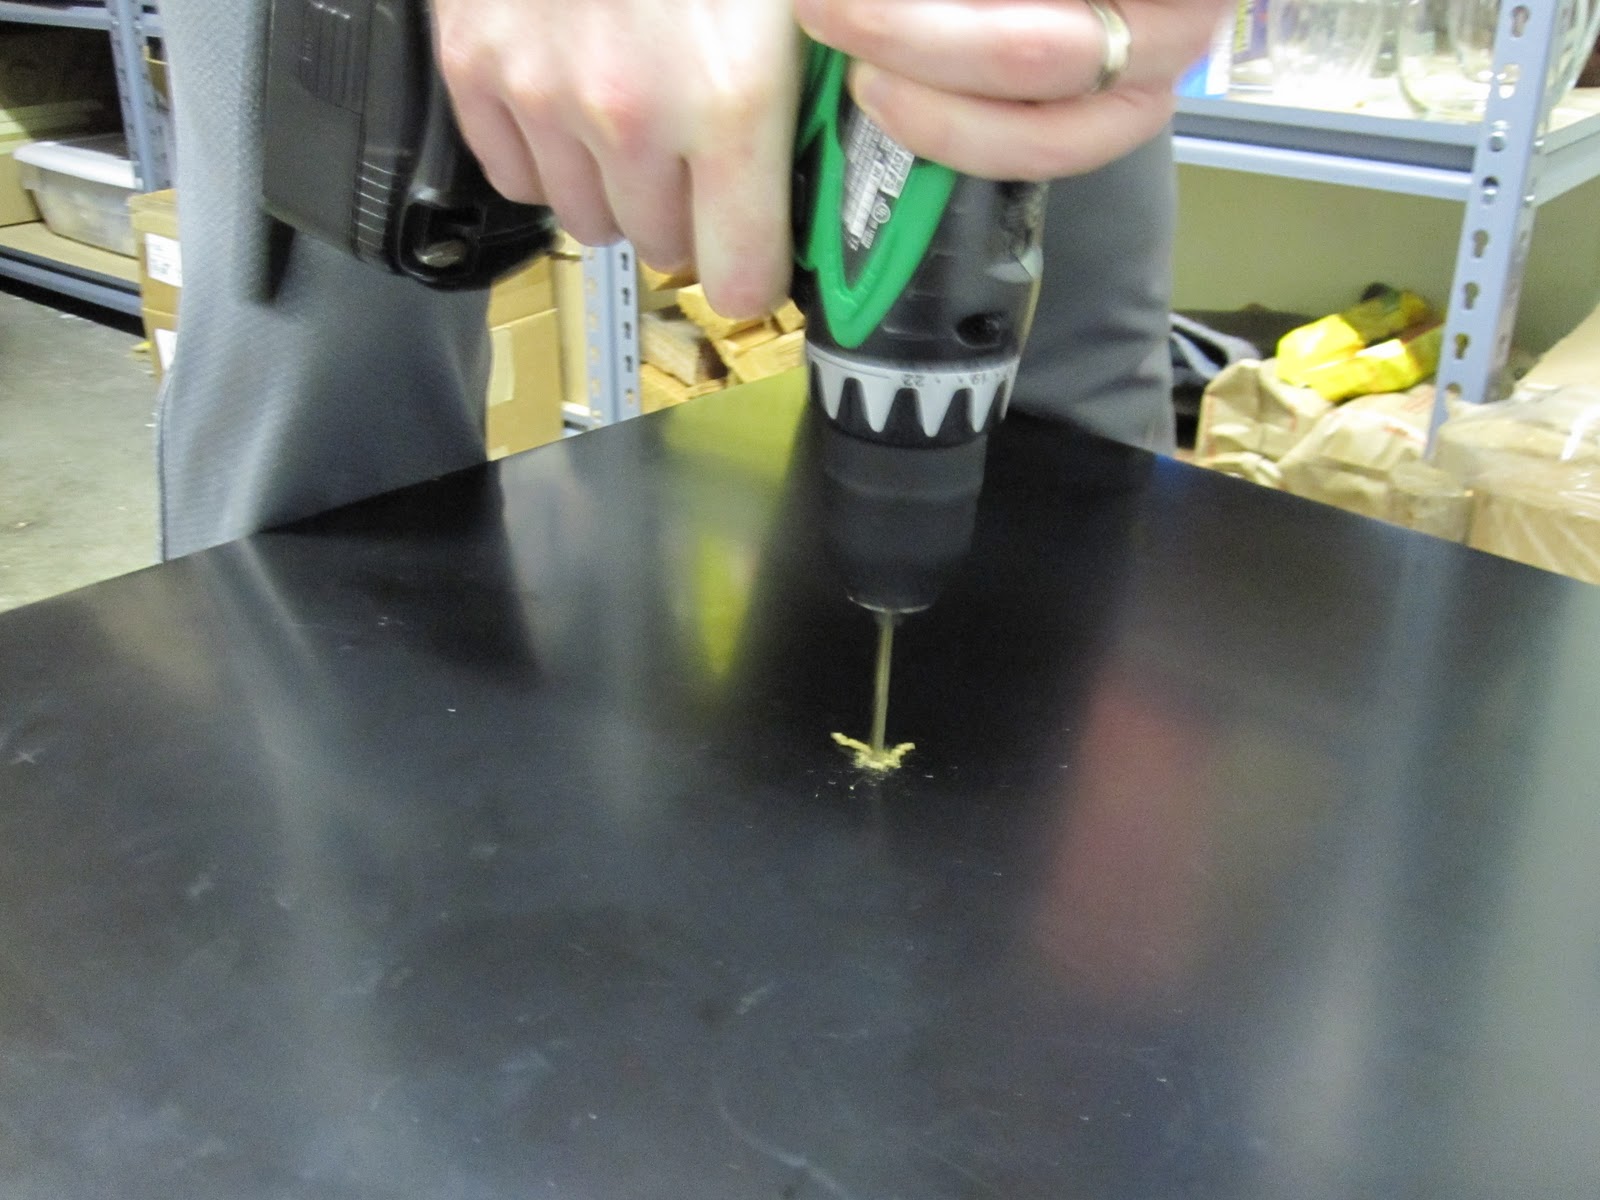
i wanted to add buttons, so our first step was marking and drilling the holes.
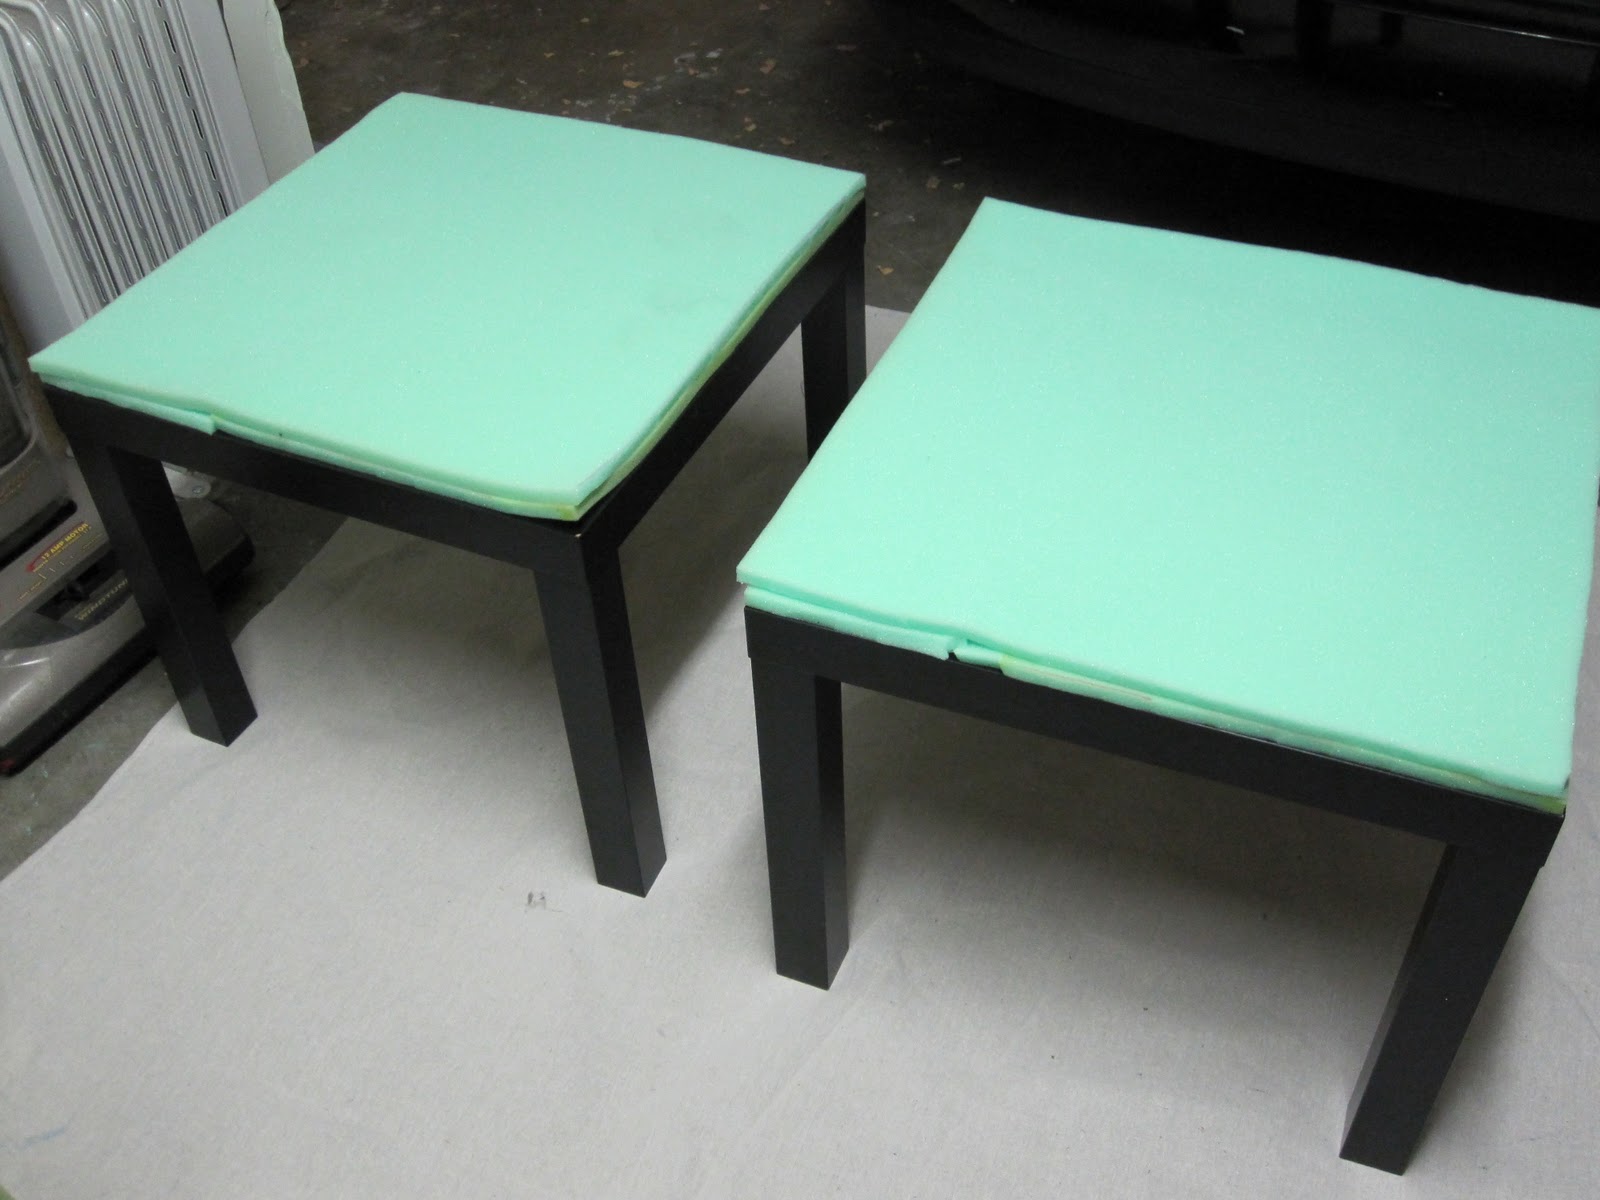
then we needed to add the foam to the table tops. we decided on one inch of foam; i had half inch foam from our headboard project so we just doubled it up.
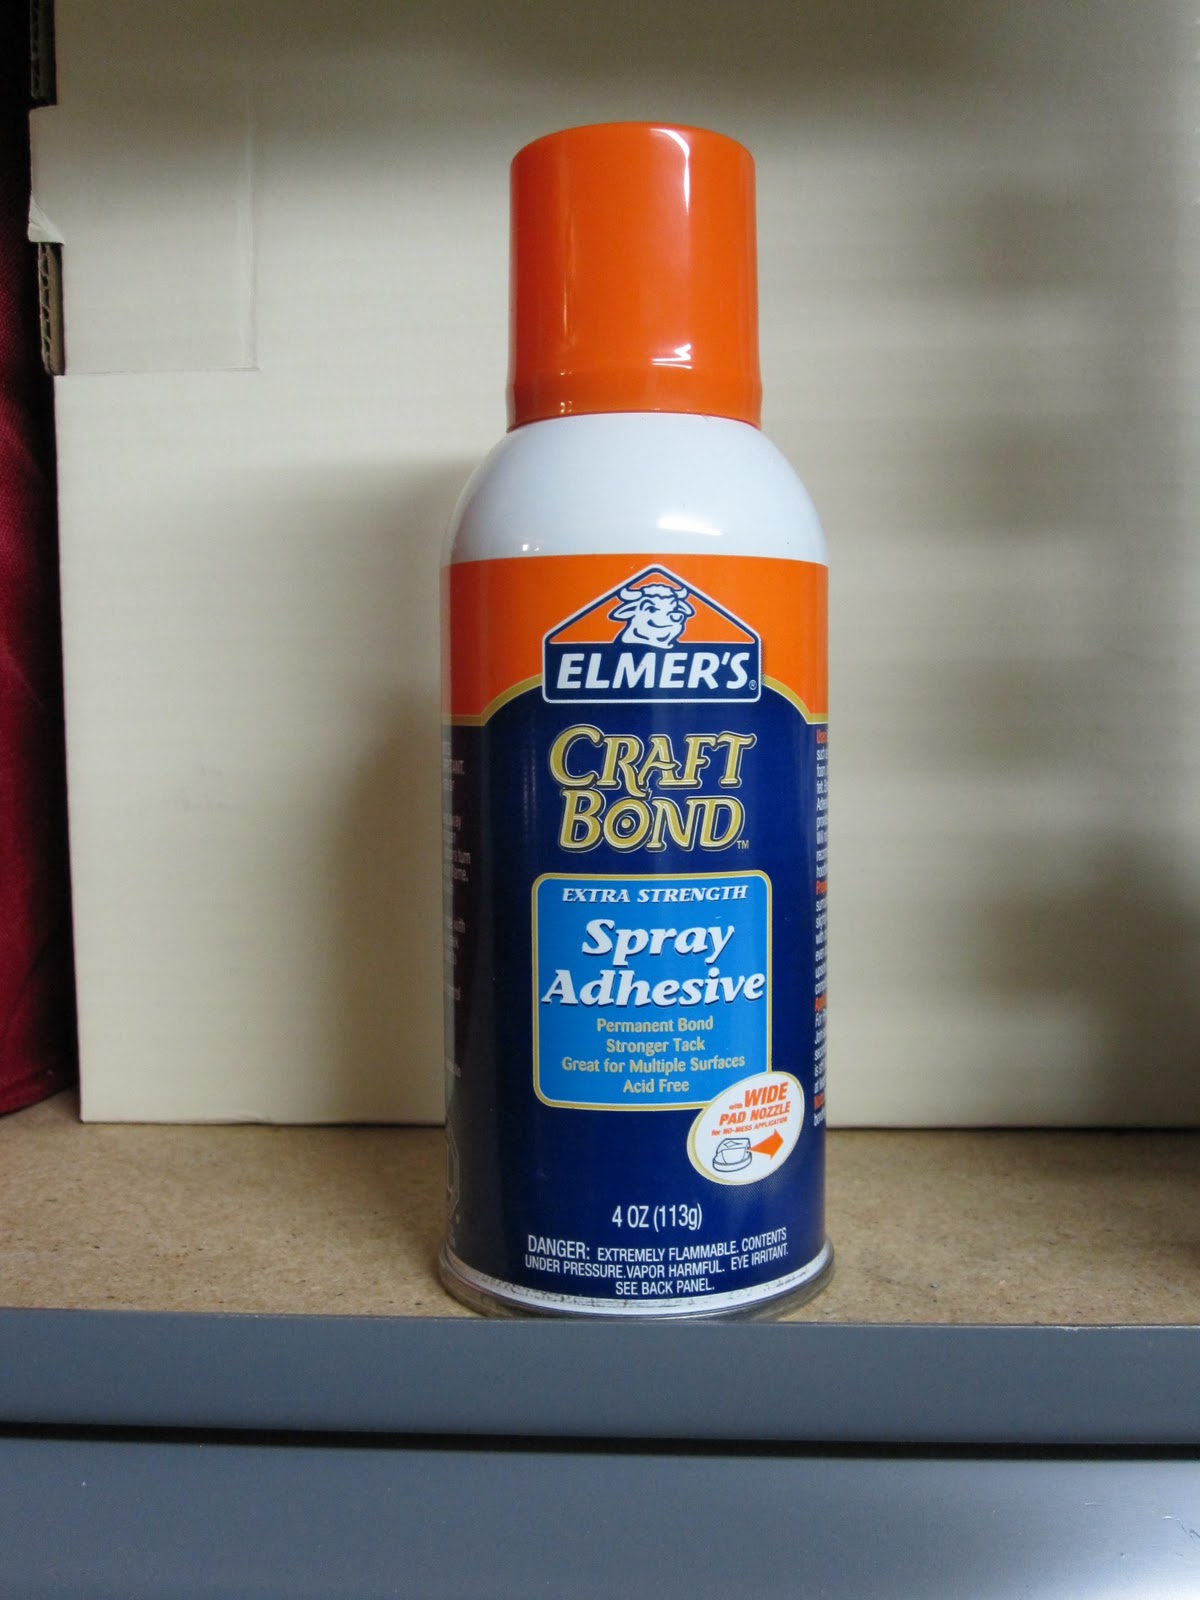
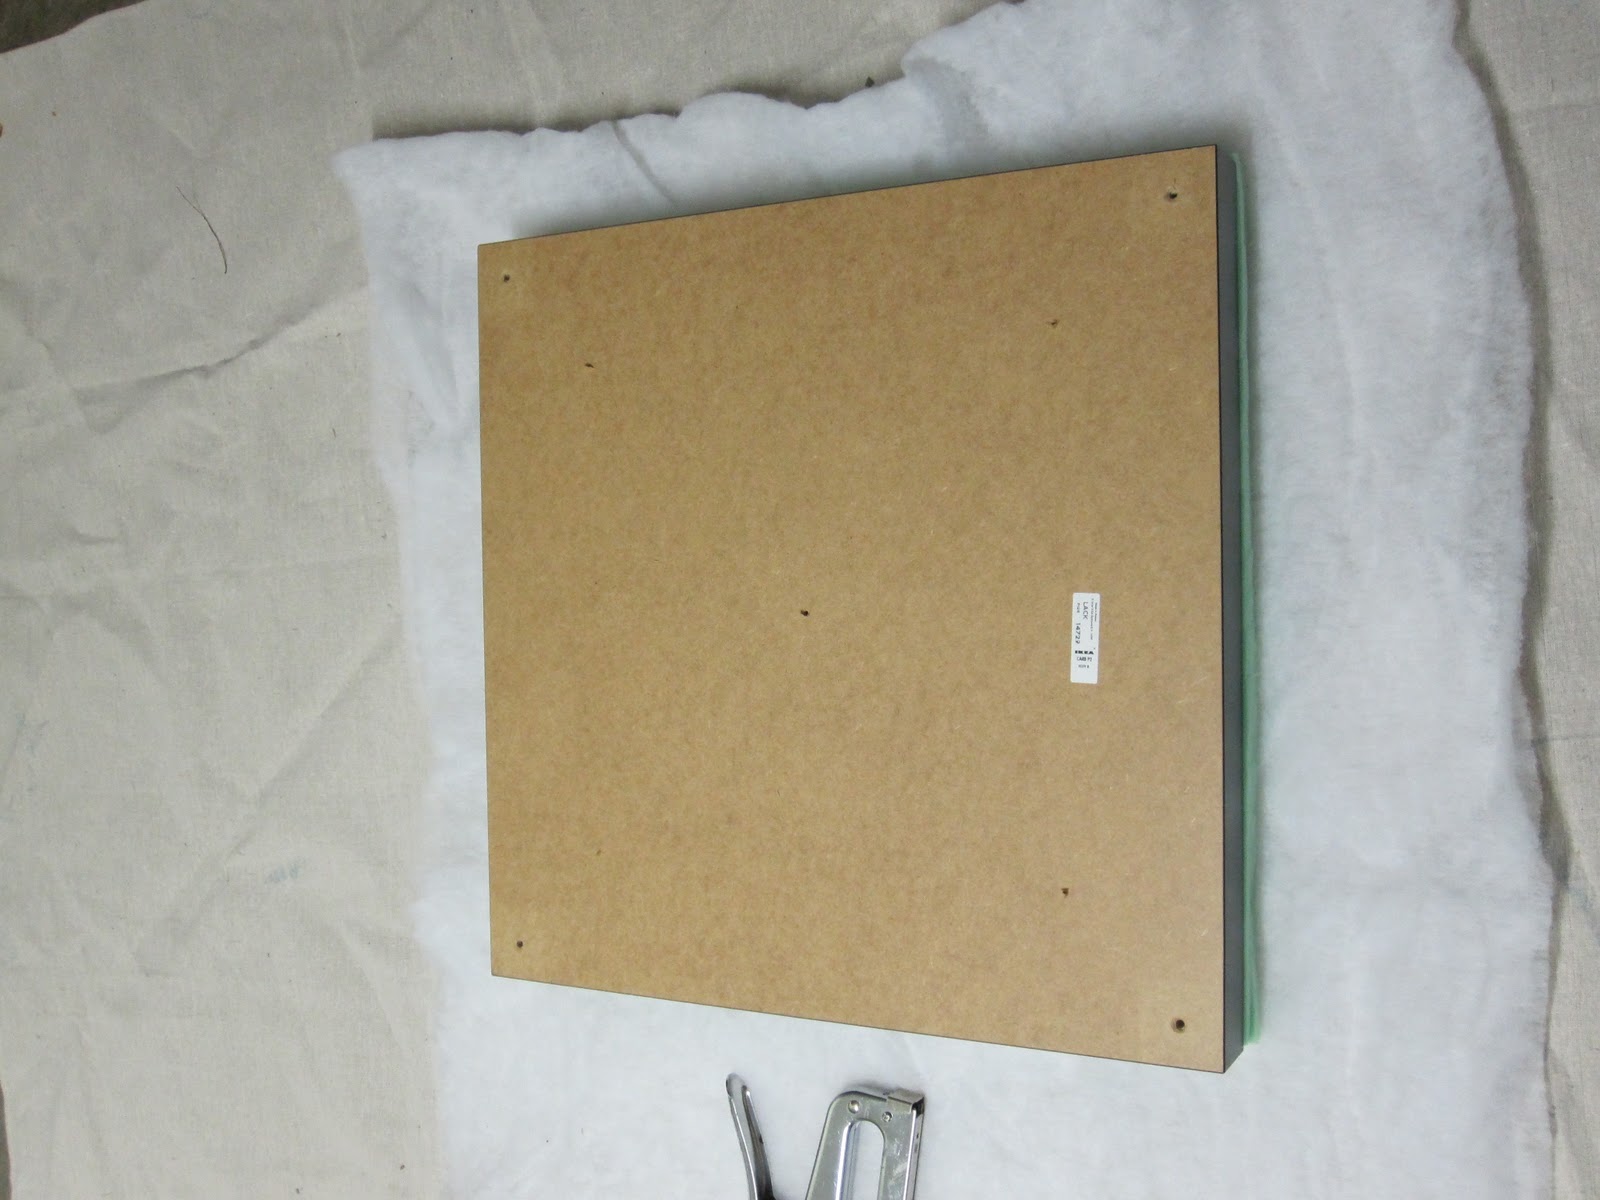
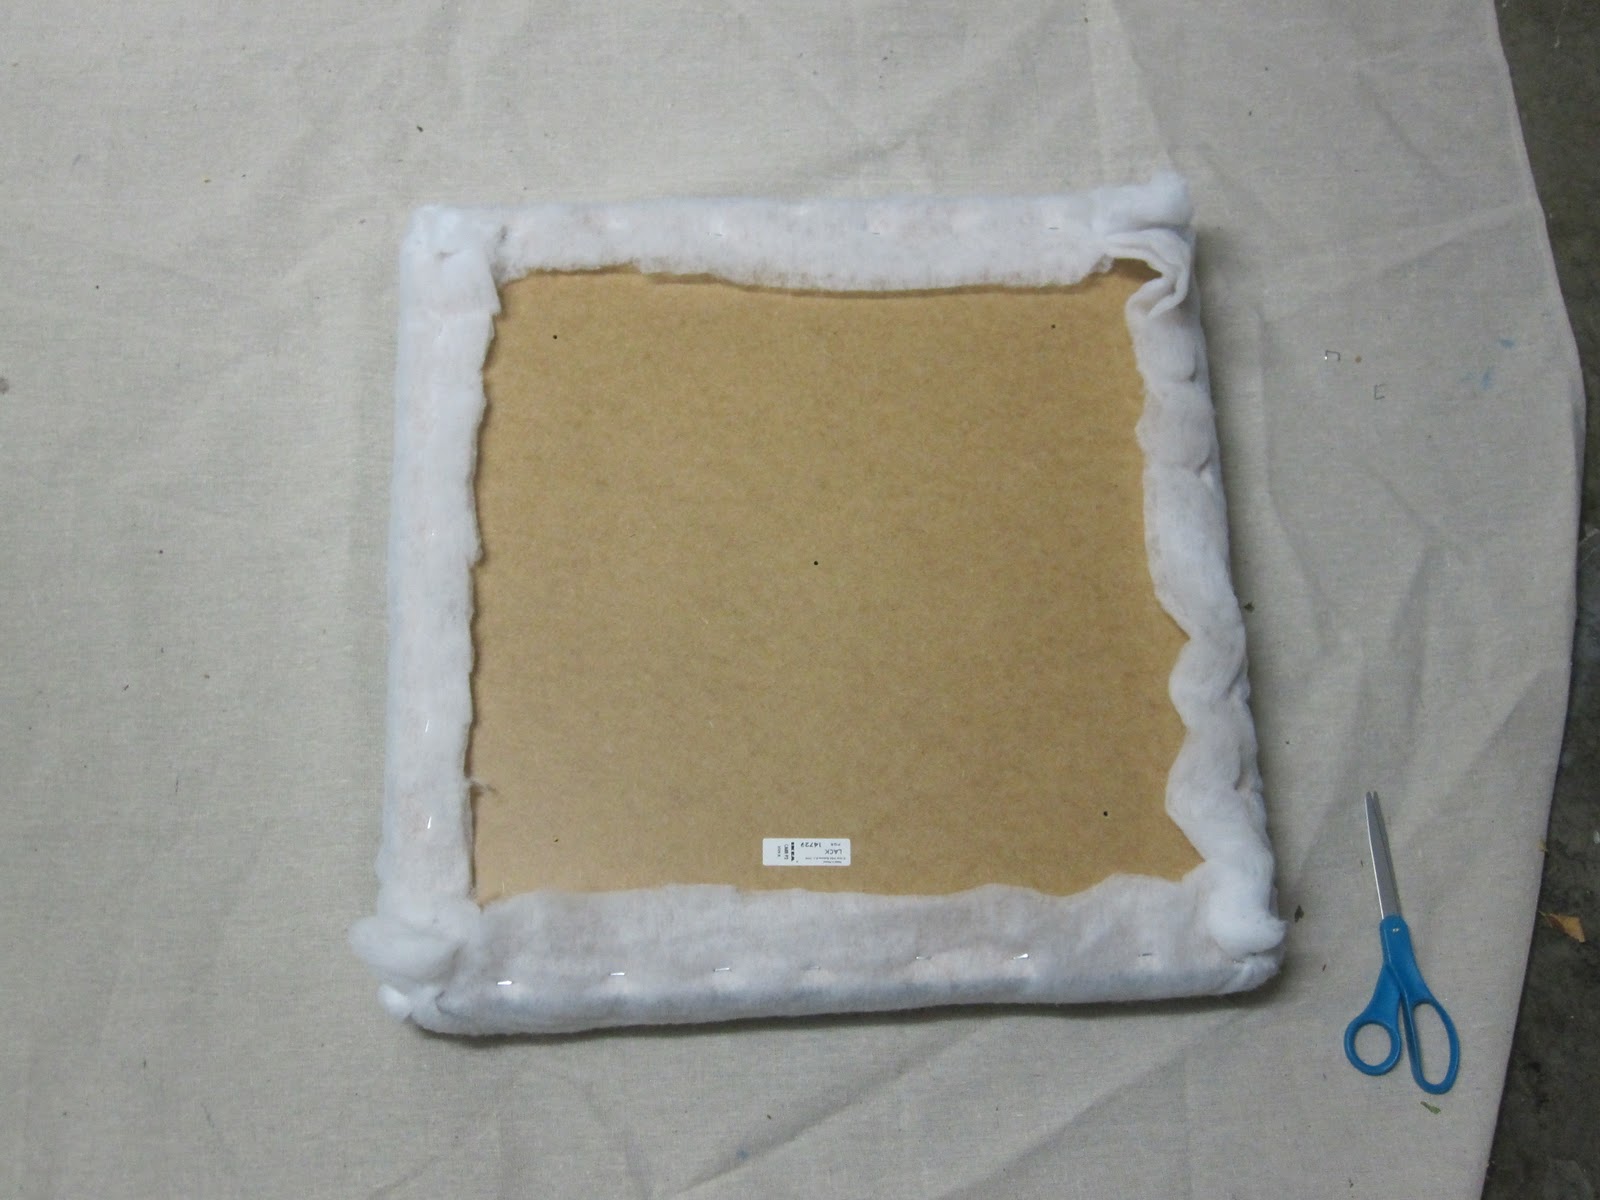
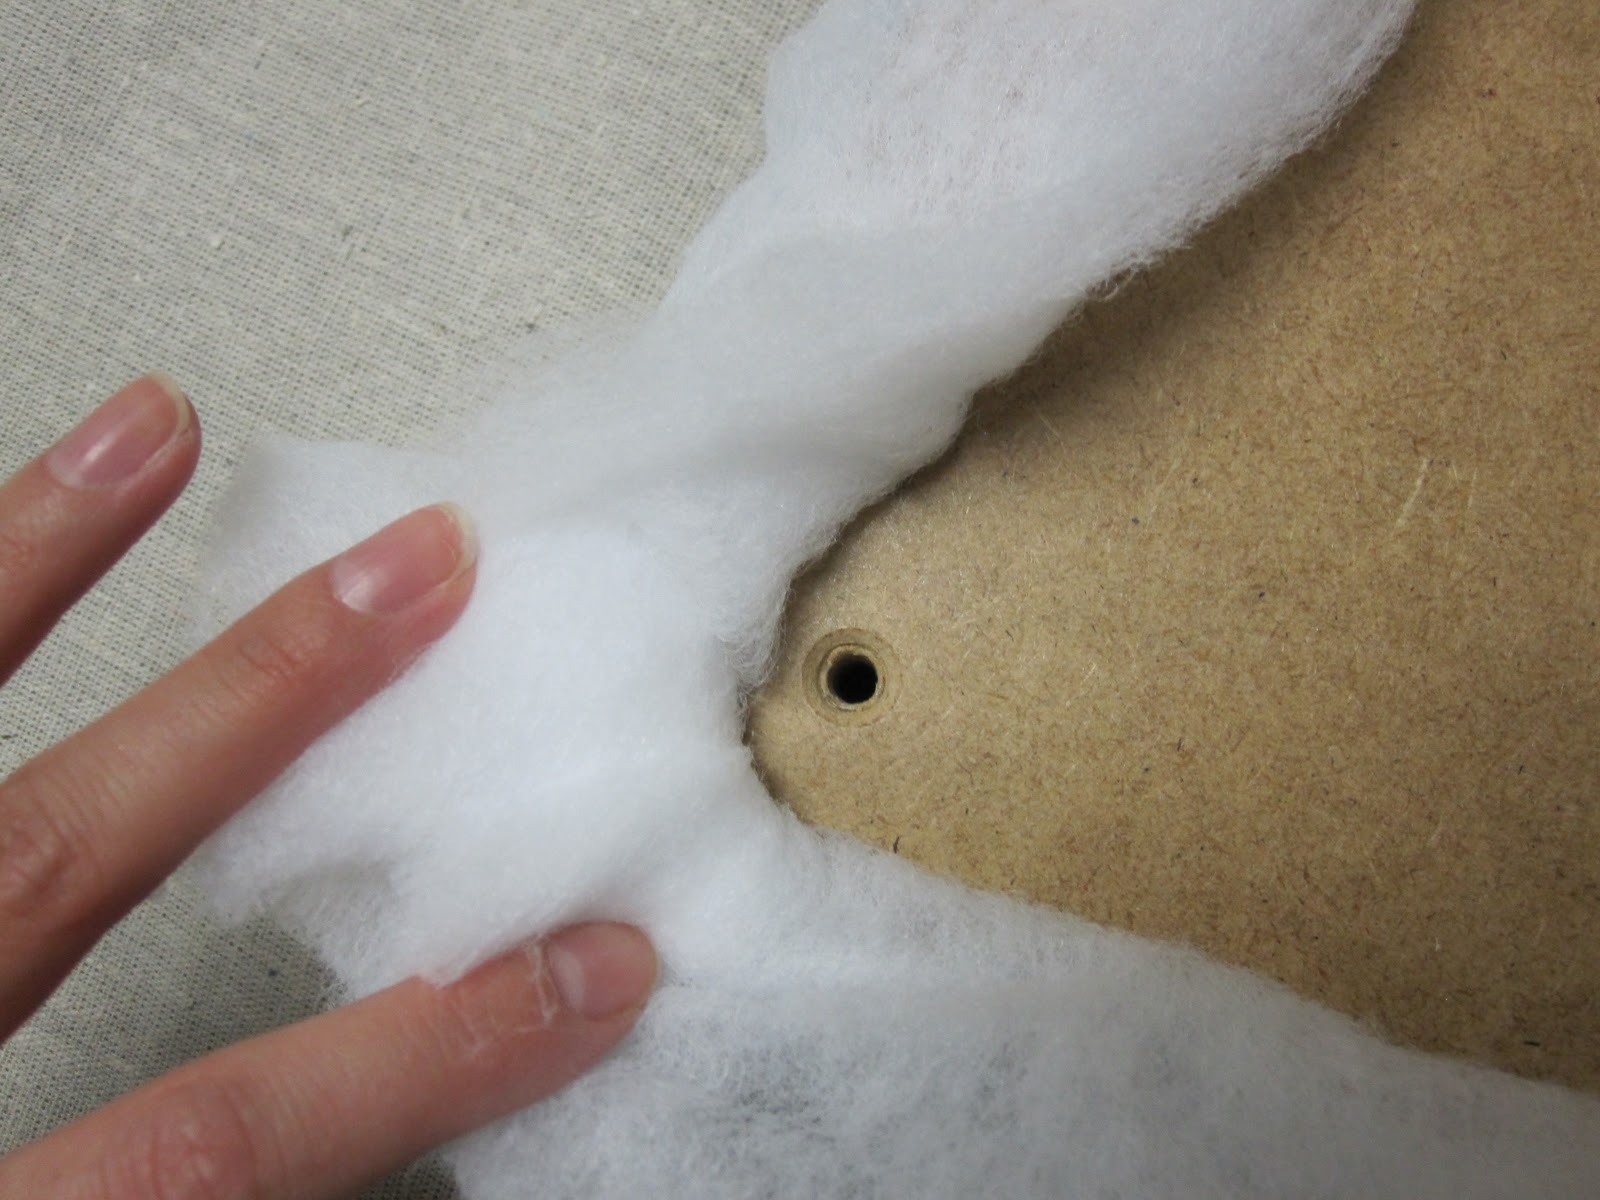
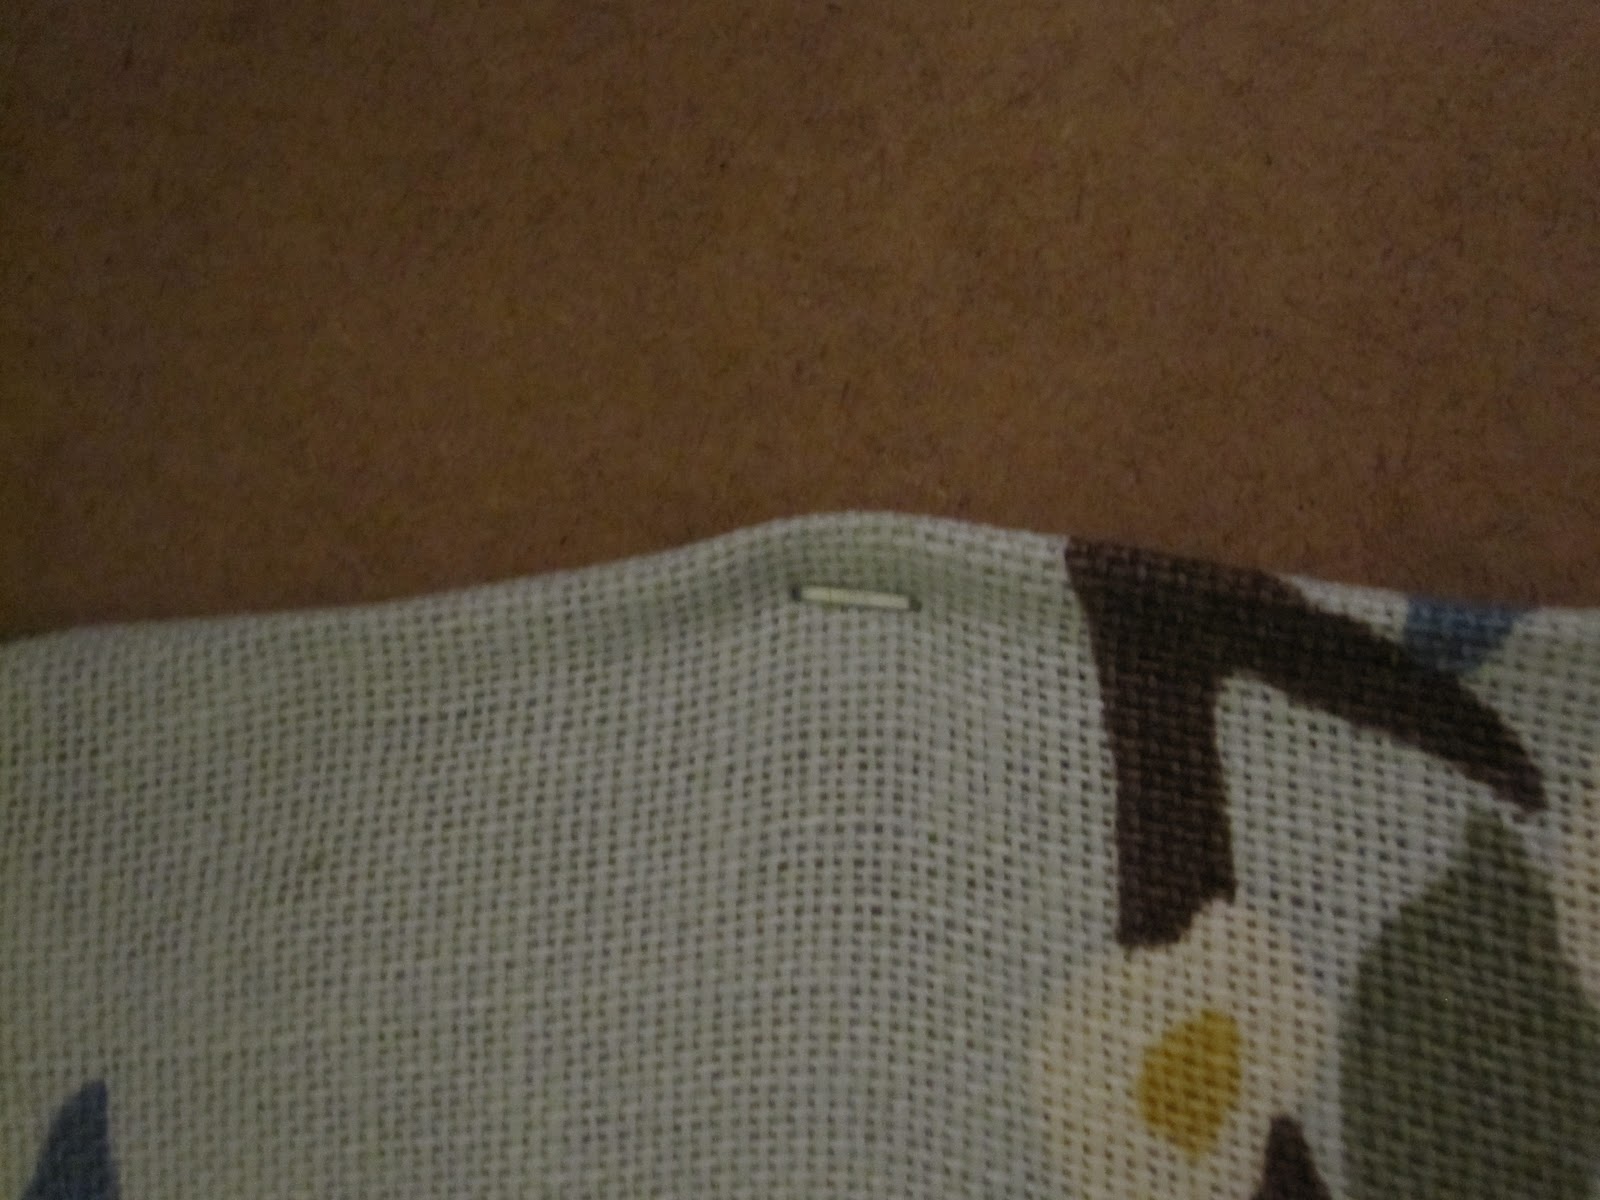
next we added a layer of batting. first we took the legs of the tops and then we secured the batting with staples. we made sure that the staples were really near the edge of the table on the corners so that we wouldn’t have a problem screwing the legs back on at the end. we ended up cutting the extra batting that was around each leg hole so that the leg could be secured flat.
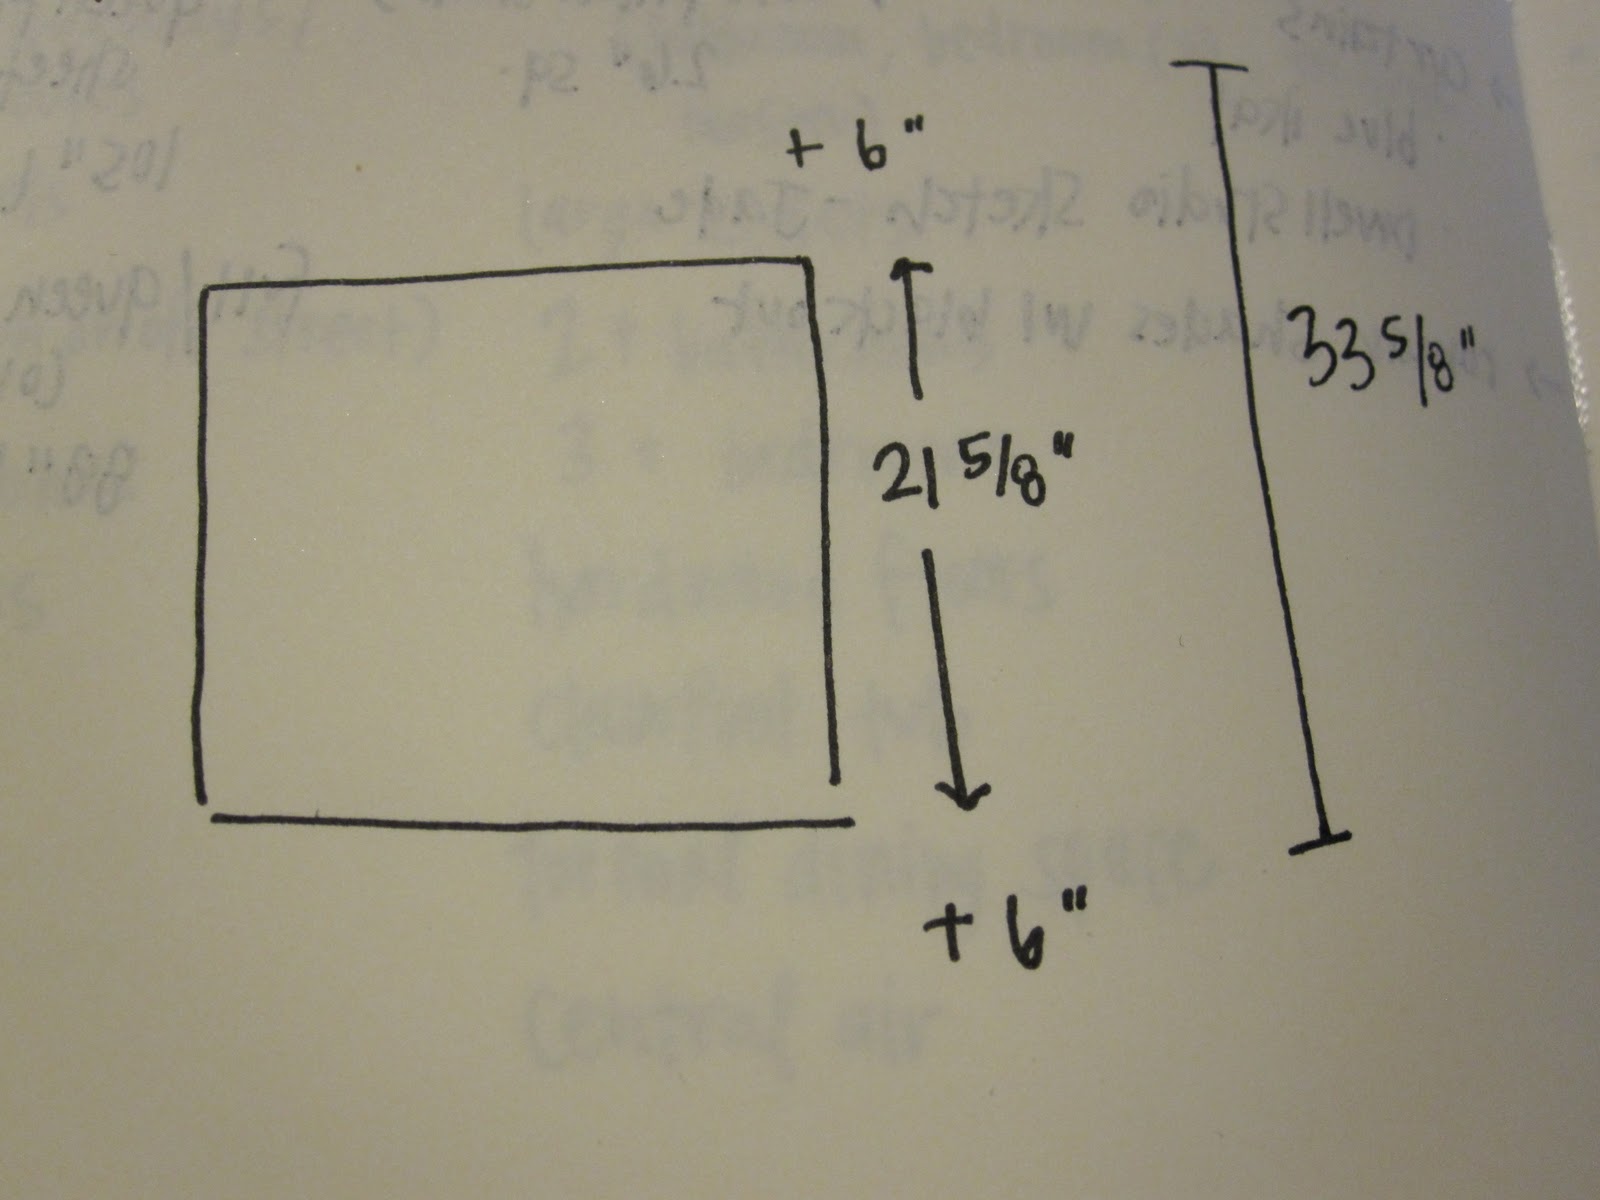
for the fabric, we used a 34 inch square of fabric for each table top. the lack tables are 21 and 5/8 inches square. i figured we needed 6 extra inches of fabric: 3 inches of fabric for the height of the table top plus the foam, and 3 inches of fabric under the table top to secure with staples.
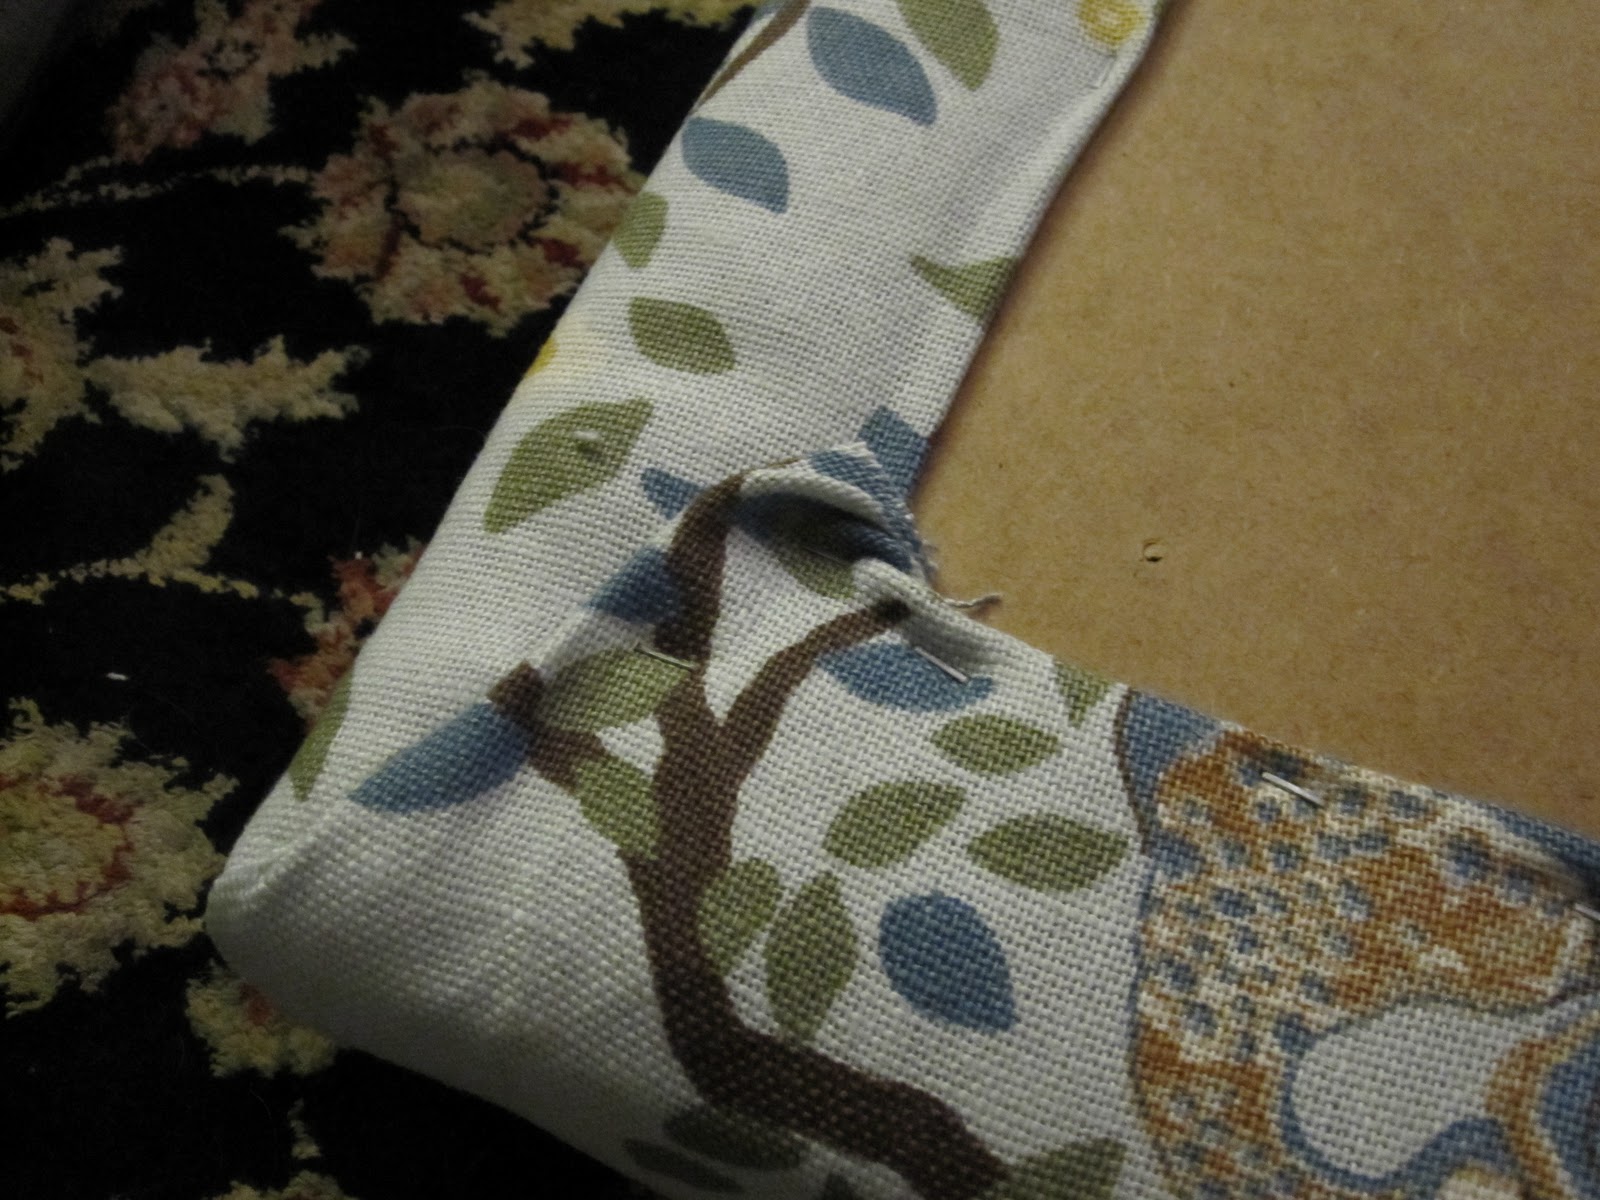
we stapled the fabric over the batting and had enough to tuck the edges. we finished the corners by wrapping the corner like a present.
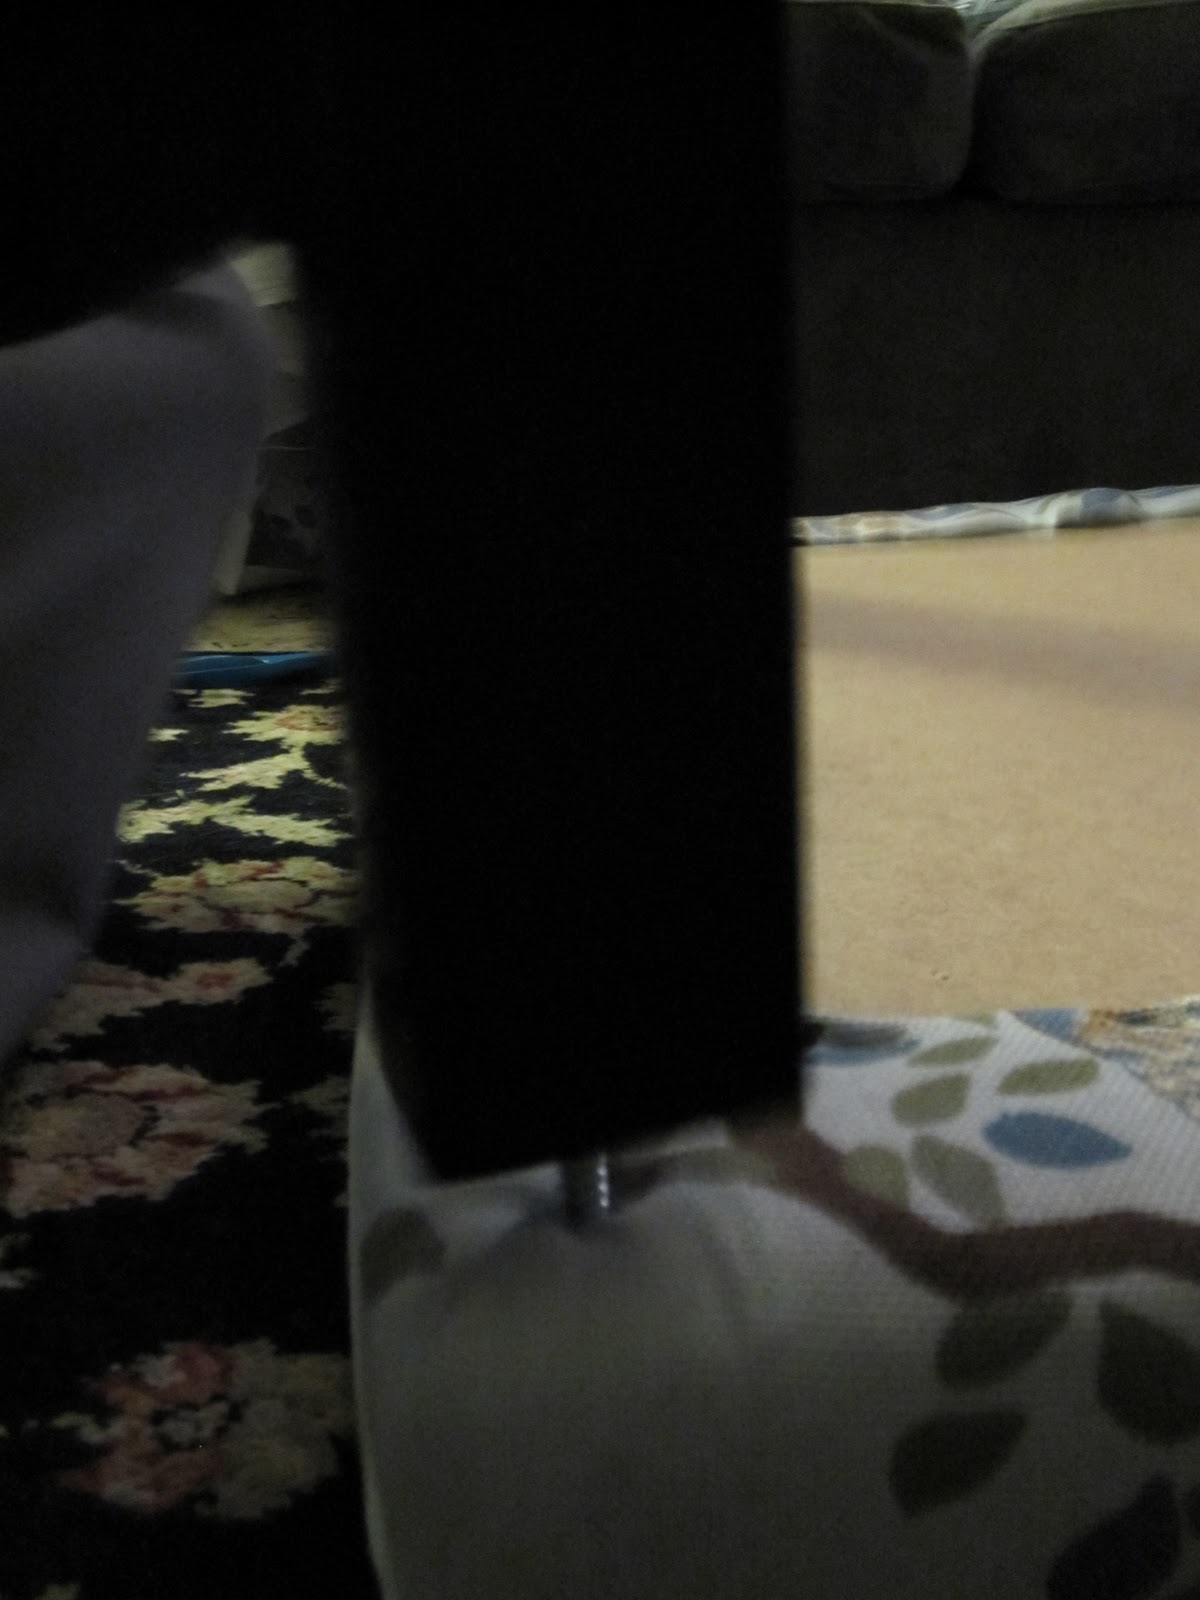
after we stapled all of the fabric onto the table top, we screwed the legs back on. it was an easy process as the legs only had to go thru two or so layers of fabric since we cut the extra batting away.
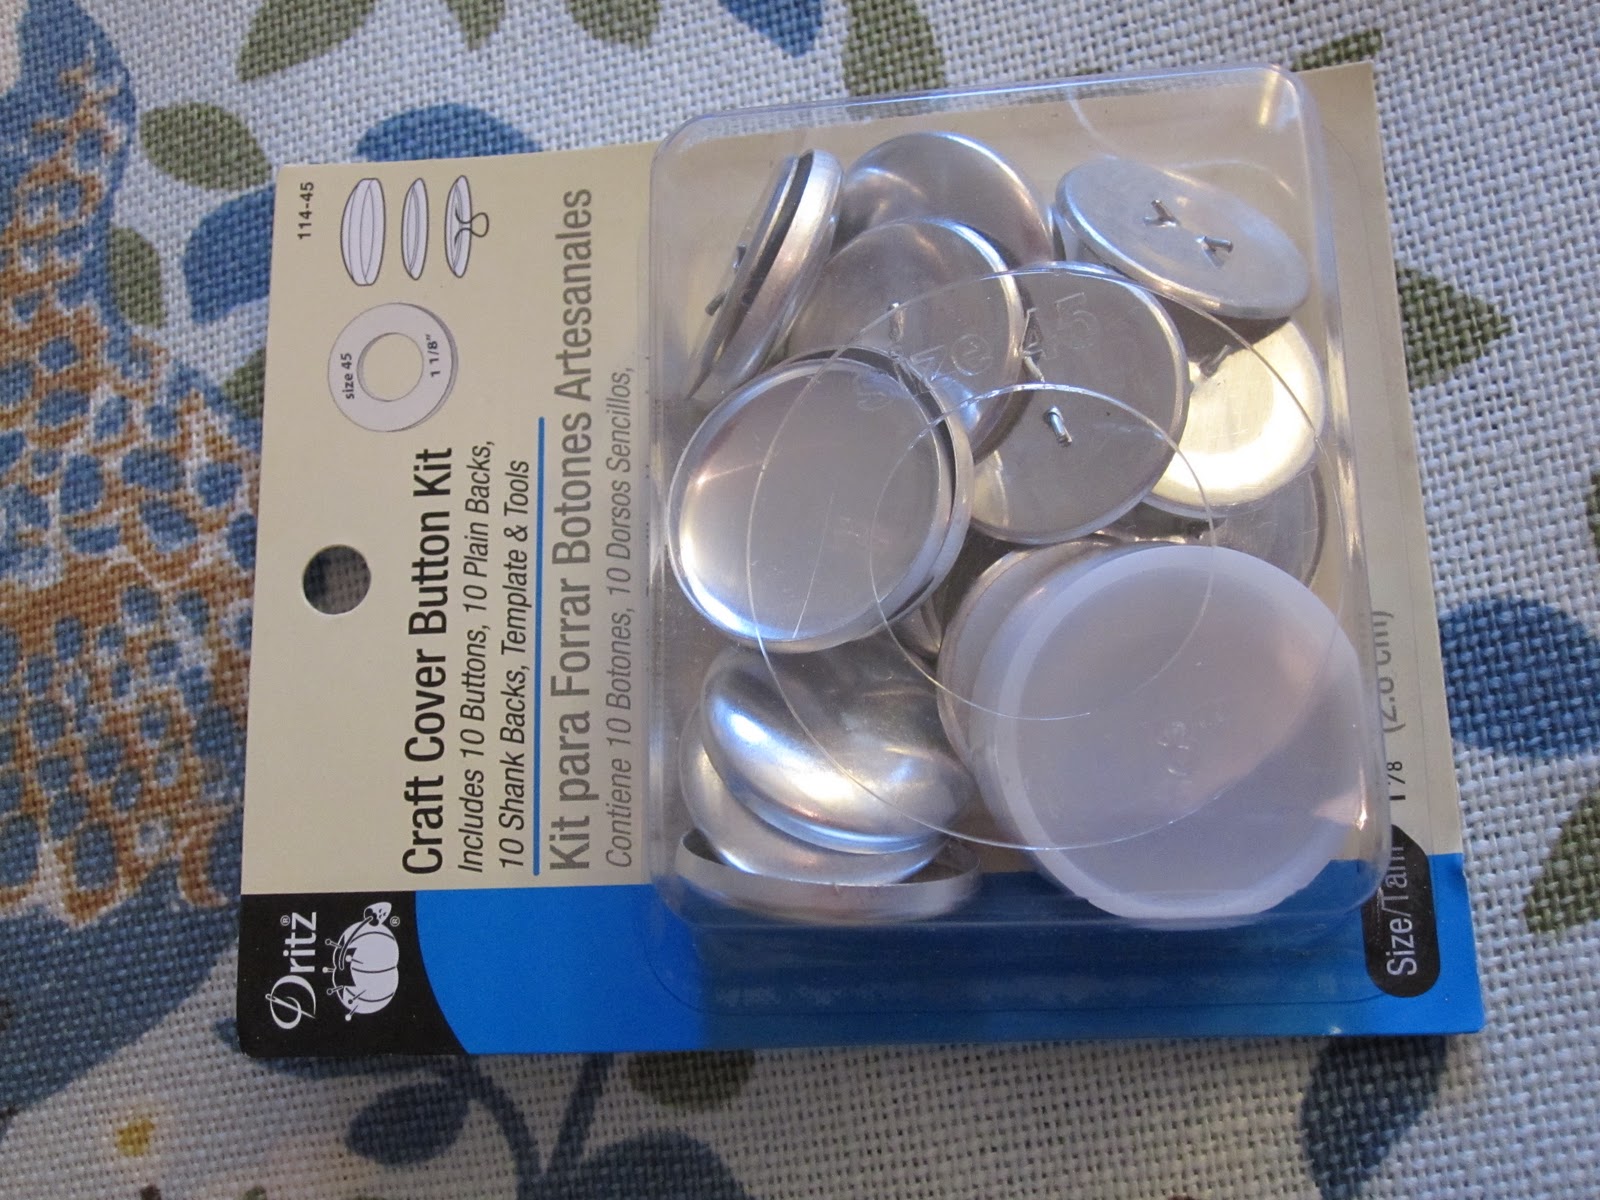
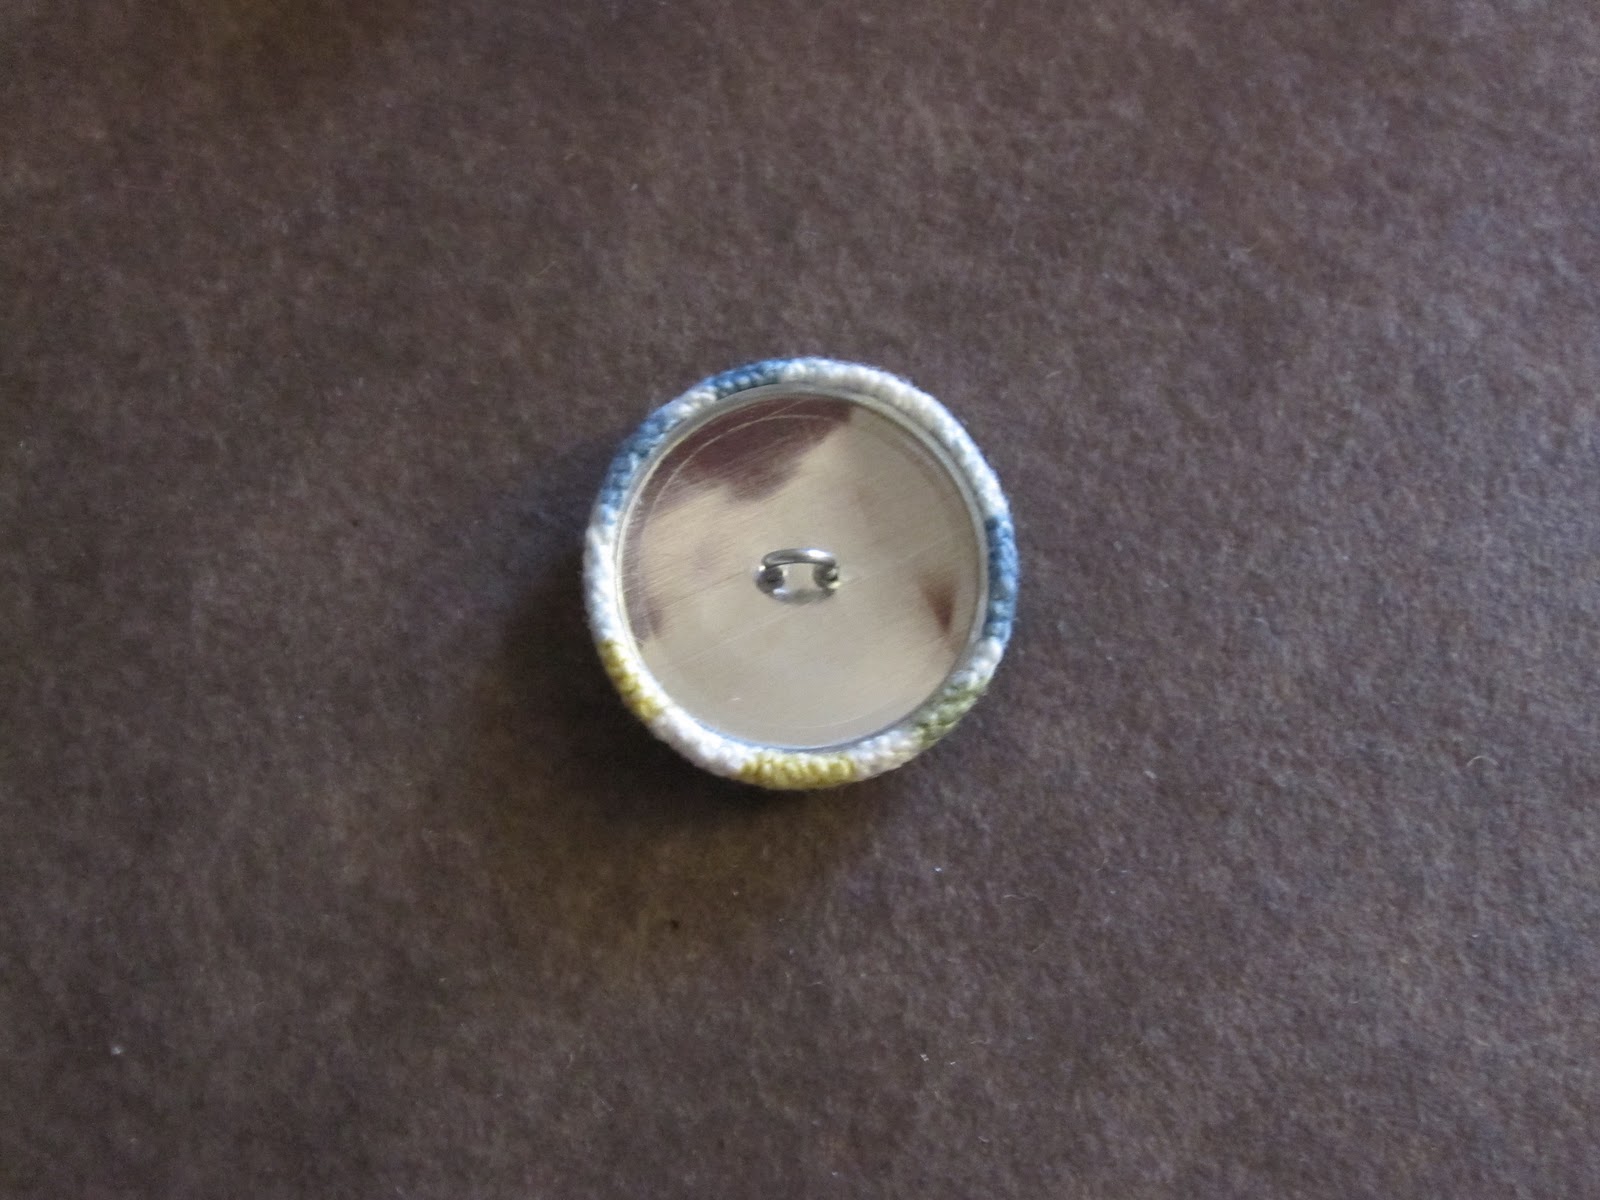
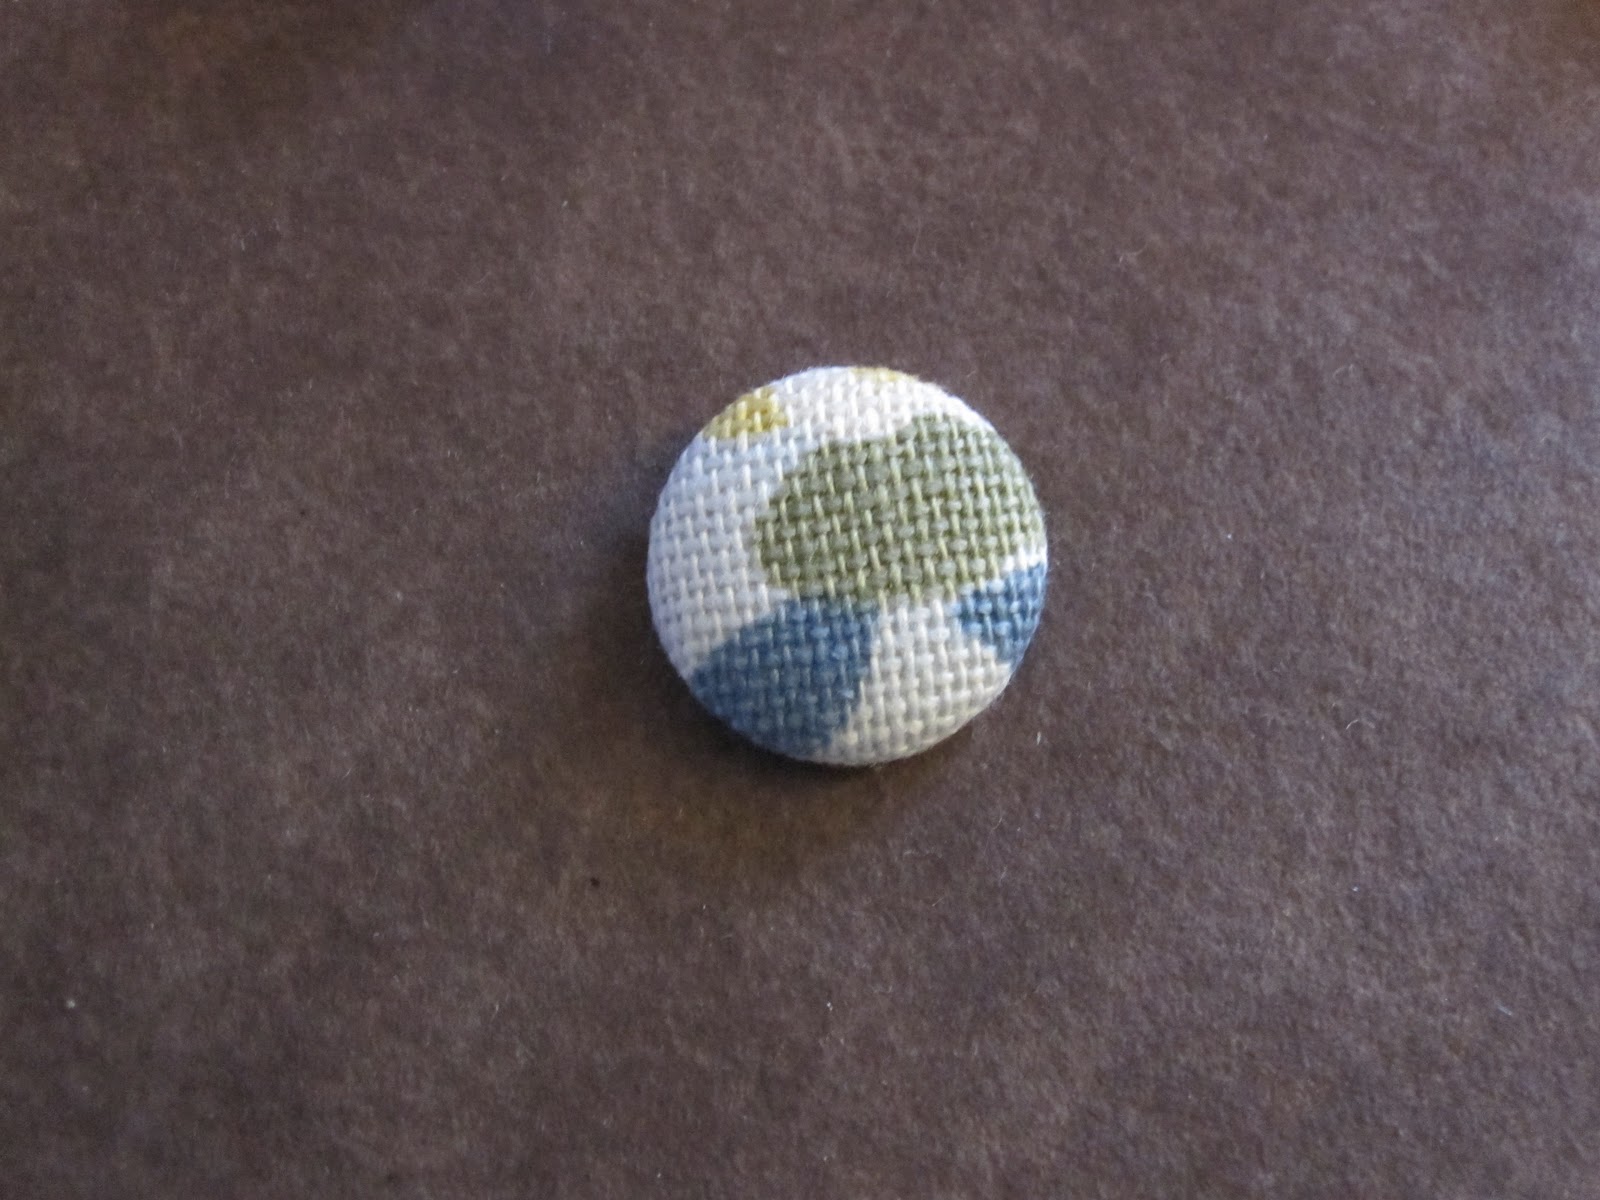
 next came the buttons. i used a button kit that just so happened to make ten buttons. i just followed the instructions on the back of the kit.
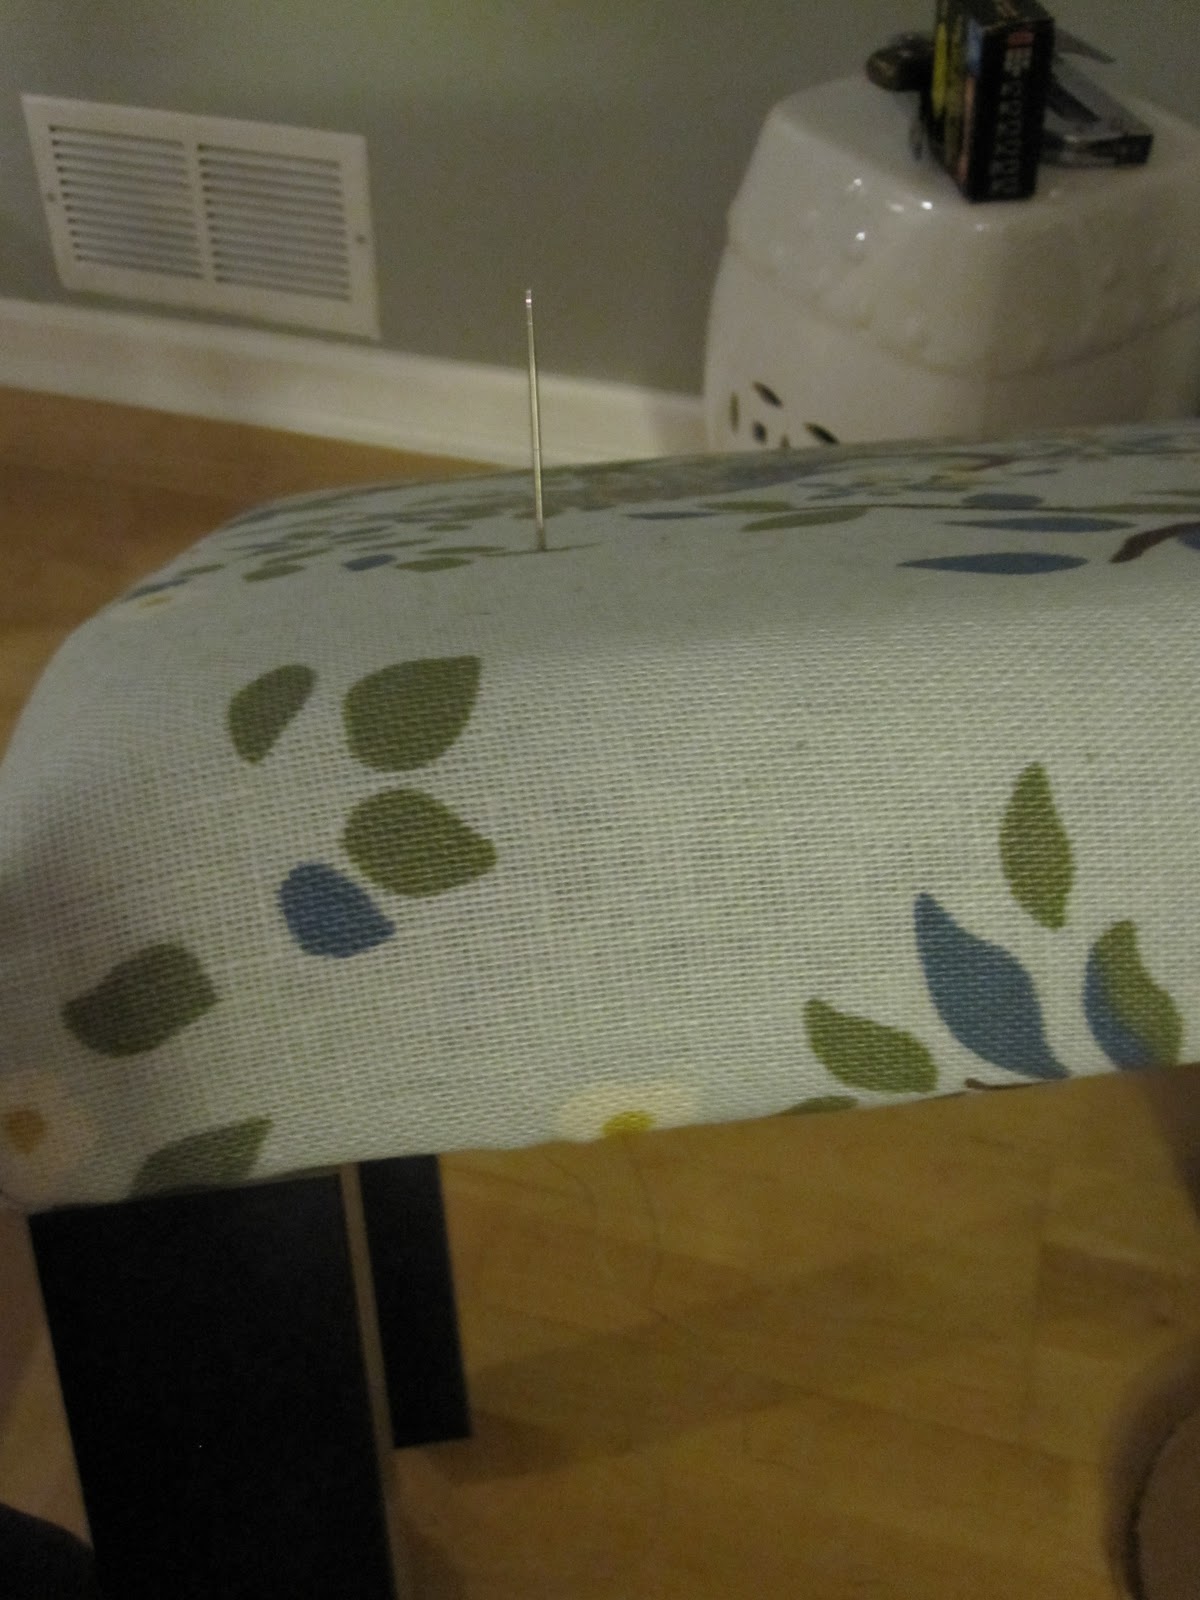
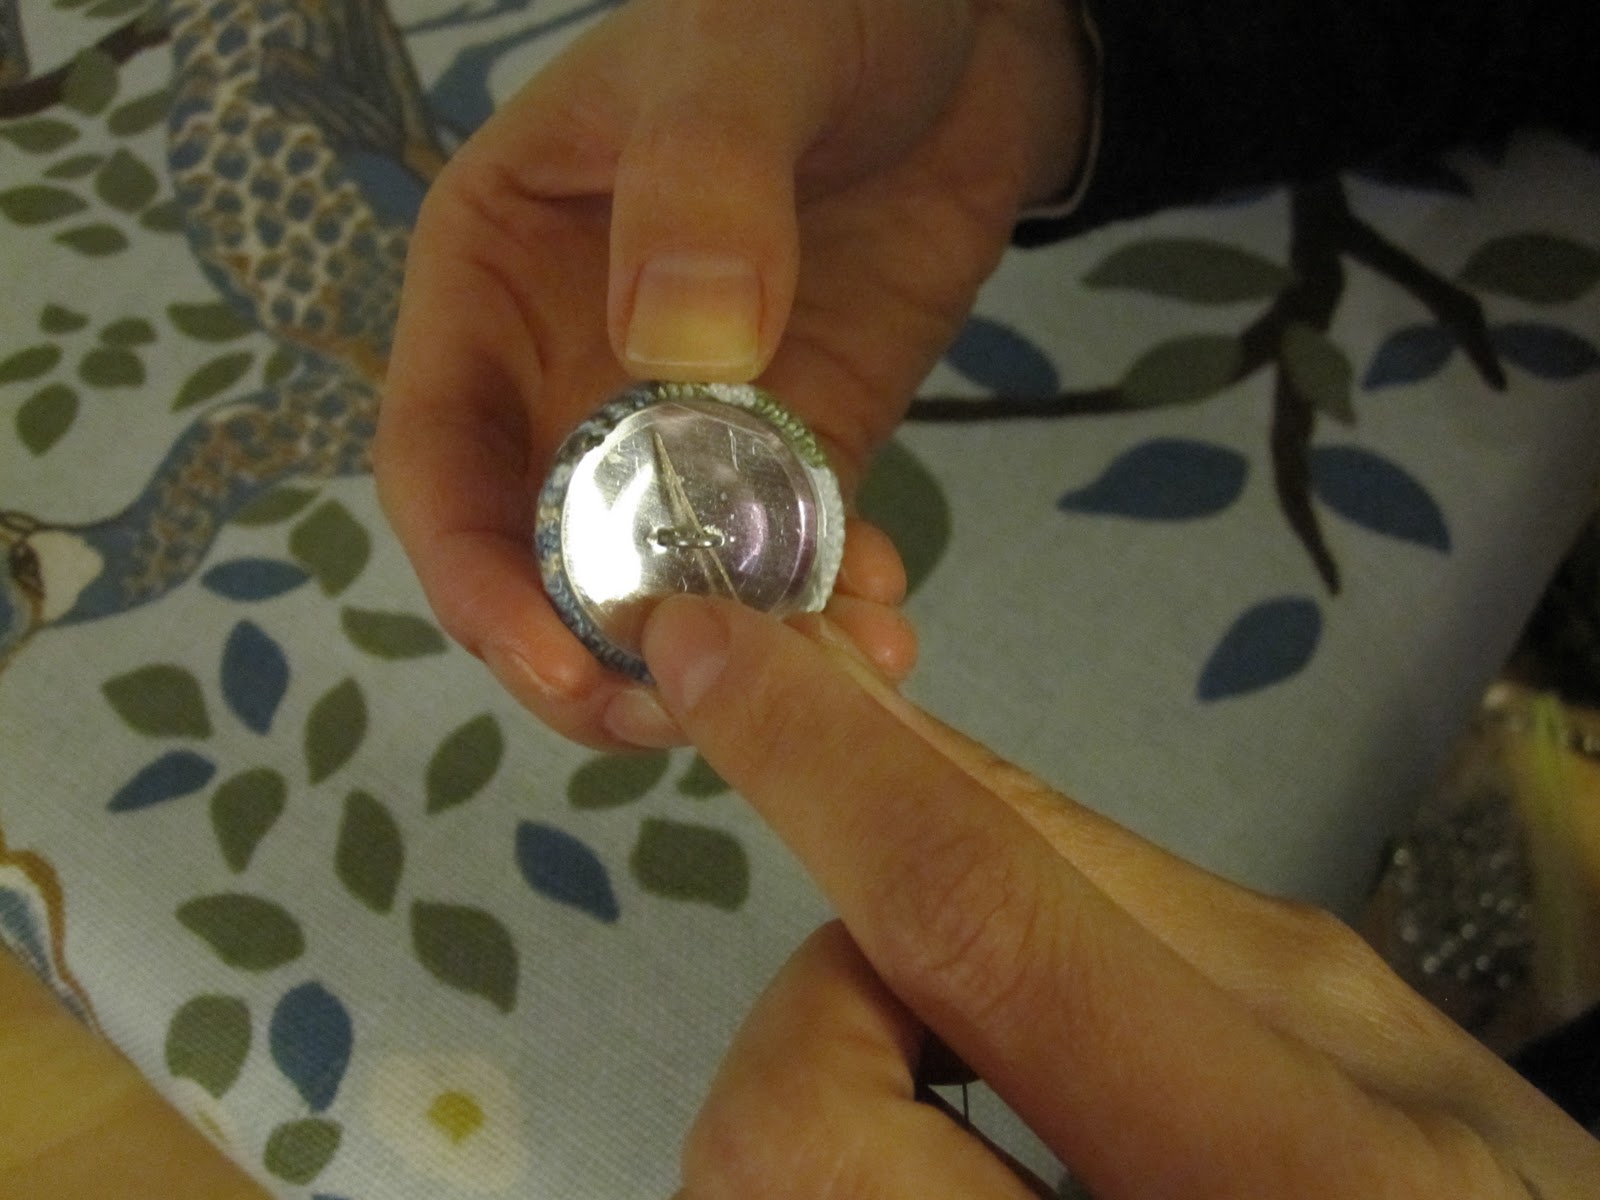
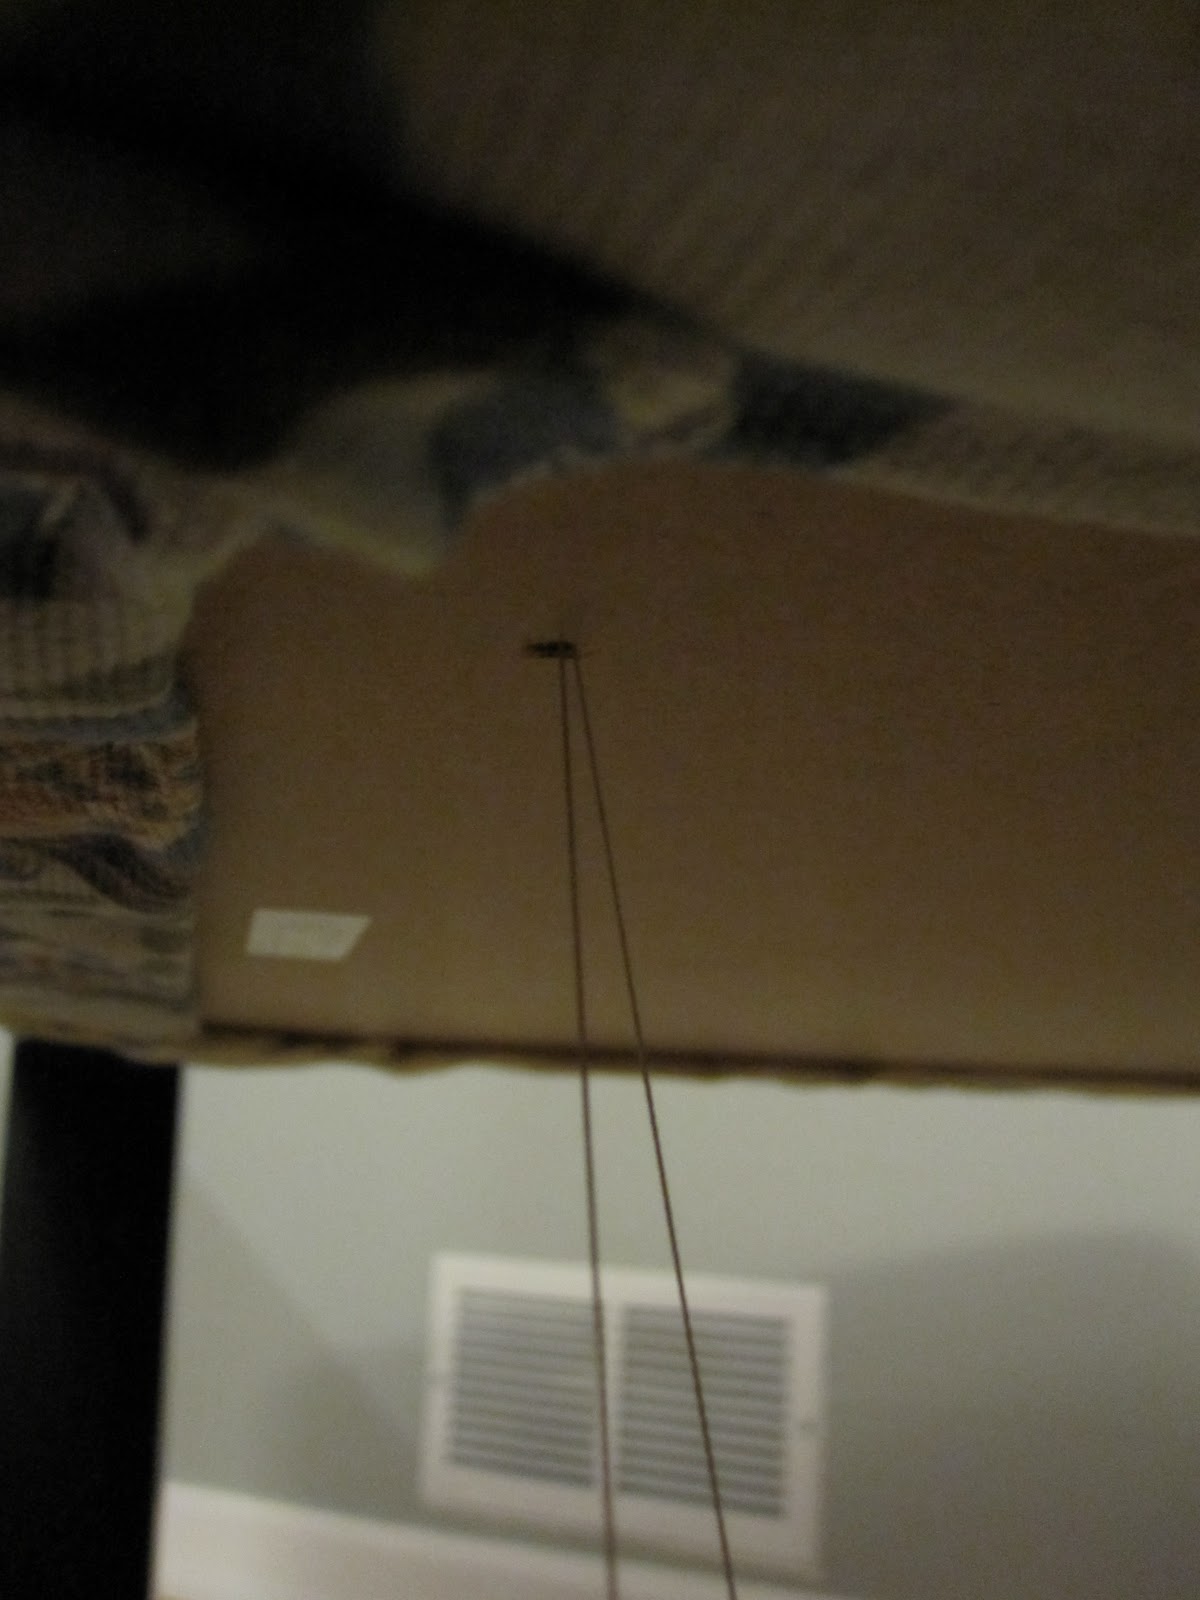
then we added the buttons. we used a long upholstery needle and upholstery thread. first we threaded the needle and went up thru the pre-drilled hole in the table top. then we had to un-thread the needle and thread the thread thru the button as the needle wouldn’t go thru the button. next we re-threaded the needle and then went back down the pre-drilled hole in the table top.
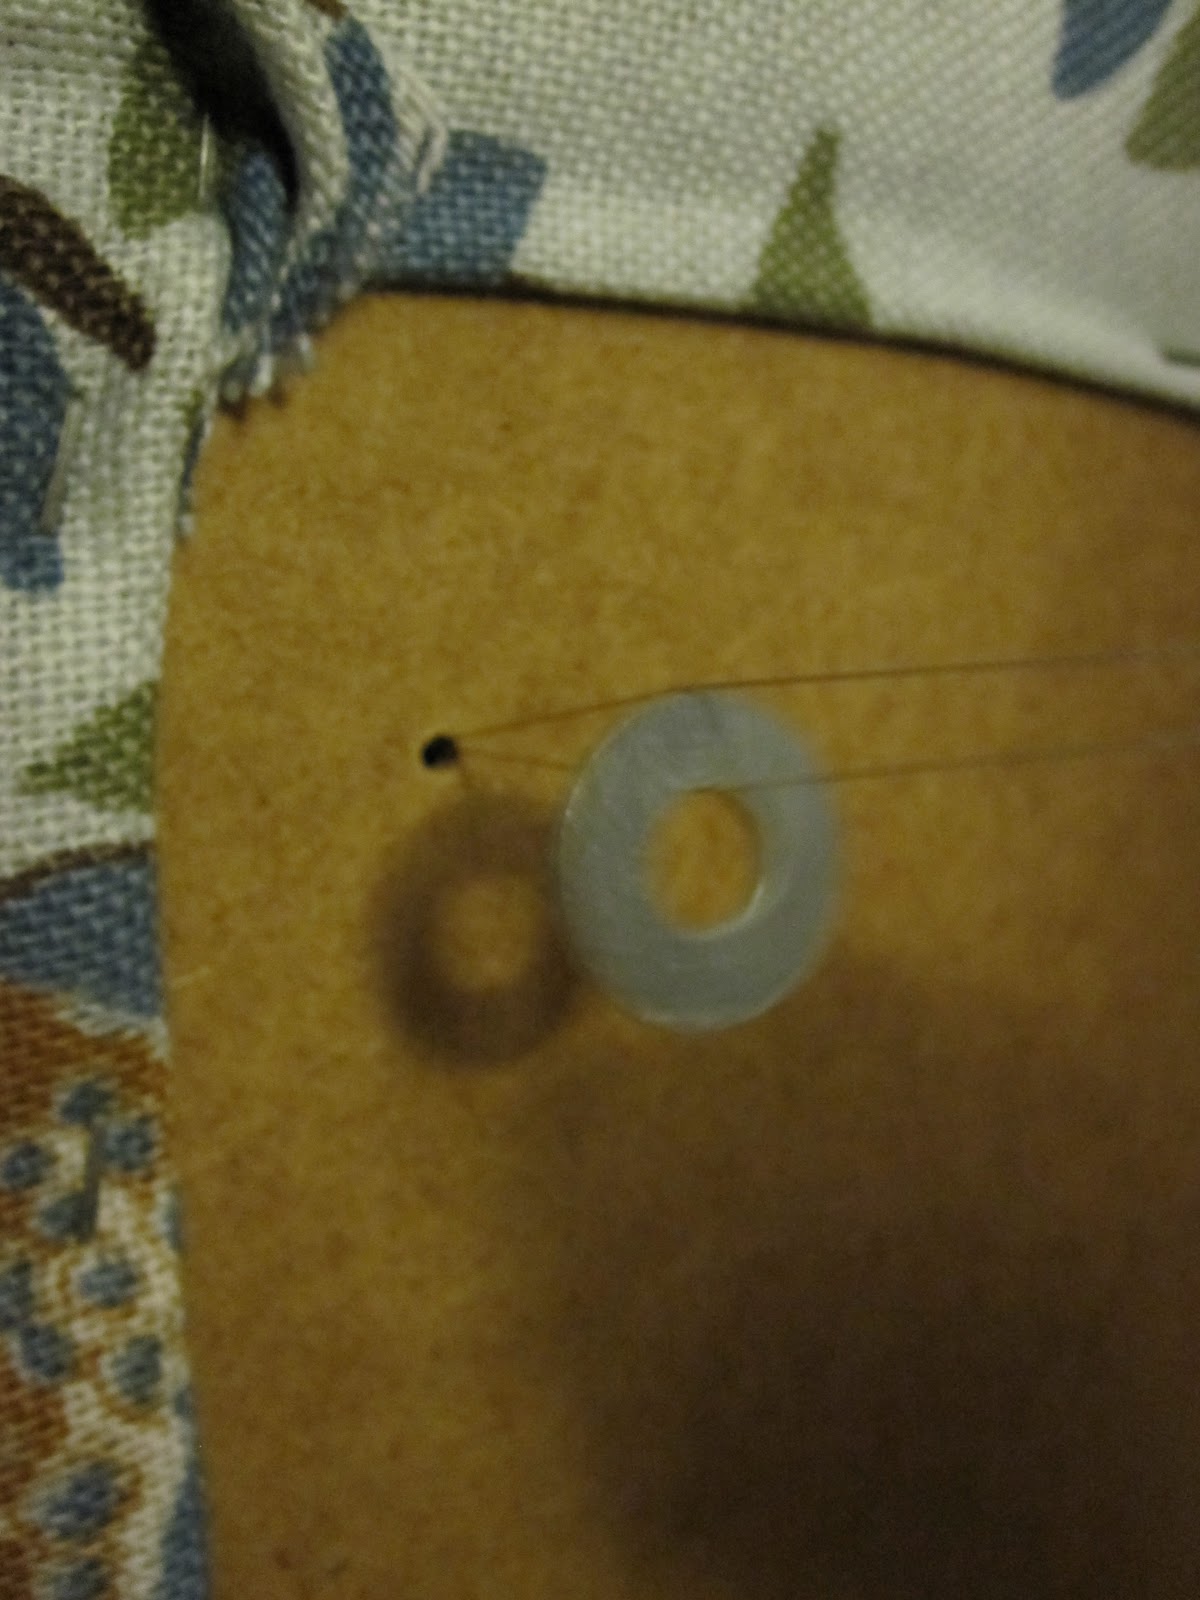
we used a washer under each button to secure it to the table top. we simply threaded one thread thru the washer hole and tied a number of knots.
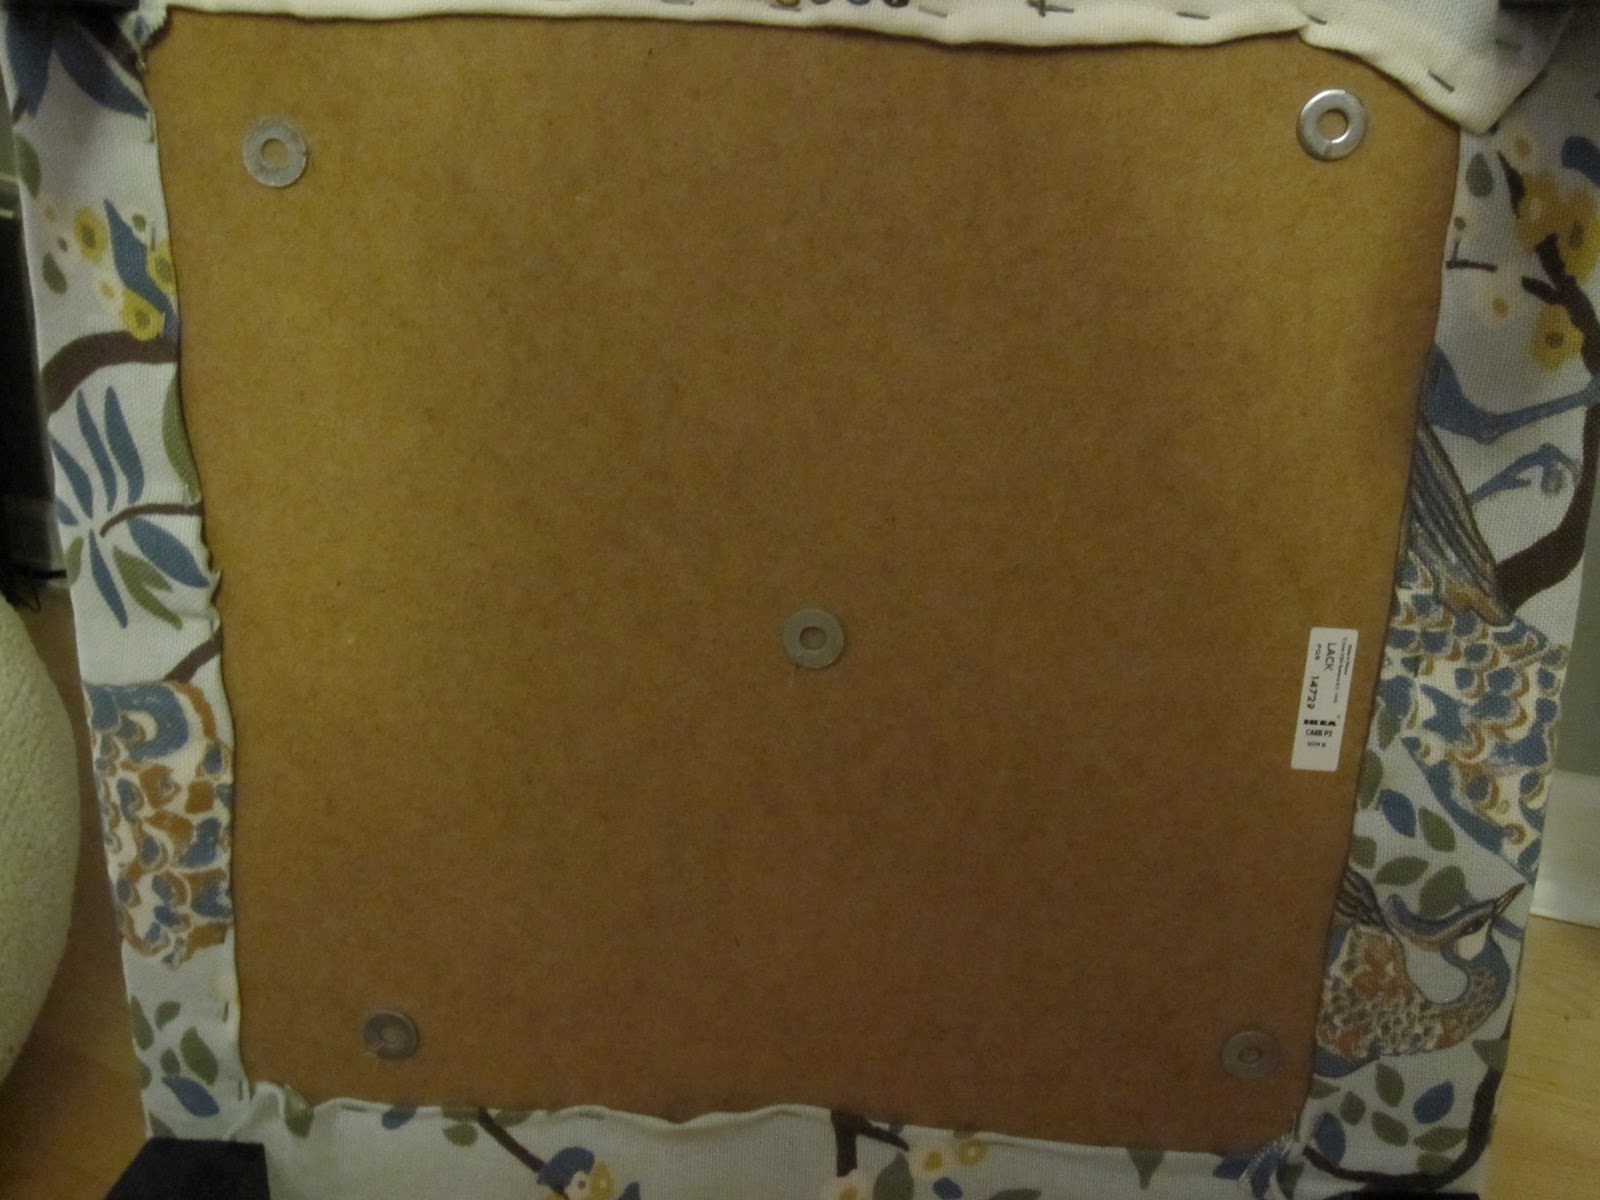
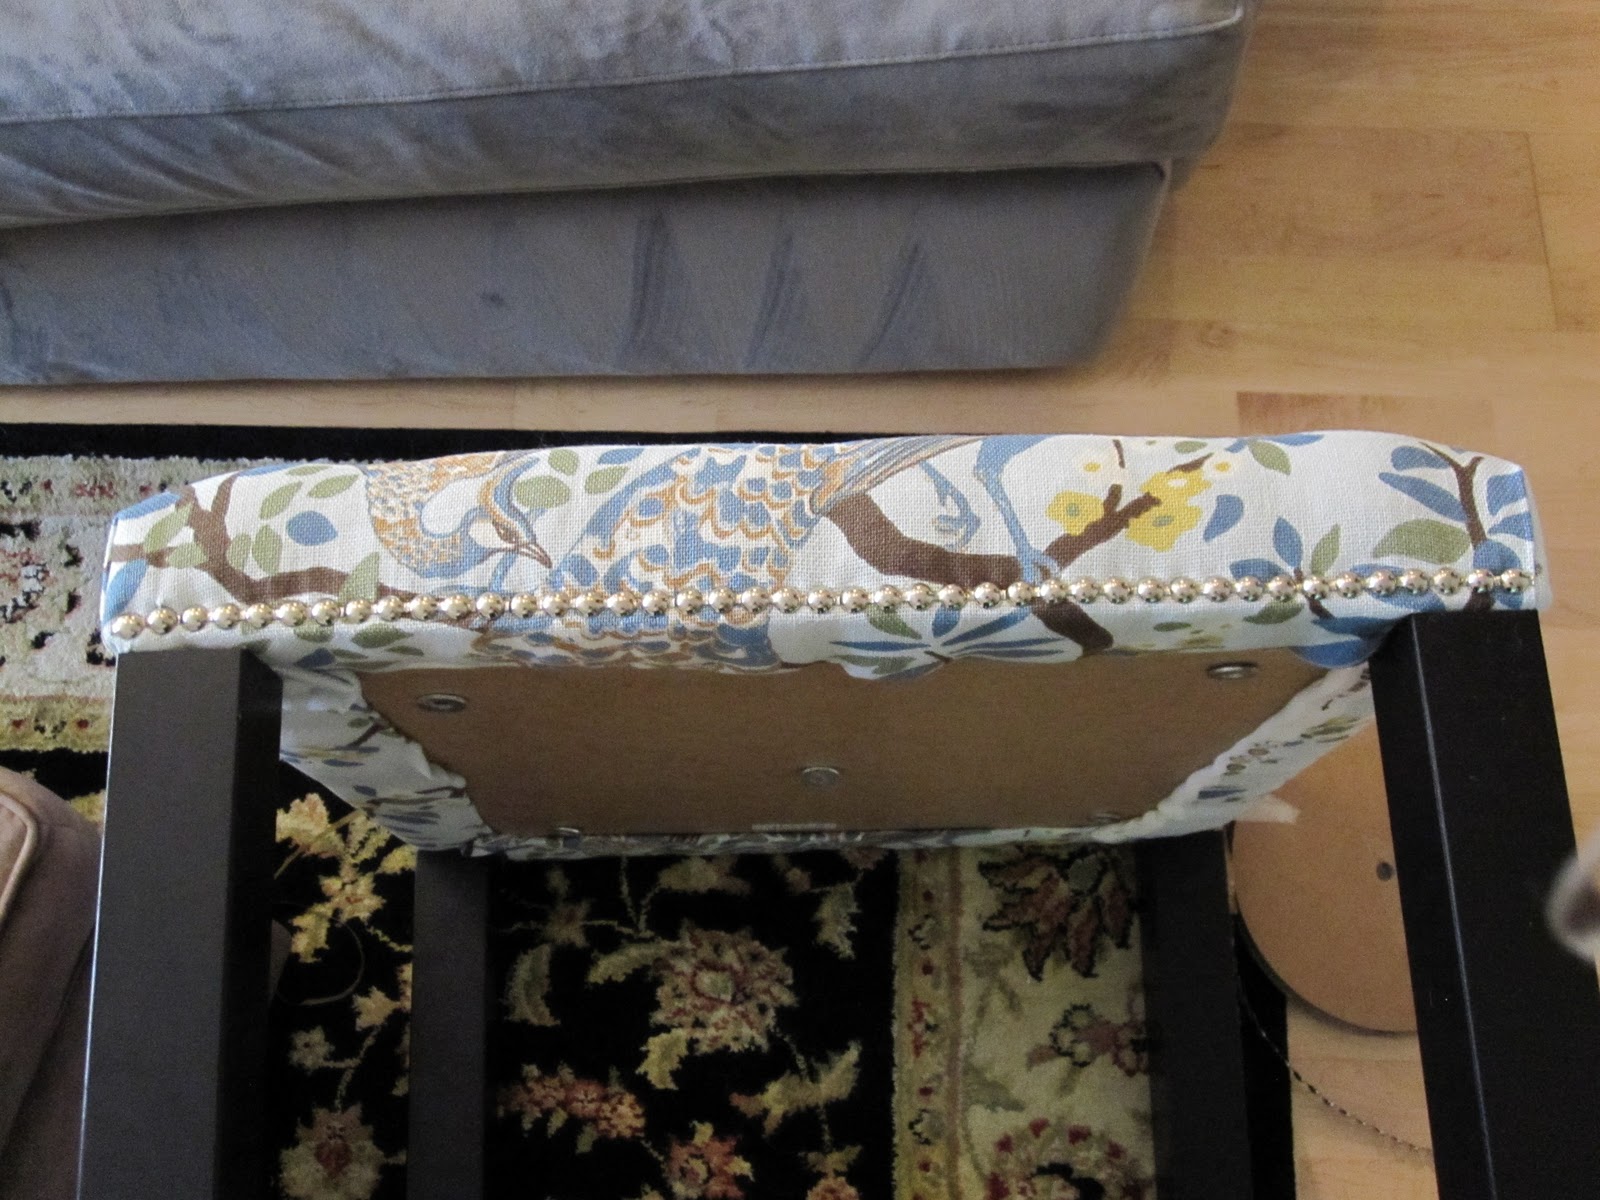
the bottom of the table top with all five washers (and buttons) in place.
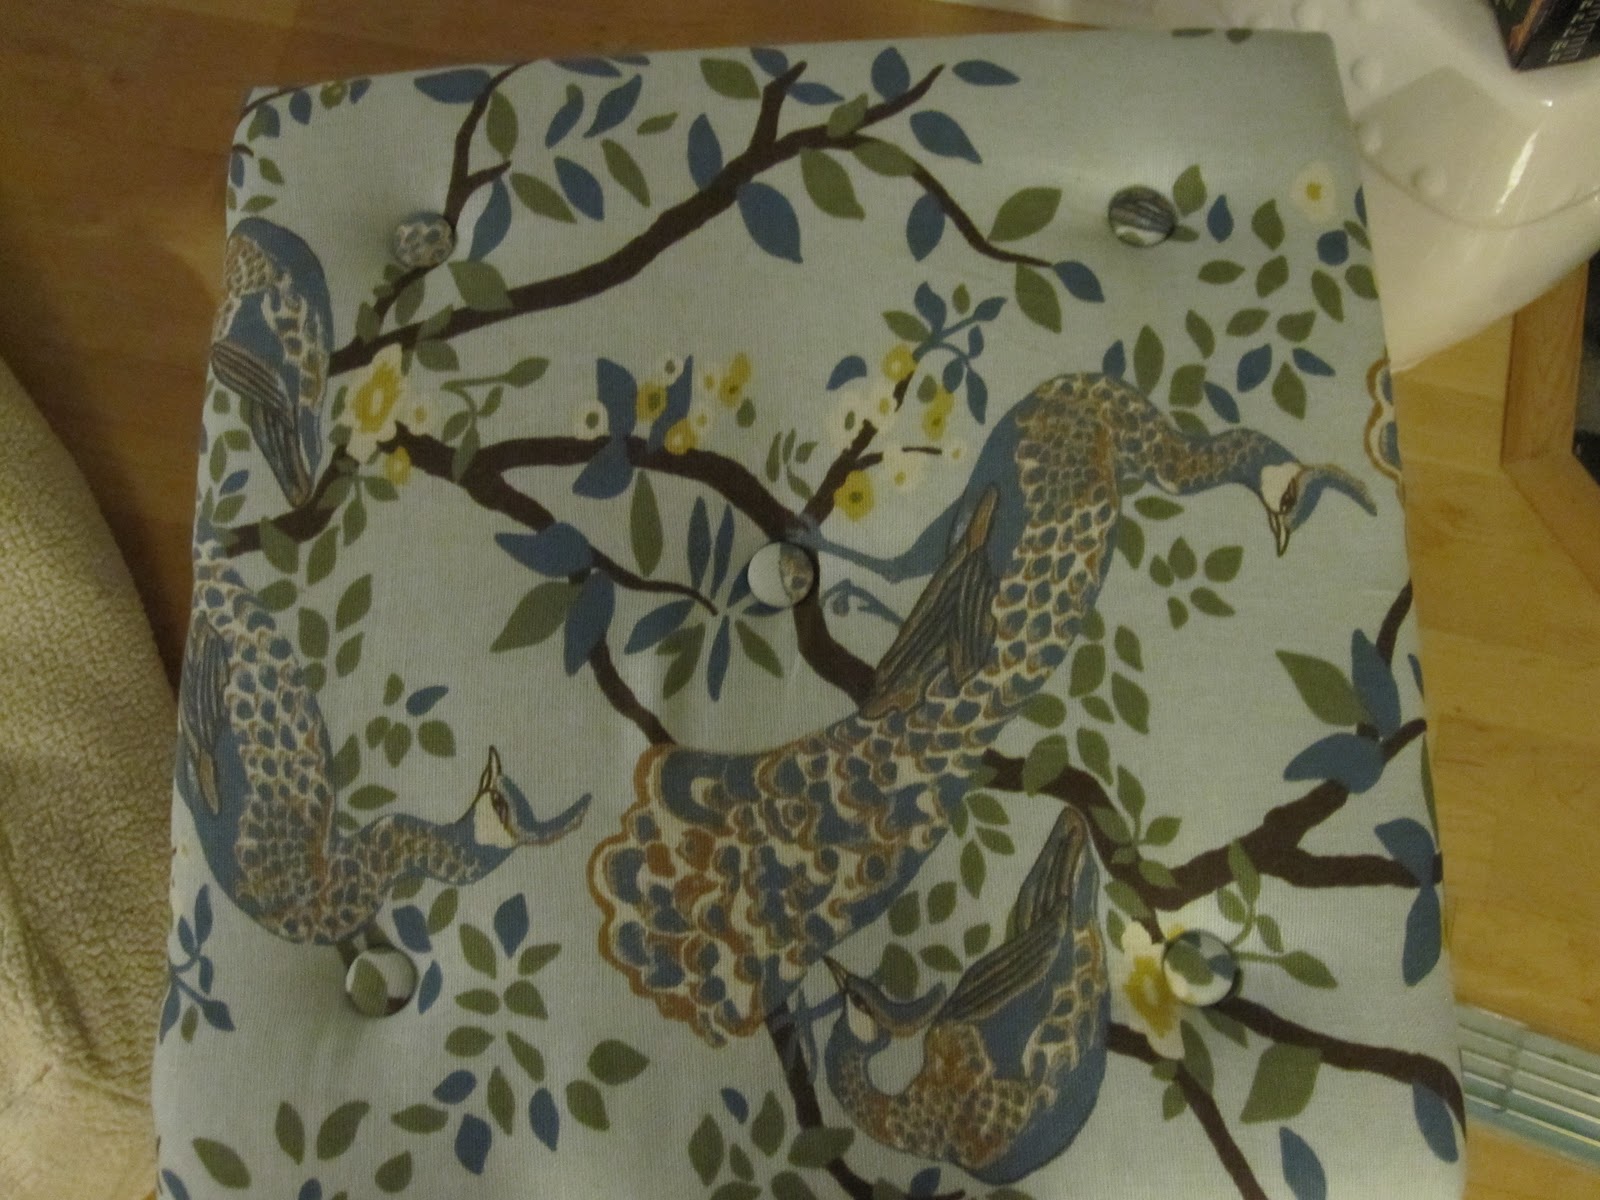
the top of the table, complete with buttons.
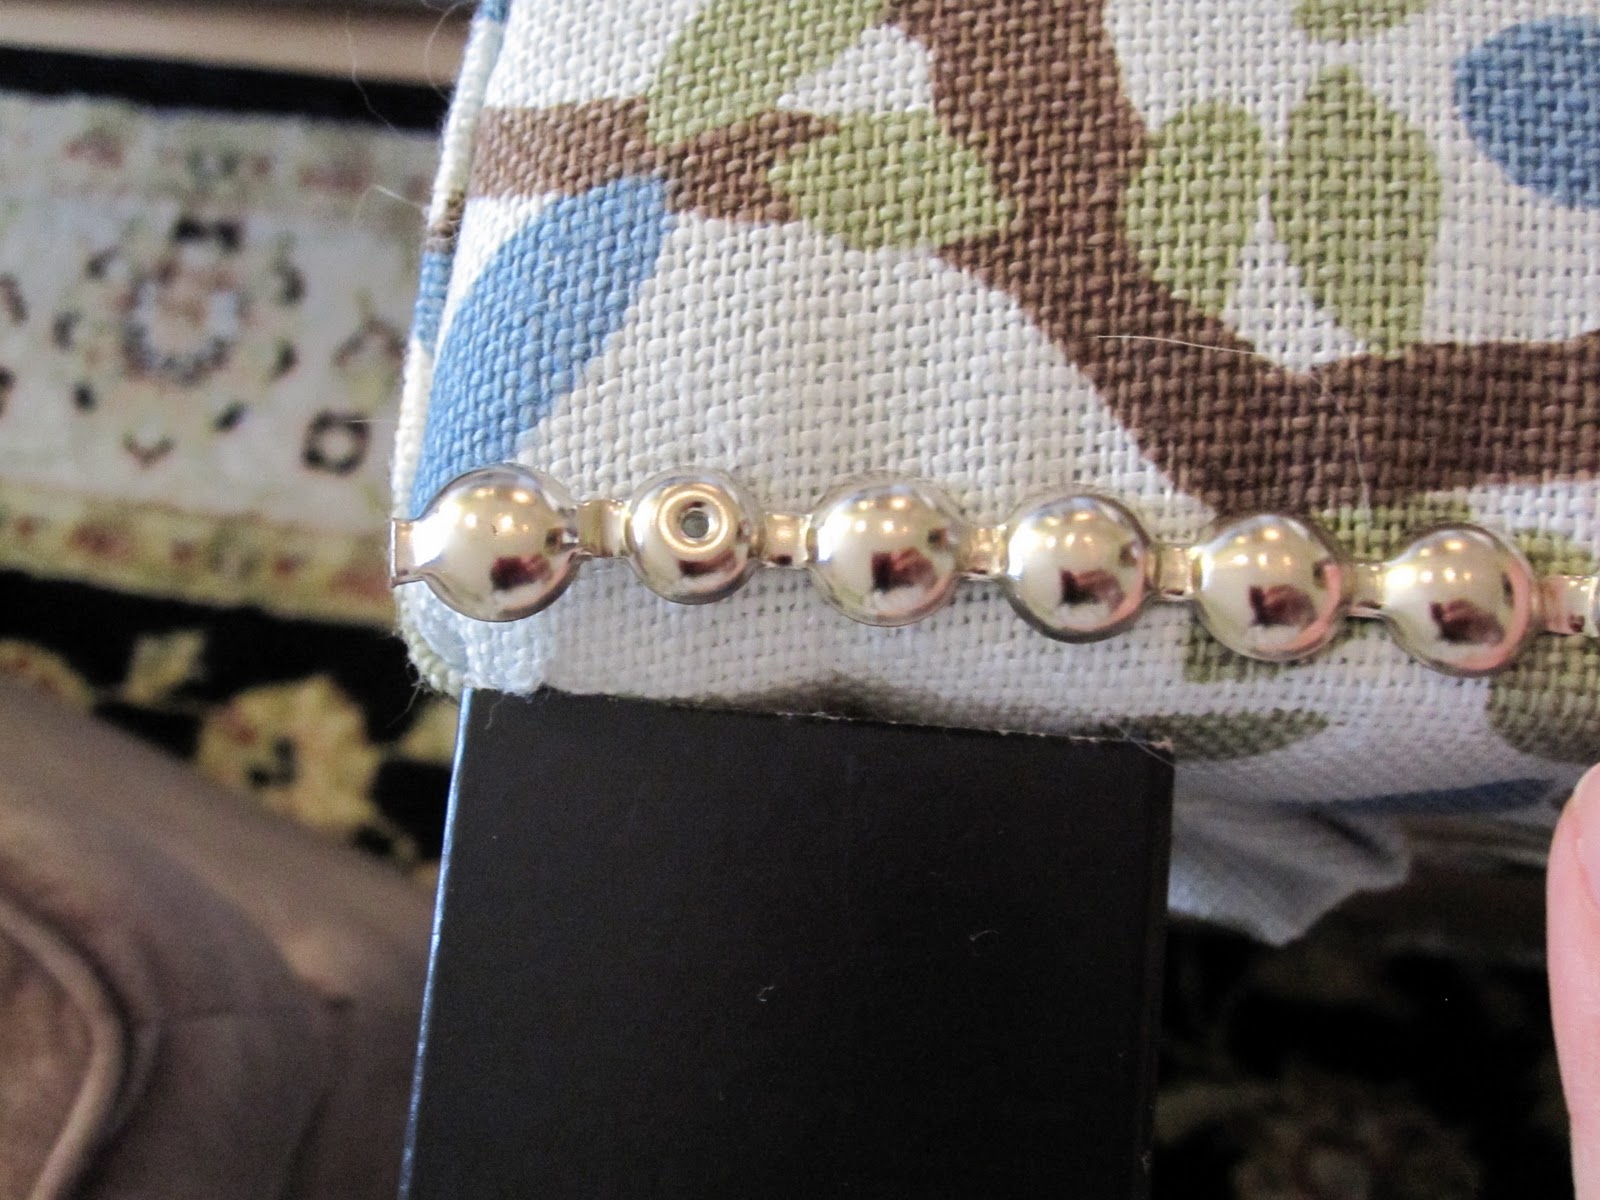
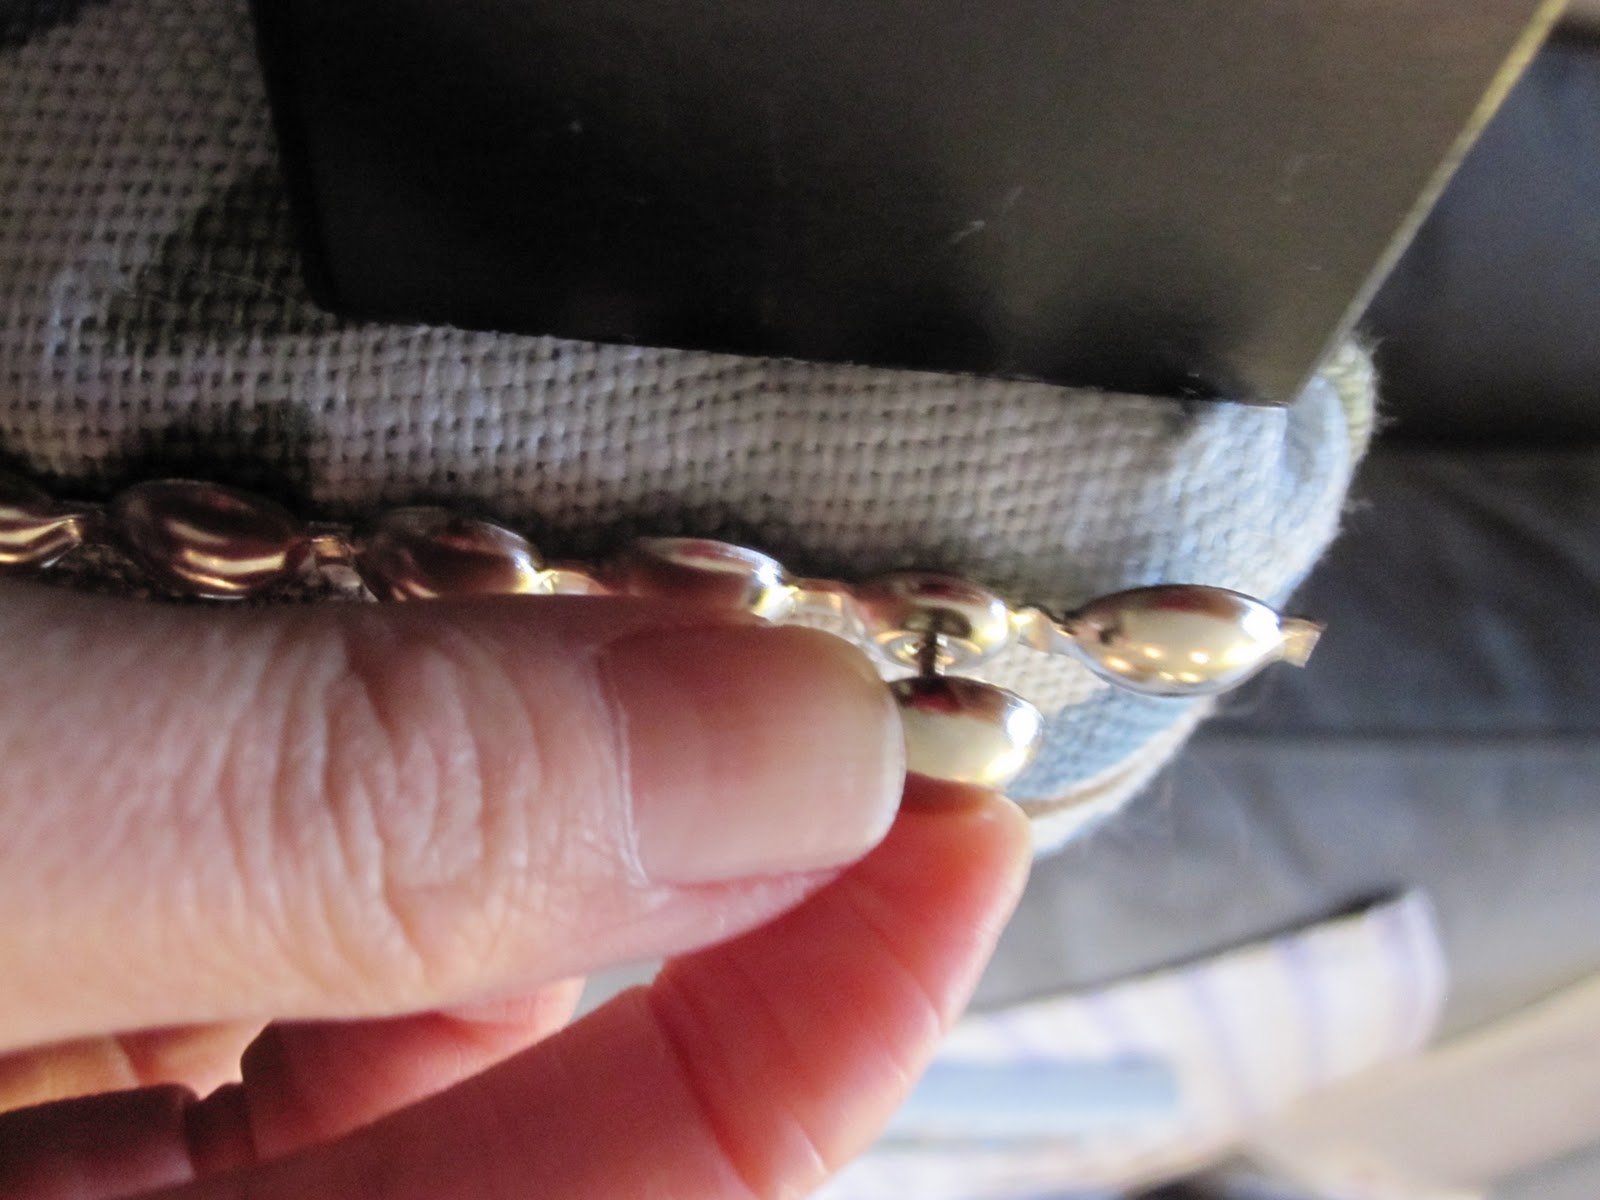
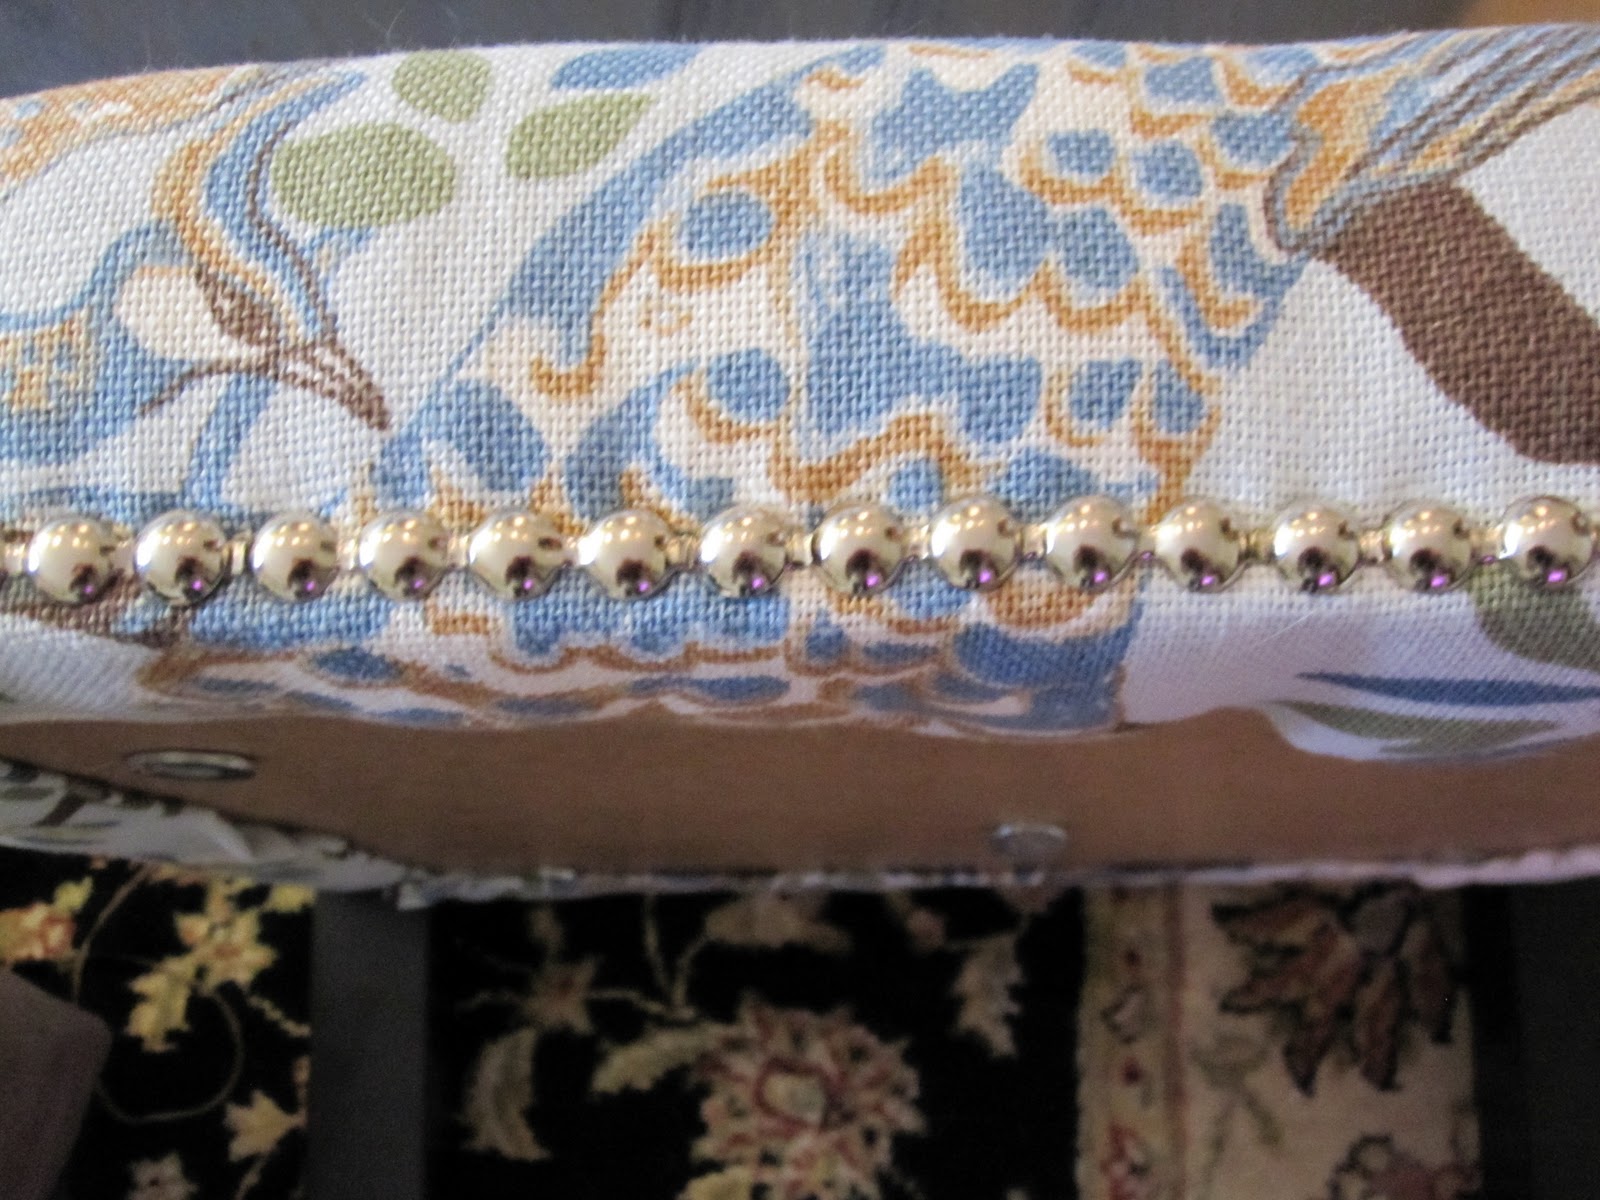
 though the tables were upholstered and the project was complete, the tables didn’t look quite finished to me – no upholstery project is complete without nailhead trim! this process isn’t as daunting as it sounds if you use nailhead trim that is in strips; you just add the nailhead every fifth nail or so. for each side of the table i measured out a row of nailhead trim before i started hammering; coincidentally, the trim lined up perfectly so no nailheads hung over the edge.

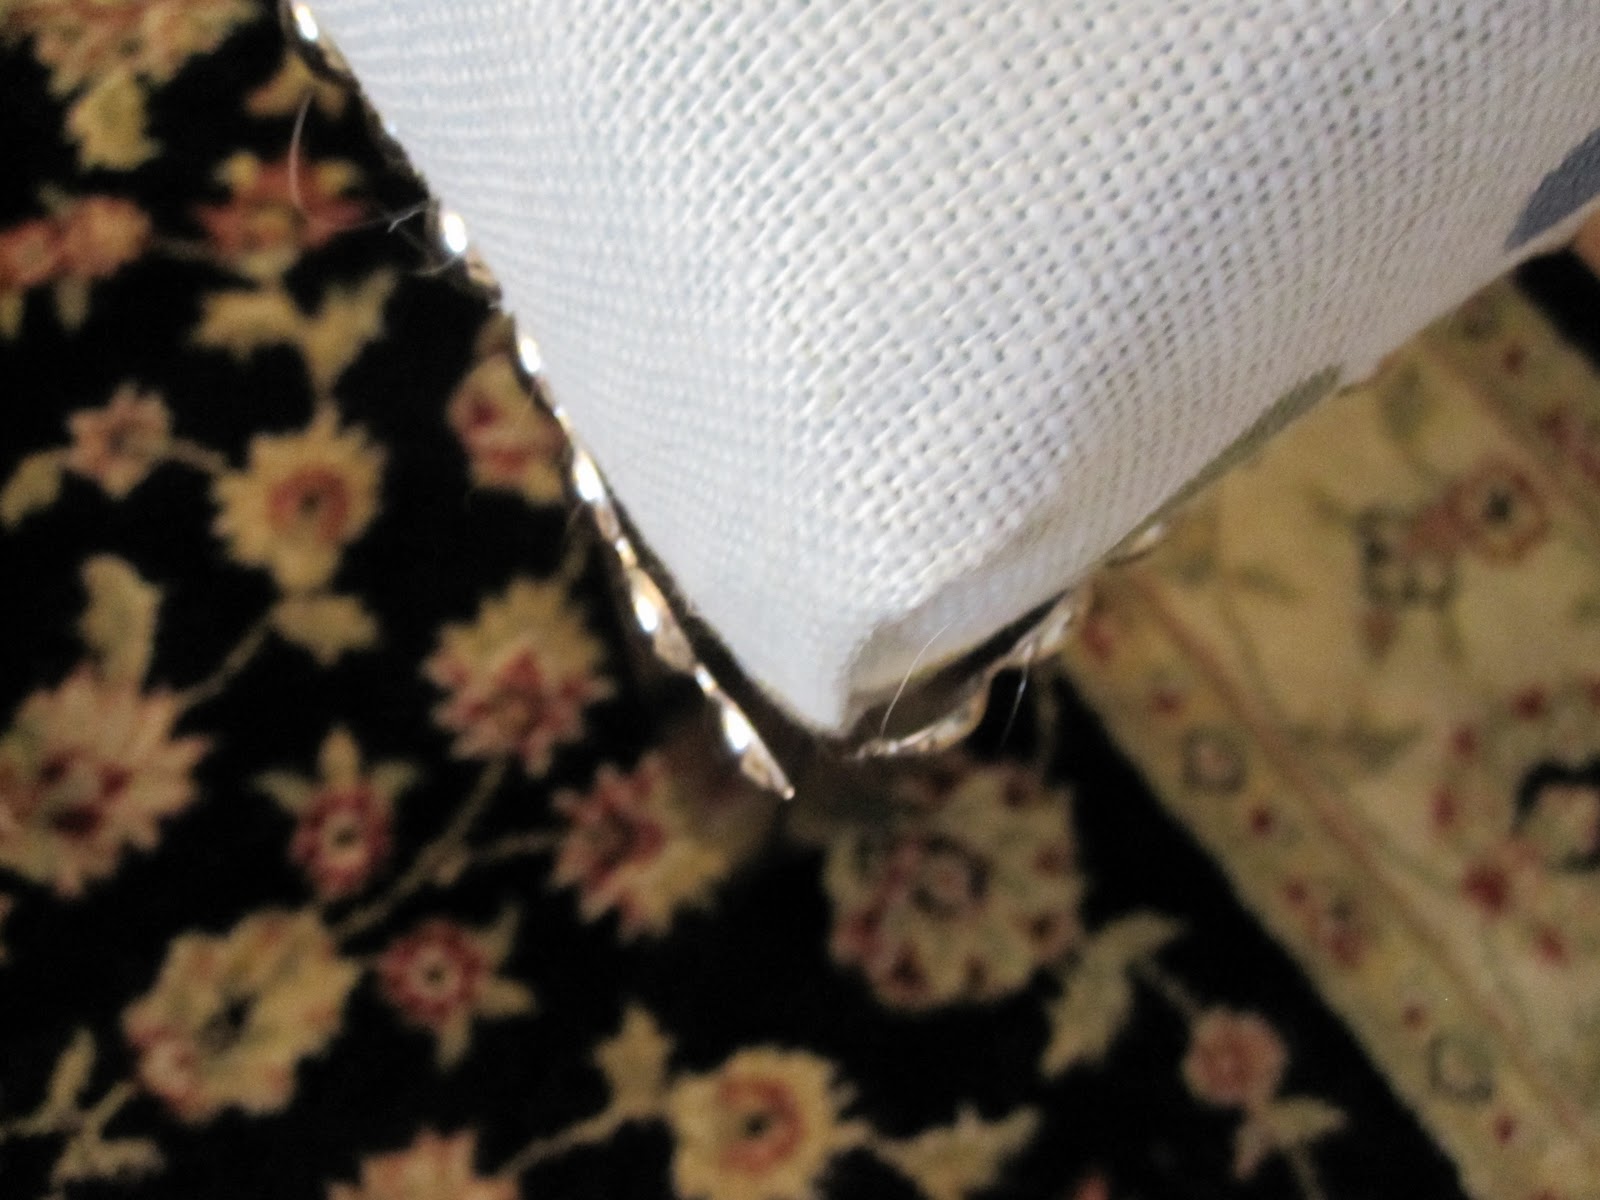
while the trim fit perfectly, most of the trim at the corners was loose because the fifth nailhead didn’t coincide with every corner, darn! i knew this would be an issue because if the corner got caught (i.e., anytime someone walked by it) the nailhead trim would bend, and if you bend it enough, it will break off. but my husband, being the genius that he is, easily fixed this problem: he added a hole to the nailhead at every corner with a nail and then nailed in a nailhead. basically, he just added a nailhead tack on top of each nailhead that was on a corner. this may sound really confusing, but if you look at nailhead trim, i think it makes a lot more sense.
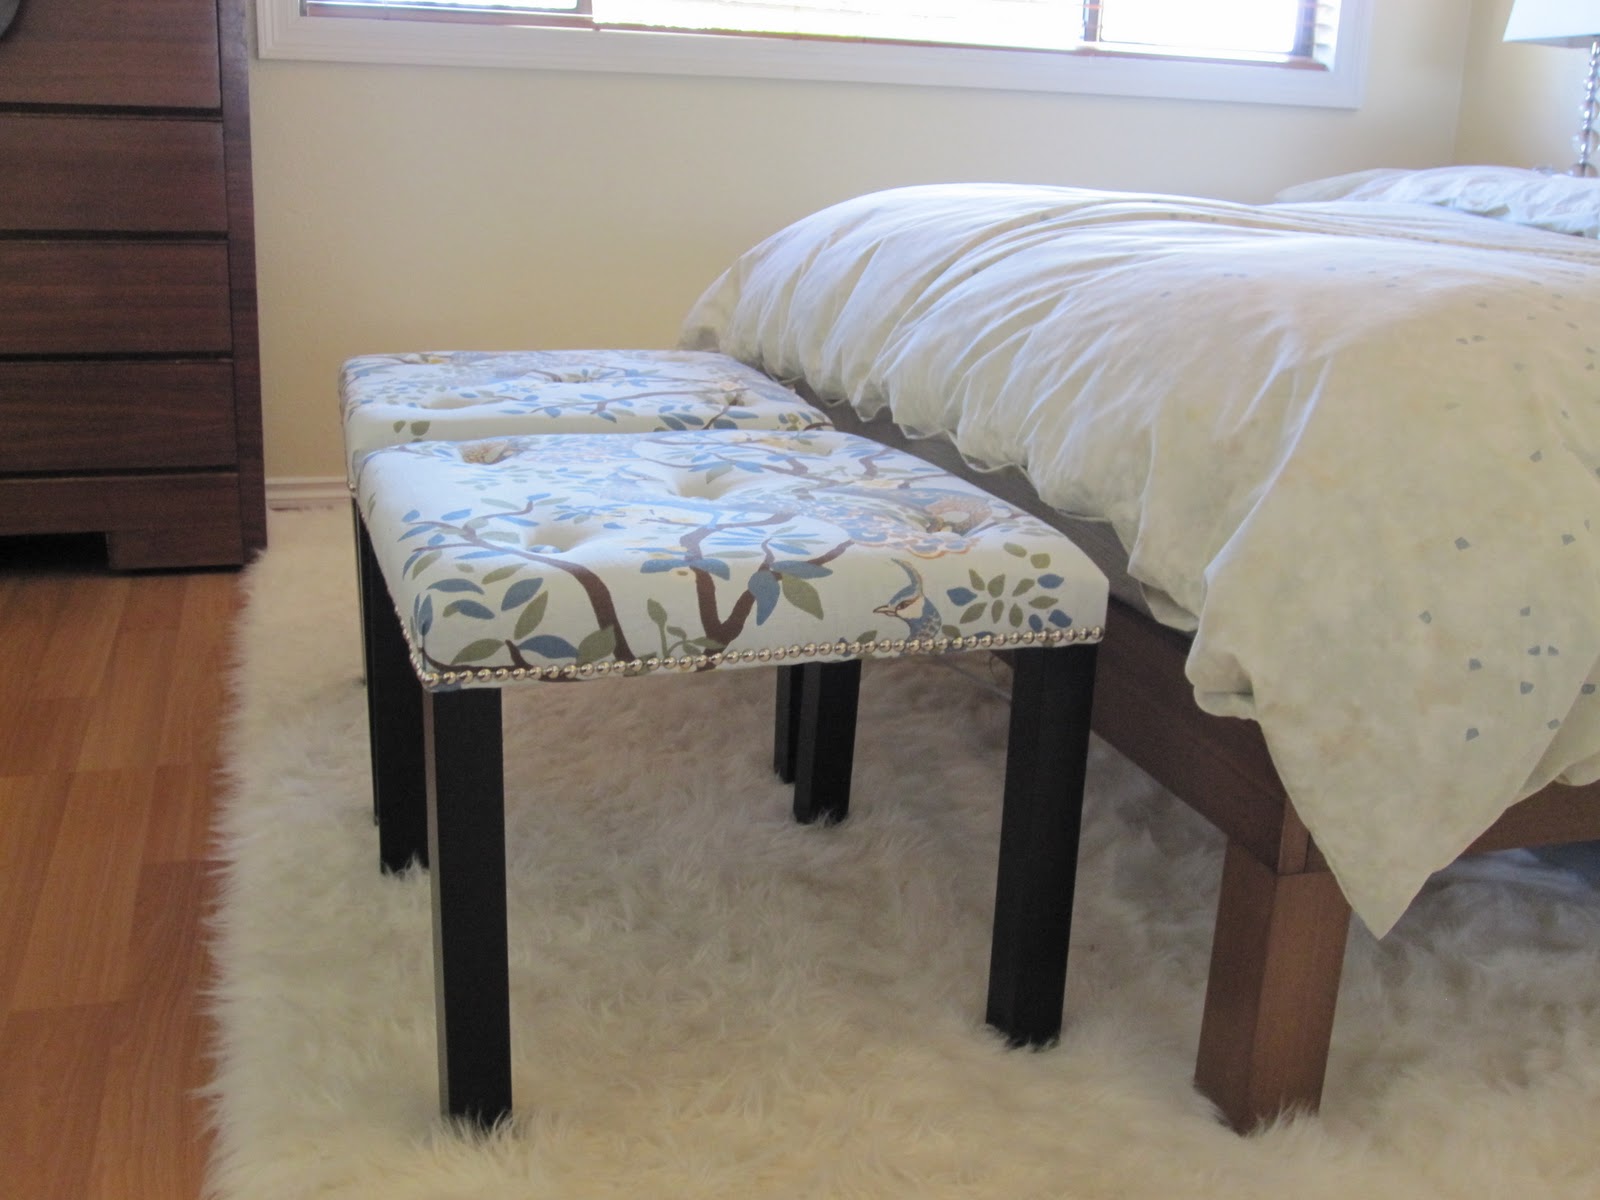
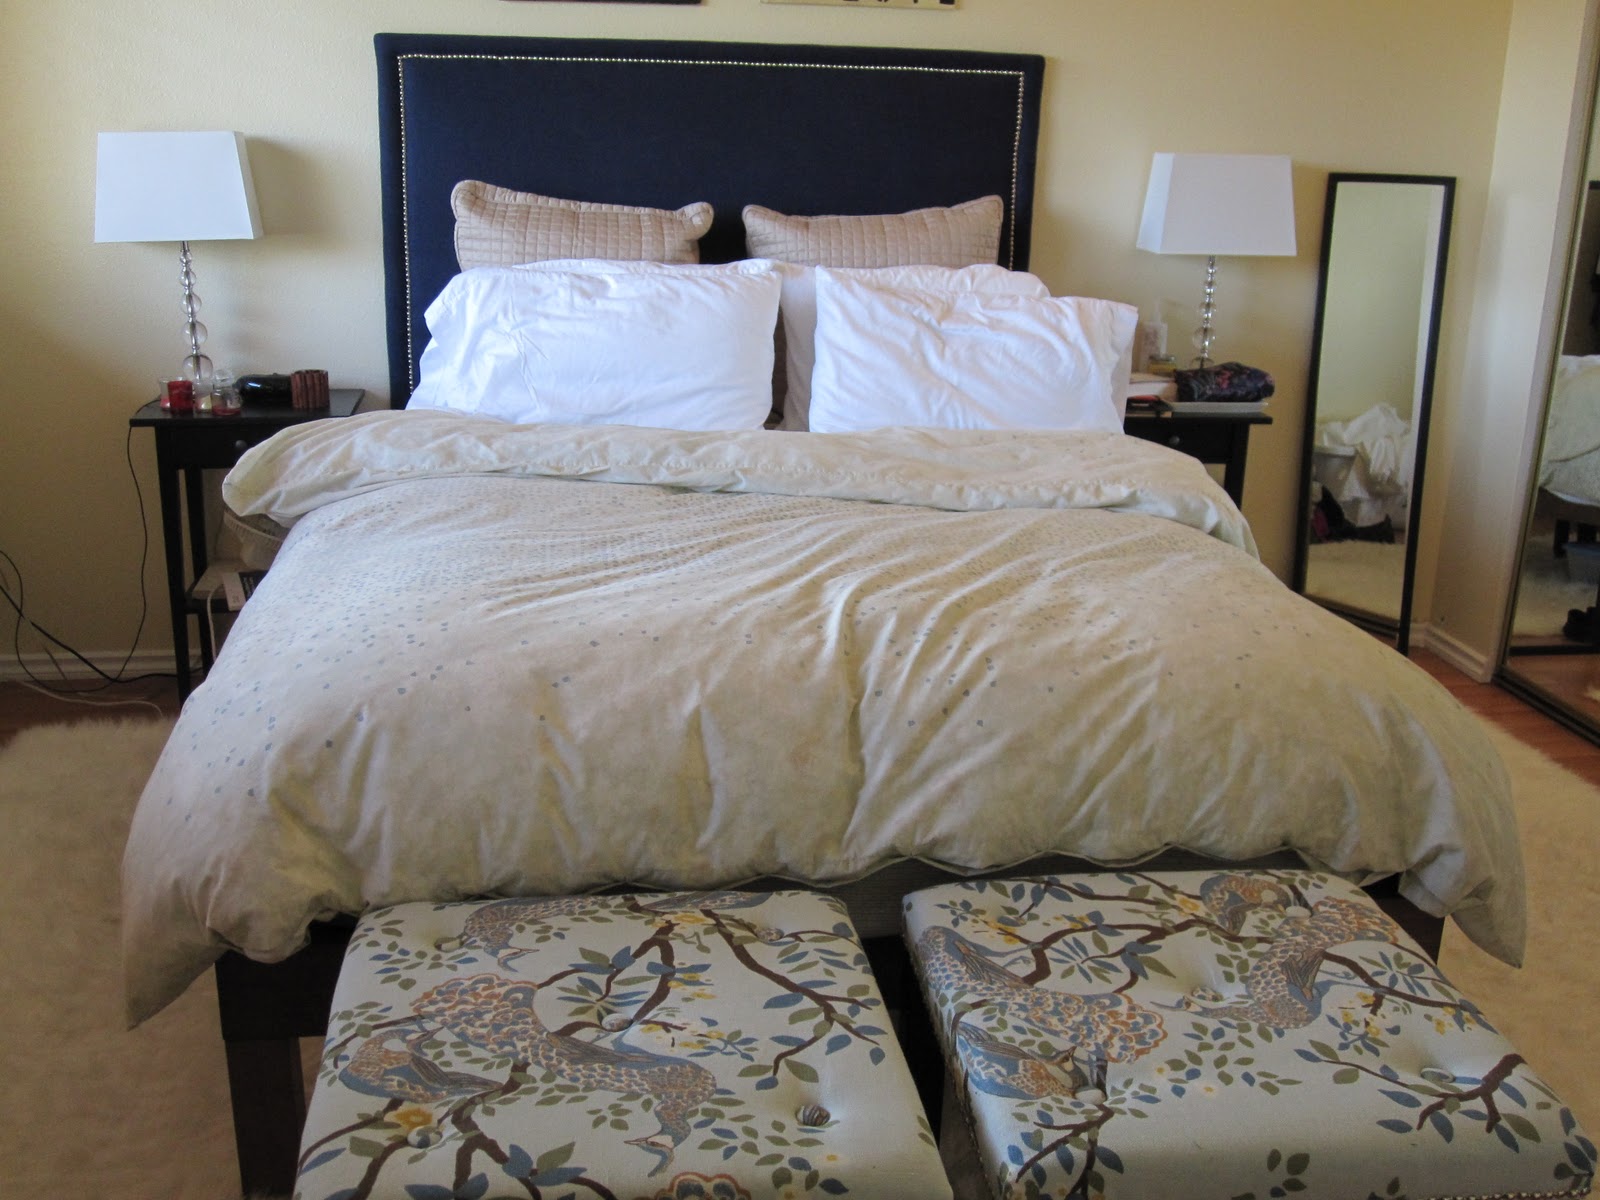
the final result! i may end up painting the legs at some point, but for now, i love these new end-of-the-bed tables.
i hope you enjoyed my lack hack! 
M

diy onesies with applique.

i am a bit of a complete novice when it comes to sewing as i have been sewing less than a year (i got my sewing machine last christmas). though the extent of my sewing projects have been covers for throw pillows, i decided that i would make a baby present for our new little cousin kenley. 

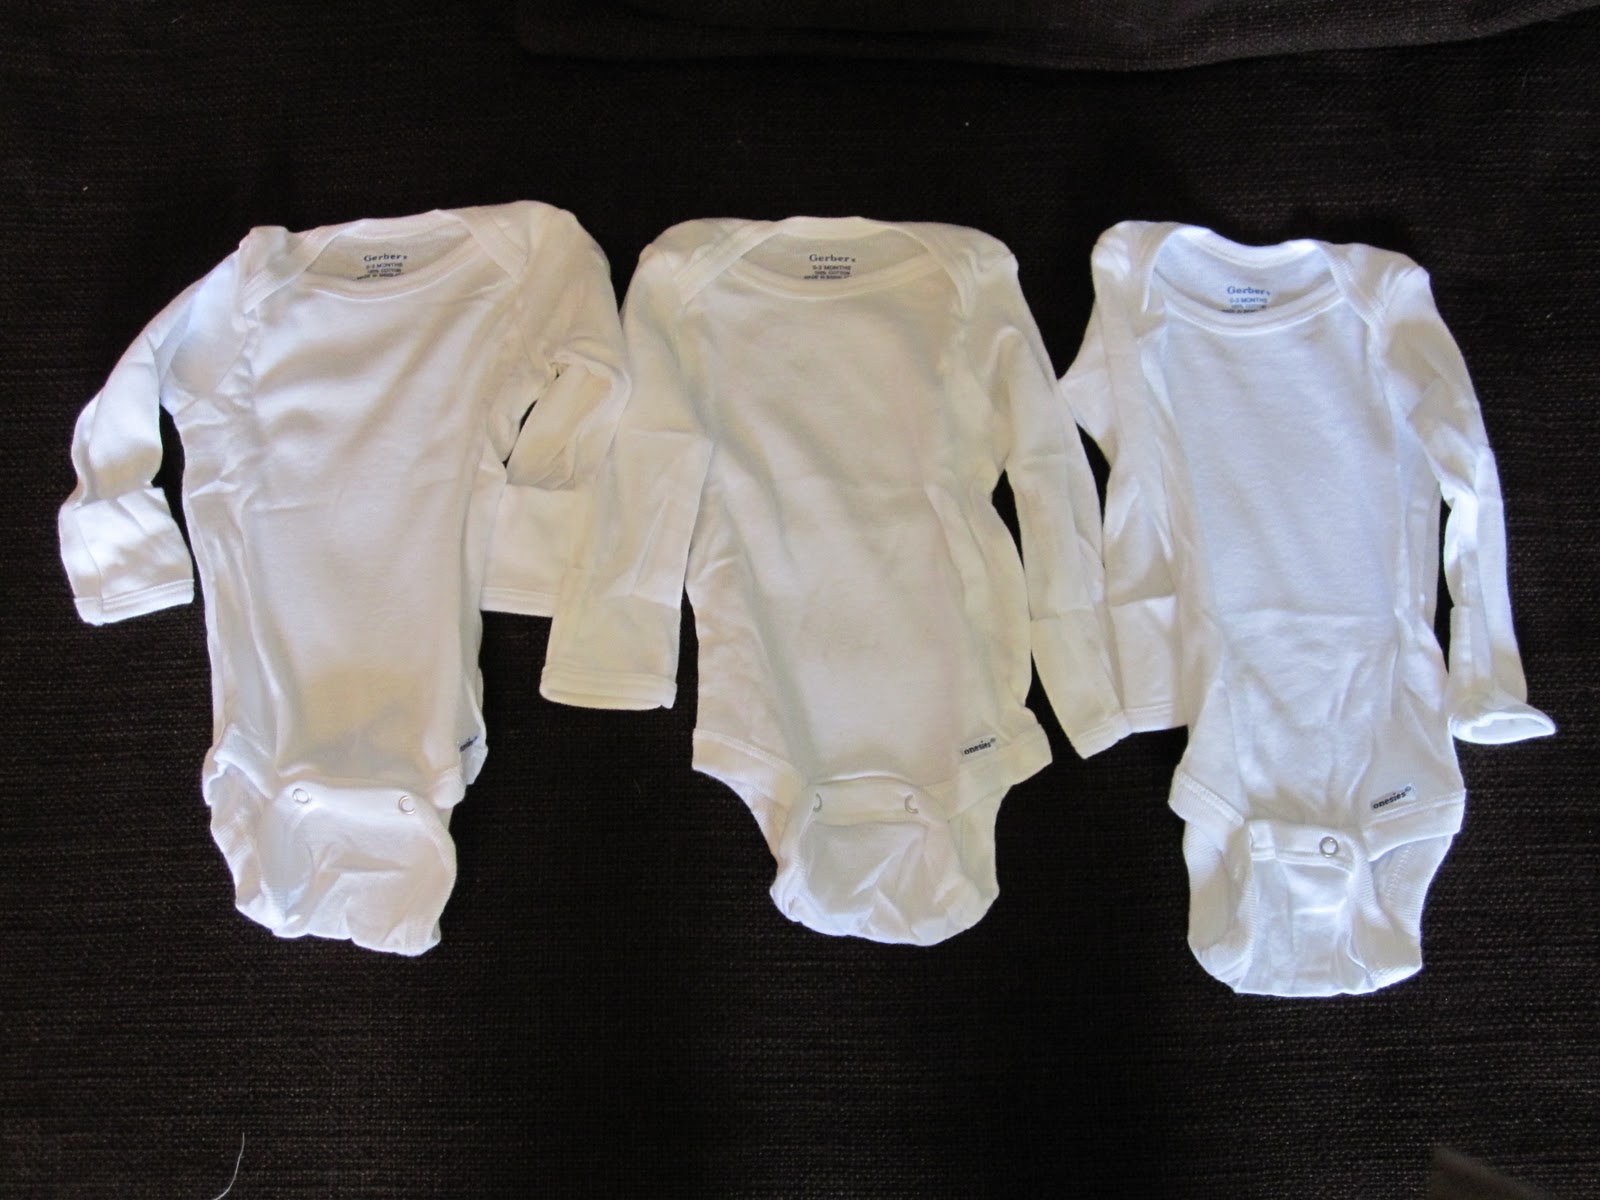
these were the onesies right out of the package. i got size 0-3 months so that kenley can actually wear them before she grows out of them! 
flower onesie
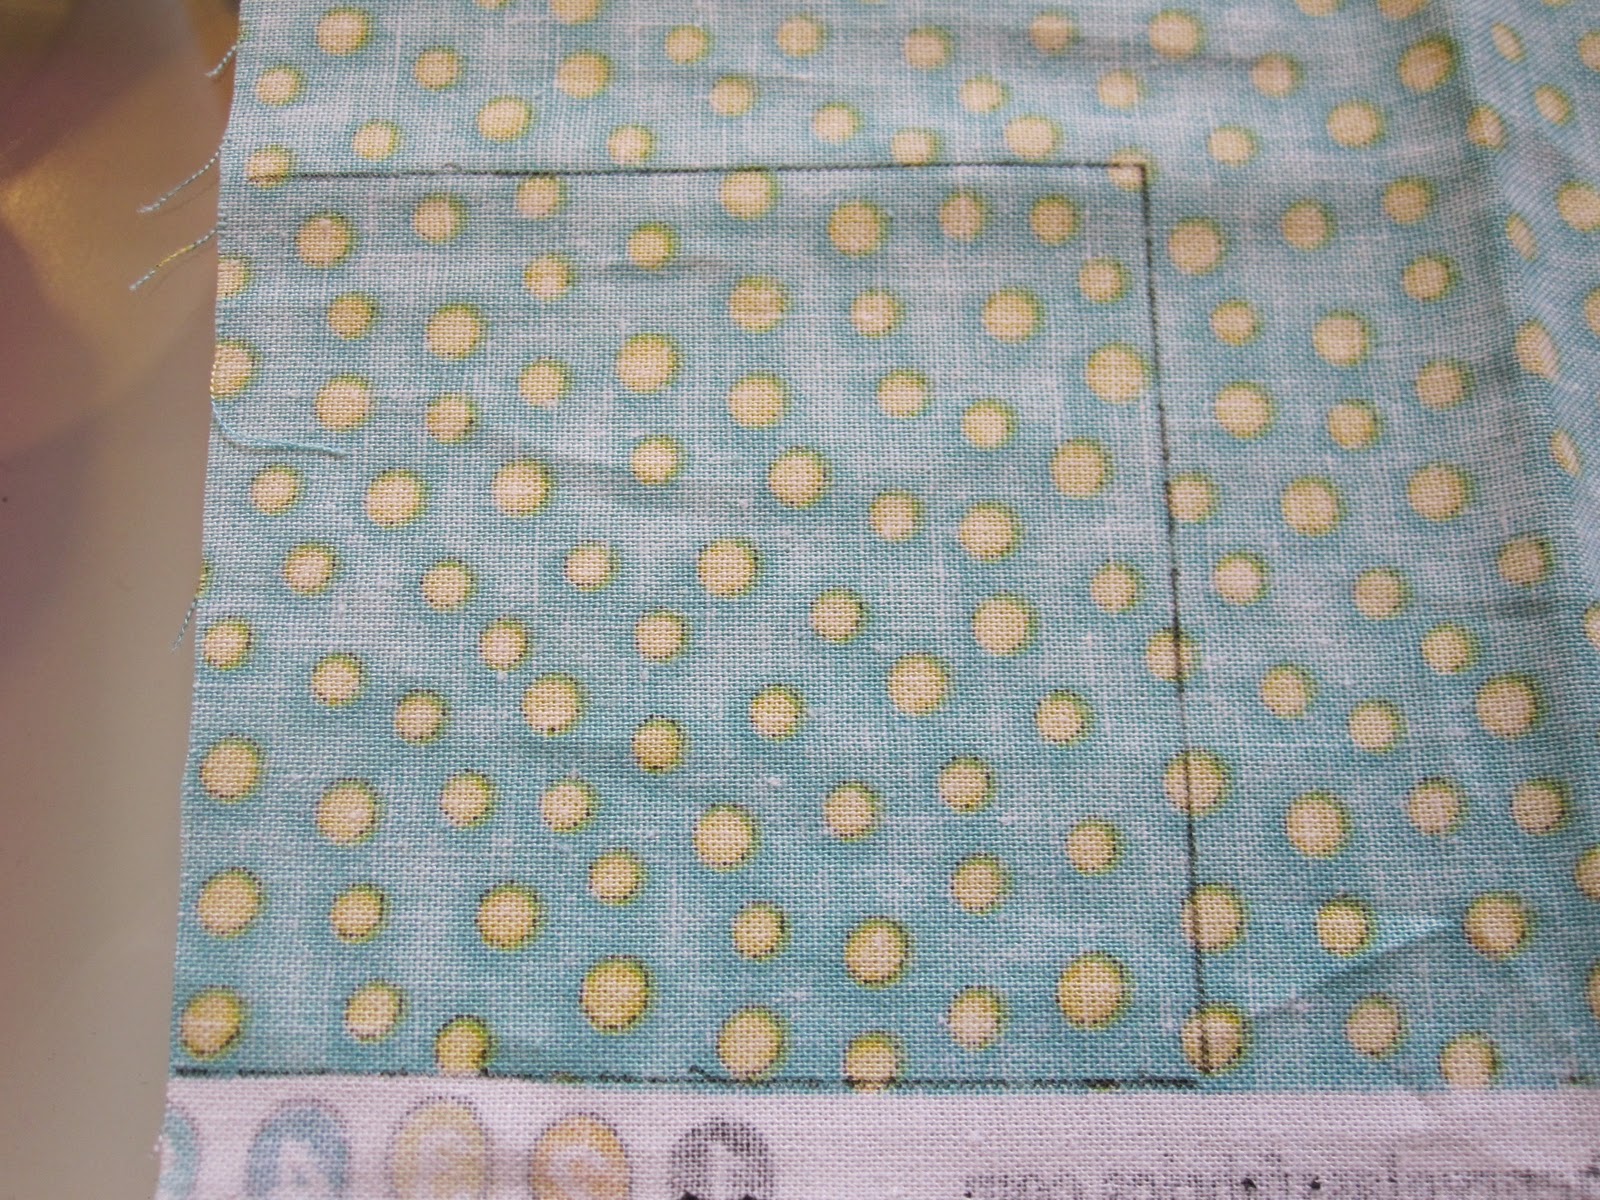
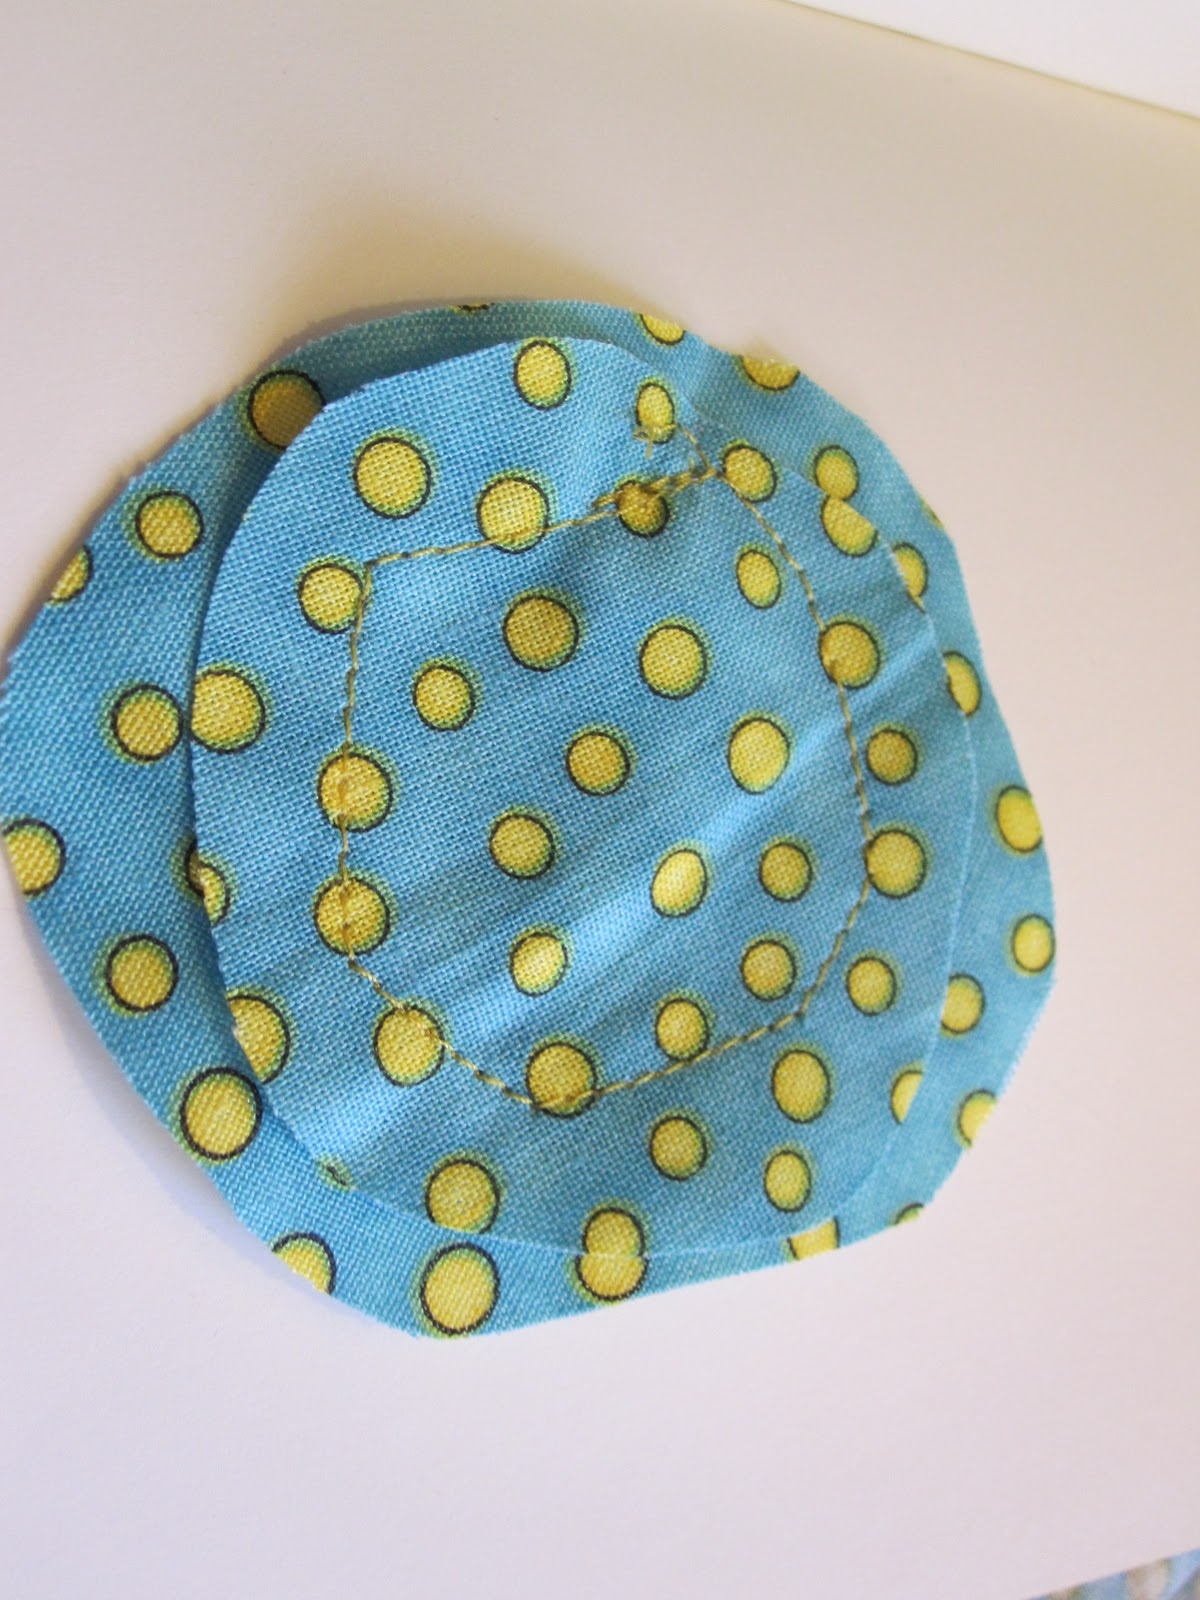
first, i measured and cut out a 2.5 inch square, a 2 inch square, and a 1.5 inch square of fabric. then i cut out circles from each of the fabric squares. i didn’t want perfect circles so the wonky sides were perfect. 

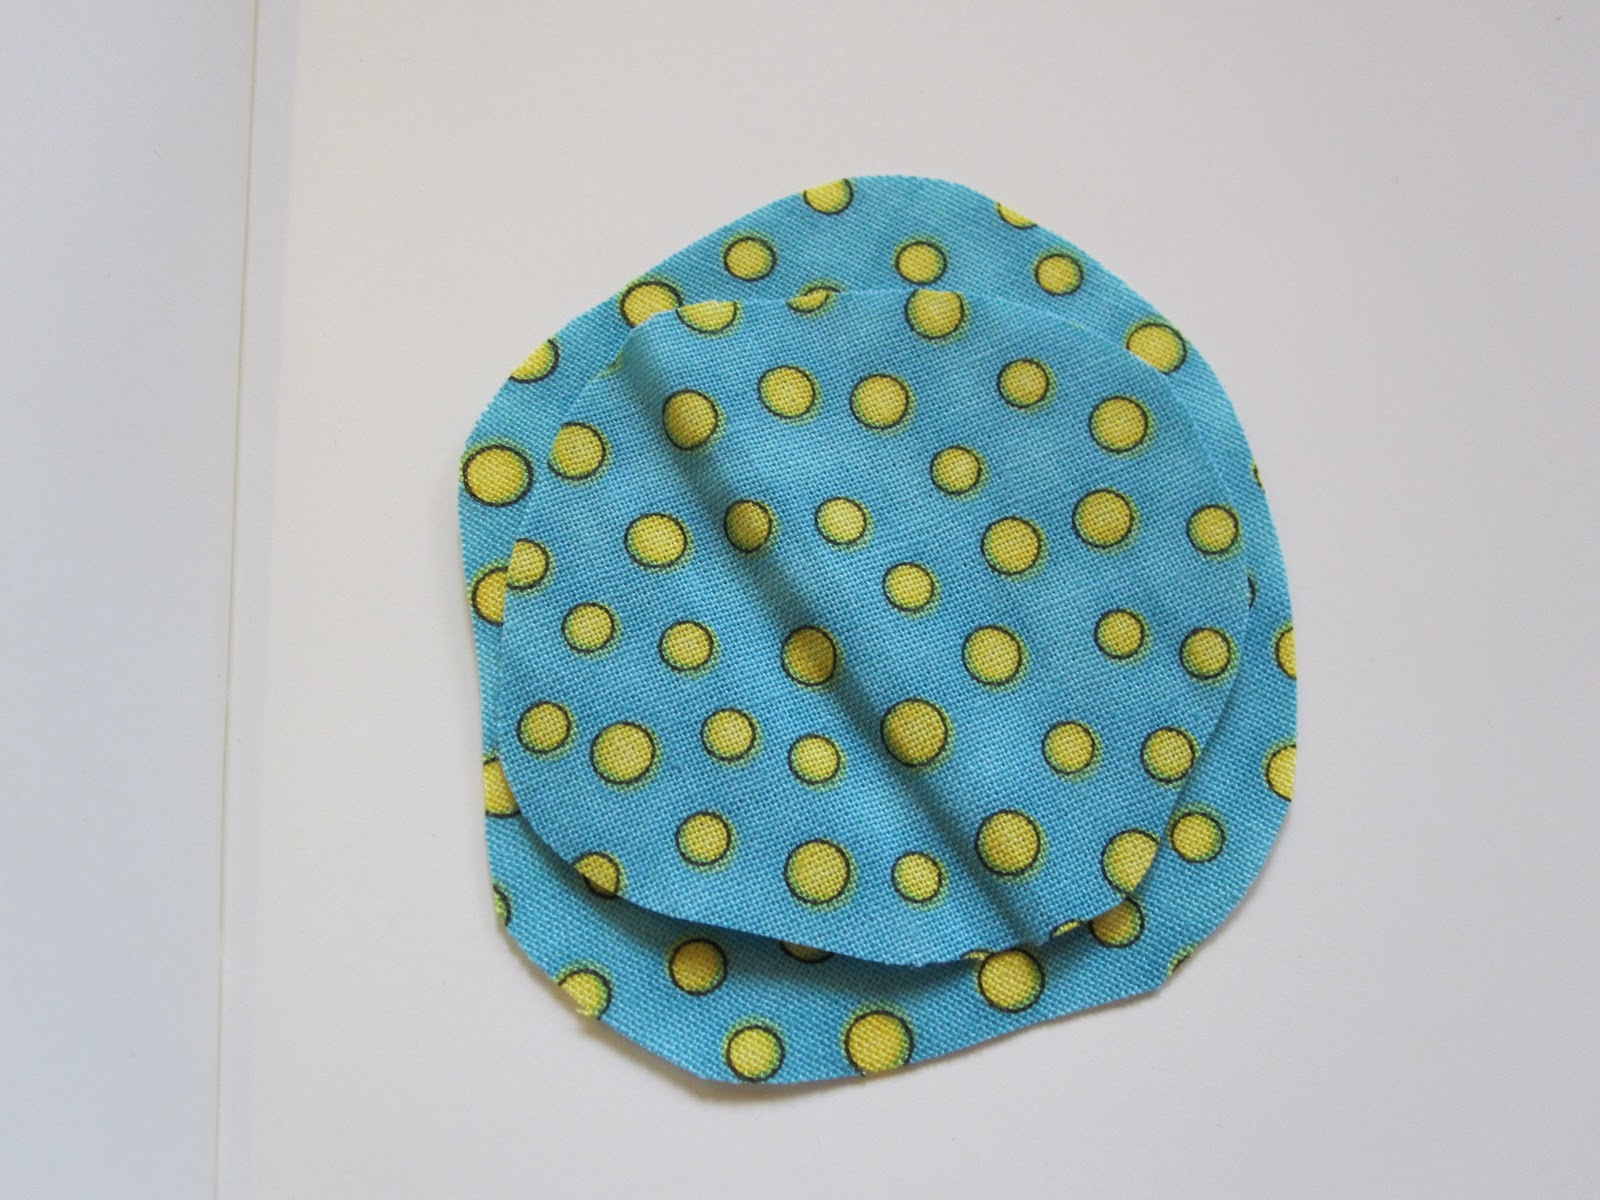
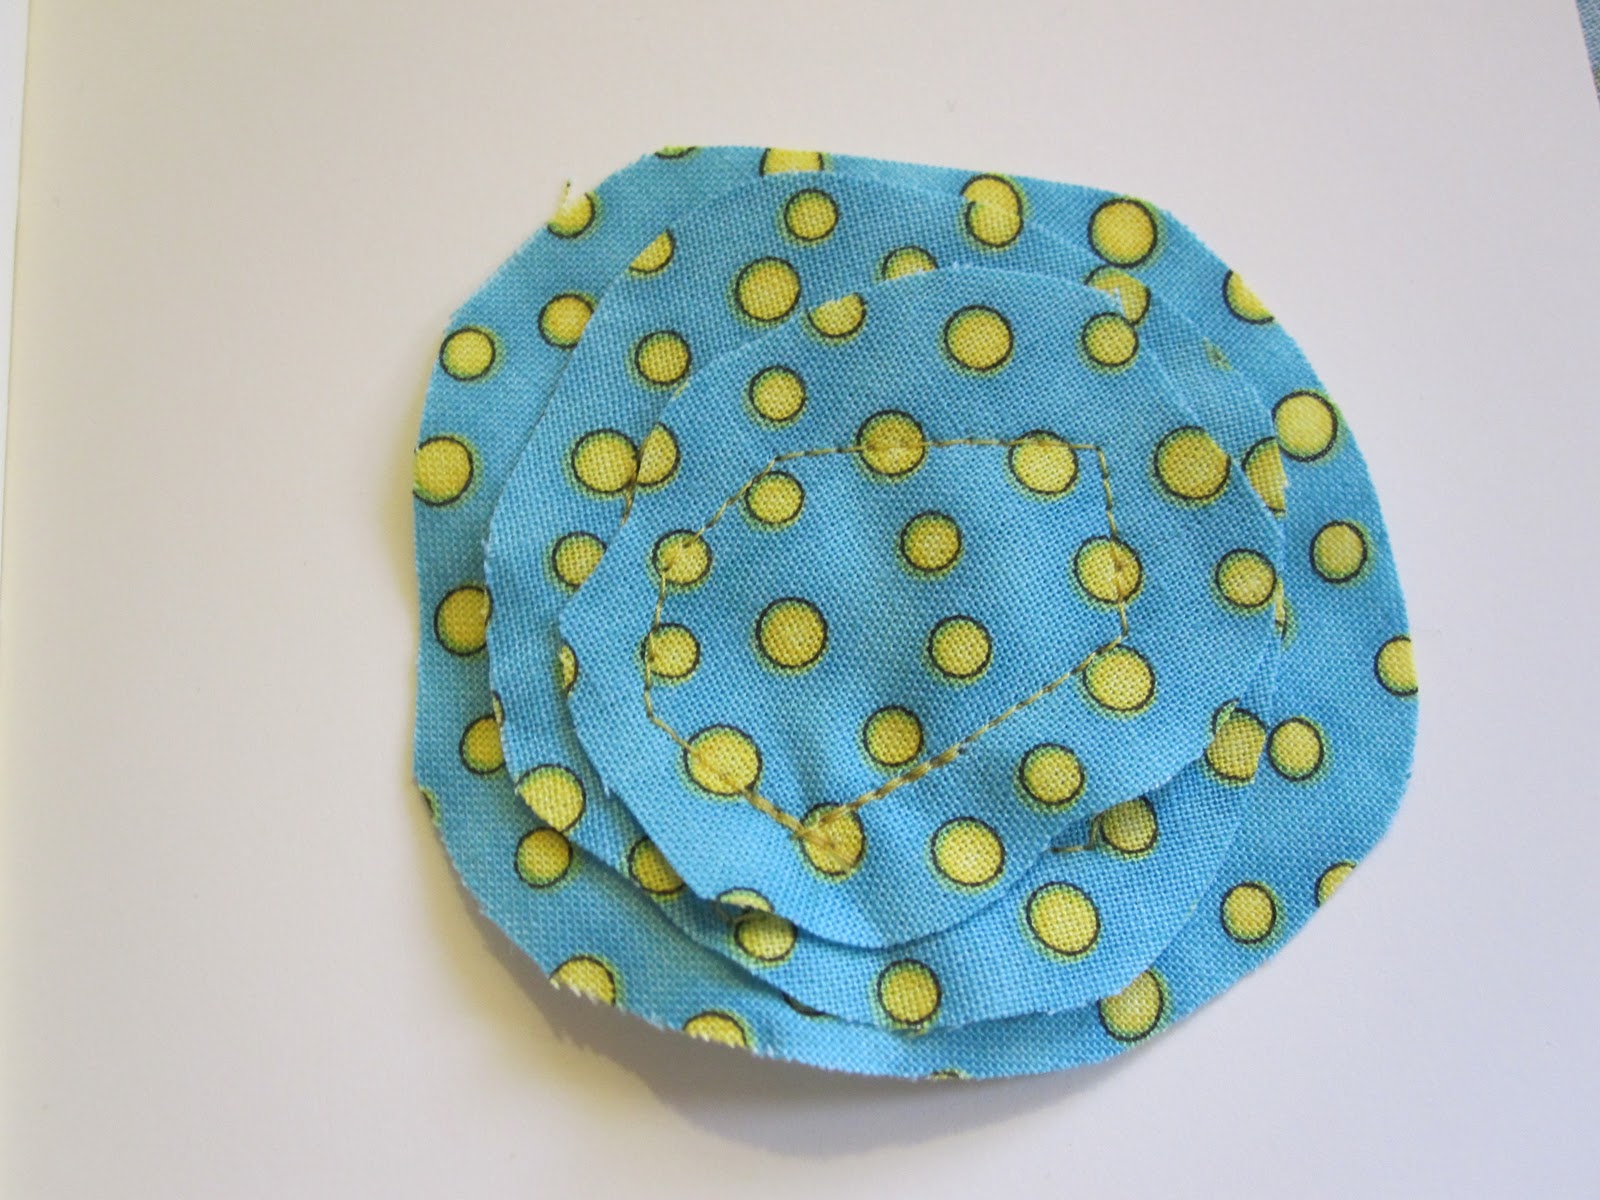
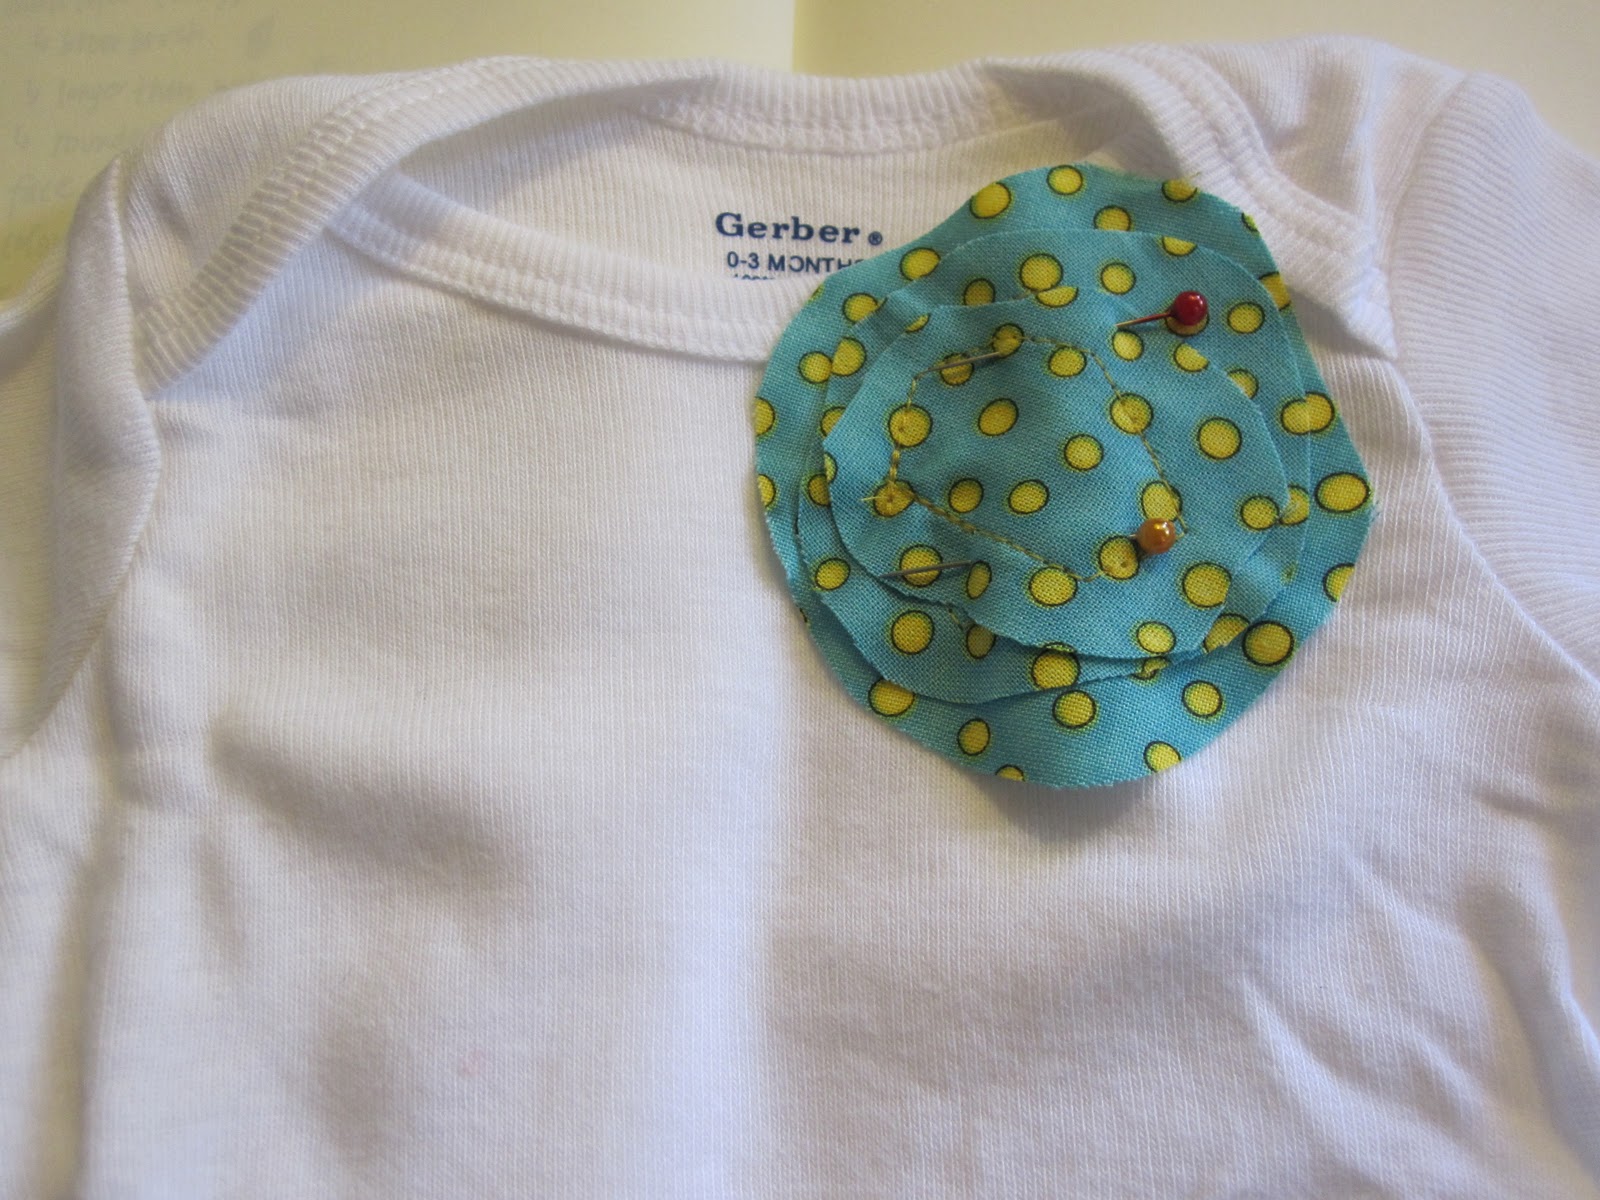
then, i layered the three cut circles, largest on the bottom. i “tested” the flower size by laying it on the onesie before i started sewing in case i needed to cut down the circles. i wanted the flower to be big, but not so big that it took over the onesie completely!

 next, i sewed the circles together. i decided to sew just one stitched circle in the center of the smallest circle. again, i didn’t want it to be a perfectly sewn circle. (this was perfect actually because i would still be working on this project if i was required to sew a perfect circle!)

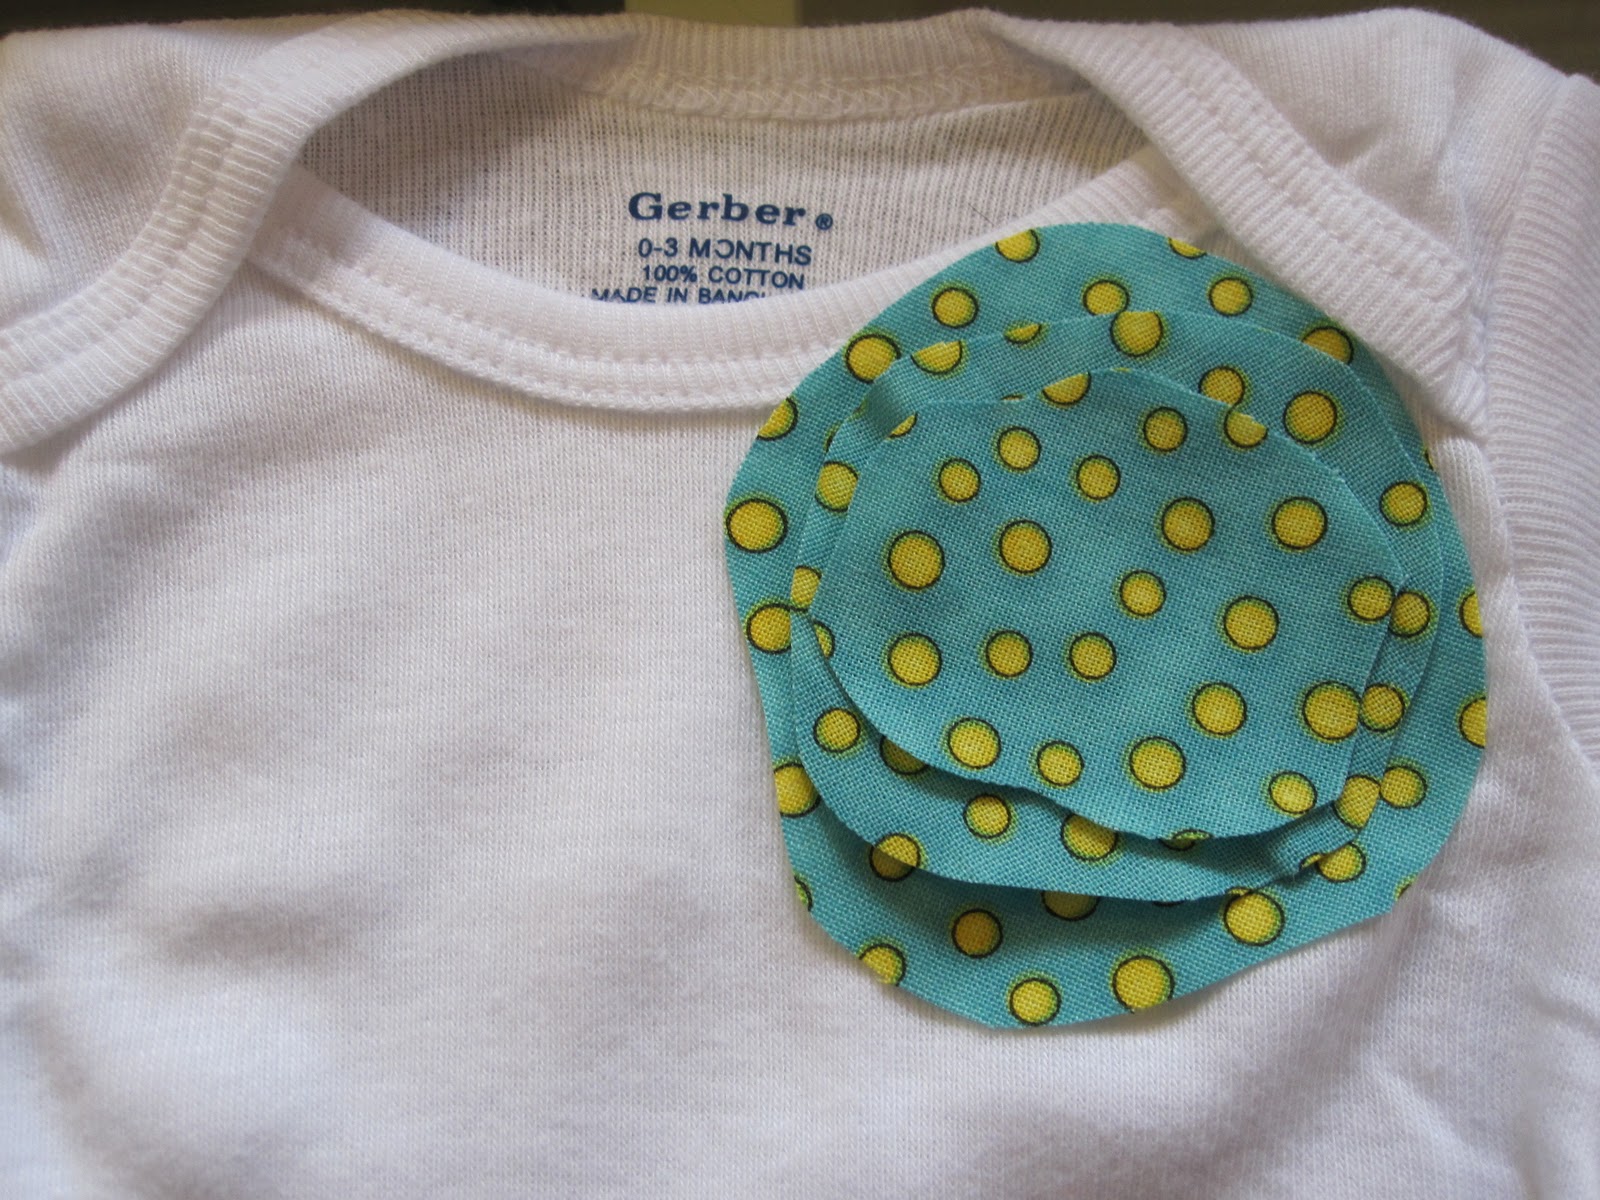
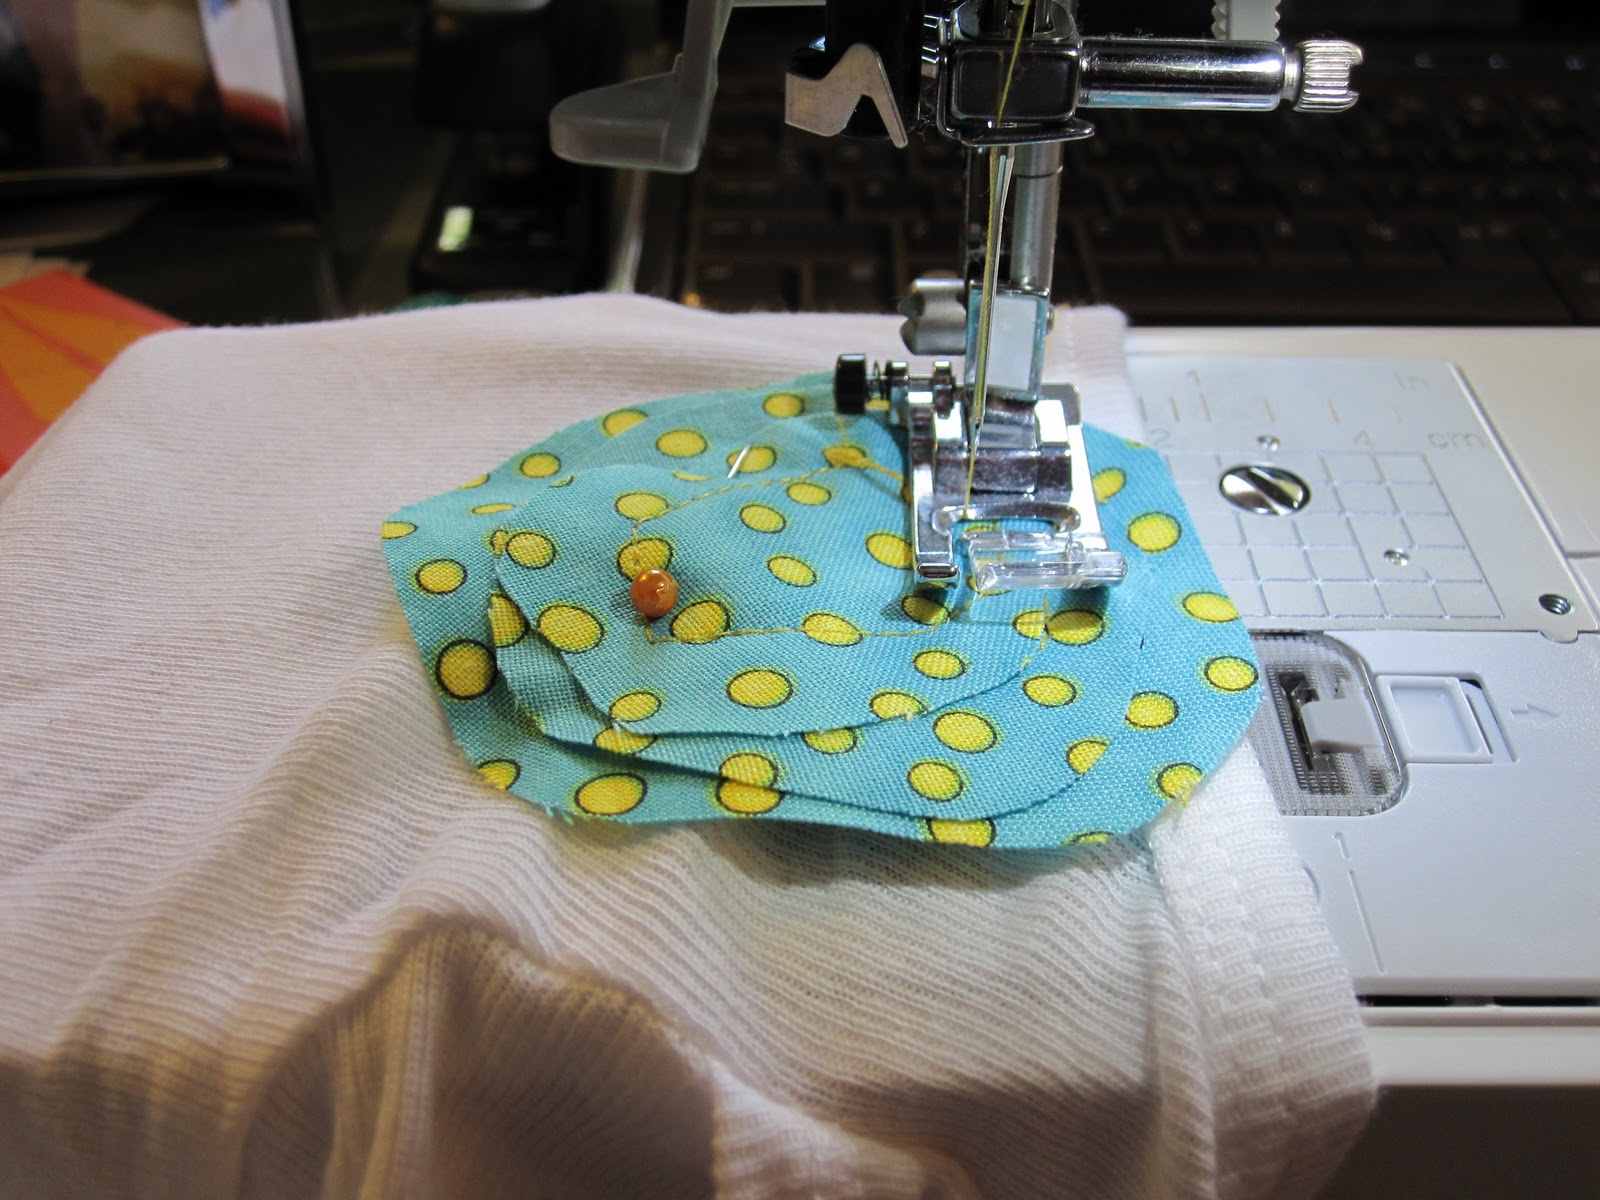
then, i sewed the flower onto the onesie. this was a little tricky as i had only the neck and the bottom of the onesie to put thru my machine, so there was a bit of stretching of the fabric and tricky maneuvering. i basically sewed the same stitched circle as when i originally sewed the three circles together: i would make a short stitch (.5 to .75 inch) and then raise the foot, turn the fabric, and sew another short stitch. 

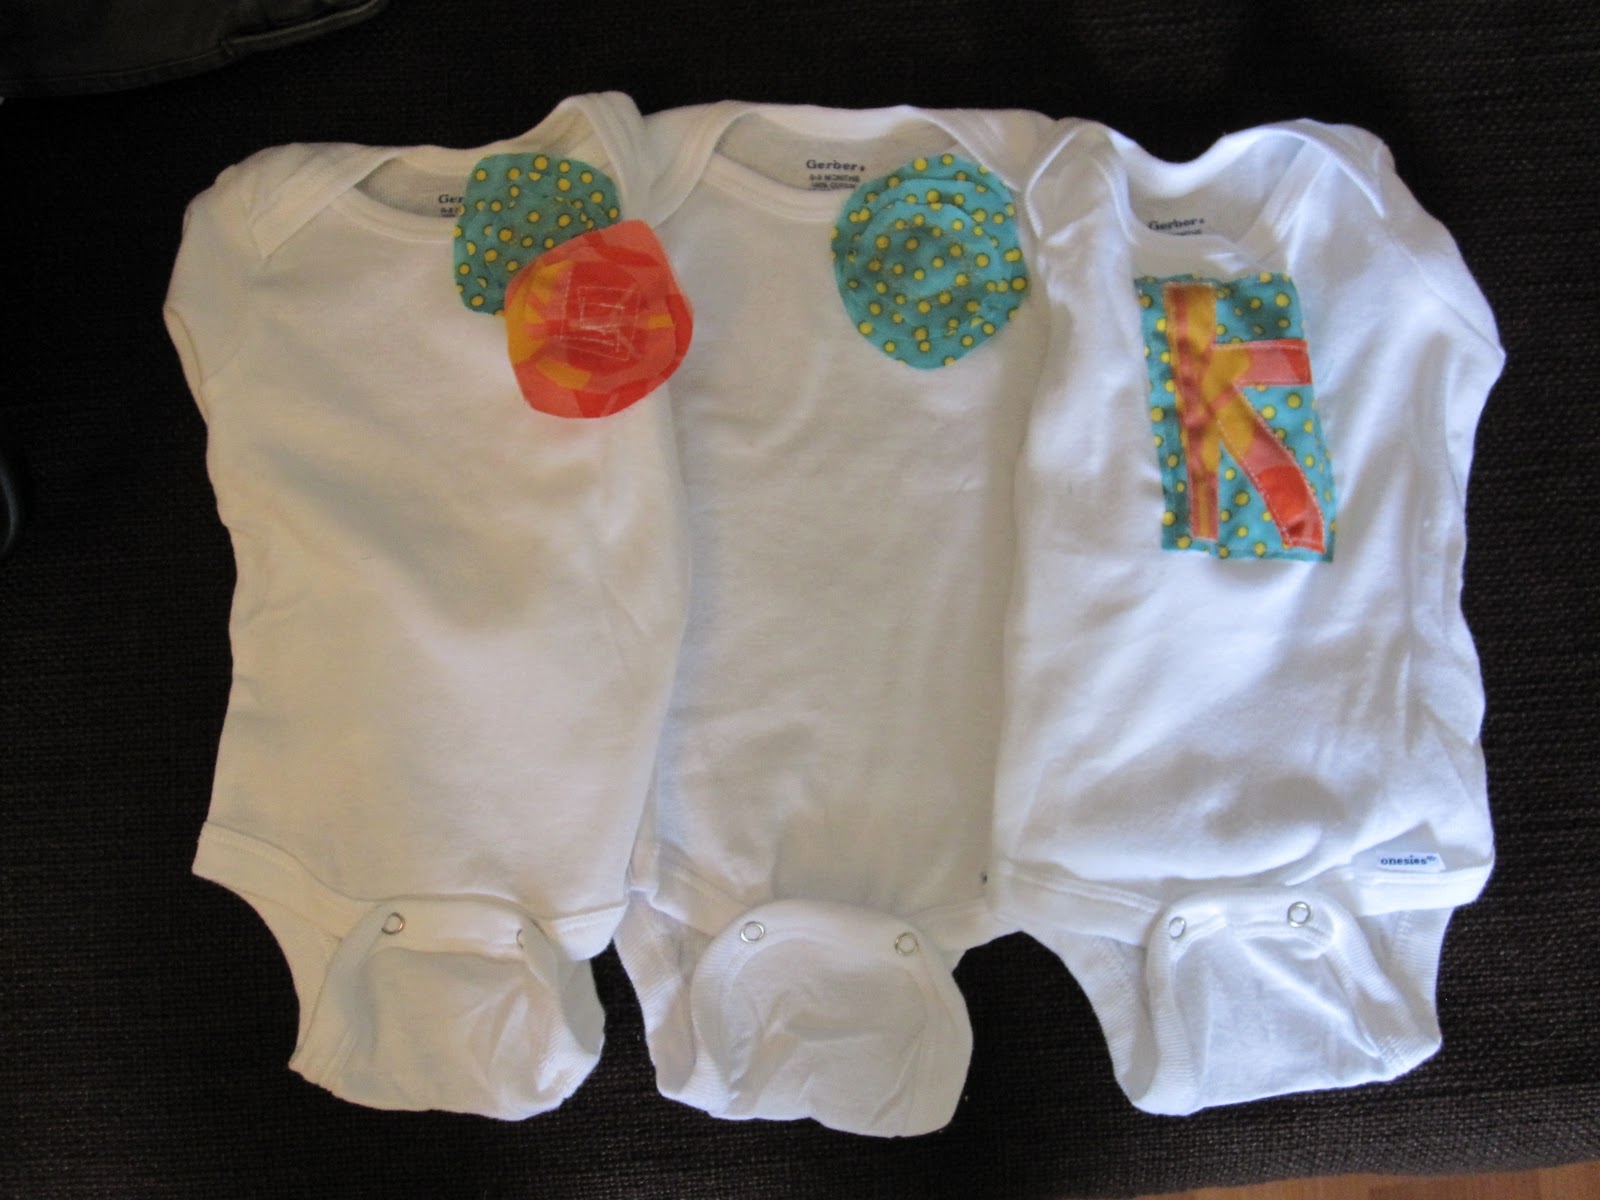
 for the first onesie i made, i just put one larger flower on. for the second onesie, i put two flowers on that were a bit smaller.
monogram onesie
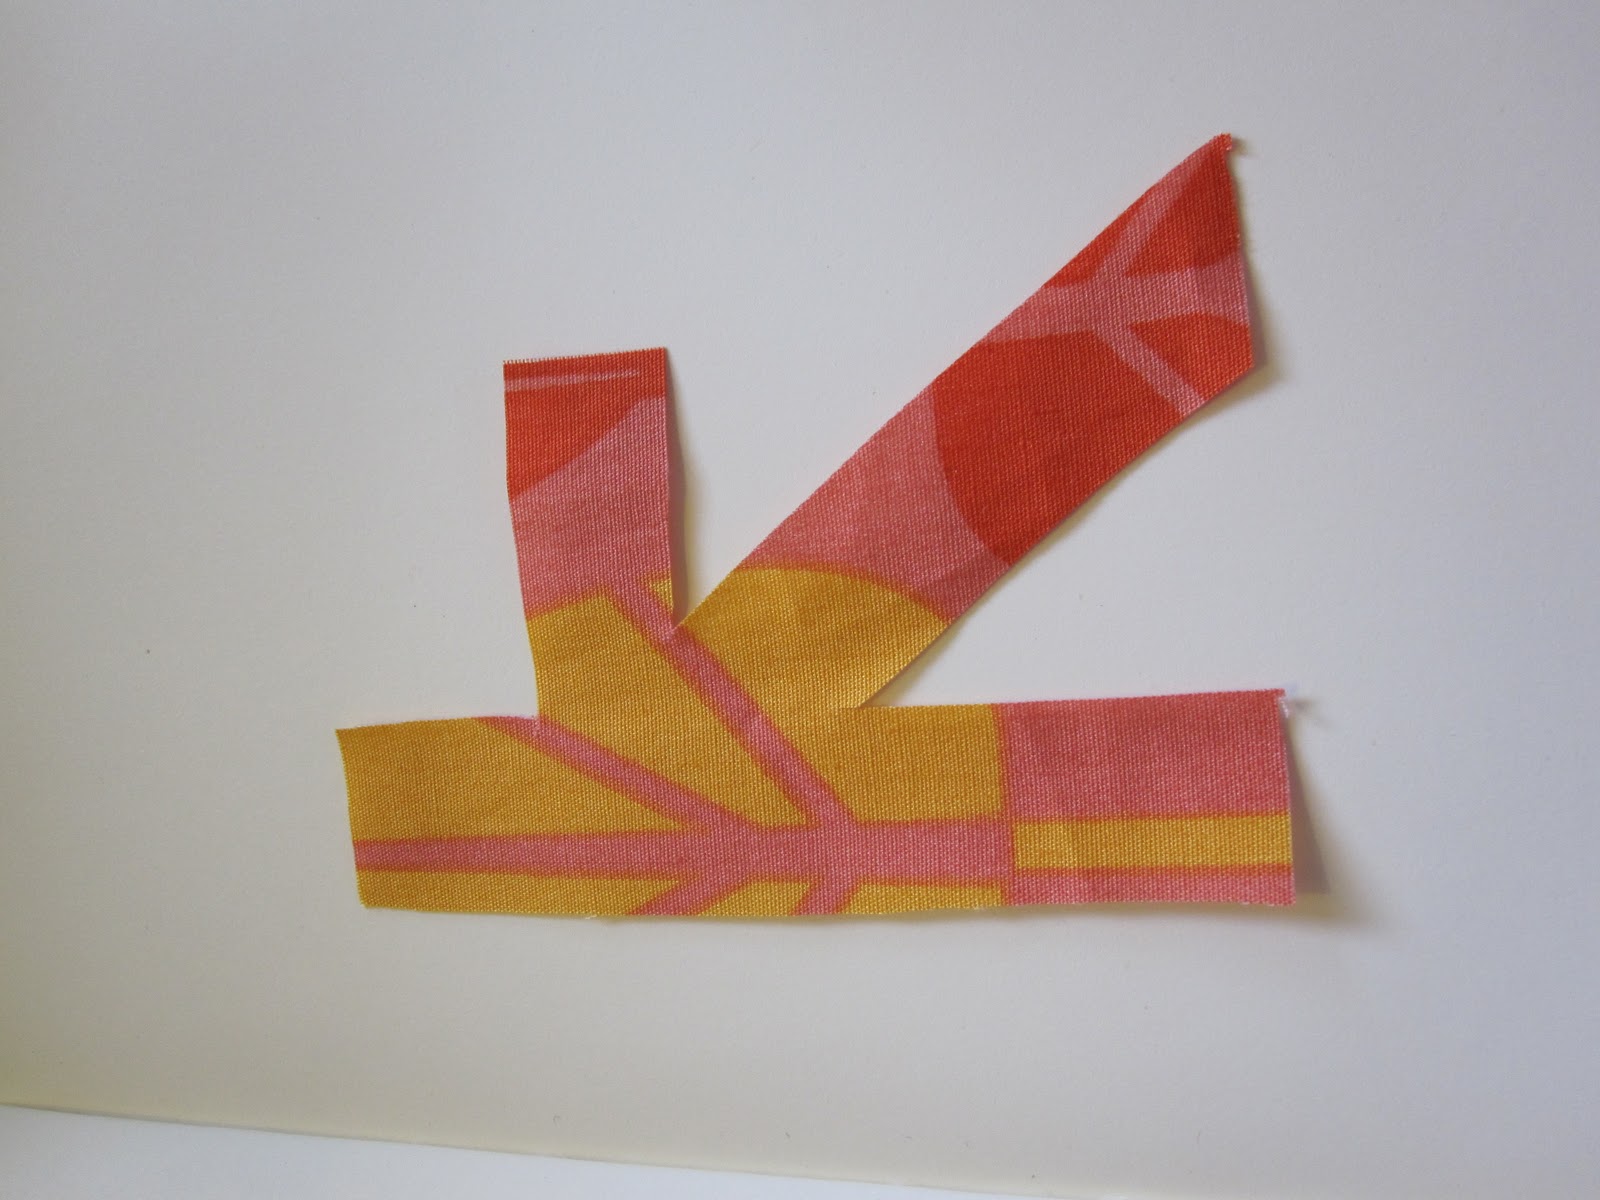
first, i cut out a “k” (yes, this is the letter “k,” it is just sideways. *cock head to left shoulder*).  
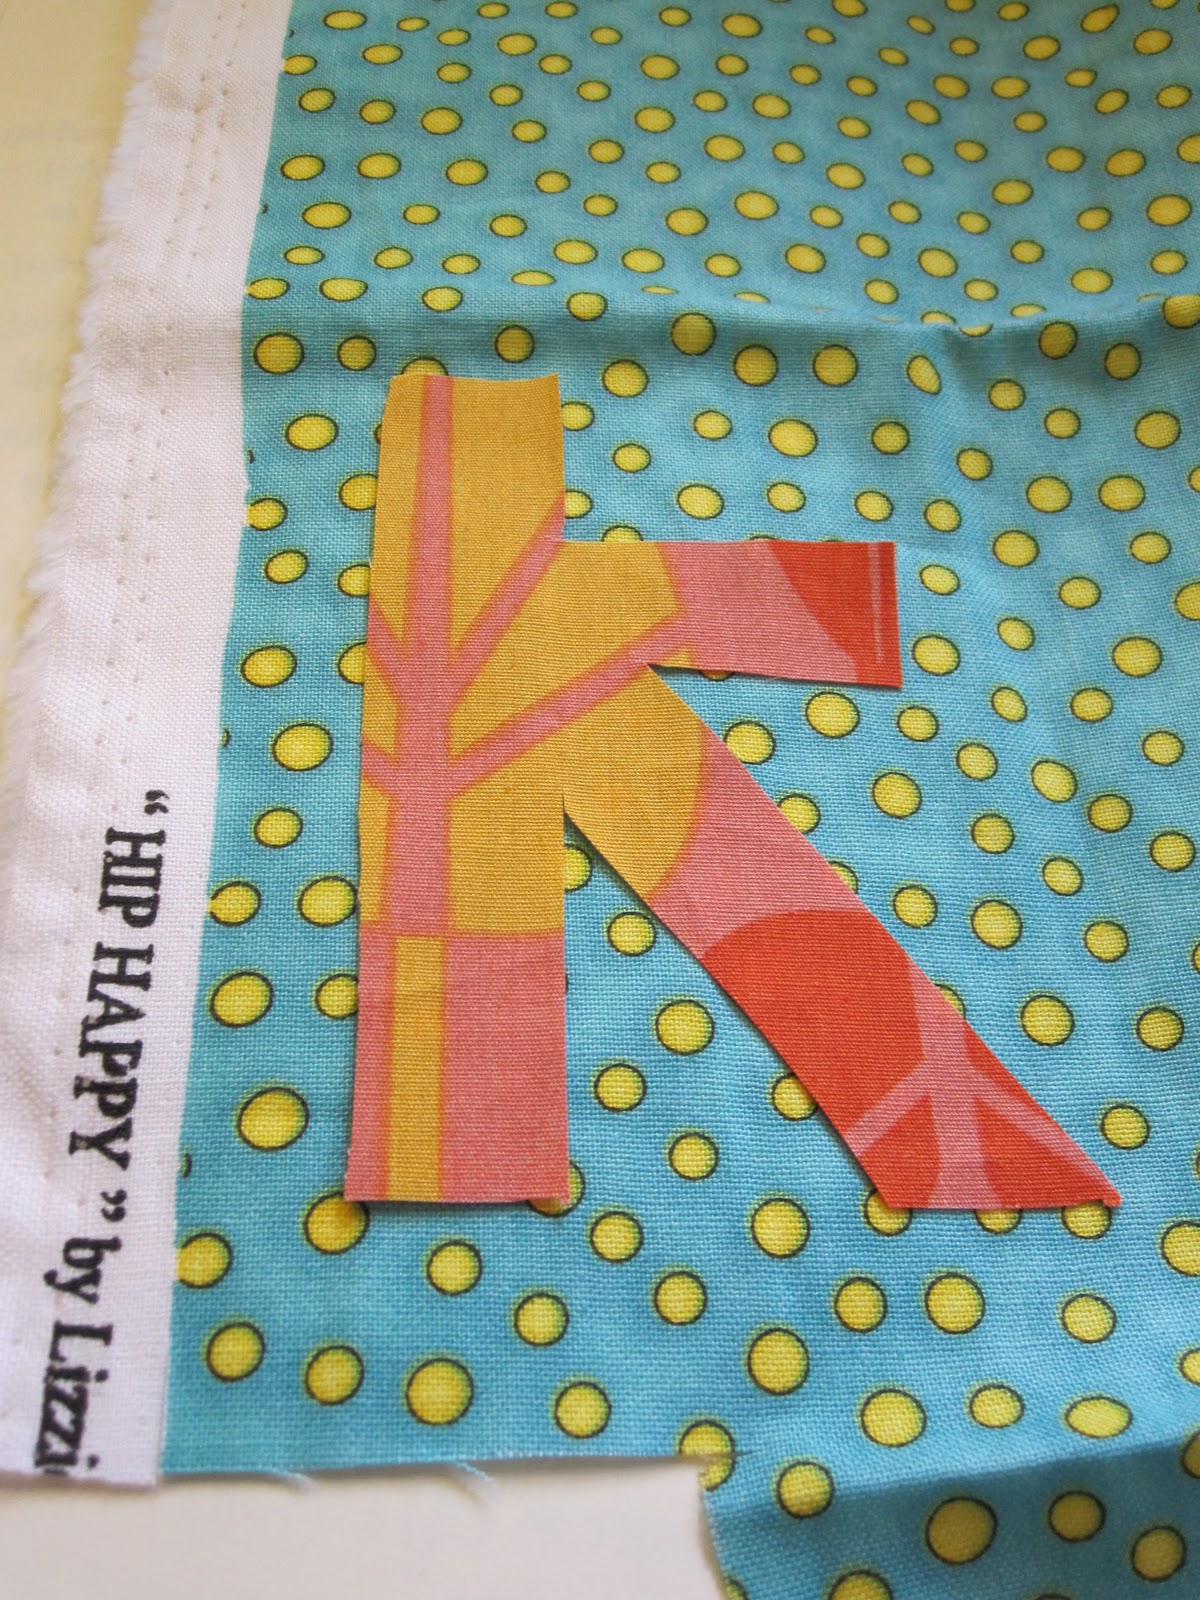
 next, i put the “k” on the other fabric and cut a rectangle of fabric leaving a little room around the “k.”

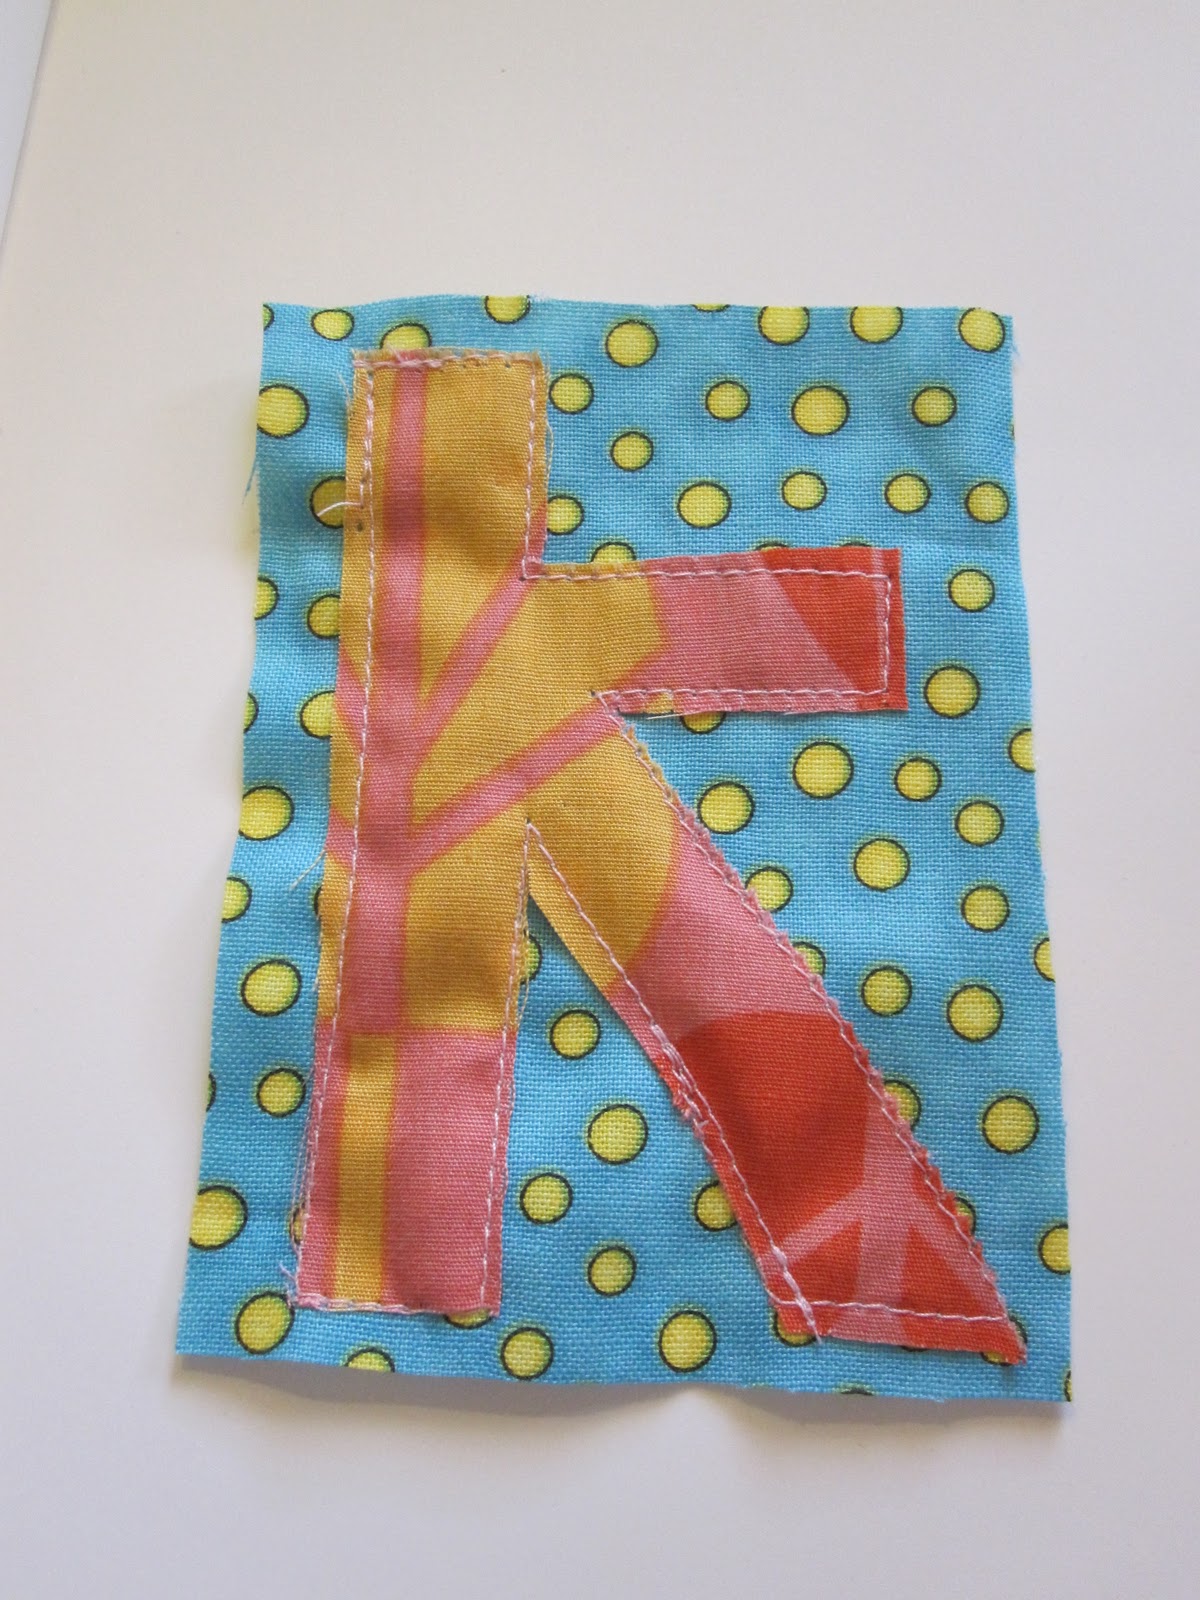
 then, i sewed the “k” onto the fabric rectangle (i got lucky and only had to sew straight lines! who knows how this may have ended up had i had a curvy letter like an “a”!). and then i sewed the rectangle onto the onesie right in the middle. i wanted the “k” to be big, but not so big that kenley couldn’t wear leggings or a skirt with the onesie and cover up the “k.”

and here are the finished onesies!
a big congratulations to kendra, greg & little kenley! (you can find them on kendra’s blog).
M