when i made my first no sew roman shade for the kitchen this spring, i mentioned that we also have miniblinds in both bedrooms. while i haven’t done a thing about the miniblinds in the office/extra bedroom {or anything for that matter!} i did finally do something about the miniblind situation in our bedroom.
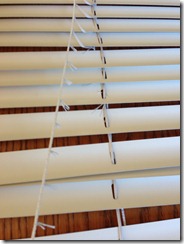
i made these blinds the same way i made the other ones, so i won’t hash out all of the details. {see tutorial here}
the one change that i did make was that i added blackout material {also acts as a thermal liner} to the backs of the three shades. i found this blackout material at joann & though i don’t remember exactly how much it was, but it wasn’t very expensive.
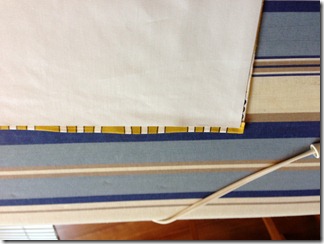
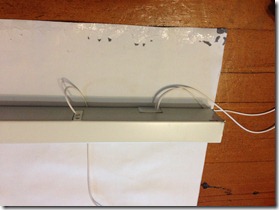
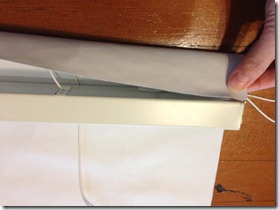
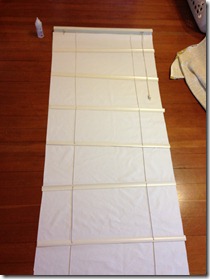
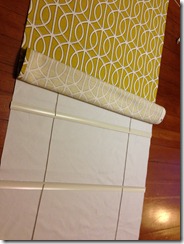
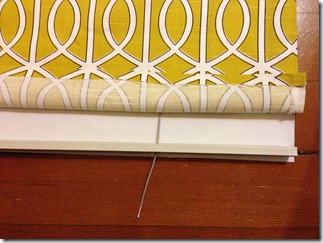
i cut the thermal liner to be the same size as the fabric. in hindsight, i may have made it 1/4 inch smaller on all four sides. once i had cut the ladder cord & removed the extra blind pieces, i added the thermal liner by gluing it to the bottom of the miniblind metal bracket {i that isn’t what it is called, but just go with it!}. i laid the thermal liner down on the floor {i don’t think it matters which side is up} & then laid the miniblinds on top. after lining the top & bottom up, i rolled the top metal bracket towards the bottom of the blinds twice. then i added a line of glue to the edge of the thermal liner & glued it to the edge of the metal bracket {see picture to the right below}.
after the glue was dry on the thermal liner, i rolled the top metal bracket back & then began gluing every other slat to the thermal liner. then i glued on the front fabric like in the original tutorial, adhering the front fabric to every other slat.
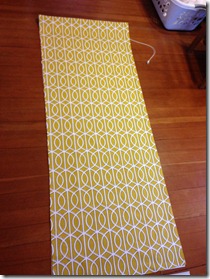
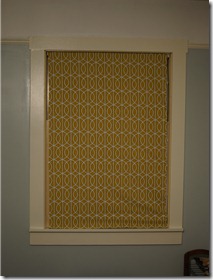
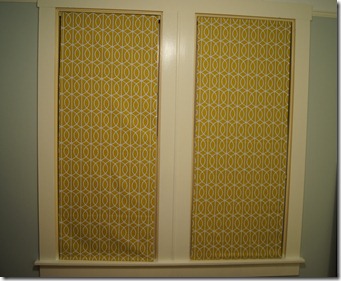
the fabric is dwell studio bella porte citrine from fabric.com. i am a big fan of dwell studio fabric despite the heavy price tag. i love all of the patterns & it is upholstery quality – you can’t go wrong!
while the biggest reason i added a thermal liner to these bedroom curtains was to help keep heat from escaping thru the windows, the blackout feature has been nice. the curtains are all a teeny bit smaller than our window frames so we get little slivers of light in the morning, but for the most part i feel like we are in a hotel. the blackout curtains are completely messing with my circadian rhythm, but we are loving being able to sleep in on the weekends!
{sidenote: the shades are hard to open and close because the pullcord is in-between the fabric & the liner. i decided to sandwich the blind slats between the fabrics so that you couldn’t see the slats from the back/outside. instead, you could attach the liner to the back of the fabric before gluing it to the blinds to avoid this problem. i may add a little slit at the top of the liner right next to the pullcord to allow the cord to be pulled thru & hang on the back of the blinds, between the shade & the window.}
how do you feel about window coverings? have you ever made your own shades or curtains?
M

How are these holding up? How did you solve the liner problem? I am getting ready to make these, but wanted to have the slats sandwiched in between the fabric and liner to make them look ok from outside – but would love help. Let me know!
hello rachel. i haven’t updated these blinds at all, but have been thinking about how i would! this is what i plan on doing to update them. i think i would trim down the metal slats a few inches so that i could sew the fabric & liner together along the long edges. then i would leave the ends open & still glue them to the metal bracket on the top & the thicker metal piece on the bottom. does that make sense? we recently took these shades down & i hope to update them soon. let me know how this DIY goes for you, i would love to hear! thanks for reading. xo M