i have an obsession with paper goods. there, i said it! i still write thank you notes by hand & send them snail mail (isn’t there something so romantic & lovely about receiving mail!) and i jump on any chance to send paper mail. while i no longer get to go to school & receive valentines from all of my classmates (wasn’t that the best?) i did want to send out a few valentines to my close family & friends.
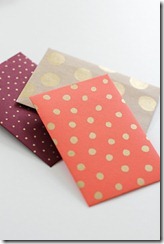
i knew i wanted valentines that had some form of diy & when i saw these whimsical envelopes on pinterest, i knew i would be making at least the envelopes this year.
{original pinterest link: paper envelopes}
supplies:
-
envelope to use as template
-
printed paper (i used square scrapbooks sheets, but size depends on the size of the envelope)
-
ruler
-
pencil
-
gluestick
-
paper tags or labels (optional – i knew addresses written on printed envelopes would be difficult to read)
-
letter opener (optional – i used it to make clean cuts on my envelope template)
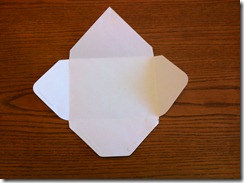
{i started out by finding an envelope & using a letter opener it up.}
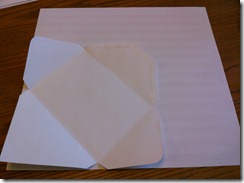
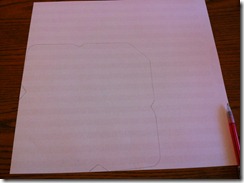
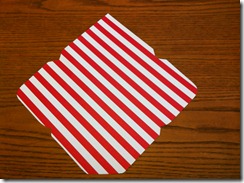
{i laid down my template on the wrong-side of my paper (so any leftover pencil marks would be on the inside of the final envelope) & lined up the corner edges and sides of the template with the corner and sides of the paper (to reduce the amount of cutting). then i cut out the envelope.}
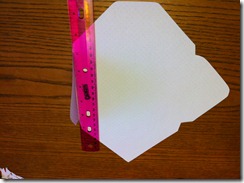
{while the places to fold in are really clear from looking at the cut-out, i found that it was pretty easy to end up folding a crooked fold. i remedied this by lining up a ruler edge on both sides of the fold edges and then folding over the ruler. this gave me a nice straight fold.}
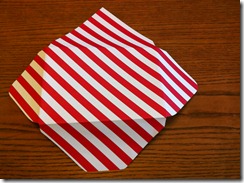
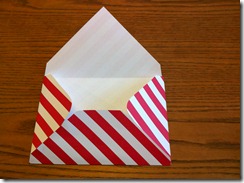
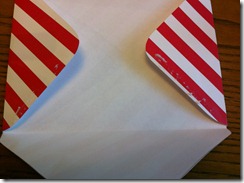
{then i flipped the envelope over & folded in the pieces starting with the sides & then the bottom – this is the way the original envelope was folded. i added a very thin line of glue to the bottom edges of the side flaps. be sure that there isn’t too much excess glue on the bottom of this edge as you may inadvertently glue the envelope together!}
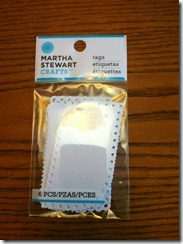
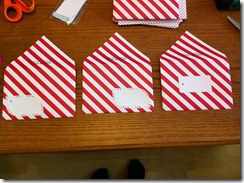
{i used these little cut-out tags that i picked up at michael’s. while the package says there are only 6 pieces, there are actually 12 – score! i firmly glued one tag on the front of each envelope, staggering the tag on each: bottom left corner, bottom right corner, middle. i always put my return address on the back flap of the envelope. i used our address stamp from etsy & the black ink was bold enough that i stamped it right onto the envelope, not needing to add a tag to the back.}
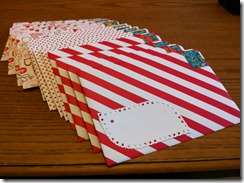
{the final touch was adding a LOVE stamp. you can see that i chose three different prints for my envelopes: stripey, polka dot & hearts.}
stay tuned for my valentines cards!
what do you think about pretty paper envelopes – a waste of time or can’t get enough?
M

we loved our valentine!
Oh my gosh are you kidding me!!!?? These are incredible! Love! Thanks for stopping by today. xx
Reblogged this on TheForeverRemember.